How To Crochet The Viral Mumu Purse for Beginners
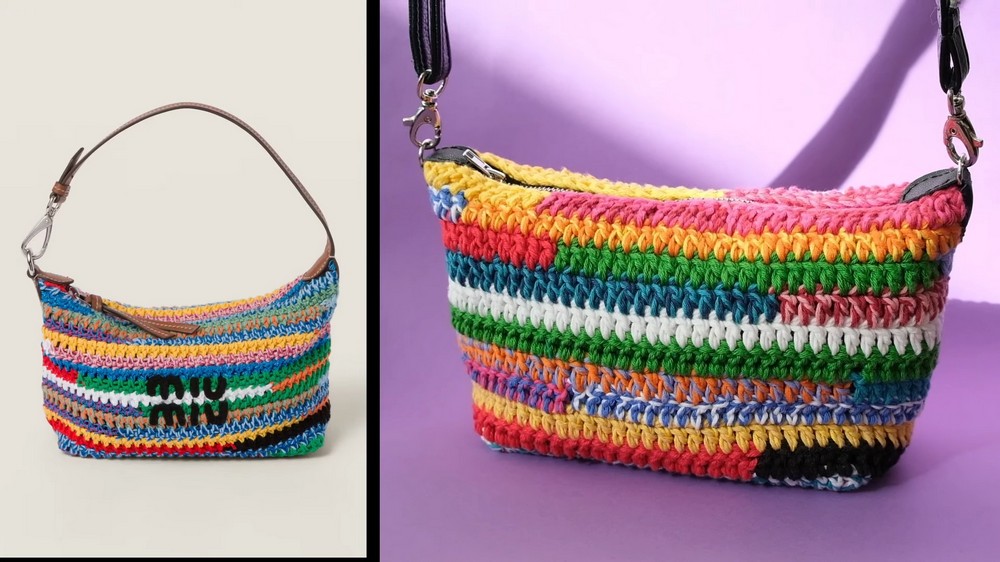
In this post, you’ll learn how to DIY crochet Mumu bag using scrap yarn with a step-by-step tutorial for all skill levels. It features a sturdy design crocheted with double crochet stitches, a smaller hook size, and vibrant color combinations. The guide also demonstrates adding a zipper, sewing a fabric lining, and attaching hardware like D-rings and adjustable straps for a professional finish.
Perfect for beginners and enthusiasts, the video simplifies the process while encouraging creativity with personalized colors and sizes. So, follow through with us for the complete tutorial.

Crochet The Viral Mumu Purse Tutorial
This video tutorial walks viewers through creating a beautiful and sturdy crochet Mumu bag inspired by the viral design. The creator demonstrates each step in detail, from crocheting the bag’s structure to sewing a lining and adding finishing hardware for a polished look. Below is a detailed summary, broken into key sections.
Introduction
- The video introduces the viral crochet Mumu bag and explains how to create a DIY version using scrap yarn.
- Tools and techniques used include double crochet stitches, sewing, and working with accessories like zippers, D-rings, and an adjustable strap.
- The finished product closely resembles the original design but can be easily personalized with different colors, yarn types, or sizes.
Materials Needed
- Yarn:
- Cotton yarn is recommended for durability.
- Use two strands of yarn (same or different colors) for sturdiness.
- Tools & Accessories:
- 3.5mm (E4) crochet hook.
- Scissors, sewing needle, and a zipper (20 cm/8 inches).
-
- Two metal D-rings (12 mm) and an adjustable bag strap.
- Fabric (black cotton) for the lining to add structure and hide yarn ends.
- Optional: Leather pieces for added detail and interfacing to make the lining stiffer.
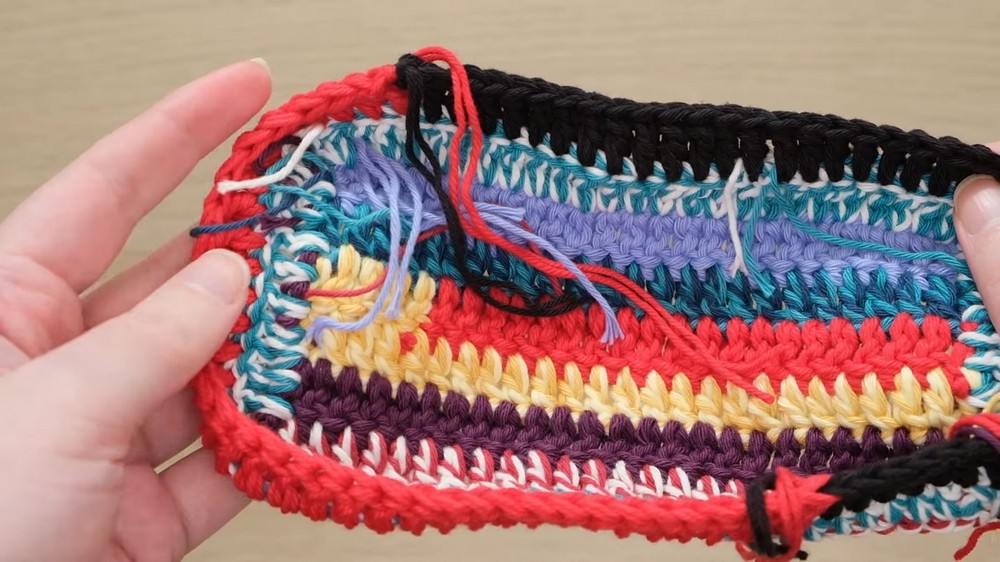
Creating the Base of the Bag
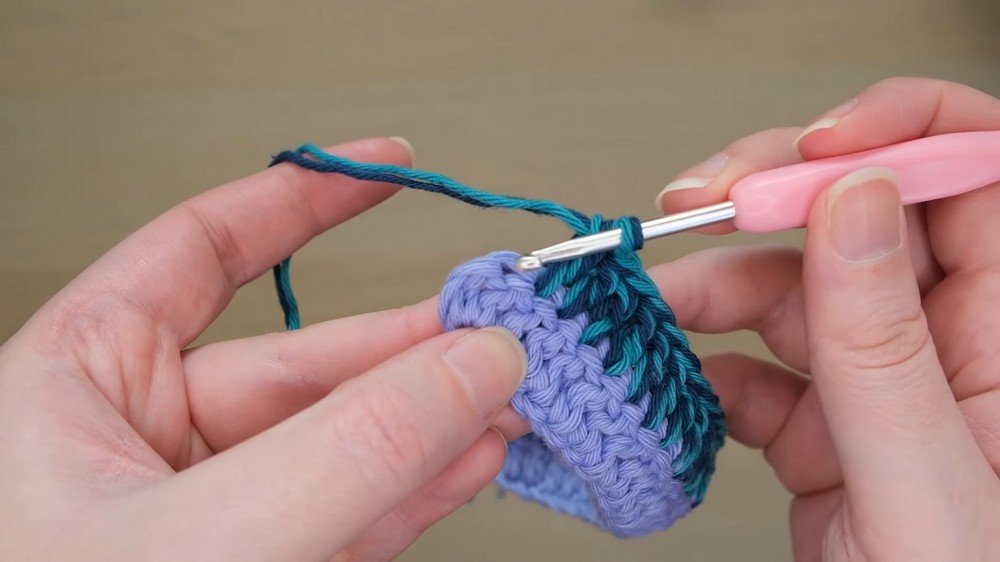
- The tutorial begins by crocheting a rectangular base using double crochet stitches.
- A smaller-than-usual hook is suggested to create tight, durable stitches that provide the necessary structure for the bag.
- Yarn ends from color changes are left inside the bag to be hidden later by the lining.
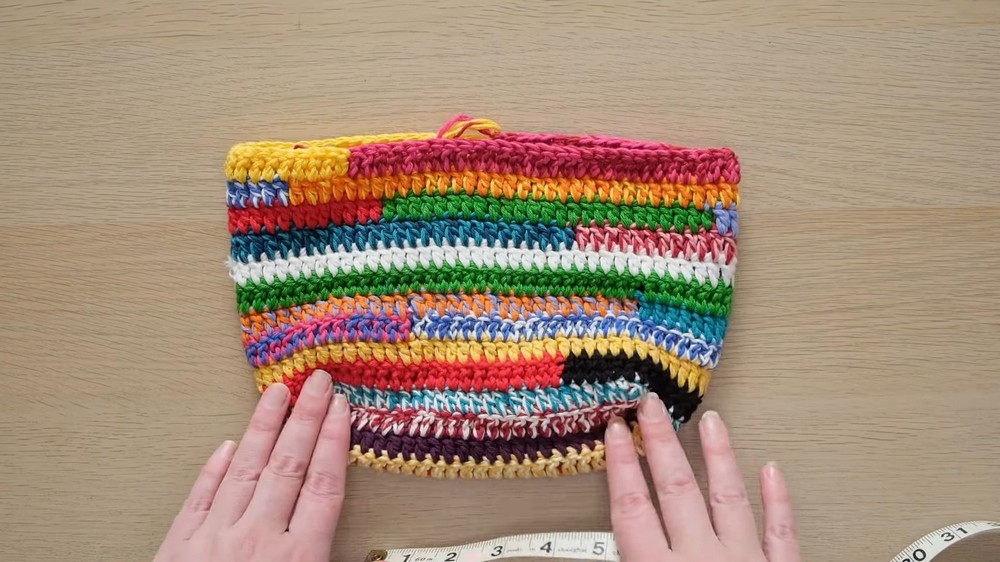
Building the Body of the Bag
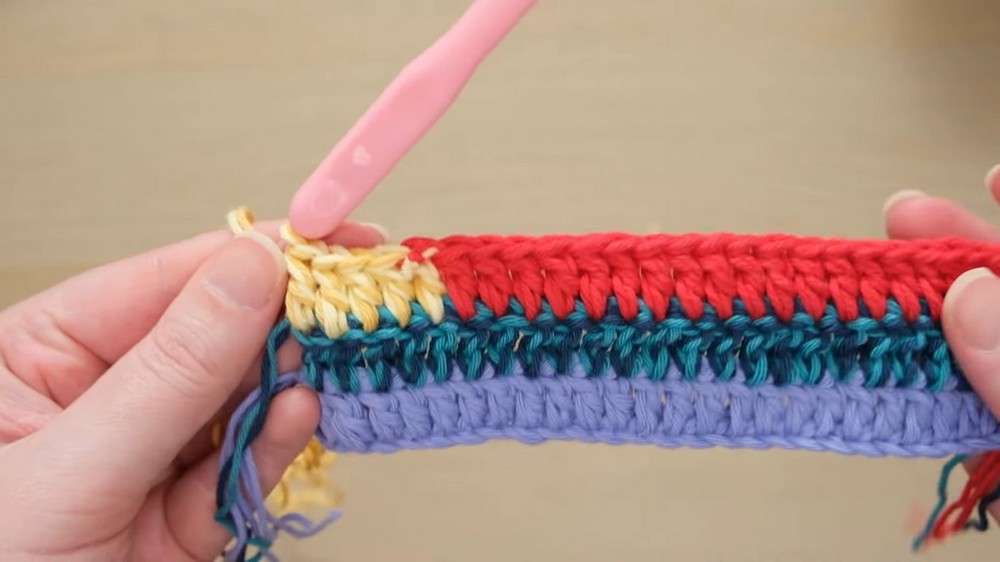
- Double crochet stitches are used to create rows, switching directions between rows for added texture.
- Colors can be switched mid-row for a fun, mixed look.
- The rows are continued until the desired height for the bag body is achieved.
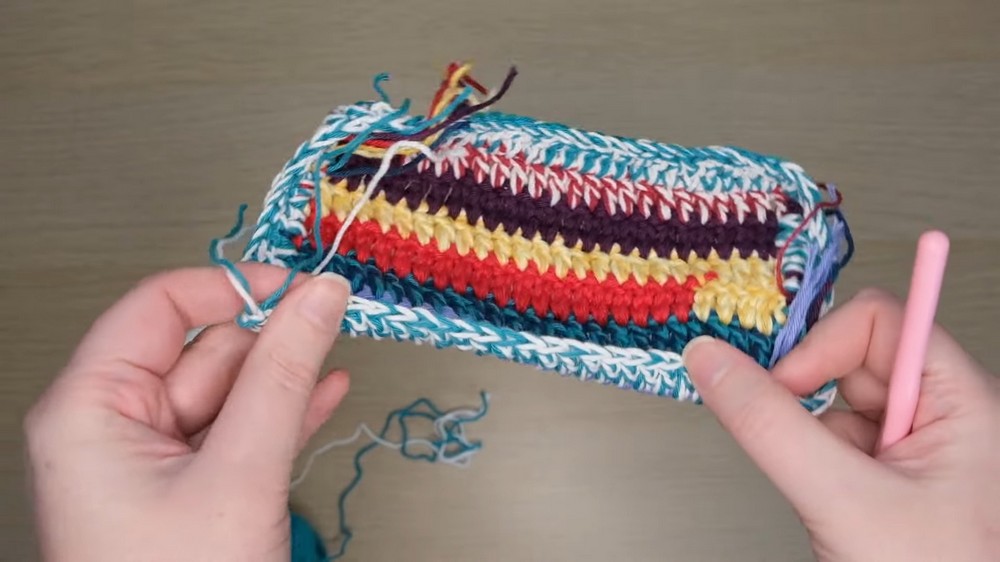
Shaping the Bag
- The corners and sides of the bag are shaped by adding stitches strategically.
- The creator alternates between the bag’s inside and outside for each row to give the texture a unique look.
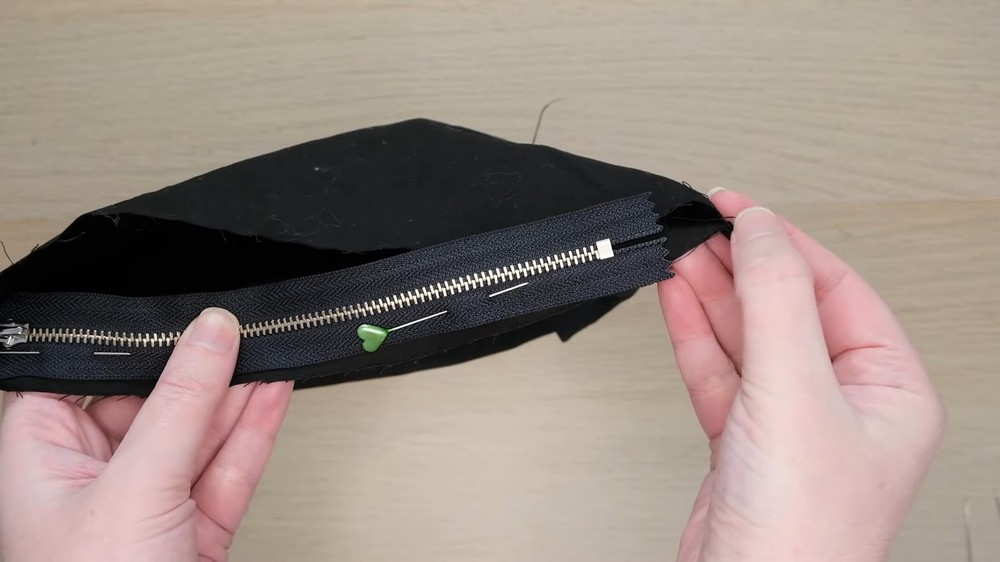
Adding the Lining
- Measurements are taken for the fabric lining to ensure it snugly fits inside the crochet bag.
- The lining is sewn into a rectangle, and the base shape is created with simple folds and stitches.
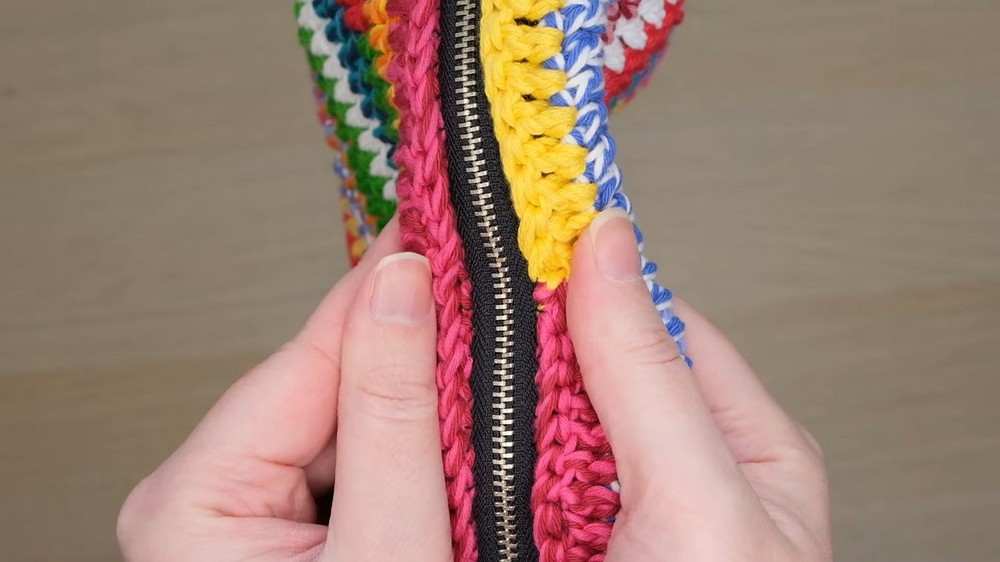
- A zipper is sewn onto the lining to ensure the bag is secure and functional.
Attaching the Lining and Zipper to the Bag
- The lining is placed inside the crochet bag with the zipper attached.
- The creator carefully hand-stitches the lining to the crocheted edges to achieve a neat finish.
- The zipper is centered, and any excess fabric at the ends is either stitched closed or hidden with leather pieces.
Adding Leather and Hardware
- Leather accents are cut into shape and used to attach the metal D-rings.
- A strap is clipped onto the D-rings, completing the bag’s look.
- Leather pieces elevate the aesthetic, making the bag look professional.
Final Thoughts and Customization Options
- The finished bag is stylish, structured, and functional, with clean edges and invisible yarn ends thanks to the lining.
- The designer suggests experimenting with the pattern to create bags in different sizes by adjusting row and stitch counts.
- The use of mixed yarn colors and additional hardware allows for endless customization.