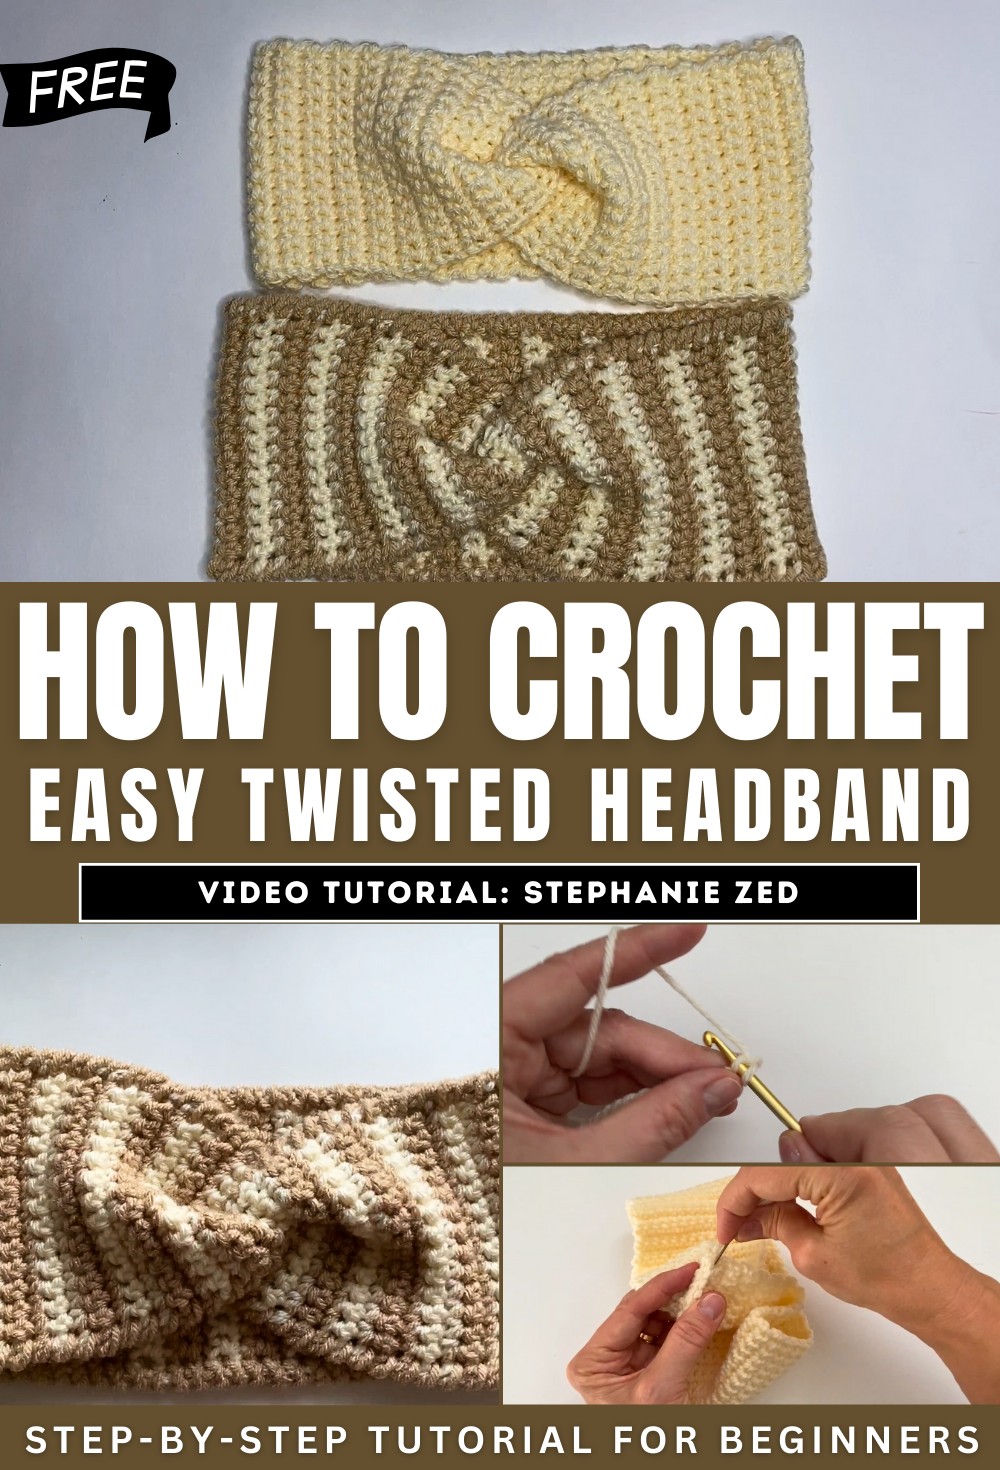
How to Crochet Twisted Earband for Beginners
With a step-by-step tutorial, learn how to crochet a stylish Earband with a twist for beginners and experts. The project uses simple single crochet stitches to create a long rectangle, which you’ll shape and join for a snug fit. Karen walks you through every step, including creating straight edges, measuring for your size, and assembling the ends. The tutorial also showcases a two-color version with tips for managing yarn transitions and hiding loops using a reverse single crochet trim.
With clear instructions and minimal materials, this versatile project is perfect for crocheters looking to create a practical and customizable accessory. So, follow through with us for the complete tutorial.
Crochet Earband with a Twist Tutorial
This tutorial demonstrates how to create a beginner-friendly crochet earband with a twist using simple techniques and minimal materials. The project is versatile, and the instructions include how to make it in one or two colors with or without an optional trim. Below is a summarized guide to the tutorial structured into key sections.
Materials Needed
- Medium-weight yarn (Size 4)
- 5 mm crochet hook
- Measuring tape
- Scissors
- Darning needle

Basic Earband (One Color)
Step 1: Create the Foundation
- Begin with a slip knot and crochet a starting chain.
- Ensure the width of the earband is between 3 to 4 inches, according to preference.
Step 2: Work the Rows
- Use single crochet (SC) stitches to work across the first row.
- Turn the work consistently in the same direction at the end of each row to maintain a neat and straight edge.

Step 3: Repeat Until Desired Length
- Continue crocheting rows of single crochet, making sure to keep the same number of stitches in each row.
- Determine the earband length by measuring the circumference of your head and subtracting approximately 1 inch for a snug fit.
Joining the Ends
- Fold each end of the rectangular piece you’ve crocheted into halves, forming a layered arrangement.
- Use a darning needle to secure the ends by weaving in and out through all four layers.
- Finish by securing and cutting the yarn, ensuring the join is tight and neat.

Two-Color Version
Step 1: Adding the Second Color
- Begin with two rows of single crochet using the first color.
- Add the second color at the last stitch of the second row, finishing the stitch with the new color.
Step 2: Alternating Colors
- Crochet in two-row sections, alternating between the two colors.
- Drop the current color at the end of the last stitch in a row and pick up the other color to maintain clean transitions.
Step 3: Hiding the Yarn Loops
- To hide the loops from changing colors, crochet a reverse single crochet trim along the side.
Reverse Single Crochet Trim (Optional)
- Use reverse single crochet to give the earband a polished edge and hide the visible yarn loops from color changes.
- Work one stitch at the end of each row and continue backward along the edge.
- This trim enhances the appearance of the earband while reinforcing the edges.

Finishing Touches
- Weave in all loose ends and ensure the edges are clean and secure.
- Fold the ends, line them up as before, and join them with a finishing stitch to close the earband.

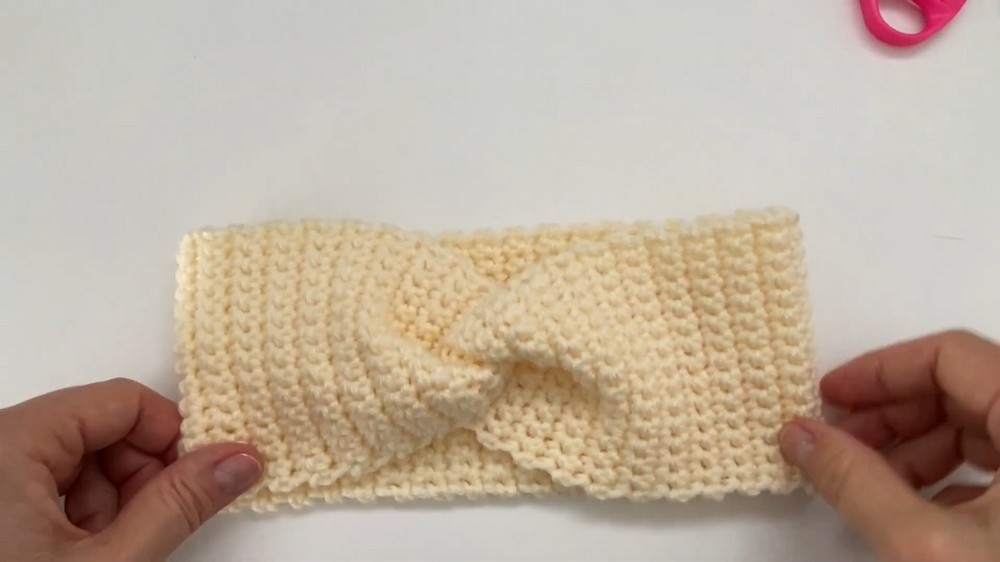
Final Product
This simple earband is highly customizable in terms of width, length, color, and trim. It is a fashionable and functional accessory perfect for staying warm in style. From start to finish, the tutorial is straightforward and beginner-friendly.