How to Crochet Two Cardholders for Ladies
Keep your cash safe by learning how to crochet two stylish and functional cardholders, featuring heart and star designs. Using black and white yarn, the video covers every step, including creating the body, ribbed detailing for flexibility, and flap openings with a button closure. The cardholders are customizable, fitting up to 20 cards, cash, and more, while maintaining a neat and compact structure.
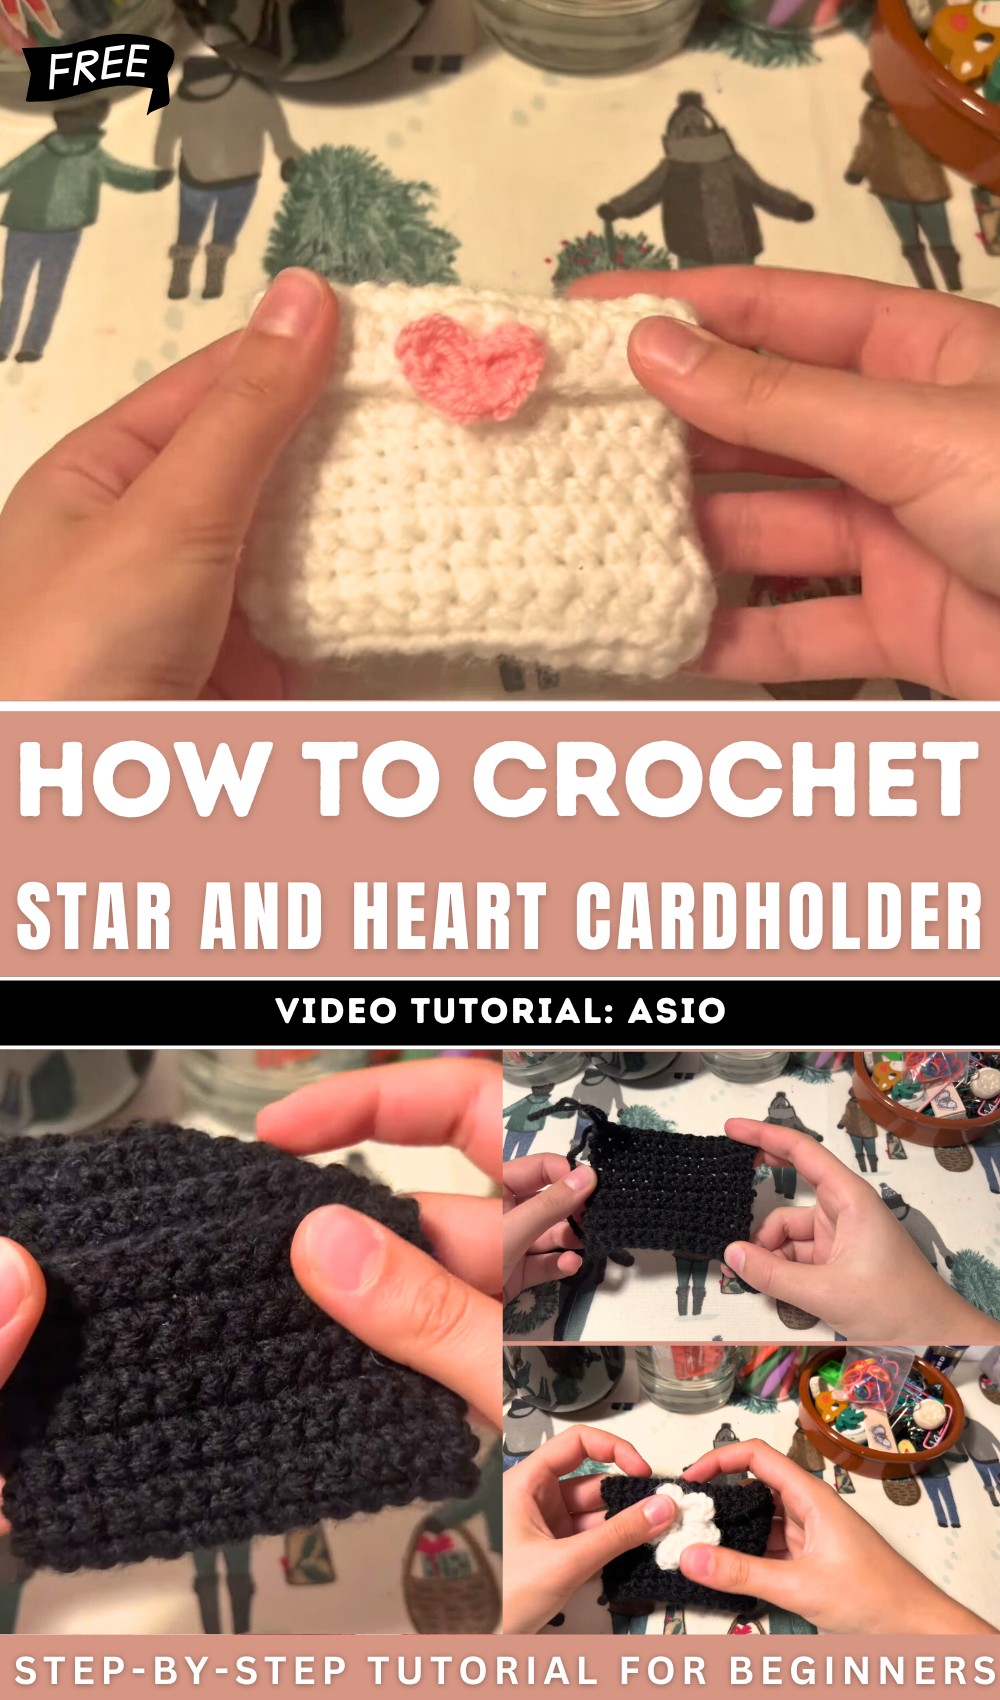
Crochet Star and Heart Cardholder Tutorial
This video tutorial provides step-by-step instructions for crocheting two different types of cardholders: one decorated with a heart and another with a star. The creator walks viewers through the project, from building the main body of the cardholder to adding decorative elements, a button closure, and customization tips for functionality. Below is a detailed summary of the video.
Introduction
- The tutorial begins with an introduction to crocheting simple and stylish cardholders.
- Two variations are showcased — one with a heart design and another with a star design for decoration.
- These cardholders are compact, capable of holding up to 20 cards, cash, and smaller items.
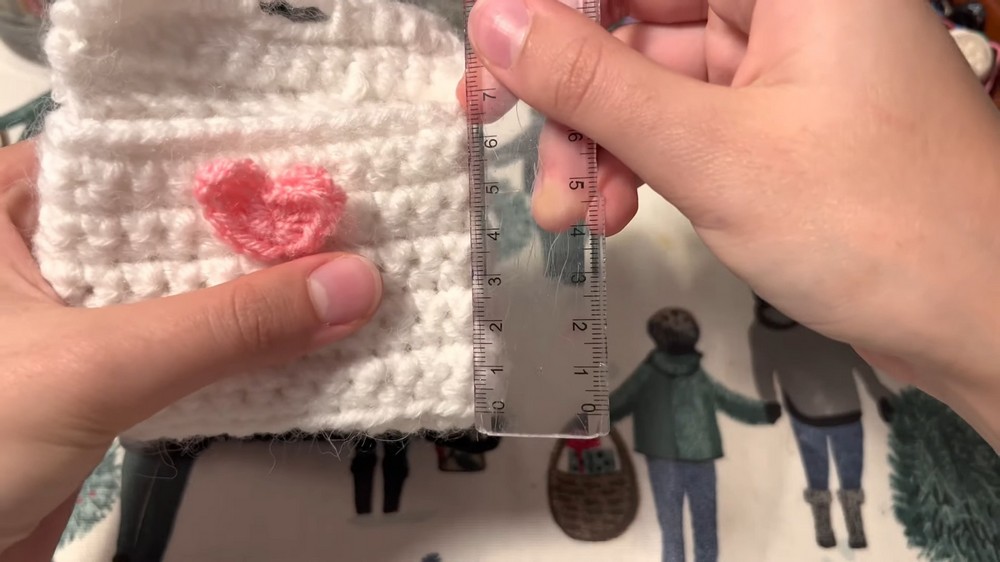
- Measurements for the cardholder are provided: the flap is 3 cm, the body is 6.5 cm, and the total length is 9 cm.
- The creator uses black and white yarn to match other projects, such as the corresponding store bag featured in a previous video.
Starting the Foundation
- Begin the project by creating a chain according to the desired length (approximately 9 cm as described by the creator).
- The creator explains how to transition to the next row by creating a base layer.
- Focus is placed on ensuring the foundation meets the required dimensions and is suitable for snug card storage.
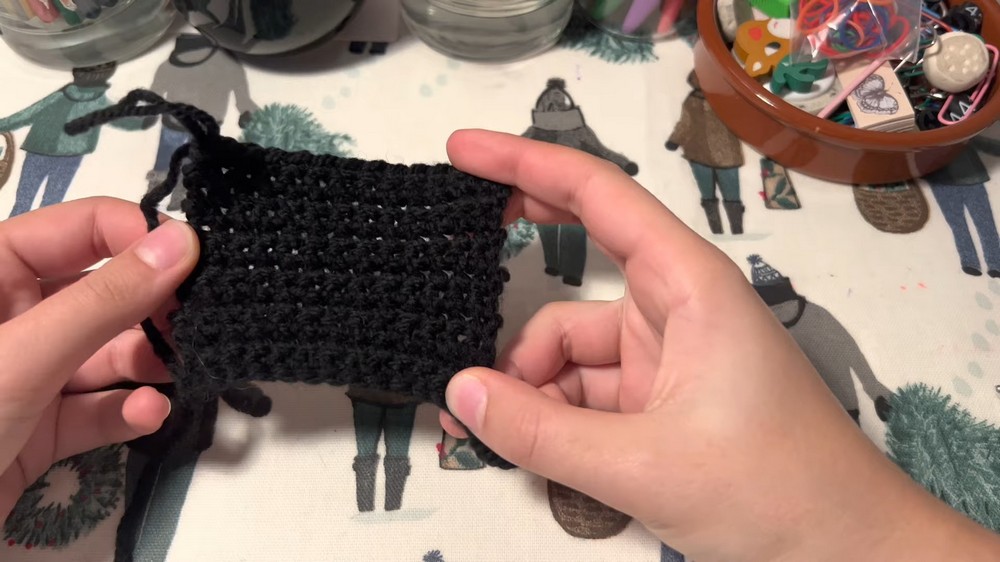
Building the Main Body of the Cardholder
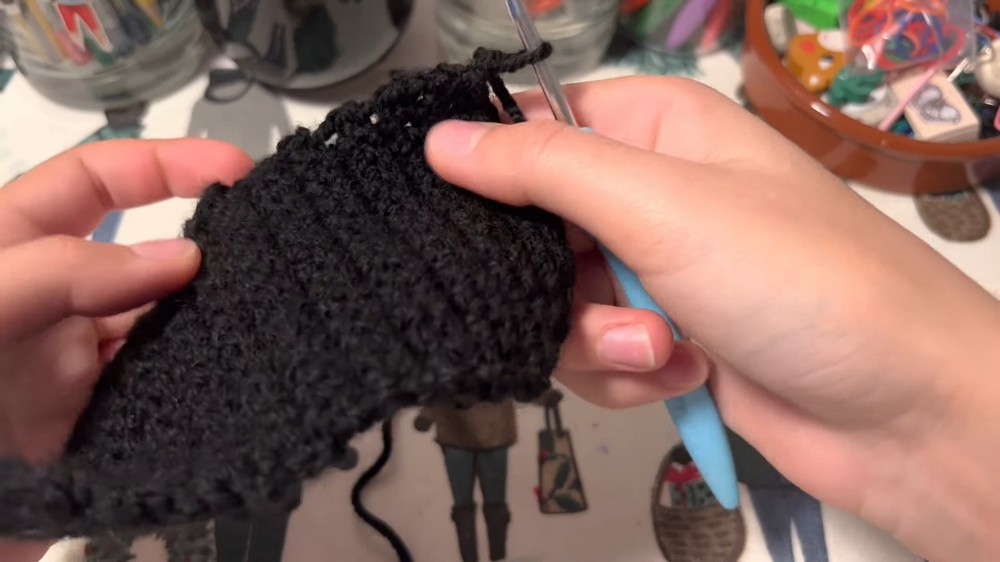
- The main body is created by working rows of single crochet stitches repeatedly while maintaining uniformity in size and shape.
- After completing the initial rows, viewers are encouraged to check that the cardholder fits a standard card securely.
- The cardholder is intentionally left with a small gap to accommodate multiple cards or items for added functionality.
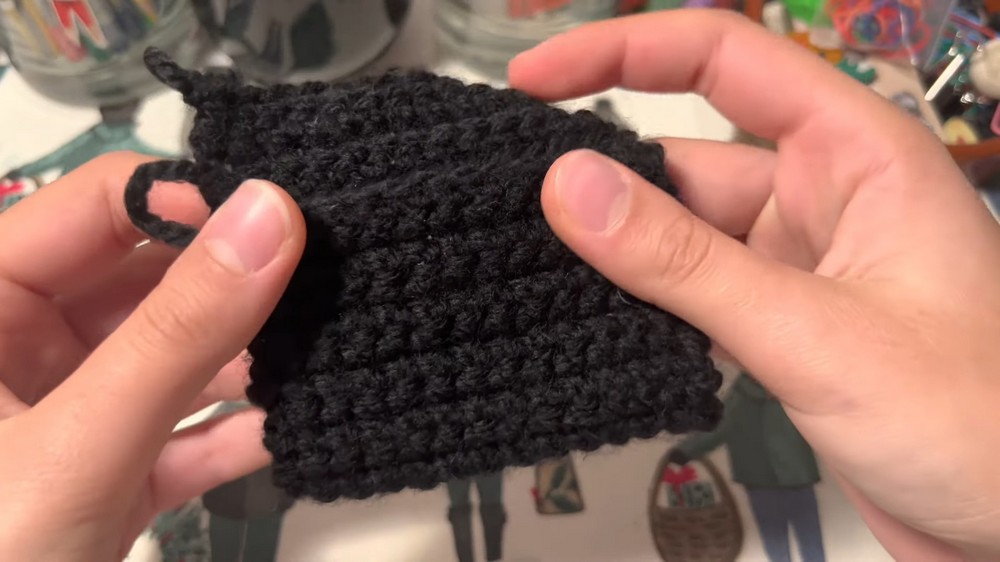
- A ribbing detail is created at the bottom of the cardholder, enhancing flexibility and enabling easy folding.
Creating the Flap
- The flap of the cardholder is built by crocheting additional rows on one side of the body.
- The creator demonstrates how to build the flap to the required length, ensuring structural stability while folding over.
Adding the Buttonhole
- To create the buttonhole, the tutorial shows how to skip stitches in a row and chain to leave an opening.
- This allows the button closure to fit securely, ensuring the functional use of the cardholder while maintaining simplicity and style.
- Once completed, the edges are fastened off neatly for a polished finish.
Sealing the Edges
- The creator stitches up the sides of the cardholder using a tapestry needle to ensure the holder remains symmetrical on both edges.
- Detailed instructions and tips are provided for tying secure knots and making the stitching durable.
- The cardholder is turned inside out for a clean and functional appearance.
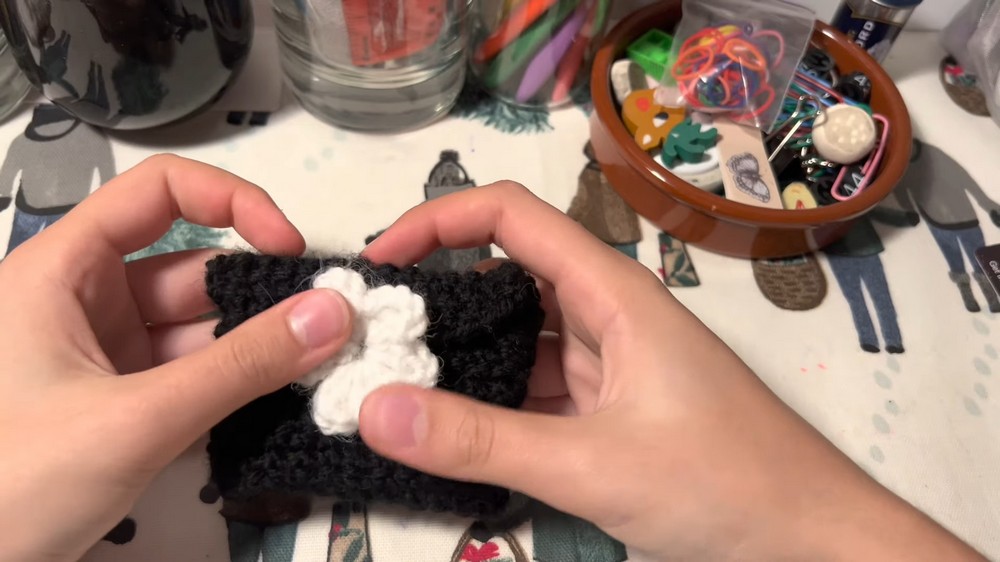
Adding Decorative Elements
- Decorative features like hearts and stars are introduced, with links to additional tutorials provided in the description.
- These elements are attached using long ends of yarn, tied securely, and positioned to enhance the symmetry and aesthetic appeal of the cardholder.
Final Product and Customization
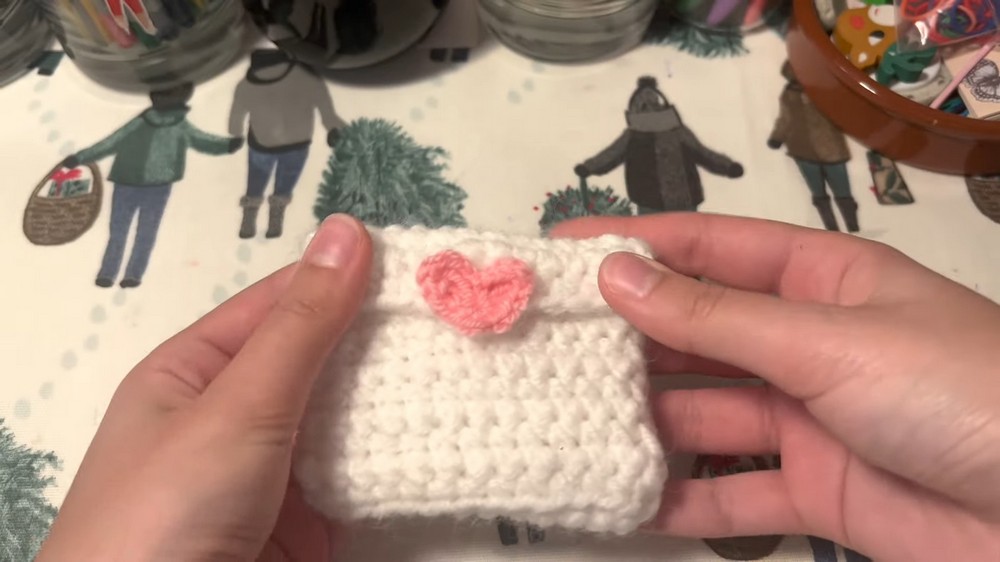
- The completed project features a sleek, functional cardholder with a flap closure decorated with a button and optional heart or star designs for personalization.
- The creator encourages viewers to explore embroidery, incorporate colors, or customize decorations to match their style.
Conclusion
- The tutorial wraps up with suggestions for viewers to like, comment, and subscribe for future crochet tutorials.
- The creator expresses gratitude for the audience and invites suggestions for upcoming projects.
- The final product is showcased, with a star design matching the bag created in the previous tutorial.
By following this tutorial, users can create versatile, stylish cardholders that are compact, functional, and perfect for daily use or gifting.
Video Guide
https://youtu.be/b3ld4_TjH7E