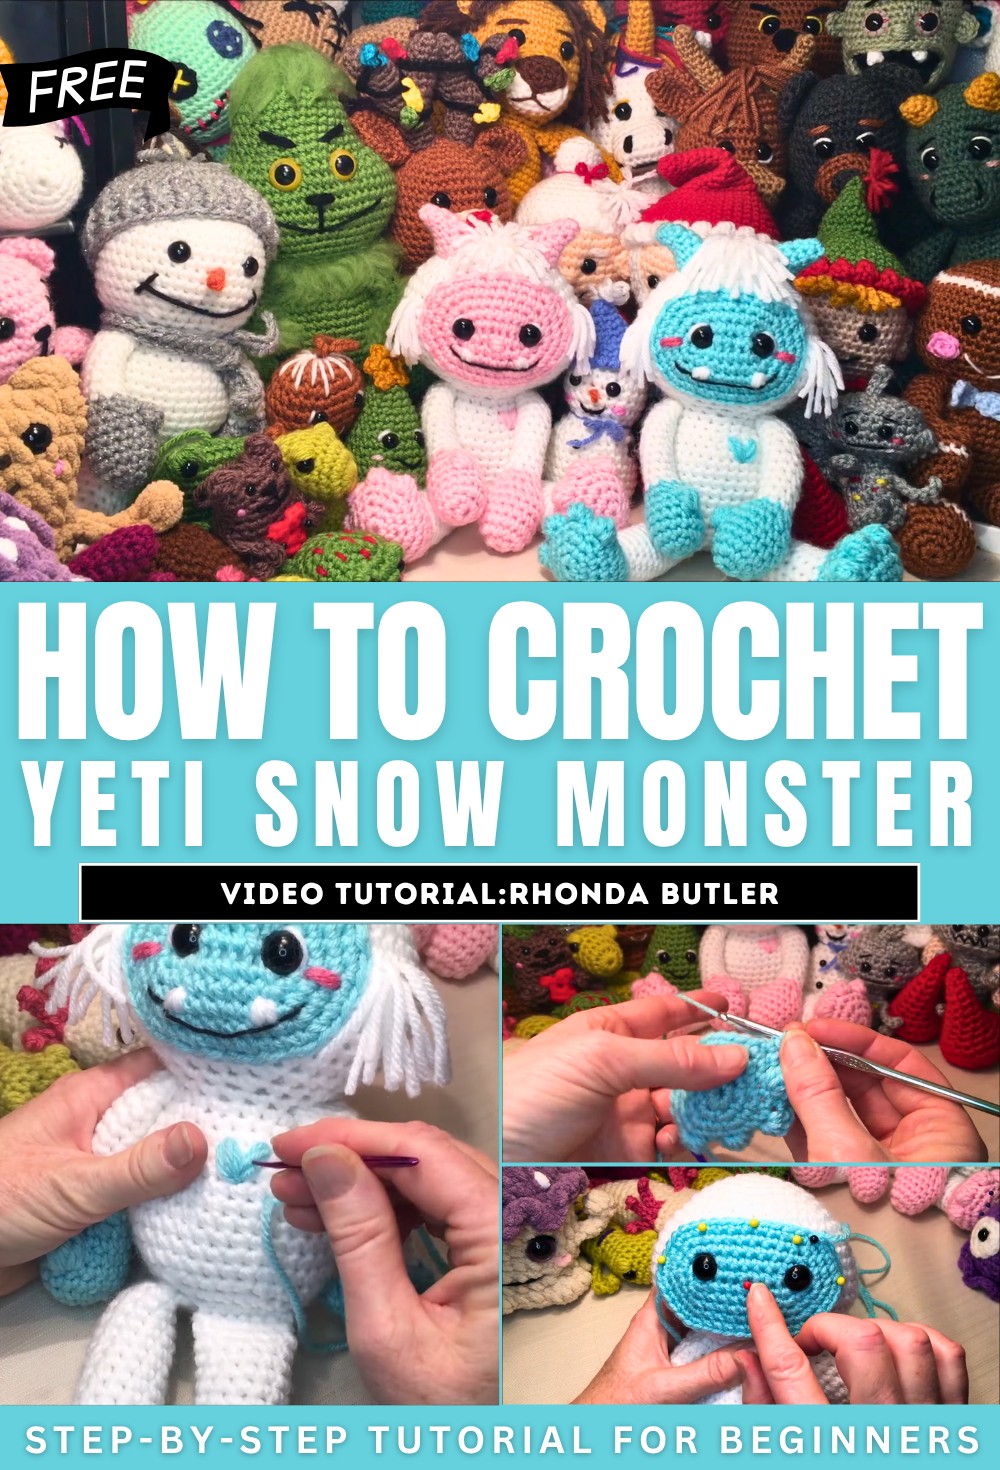
How to Crochet Yeti Snow Monster for Beginners
With a step-by-step tutorial, learn how to crochet an adorable Yeti Snowman Monster perfect for beginners. The tutorial includes everything from making the creature’s arms, legs, and head, and gradually assembling the entire body. The creator also provides on-screen pattern notes for easy reference, making this crochet-along session beginner-friendly and fun.
Packed with creative techniques, tips, and cheerful commentary, this video is a delightful guide is perfect for novices. So, follow through with us for the complete tutorial.
Making a Cute Yeti Snowman Monster
The tutorial begins with an overview of what the project entails. The Yeti is built in multiple stages, starting with the arms, moving onto the legs, head, body, and ending with the detailing like sewing on the face and horns. The instructor uses a #4 medium-weight yarn, a 4.25mm hook, and 14mm safety eyes. She emphasizes that the video is a “crochet-along,” where she performs each stitch alongside the viewer while providing written instructions at the top of the screen.
Materials Required
- #4 medium-weight yarn in multiple colors (base color and accent colors).
- 4.25mm crochet hook.
- 14mm safety eyes.
- Stuffing for the arms, legs, and body.
- Optional embroidery thread for facial details.
- Stitch markers and scissors.
Step-by-Step Process
1. Arms
The tutorial begins with crocheting the arms. Each arm is worked individually, following a series of rows to form the thumb and overall shape. Once completed, the yarn ends are secured, and the arms are set aside to be attached later.
2. Legs
Next, the legs are created using rows to define the toes and foot shape. Each leg is securely stuffed, and enough space is left at the top for the arms to close flat. The legs are tied and set aside for attachment.
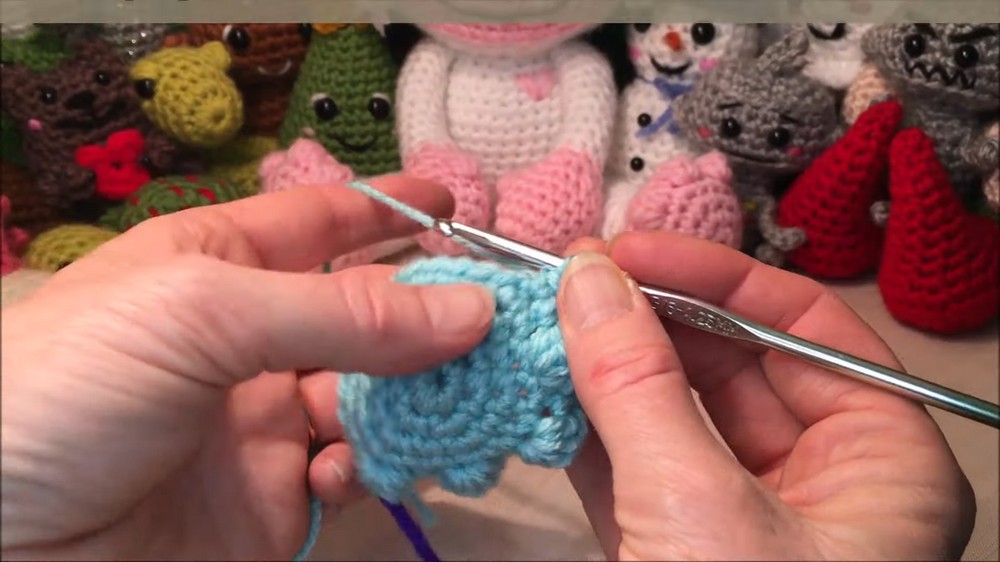
3. Head
The top of the head is crocheted, with careful shaping that includes strategic increases and decreases. Focus is placed on creating an oblong shape, forming “cheeks” on each side. The head is stuffed firmly to hold its shape.
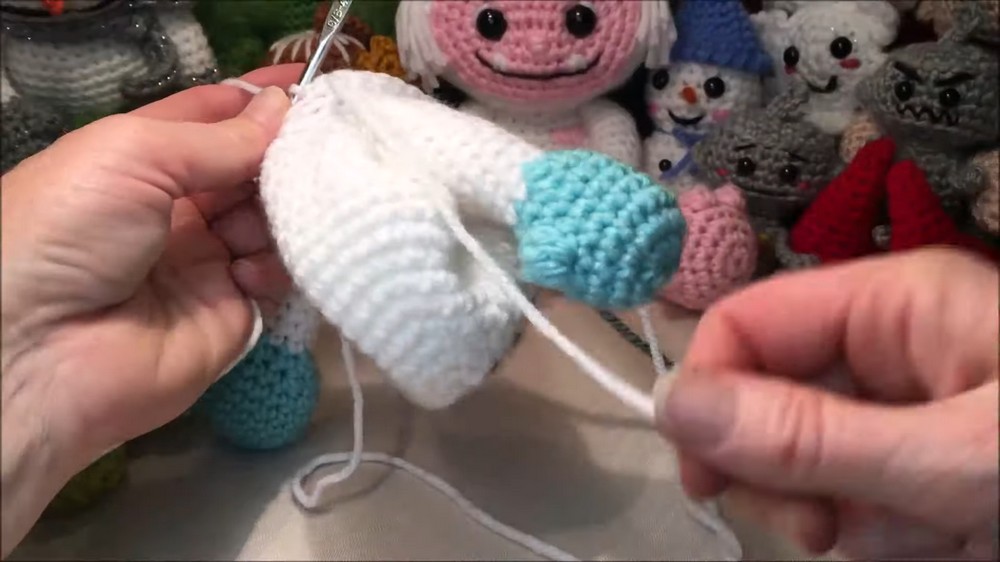
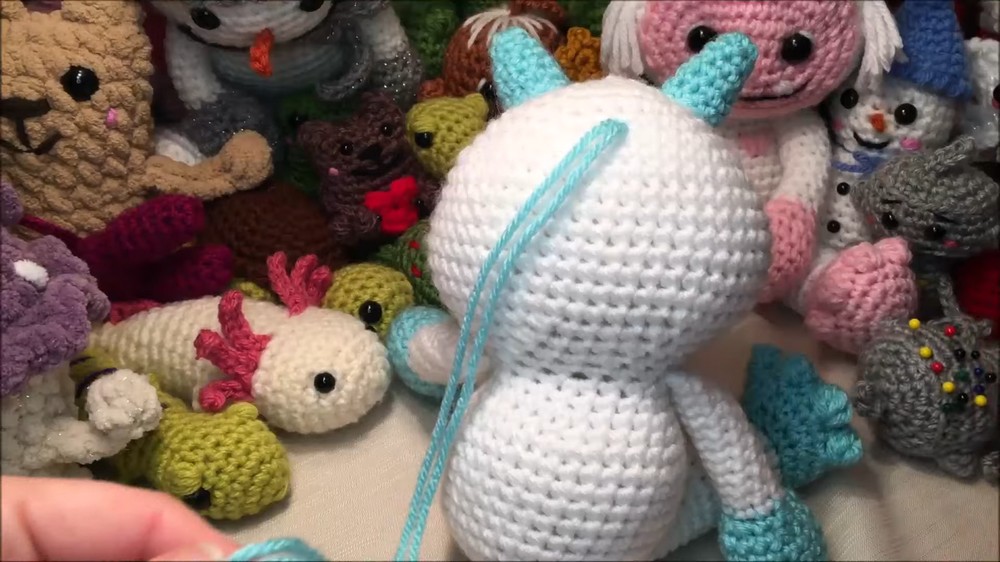
4. Body
The body is crocheted from the neck down, gradually increasing to form the torso and chest. The legs are attached midway through by crocheting around the tops of the legs. Stuffing is added incrementally to maintain the balance and proportion.
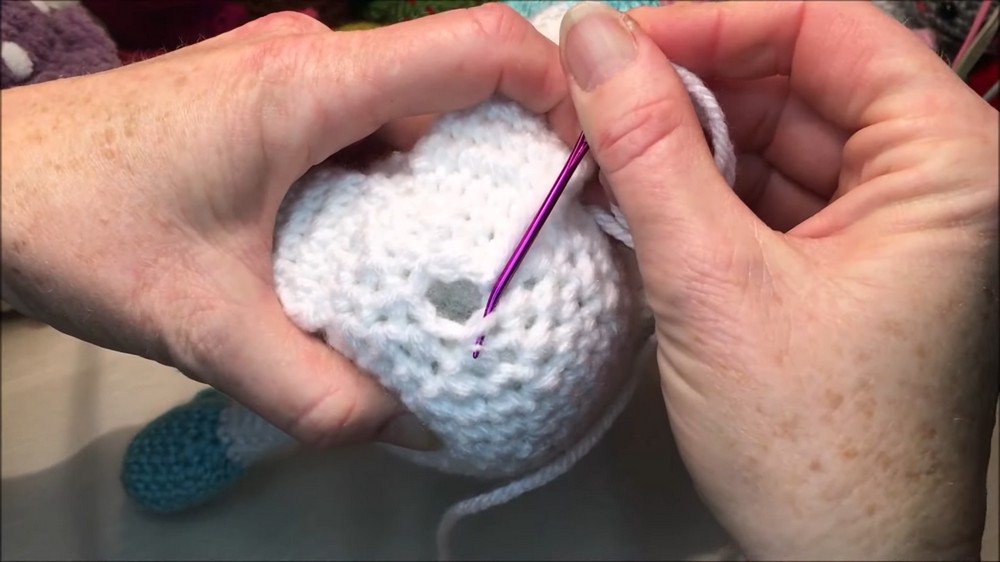
5. Closing
Once the body is finished and stuffed, the final row stitches are decreased to close the bottom. Loose ends are tied securely, and the arms are adjusted to ensure they sit forward. The ends of the arms are tied at the neck to strengthen their position.
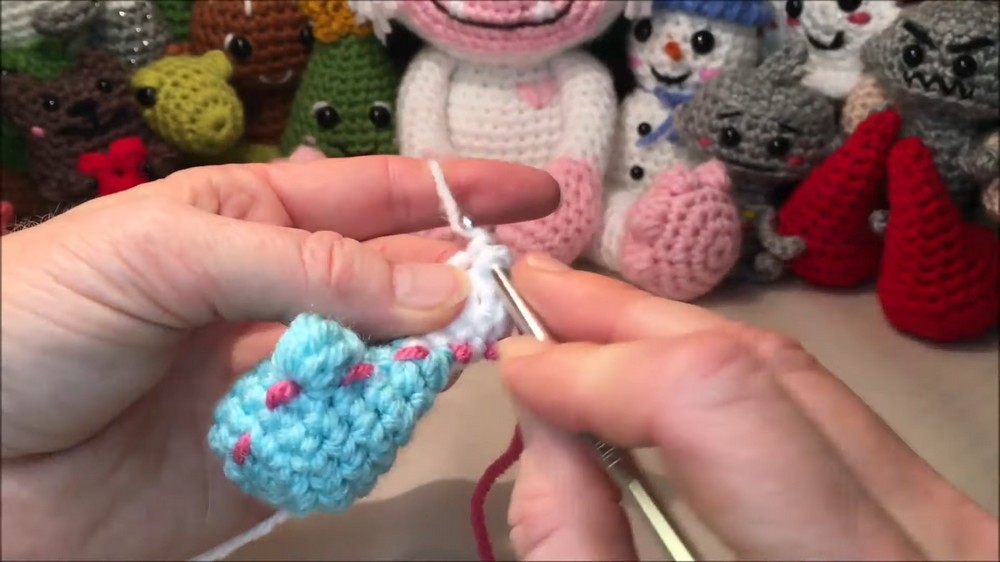
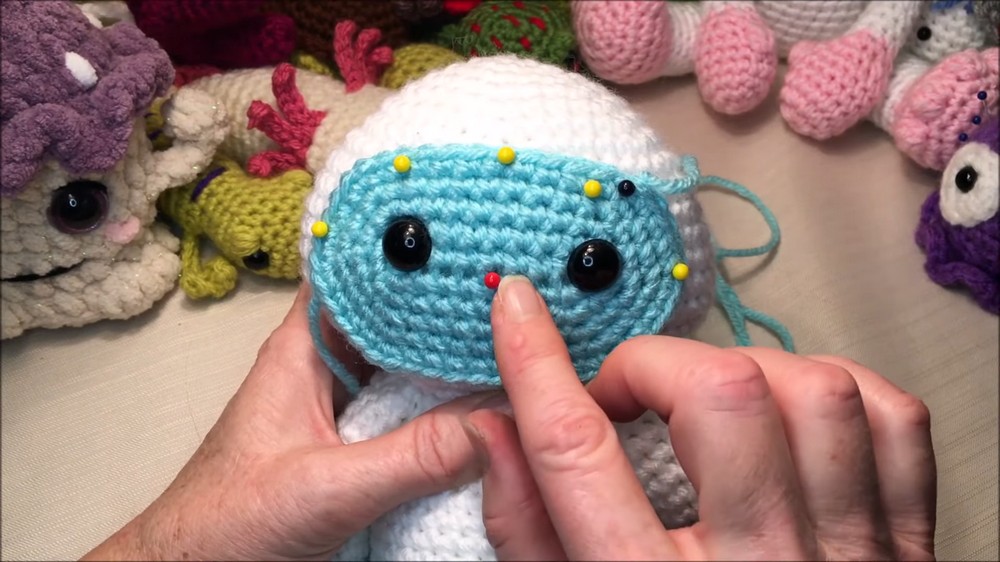
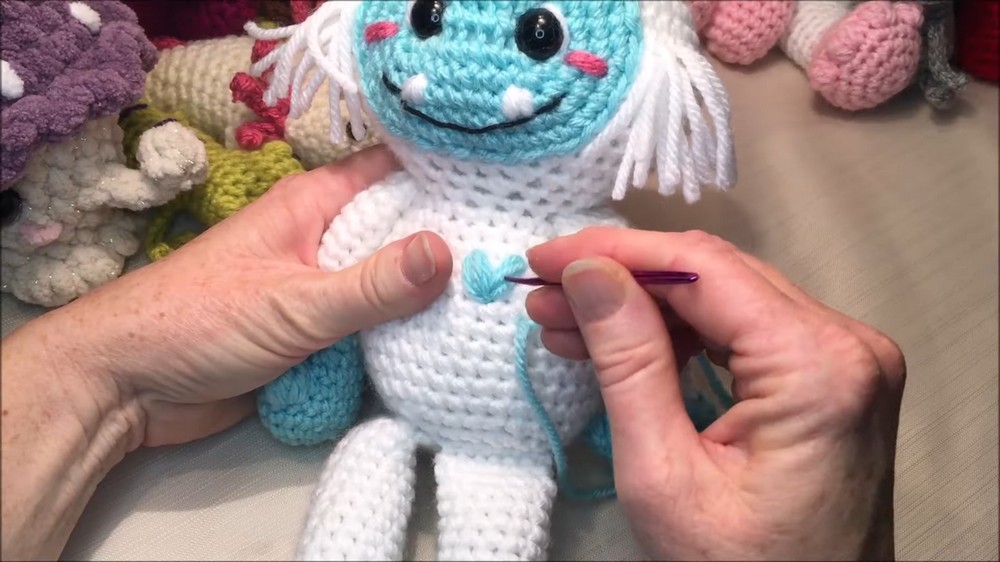
Face Construction
The face is crocheted separately as an oval piece and sewn onto the front of the head. The eyes are positioned evenly and secured with safety backs. Using embroidery thread or split yarn, the instructor adds a smiling mouth and optional rosy cheeks, enhancing the character’s appearance.
Final Details
The tutorial concludes with steps to attach additional features, such as horns or small embroidery details. Viewers are encouraged to customize their Yeti using different facial expressions, colors, or textures to make the project unique.