Easy Free Crochet Poncho Pattern for Stylish Layers
Add cozy charm with a Free Crochet Poncho Pattern that brings warmth style and effortless beauty to your wardrobe for a comfy stylish look
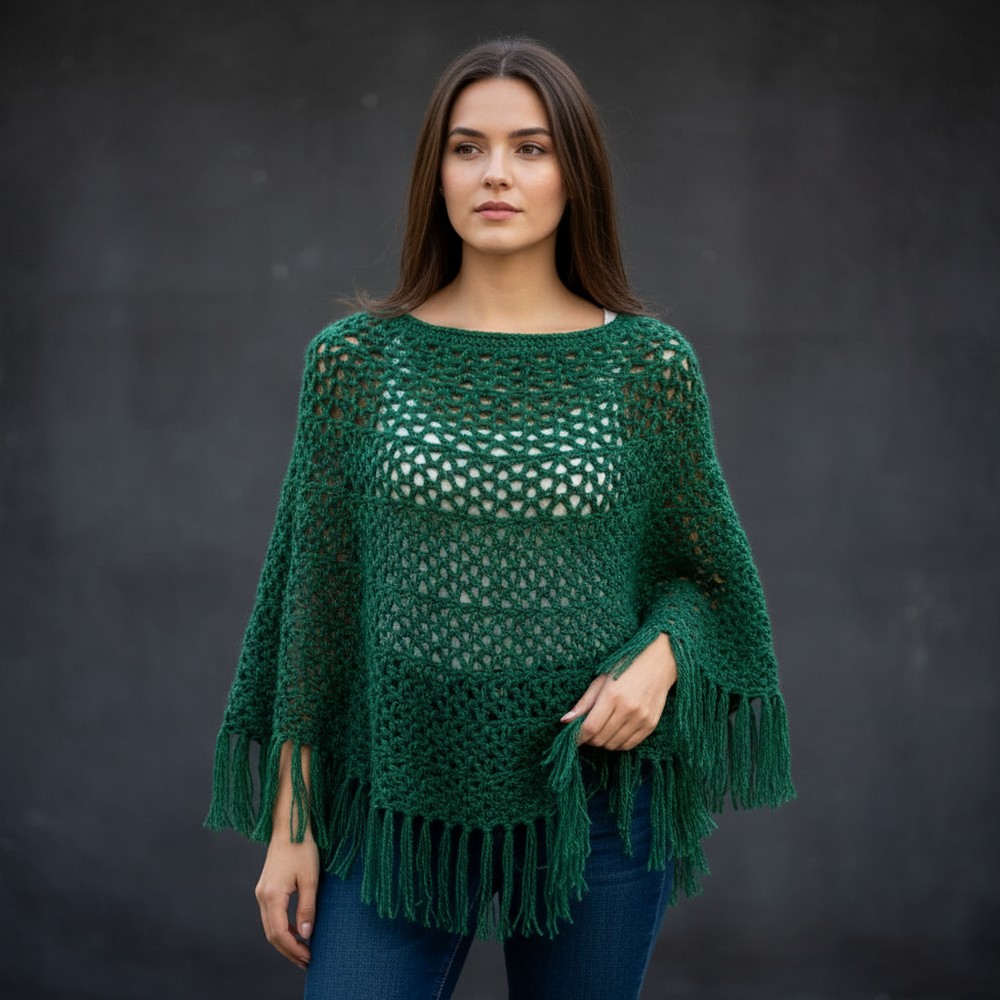
A cozy garment can make anyone feel stylish and comfortable without much effort. With a Crochet Poncho pattern, you can create a flowing piece that drapes softly over the shoulders and moves freely as you walk. Its simple yet charming design adds a handmade touch that makes every outfit look nicer. Perfect for layering over shirts, tops, or dresses, it gives warmth on cool mornings or during calm evenings.
Free Crochet Poncho Pattern That’s Perfect for Any Season

The light stitches make it easy to wear and let air pass through, so it never feels heavy or tight. Many people enjoy making a Crochet Poncho pattern because it is fun and relaxing, and the finished piece feels special. With endless color choices and patterns, each poncho becomes unique. Its soft texture, gentle drape, and simple beauty make it a wardrobe favorite that brings comfort, charm, and style to daily life for everyone.

Crochet Poncho Pattern
Materials
- Yarn:
- Medium Weight (Category 4) Yarn
- Or: DK (Category 3) Yarn
- Crochet Hooks:
- J (6.0 mm) hook (for neckline & finishing)
- K (6.5 mm) hook (for body)
- Other Notions:
- Yarn needle (for weaving ends)
- Scissors
- Tape measure (optional)
- Stitch marker (optional, for beginning of round)
- For Fringe (Optional):
- Extra yarn
- Measure & cut strands to preferred length (12″ suggested)
Key Abbreviations (US TERMS)
| Abbreviation | Meaning |
|---|---|
| ch | chain |
| sc | single crochet |
| dc | double crochet |
| sl st | slip stitch |
| st(s) | stitch(es) |
| V-stitch | (dc, ch 2, dc) in same st |
Special Notes
- Pattern is worked in joined rounds.
- Switch hook sizes as indicated for best fit and drape.
- Numbers in the pattern assume medium/large size. Adjust initial chain in multiples of 3 as desired to upsize/downsize.
- V-stitch sections create subtle “rows” with beautiful drape.
Pattern
1. Neckline Foundation
- Using J (6.0 mm) hook, ch 84 (or a multiple of 3 for custom sizes).
- Join with sl st to first ch. Make sure chain is not twisted.

Row 1–2: Single Crochet Neckband
- Row 1:
- Ch 1, sc in each ch around. (84 sc)
- Join with sl st to first sc.
- Row 2:
- Ch 1, sc in each st around (84 sc).
- Join with sl st to first sc.
(Optional: Add more rows for a taller neck, or begin with a smaller hook for a snug fit.)
2. Setup for Body
- Switch to K (6.5 mm) hook.
Row 3: First V-Stitch Increase Round
- Ch 1.
- (V-stitch in first st—dc, ch 2, dc in same st), skip next 2 sts; repeat around.
- You should have 28 V-stitches (one every 3 sts).
- Join with sl st into top of first dc or into ch-space.
3. Establishing Poncho Pattern
Rows 4–5: V-Stitch Rounds
- Each V-stitch round:
- Ch 1. In each V-stitch ch-2 space, place a V-stitch (dc, ch 2, dc).
- At end, join with sl st into first V-stitch.
- Repeat for two rows.
- (You will always have 28 V-stitches in each round at this stage.)

4. Increase Section (Expand Poncho)
Repeat the following 4-row sequence three times (to Row 17) for Medium/Large/XL sizes. For larger sizes, add more repeats.
Row 6: Increase Single Crochet Row
- Ch 1. 4 sc in each V-stitch ch-2 space around (total: 112 sc).
- Join with sl st into first sc.
Row 7: Increased V-Stitch Foundation
- Ch 1. (V-stitch in first st, skip next 2 sts); repeat around.
- Leave the last 3 sts unworked. Join with sl st into first V-stitch. (37 V-stitches.)
Rows 8–9: V-Stitch Rounds
- Ch 1. V-stitch in each V-stitch ch-2 space around. (37 V-stitches each round.)
- Join with sl st as before.
Repeat this 4-row sequence two more times with the following adjustments:
- Row of sc: 4 sc in each V-stitch ch-2 space (148 sc).
- V-stitch row: 49 V-stitches (skip 2 between each).
- Two more V-stitch rounds (49 per round).
- Row of sc: 4 sc in each V-stitch ch-2 space (196 sc).
- V-stitch row: 65 V-stitches (skip 2 between each).
- Two more V-stitch rounds (65 per round).
5. Body Section (No More Increases)
After Row 17, continue the same pattern, but with NO increases:
Main Repeat:
- Row A: 3 sc in each V-stitch ch-2 space around (total: 195 sc).
- Row B: Ch 1, (V-stitch in first st, skip 2) around, leave last 2 sts, join as before. (65 V-stitches)
- Rows C–D: V-stitch in each V-stitch ch-2 space around, join (65 V-stitches).
Repeat Rows A, B, C, D until desired length (sample goes to ~Row 29, 19” long).
6. Last Row (Poncho Edge)
- Work one more row of 3 sc in each V-stitch (195 sc).
- Join with sl st to first sc. Fasten off.
7. Neck Edging
- With J (6.0 mm) hook, join yarn at neckline.
- Sc evenly around neck opening (adjust to keep round flat and neat; decrease occasionally for more snug fit).
- Join with sl st, fasten off and weave ends.
8. Optional Fringe
- Cut strands of yarn, approx. 12” each. Hold 3 strands together per fringe.

- Fold, use hook to pull loop through edge st, pull loose ends through loop and tighten.
- Space about every 4–5 stitches, or as dense/full as desired.

Pattern Correction
- Count multiples: The foundation must be a multiple of 3 for the V-stitch sequence to work evenly.
- Check join points: Always join in the top of the first dc or V-stitch—this keeps increases even.
- Switch hooks: Smaller hook for neck, larger for body/edging gives structure and comfortable drape.
Tips
- Try on as you go: After major increase sections, check fit/neck and body length.
- Edging: Use a smaller hook for neck edge, or decrease a couple of sc if you want a tighter neck.
- Fringe: Add as step or after assembly. Make longer for more drama, or denser for a heavier look.
- Customize: Add more 4-row main repeats for extra length.
Conclusion
This poncho offers a relaxing repeat of basic stitches with plenty of size flexibility. The V-stitch sections add drape and airiness, while the single crochet bands create structure. Suitable for many yarn types; perfect for beginners and up.