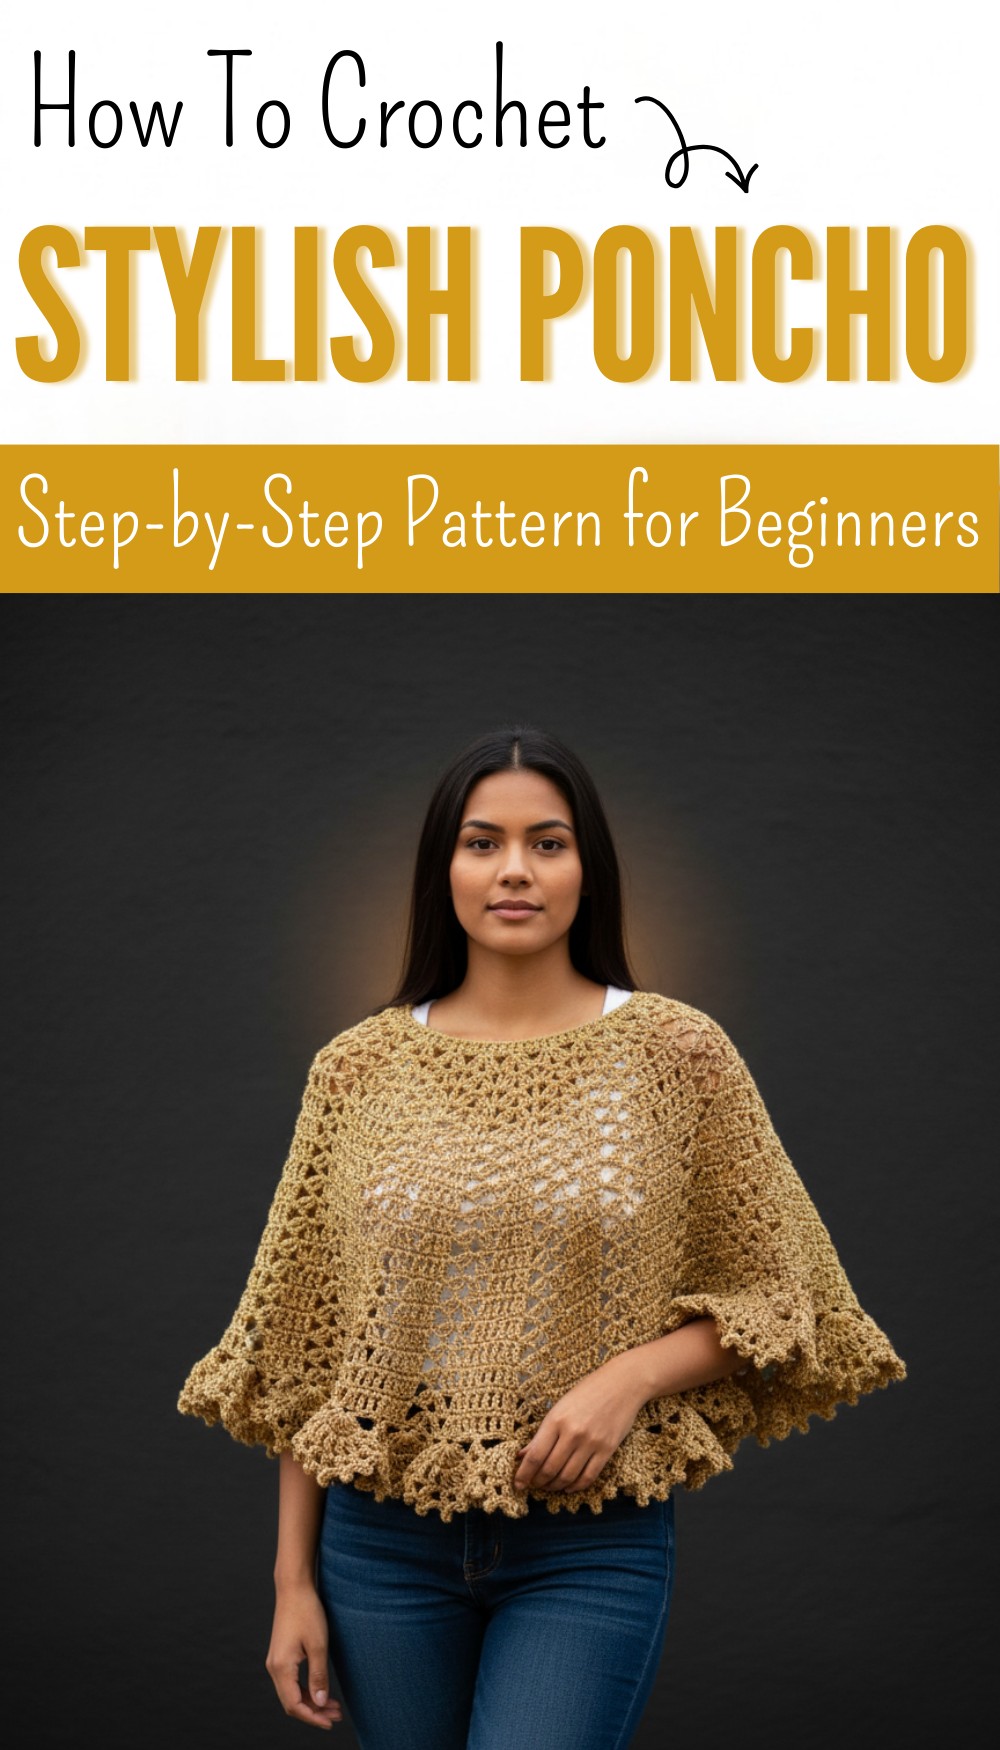
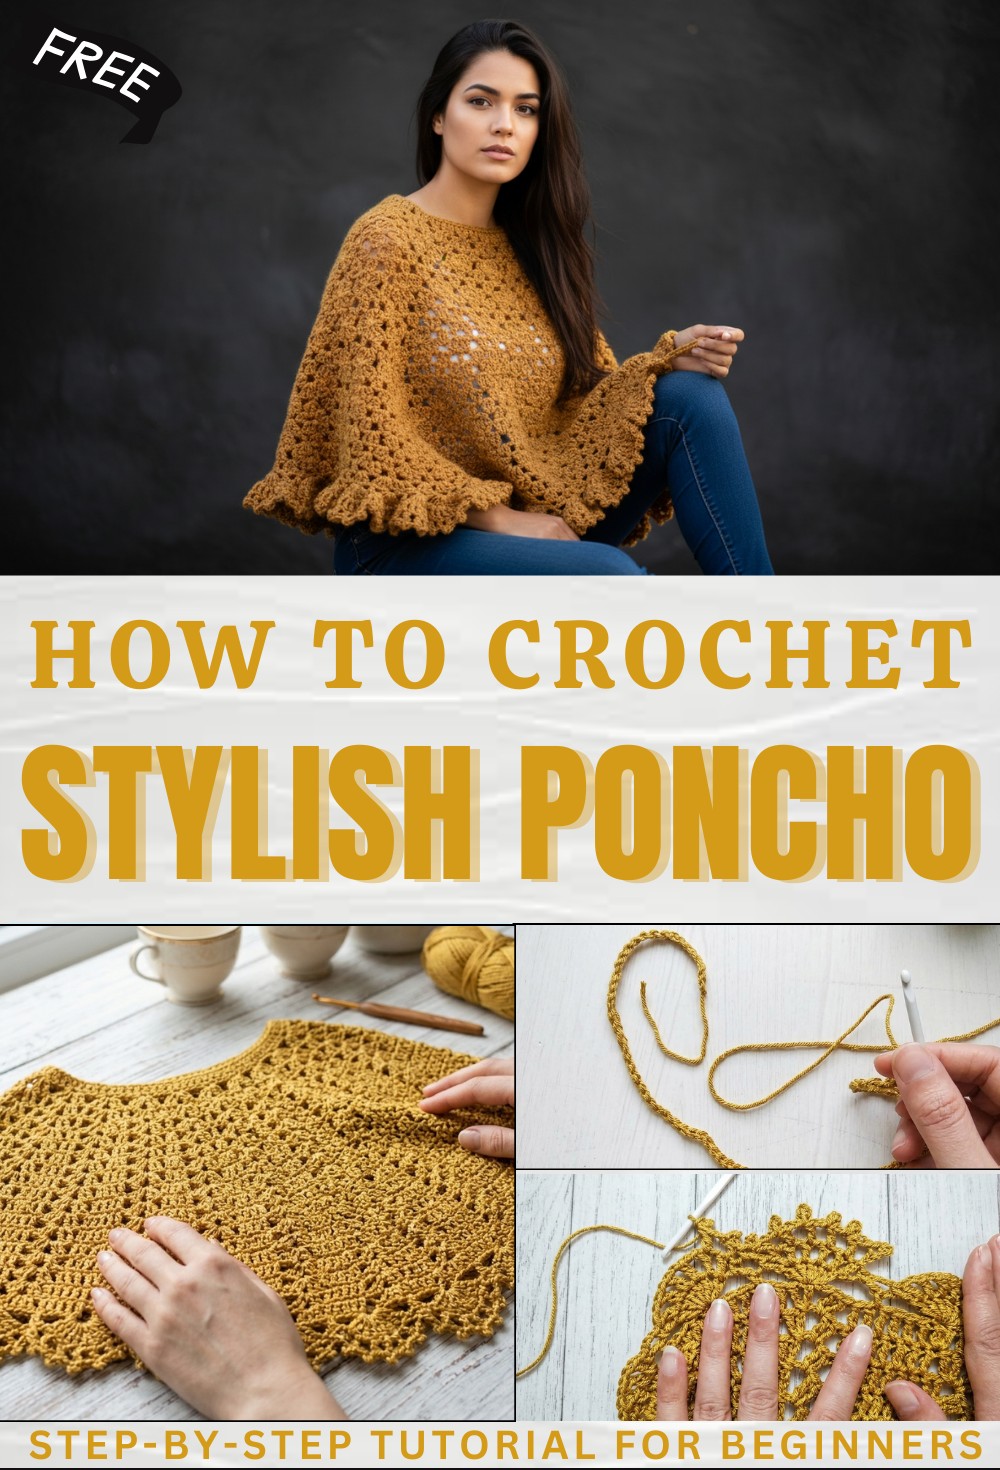
Free Crochet Poncho Pattern for Beach and Vacation Looks
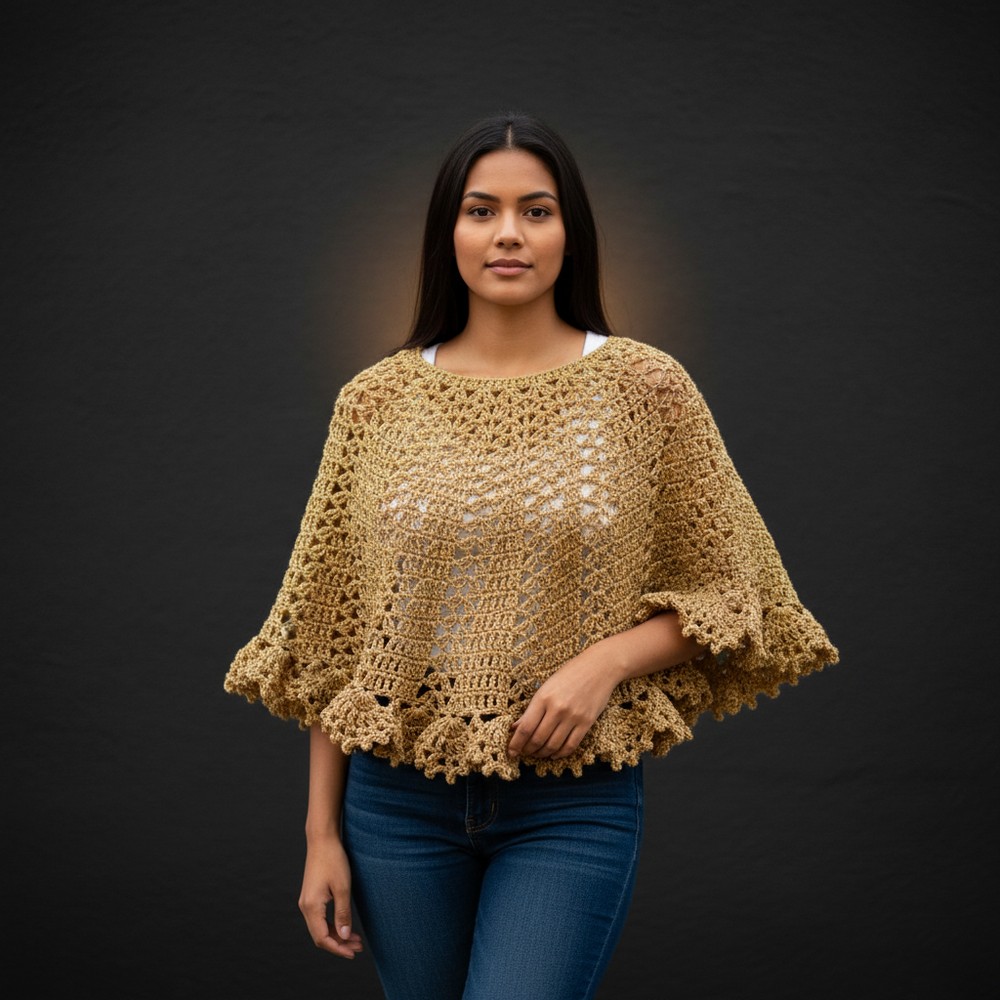
Refine your casual clothes with this Free Crochet Poncho Pattern that offers a beautiful loose fit and feels very light for your body always.
Each person feels wonderful when a soft wrap makes life much more cozy and bright. This lovely garment flows gently over your shoulders and drapes down with a graceful look that fits every person perfectly. A crochet poncho pattern gives you the way to form a lovely item that is very light but keeps your skin warm. It works well for a big party or just a quiet time at home. The pretty loops and soft yarn make it look like a treasure from a dream.
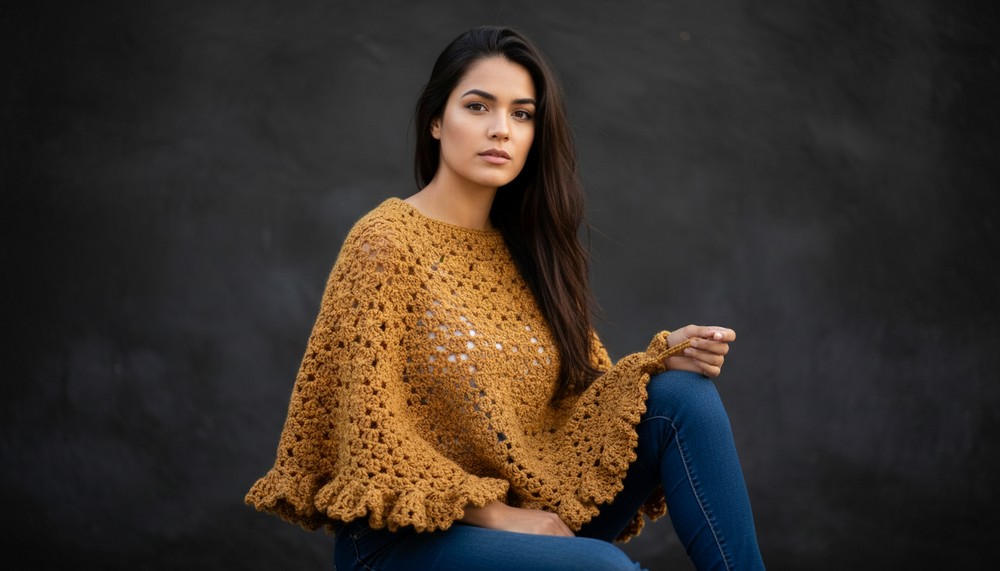
Minimal Free Crochet Poncho Pattern with Sleek Modern
This special piece is great because it has no tight sleeves so it is very easy to put on and feels very free. A major plus is that it keeps you warm while letting your skin breathe at the same time. This single piece can turn a plain outfit into something very special and bright. It is truly a classic item that stays soft and keeps your body feeling cozy and happy always.
Easy Crochet Poncho (Any Size)
Materials
- Yarn: 4-ply/light worsted weight yarn (approx. 250–400g, depending on size)
- Hook: 4.0 mm (G/6) crochet hook
- Notions:
- Yarn needle (for weaving in ends)
- Scissors
- Measuring tape (to customize starting chain)
- Stitch markers (optional)
Key Abbreviations (US Terms)
| Abbreviation | Term |
|---|---|
| ch | chain |
| sl st | slip stitch |
| dc | double crochet |
| tr | treble (triple) crochet |
| st(s) | stitch(es) |
| sp | space |
| rep | repeat |
Special Notes
- The starting chain must be a multiple of 4 to fit desired neck size.
- For a 12/13 yrs: use 80 ch; adjust for other sizes as described.
- The poncho is worked top-down in the round.
- When increasing in every 3rd row as instructed, it ensures flare and drape.
- Odd rows create the pattern, while even rows maintain shape, height, and spacing.
Pattern
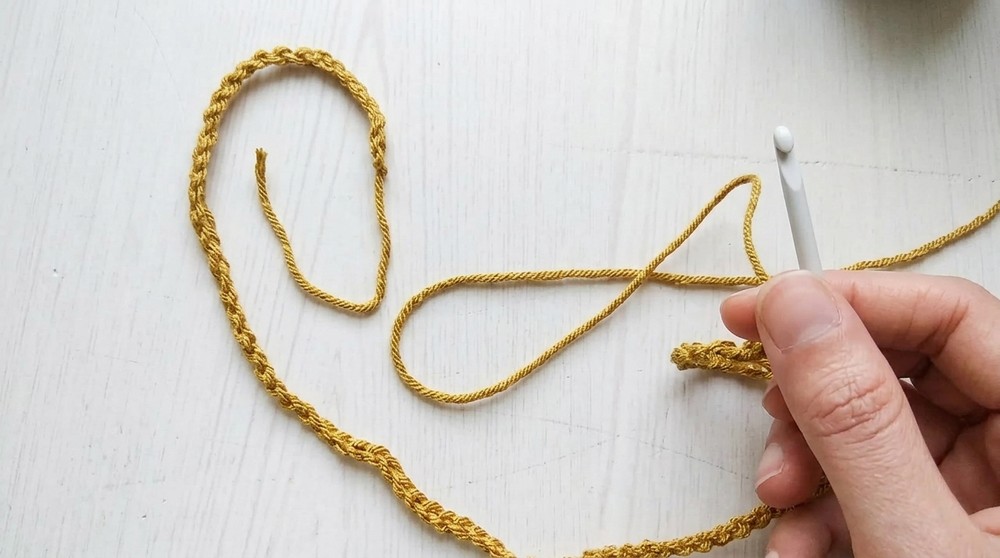
1. Foundation
- Ch a multiple of 4 to fit comfortably around the neckline. (Sample: 80 ch.)
- Join with sl st to first ch to form a ring, making sure not to twist.
2. Row 1: Double Crochet Base
- Ch 3 (counts as first dc).
- Dc in every ch around.
- Join with sl st to top of starting ch-3.
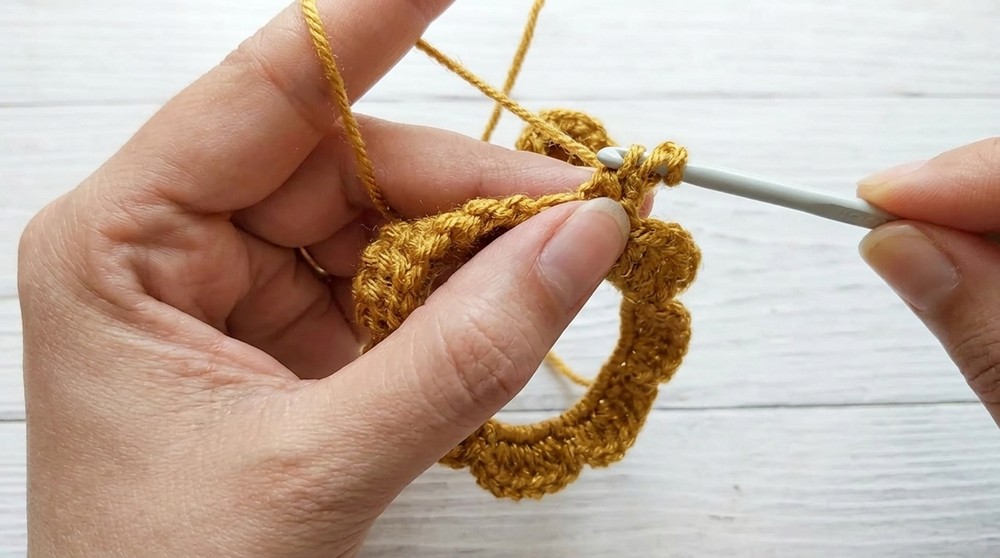
3. Row 2: Fan Setup
- Ch 4 (counts as first tr), 1 tr in same st.
- Skip 3 sts.
- In next (4th) st: [2 tr, ch 2, 2 tr] (fan).
- Skip next 3 sts. In next st, make another fan [2 tr, ch 2, 2 tr].
- Continue pattern (skip 3 sts, fan in next st) all the way around.
- At end, after last fan, 2 tr, ch 2 in first st, join with sl st in 4th ch (top of starting ch-4).
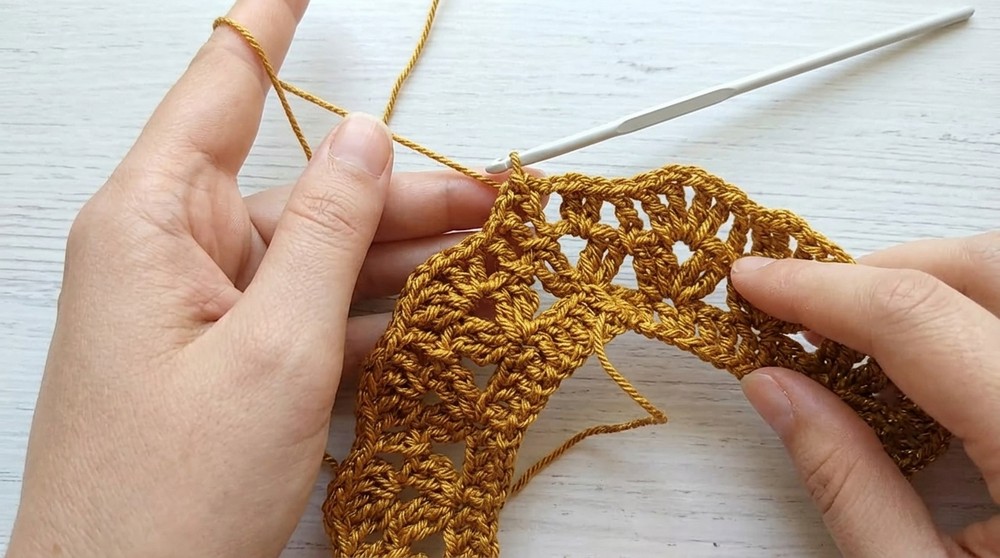
4. Row 3: Fans
- Ch 4 (counts as tr), 1 tr in same sp.
- [1 tr in st between previous fans],
- In each ch-2 sp: [2 tr, ch 2, 2 tr].
- 1 tr in st between fans (the “middle” st).
- Repeat around.
- At end, after final fan, 2 tr in last ch-2 sp, ch 2, join with sl st in top of ch-4.
5. Row 4: Fans
- Ch 4, 1 tr in same ch-2 sp.
- 1 tr in each middle st (between series of four tr’s from prior round).
- In each ch-2 sp: [2 tr, ch 2, 2 tr].
- Repeat this sequence all the way.
- At end, after last fan, 2 tr in ch-2 sp, ch 2, join with sl st in top of ch-4.
6. Row 5: Fans and Increase
- Ch 4, 2 tr in same ch-2 sp (increase).
- 2 tr in each “middle” st (NEW INCREASE: in every 3rd row, work 2 tr in the first “middle” st between fans).
- In each ch-2 sp: [2 tr, ch 2, 2 tr].
- Repeat all the way around.
7. Row 6 & Onward:
- Work as established, alternating:
- Odd rows: Begin with ch 4, 1 tr in same sp; 1 tr in each middle st; [2 tr, ch 2, 2 tr] in each fan ch-2 sp.
- Even rows: In every 3rd row, increase as in Row 5 (2 tr in 1st middle st between fans).
- Repeat: Continue as established up to Row 17 (or to your desired length).
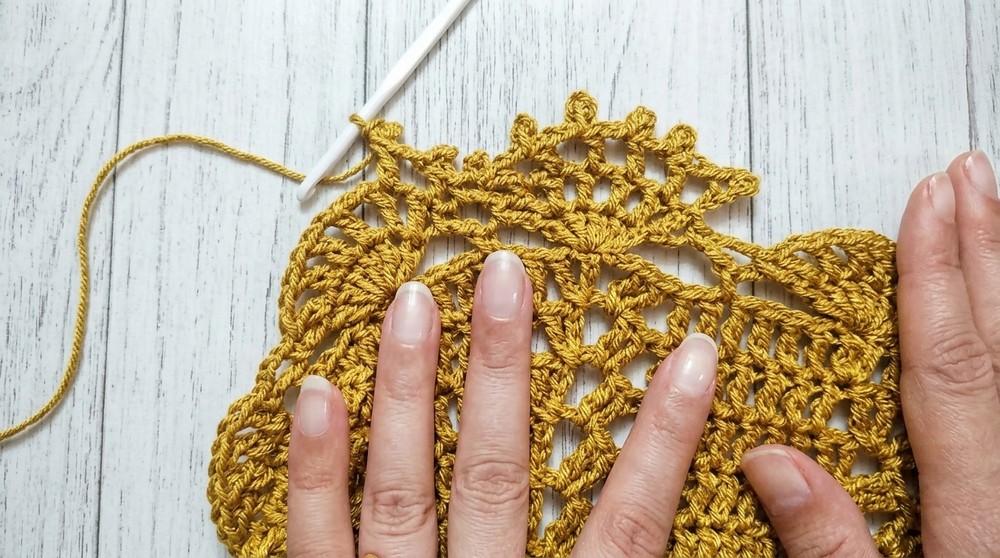
8. Edging – Decorative Border
Row 18 (Shells & Mesh):
- Ch 3, 5 dc in same sp (6 dc total).
- Ch 3, skip 3 sts, sc in next (4th) st.
- Ch 3, skip 3 sts, 6 dc in next st.
- Repeat sequence: [6 dc in st, ch 3, skip 3 sts, sc in 4th st] around.
Row 19 (Mesh):
- Ch 4 (counts as dc + ch 1).
- [Ch 1, dc in next st] across 6 dc, then:
- Sc in next ch-3 sp, ch 3, sc in next ch-3 sp.
- Repeat mesh (dc, ch 1) across next 6 dc, etc. around.
Row 20 (Final Edge Picot):
- Ch 6.
- Sl st into 4th ch from hook (forms a small loop).
- Ch 2.
- 1 dc in next st, ch 3, sl st into beginning of ch-3 loop; ch 2, dc in next st, etc., across each shell.
- At each mesh arch, sc in ch-3 sp, repeat.
- Continue around, then fasten off.
Finishing
- Weave in all ends.
- Optionally, block for smooth points and open mesh.
- Enjoy your poncho!
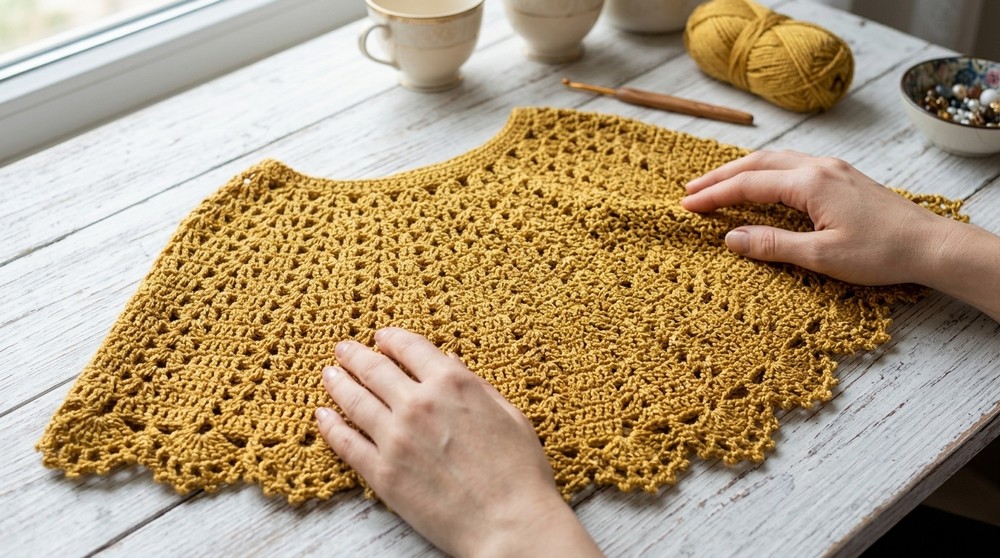
Conclusion
This poncho pattern offers stunning results with easy repeats, suiting any size (just adjust starting chains). The pattern creates a lacy fan and mesh design, finishing with a decorative, slightly picot border.
Pattern Correction & Tips
- Correction: Always check that your starting chain is a multiple of 4 for symmetry.
- Tip: Mark your starting fan spaces with a stitch marker for easy round counting. Increase as instructed in every 3rd row through row 17 for a graceful flare and better fit.