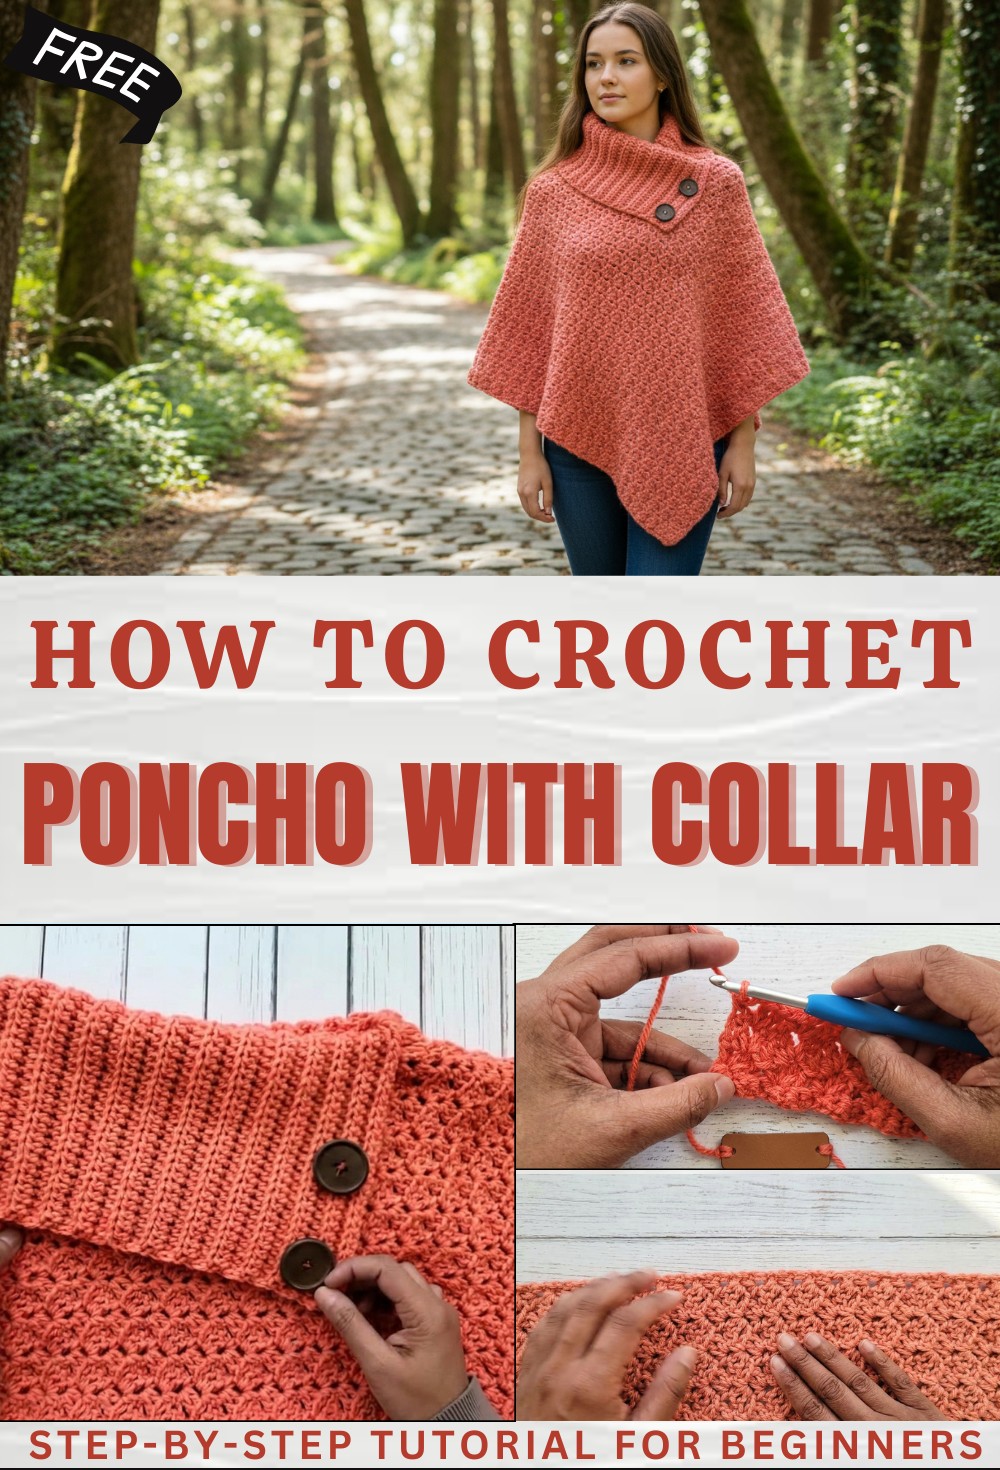
Free Crochet Poncho with Collar Pattern for Modern Look
Upgrade your style with this free crochet poncho with collar pattern that’s offering cozy comfort and a charming look for every season.
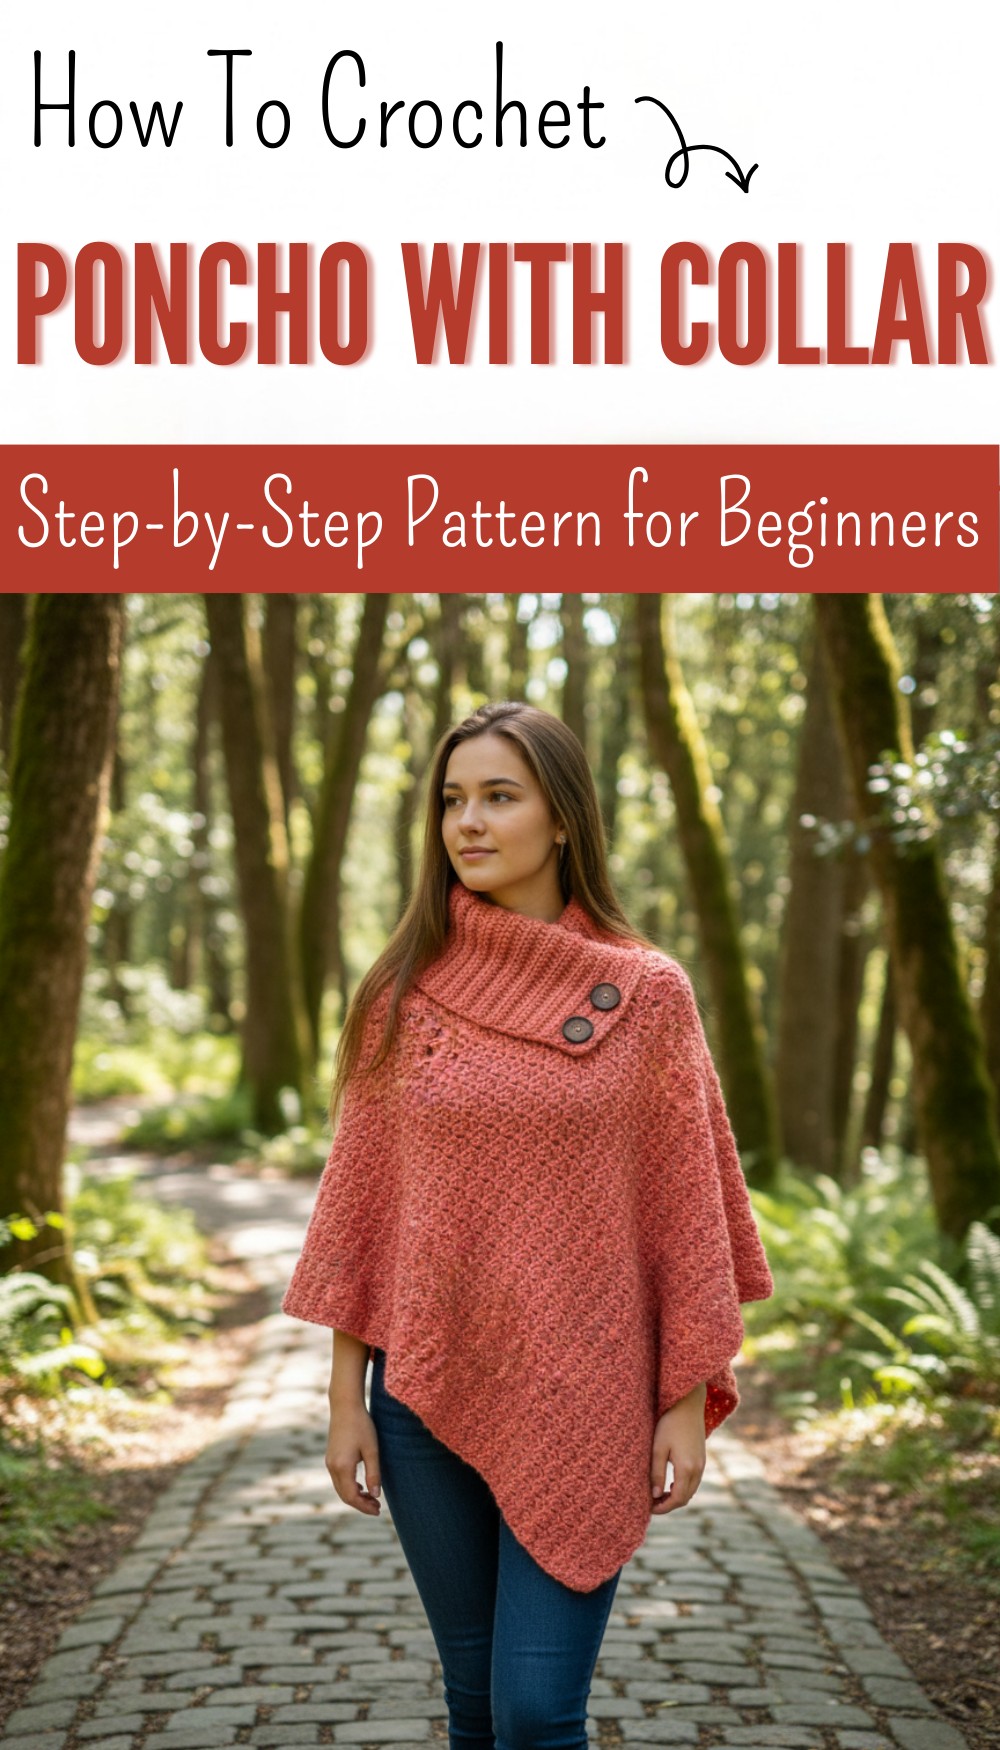
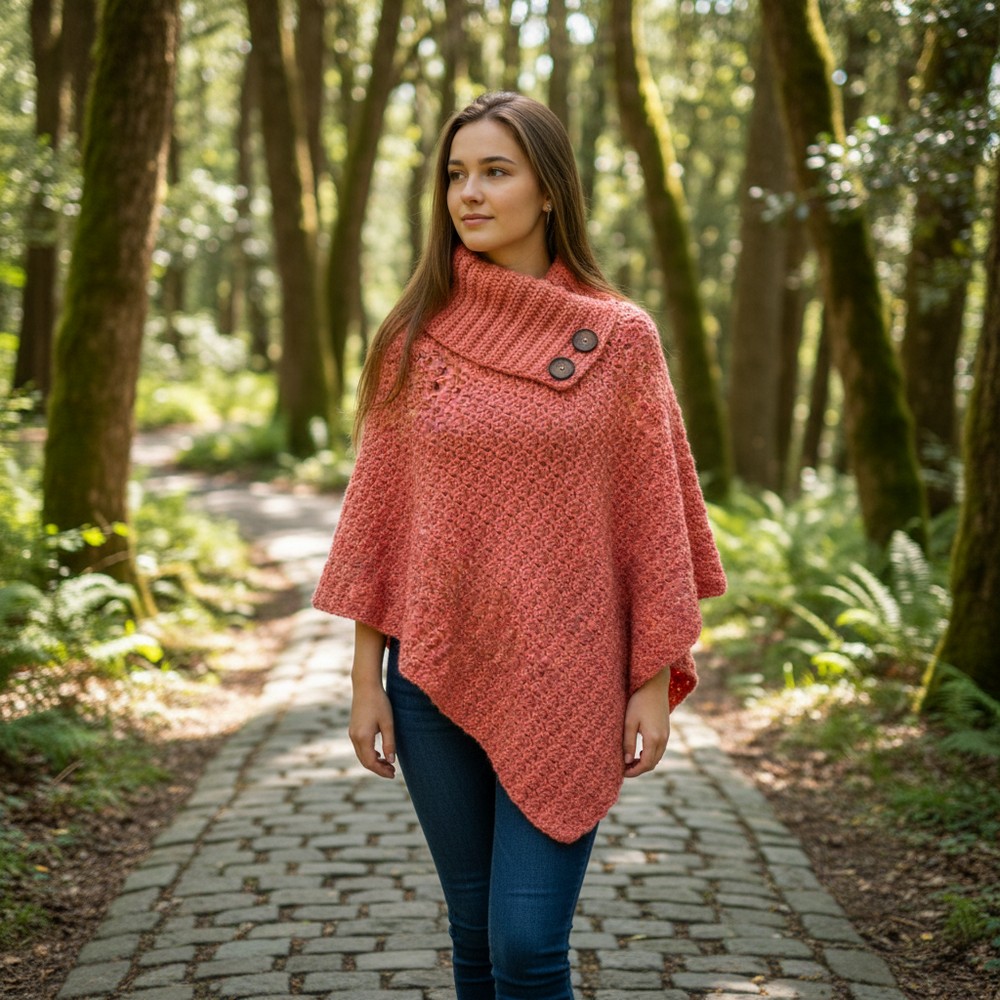
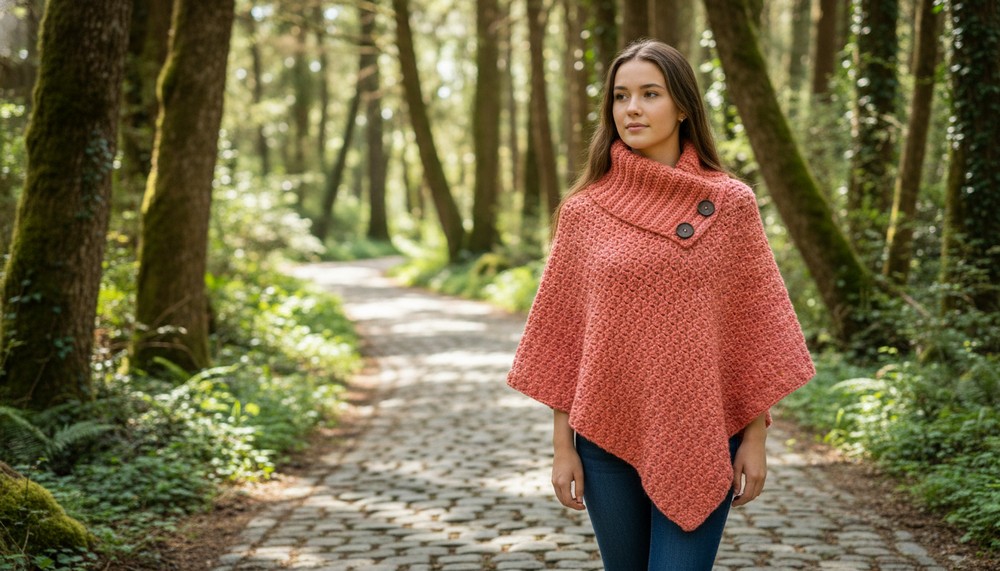
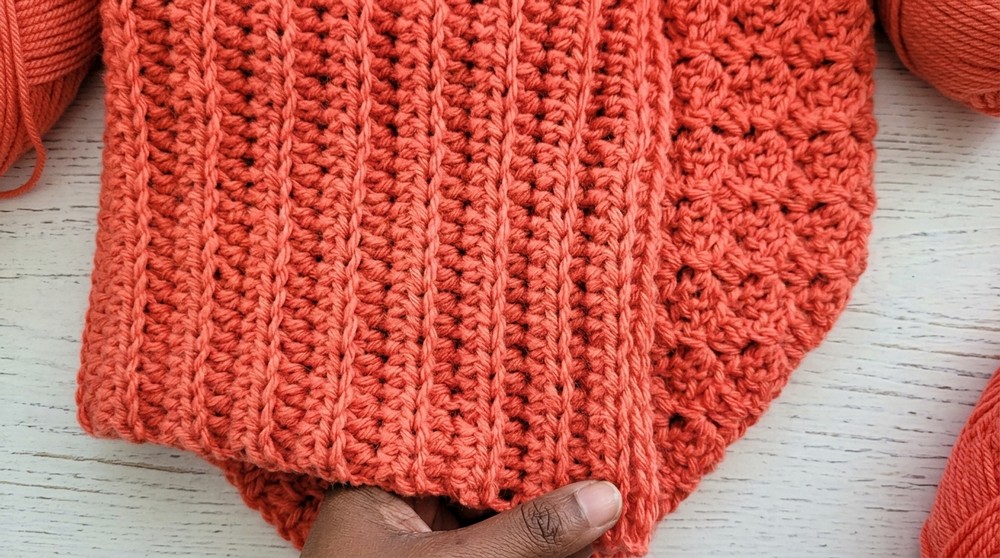
Step into a world of color and comfort with a handmade poncho that stands out because of its soft collar and beautiful woven look. Each stitch shines with lovely patterns and gentle textures, feeling just right for someone looking to stay cozy and stylish. The collar adds a warm touch around the neck and makes the poncho even easier to wear, whether relaxing at home or strolling outdoors.
Luxurious Free Crochet Poncho with Collar Pattern You’ll Cherish
A crochet poncho with collar pattern is perfect for chilly mornings or breezy afternoons, bringing beauty to every outfit with its simple yet eye-catching design. It works well as a layer over a shirt or dress, making daily wear brighter and more inviting. The poncho fits most body shapes and shows off personal style through any yarn choice. Its lightweight feel and flexible shape allow easy movement and add a special touch to every day.
Free Crochet Poncho with Ribbed Collar Pattern
Materials
- Yarn: Lion Brand Wool-Ease, Worsted (#4/Medium), approx. 4–5 skeins (see blog for yardage by size)
- Hook: 5mm (H-8) crochet hook
- Notions:
- Yarn needle
- Scissors
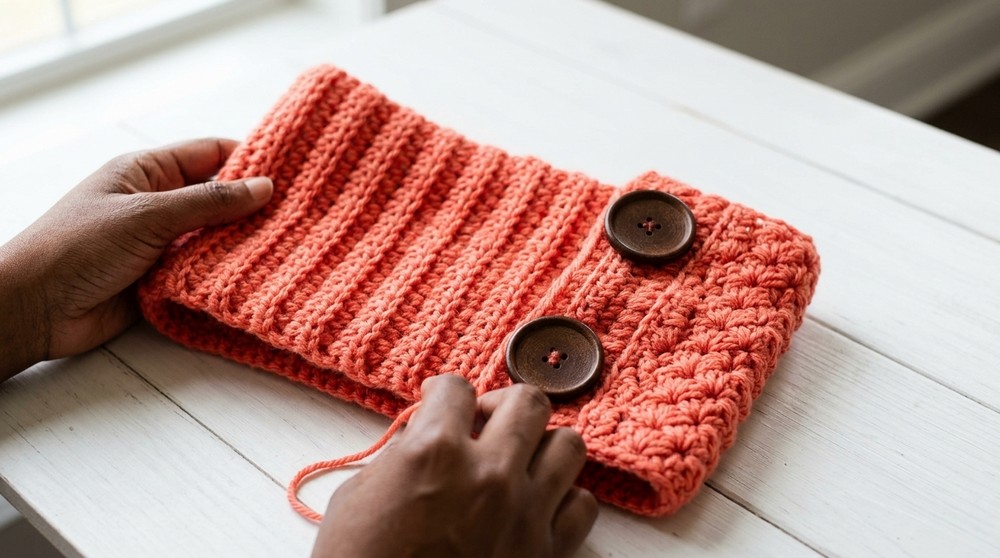
- 2 large decorative buttons (about 1½”/4 cm in diameter)
- Stitch markers (optional, recommended for marking right side and points for seaming)
- Measuring tape
Key Abbreviations (US Terminology)
| Abbreviation | Meaning |
|---|---|
| ch | chain |
| st(s) | stitch(es) |
| sc | single crochet |
| dc | double crochet |
| hdc | half double crochet |
| sk | skip |
| rep | repeat |
| BL | back loop only |
Special Notes
- Pattern multiple: Foundation chain is a multiple of 4 + 2.
- Sizing: Instructions below are for size S/M (see blog for larger sizes). For other sizes: increase initial chain in increments of 4.
- Gauge: Not critical, but check finished measurements for best fit.
- Right Side: Mark the right side at the end of Row 3 for finishing/construction.
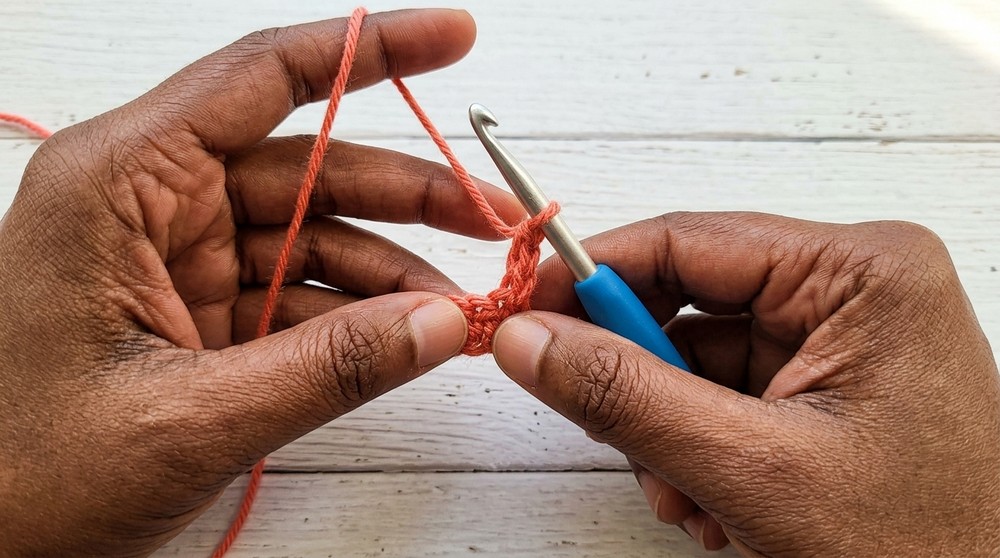
Instructions
Poncho Body (Rectangle Piece)
Foundation
- Ch 86 (for S/M; for other sizes, see Special Notes).
Row 1:
- Sc in 2nd ch from hook and in each ch across. (85 sc)
- Turn.
Row 2:
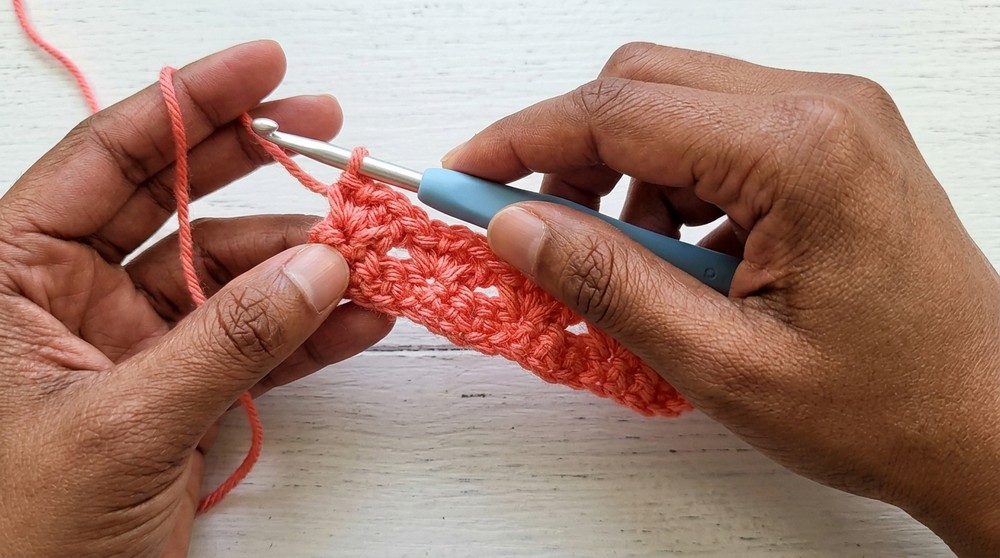
- Ch 3, turn. In first st (base of ch-3), dc, ch 2, sc (all in same st, first repeat made).
- Sk next 3 sts, in next st work [2 dc, ch 2, sc] (all in same st). Rep from * to * across.
- End after last repeat in final st.
- (You should have 22 repeats)
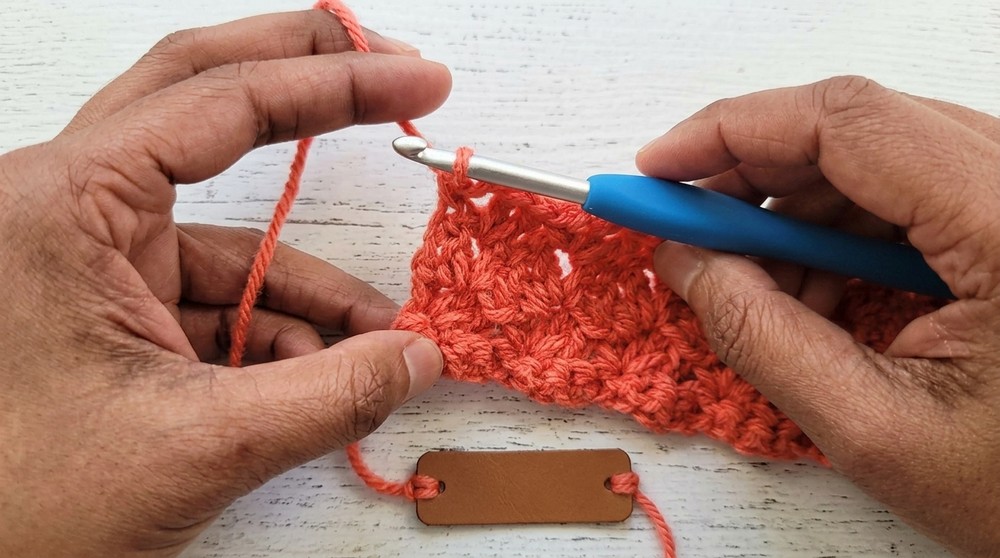
Row 3:
- Ch 3, turn. In first ch-2 space (from prior row), dc, ch 2, sc (first repeat made).
- In next ch-2 space, work [2 dc, ch 2, sc]. Rep from * to * across.
- In very last ch-2 space: work [2 dc, ch 2].
- Sc on top of beginning ch-3 (previous row) to finish/straighten edge.
- Place marker on this side of fabric; this is the right side (RS).
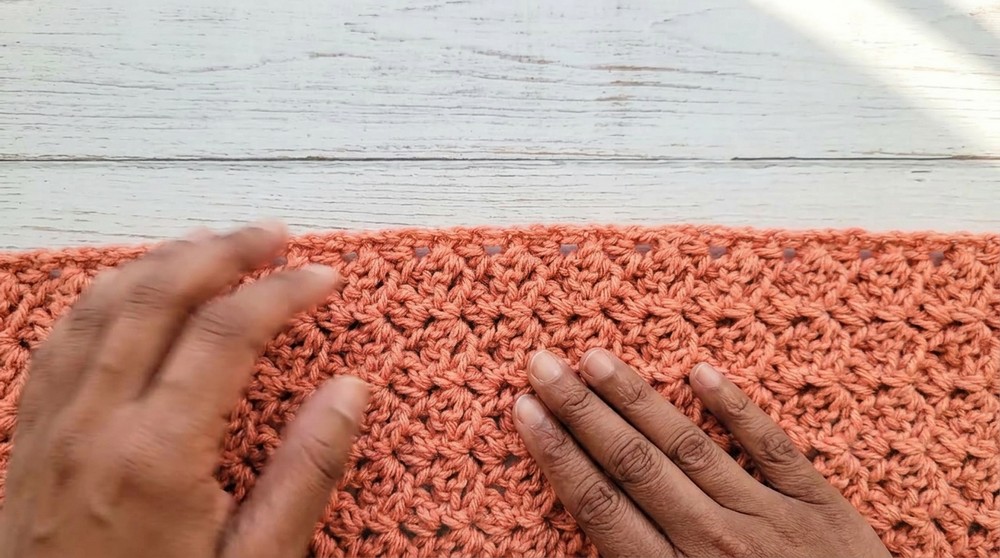
Row 4 and onward:
- Repeat Row 3 for each new row:
- Ch 3, turn, make [dc, ch 2, sc] in first ch-2 sp,
- [2 dc, ch 2, sc] in each subsequent ch-2 sp across,
- [2 dc, ch 2] in final ch-2 sp, sc on top of beginning ch-3.
Continue until rectangle measures 52” (132 cm) long (or desired length).
- Fasten off.
Assembly (Poncho Construction)
- Lay rectangle RS up (marker helps identify).
- Fold in half lengthwise so short ends align.
- Place a marker 11” (28 cm) from the folded edge. This is the opening for the neck; do not seam this section.
- Whipstitch the remaining open sides together (using tapestry needle and matching yarn):
- Start at marker, seam to lower edge of poncho.
- Make a few knots at start and end of seam for security.
- Leave a tail for weaving in.
Ribbed Collar
Foundation
- Ch 30.
Row 1:
- Hdc in 3rd ch from hook (first 2 ch count as a st), and in each ch across. (28 hdc + 1 turning chain “stitch”)
- Turn.
Row 2:
- Ch 2 (counts as first hdc), turn.
- Hdc in BL of each st across, hdc in top of initial ch-2 of previous row.
- Turn.
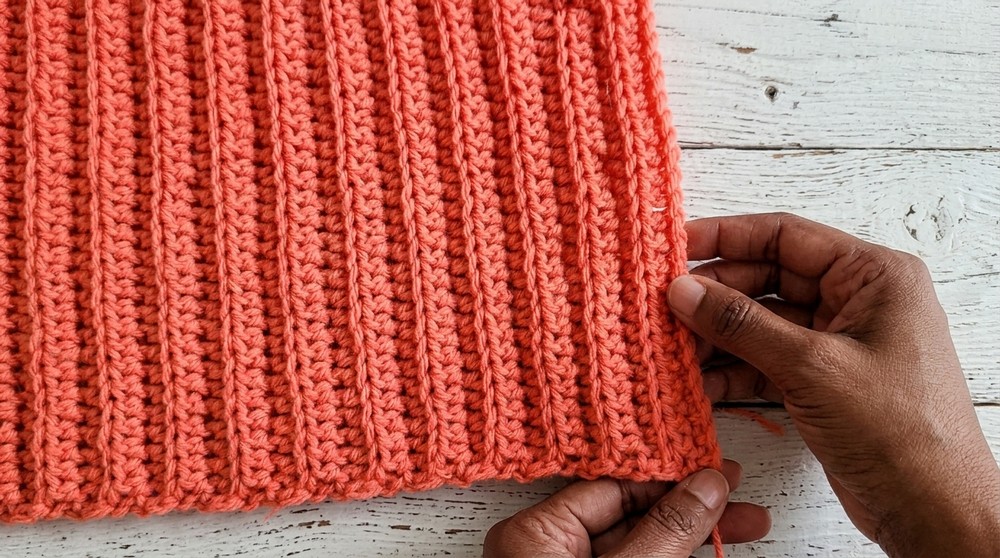
Repeat Row 2 until collar measures 24” (61 cm) long.
- Do not fasten off or cut yarn—leave attached for potential adjustment and for seaming to neck opening.
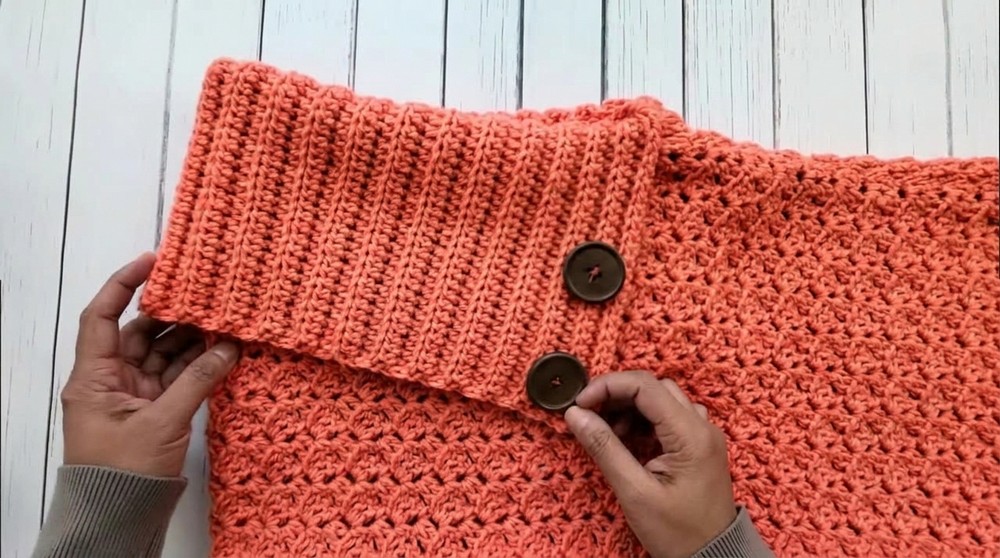
Attaching Collar
- With Poncho RS out, position seam to the back.
- Measure 1” from seam along the back neck, mark this point (start of collar attachment).
- Insert collar, matching edge at marker, with working yarn at back.
- Whipstitch collar to neck opening, starting and ending at markers (there will be a small overlapping flap of collar at front; this can be unraveled later as needed).
- Weave in ends securely.
Optional (Finishing and Turtleneck Option)
Attach Buttons:
- Sew two buttons to the right front corner of the collar:
- 1st button right at collar lower corner,
- 2nd button 4″ from collar lower edge, both set ½” in from collar edge.
For turtleneck:
- If desired, add buttonholes as follows:
- Unravel extra collar so overlapping flap is about 3–4” long.
- With yarn still attached, ch 2, and work a row of hdc in BL to first marker, ch 1, sk 1 (creates buttonhole), hdc BL to next marker, ch 1, sk 1, hdc BL to end.
- Work another row of hdc BL, working 1 hdc into each st and into each ch-1 buttonhole space.
- Fasten off, weave in end.
- Bring flap under main collar and sew or whipstitch it down if not using turtleneck option.
Conclusion
You have created a modern, cozy poncho with a chic ribbed collar and the flexibility of wearing it open or as a turtleneck with buttons. The two-rectangle construction makes it ideal for beginners, and the simple stitch pattern provides lovely texture and drape.
Pattern Correction
- If your collar is not wide enough, add foundation chains or use a larger hook.
- Be sure the body rectangle’s foundation chain is a multiple of 4 + 2 for neat repeats.
Tips
- Use a stitch marker to flag the right side early, making assembly easier.
- Match gauge for best drape and size, or adjust hook/yarn.
- Sew buttons securely; use matching thread/yarn and a tapestry needle.
- If you don’t want the turtleneck, sew down the inner collar flap as described.
- Block pieces gently for a smooth finish before seaming if desired.