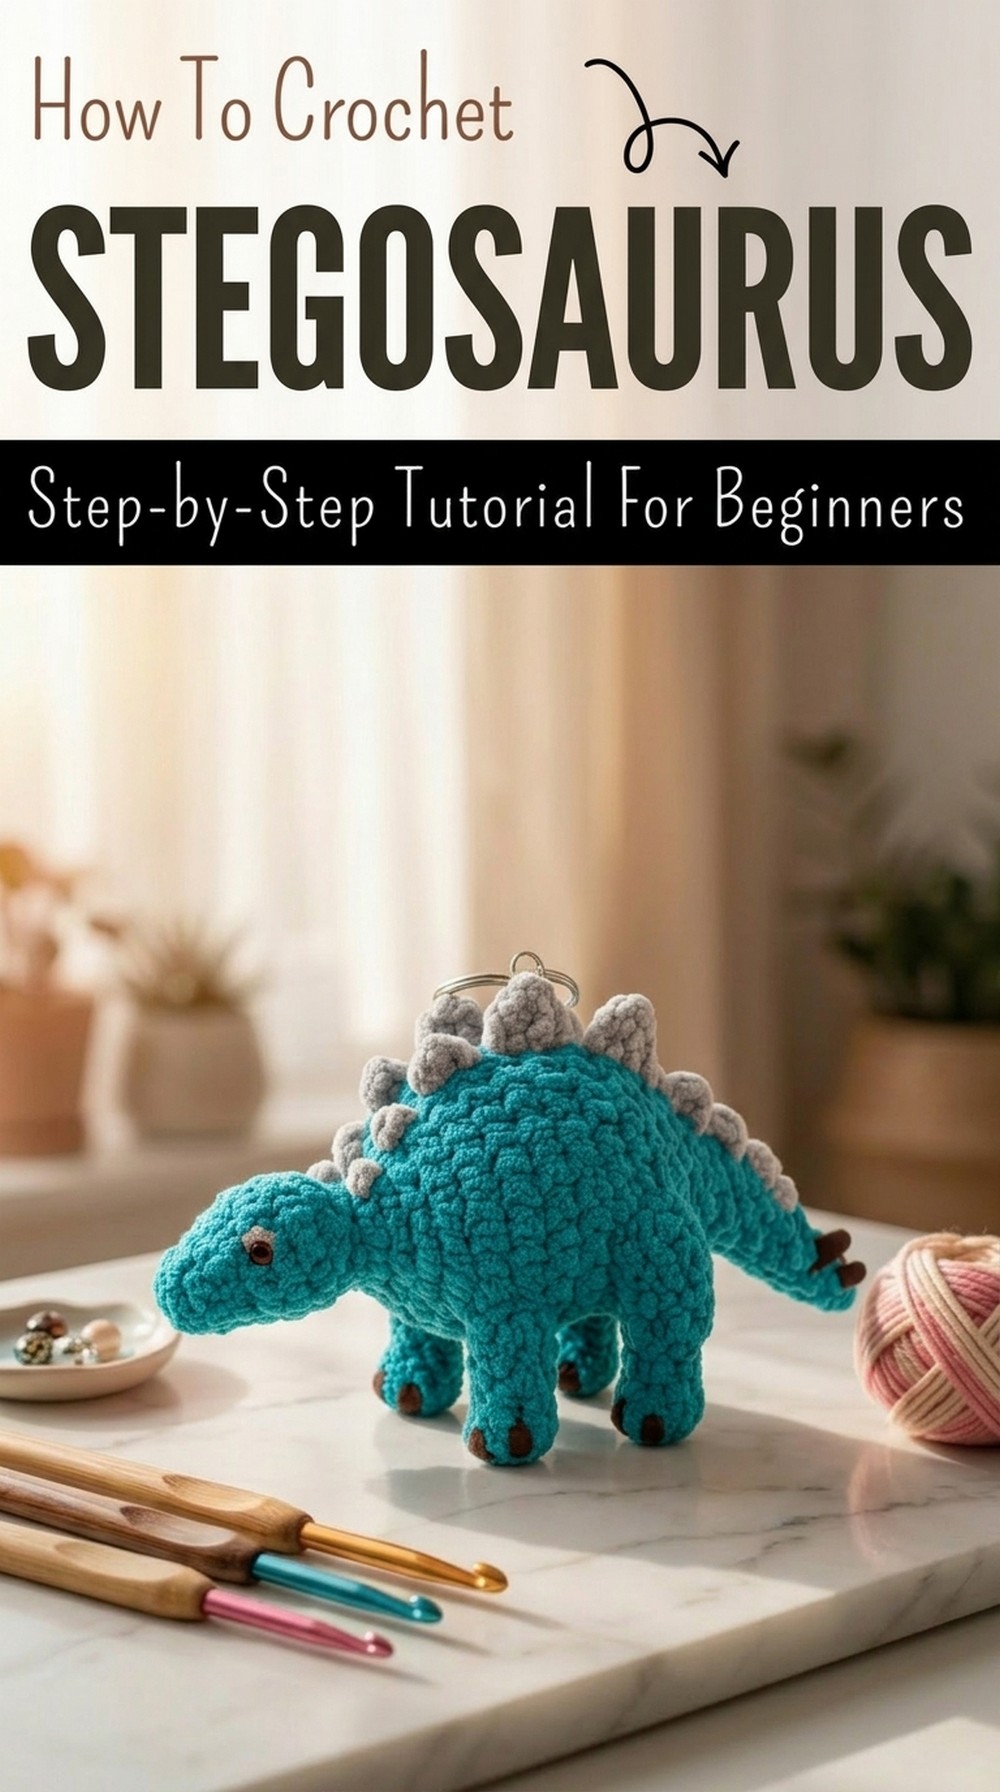
Free Crochet Stegosaurus Pattern kids will love to Cuddle
Inspire dinosaur lovers with free crochet stegosaurus pattern that’s fun charming and perfect for gifts, room decor and playful collections.
Ever wished to see a friendly dinosaur sitting right in your room? Soft spikes run along its back and bright colors make it stand out, catching eyes and hearts with every glance. Using a crochet STEGOSAURUS pattern, you can make a special dinosaur that is both gentle and fun to hold. Its soft round body and sturdy little legs mean it can rest on a bed, chair, or shelf with ease.
Lovely Free Crochet Stegosaurus Pattern that adds playful vibes
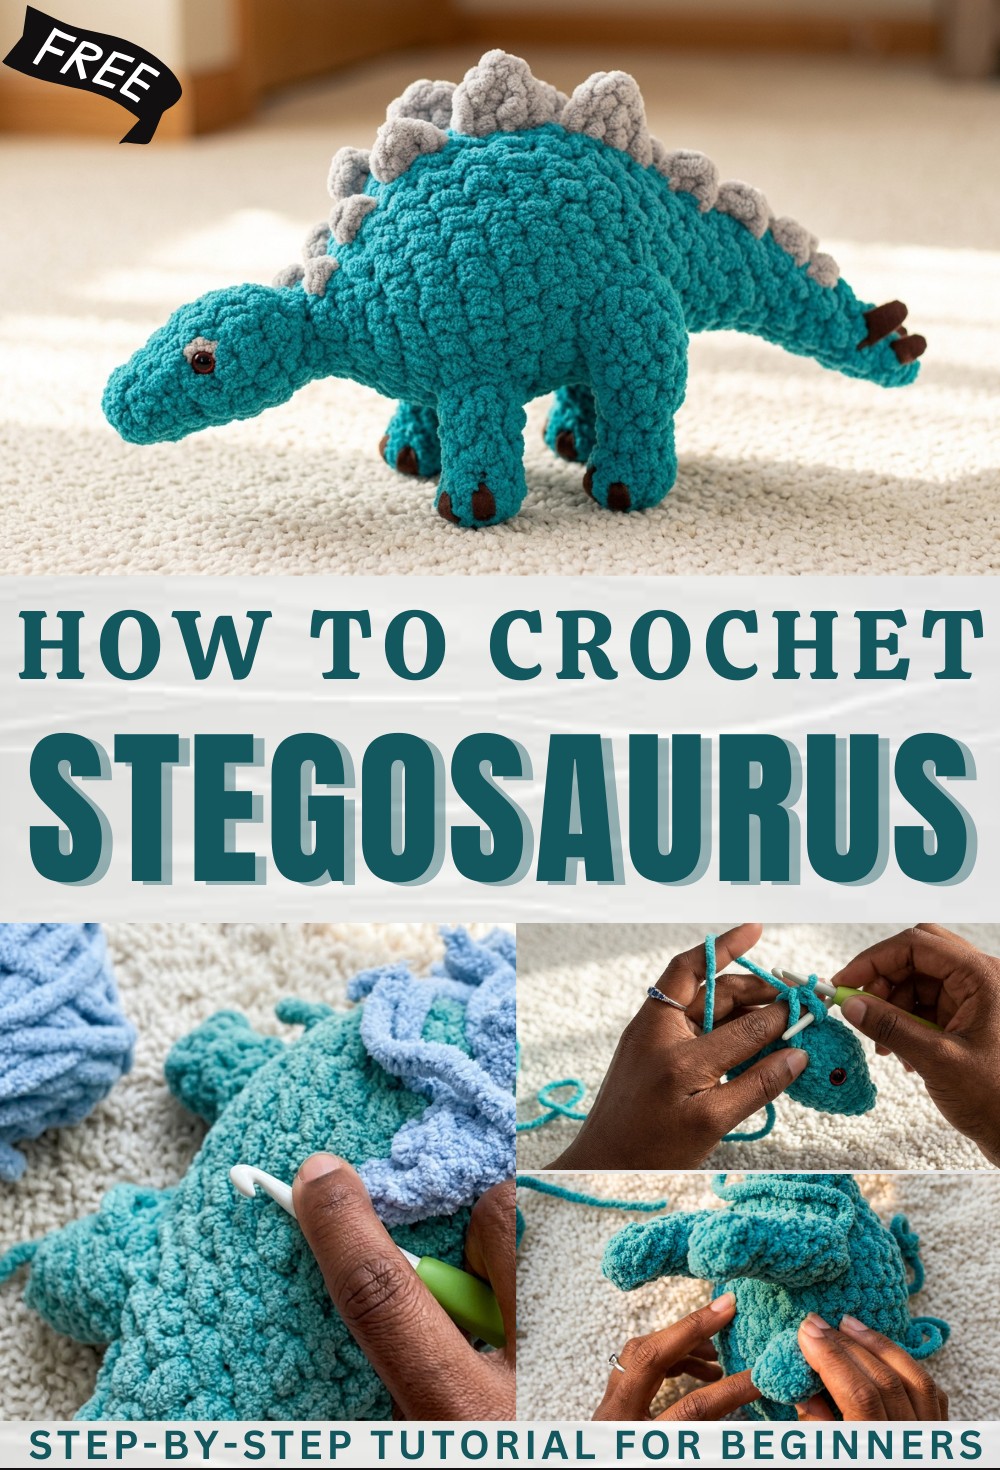
Children love cuddling this dino friend, while grown-ups enjoy adding a bit of fun to any space. Big smiling eyes and a happy face make it perfect for playtime or as a cheerful gift. Even if you have never made a toy before, simple steps show you how to put it together without any fuss. Bring comfort and joy with every stitch, turning yarn into a colorful new friend everyone adores.
Crochet Stegosaurus Amigurumi Pattern
Materials
- Yarn: Bernat Blanket Yarn
- Main Body: Turquoise
- Spikes: Any grey scrap yarn
- Hook Sizes:
- 7 mm crochet hook (for main parts)
- 4.5 mm crochet hook (for small spikes)
- Notions:
- 10 mm safety eyes
- Stuffing (polyester fiberfill)
- Yarn needle (blunt)
- Scissors
- Stitch marker
- Optional: Embroidery floss for the mouth
Key Abbreviations (US Terms)
- ch: chain
- sc: single crochet
- inc: increase (2 sc in one stitch)
- dec: decrease (sc2tog, single crochet 2 together)
- hdc: half double crochet
- dc: double crochet
- tr: treble (triple) crochet
- sl st: slip stitch
- st(s): stitch(es)
- rnd: round
Special Notes
- Pattern is worked in continuous rounds unless stated.
- Use a stitch marker to keep track of the first stitch of each round.
- “Invisible decrease” is recommended for a neater appearance but normal dec is fine.
- For best results, stuff moderately and shape as you go.
- Safety eyes can be hot glued at the back for extra security.
Pattern Instructions
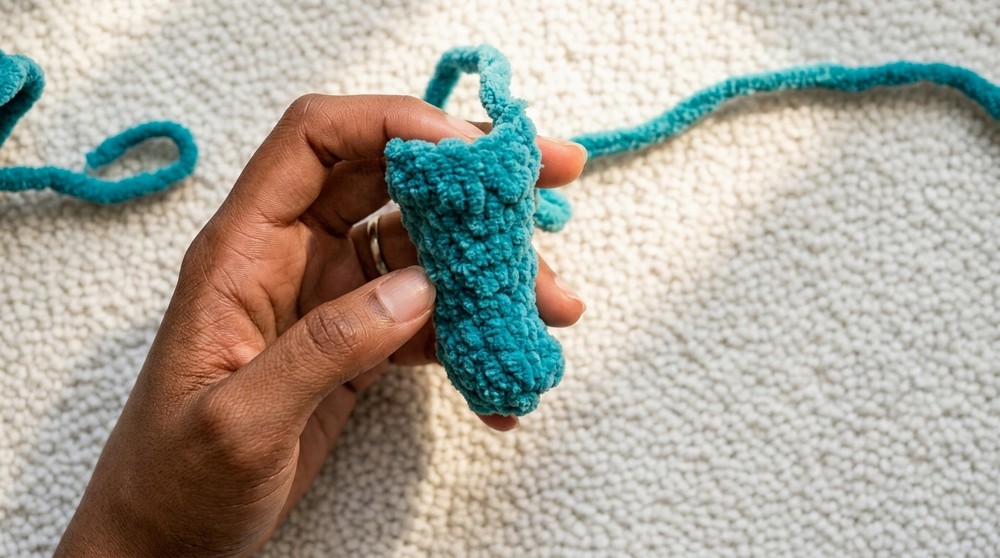
HEAD
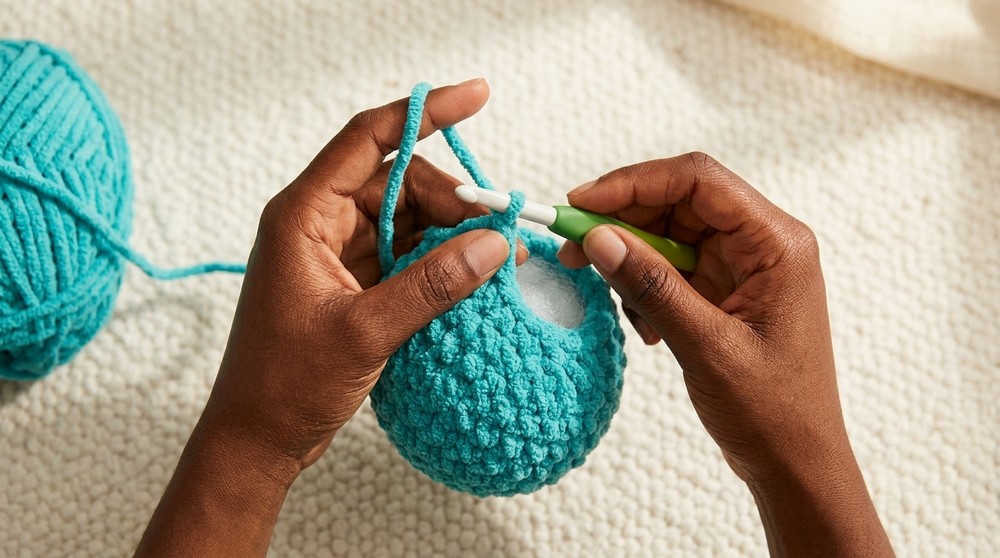
Rnd 1: With 7 mm hook & main color, make a magic ring, work 6 sc into ring. Tighten.
Rnd 2: Sc in each st around. (6 sts)
Rnd 3: Sc in next 2 sts, inc in each of next 2 sts (do 2 sc in each st), sc in last 2 sts. (8 sts)
Rnd 4: Sc in next 2 sts, [inc in next st, sc in next st] twice, sc in last 2 sts. (10 sts)
Rnd 5-6: Sc in each st around. (10 sts per round)
Rnd 7: Sc in next 3 sts, dec twice (in next 4 sts), sc in last 3 sts. (8 sts)
Rnd 8: Sc in next 2 sts, dec twice (in next 4 sts), sc in last 2 sts. (6 sts)
Place safety eyes between rounds 4 and 5, about 5 stitches apart. Stuff the head firmly.

BODY (Continue from Head)
Rnd 1 (Body): Sc in each st around. (6 sts)
Rnd 2: [Inc, sc] 3 times. (9 sts)
Rnd 3: [Inc, sc] 4 times, inc in last st. (14 sts)
Rnd 4: [Inc, sc] 7 times. (21 sts)
Rnd 5: Sc in next 10 sts, [inc, sc] 5 times, inc in last st. (27 sts)
Rnd 6-10: Sc in each st around. (27 sts per round)
Rnd 11: Sc in next 13 sts, [dec, sc] 4 times, dec (to last 2 sts). (21 sts)
Rnd 12: Sc in next 11 sts, [dec, sc] 3 times, dec (to last 2 sts). (18 sts)
Rnd 13: Sc in each st around. (18 sts)
Rnd 14: [Dec, sc] 6 times. (12 sts)
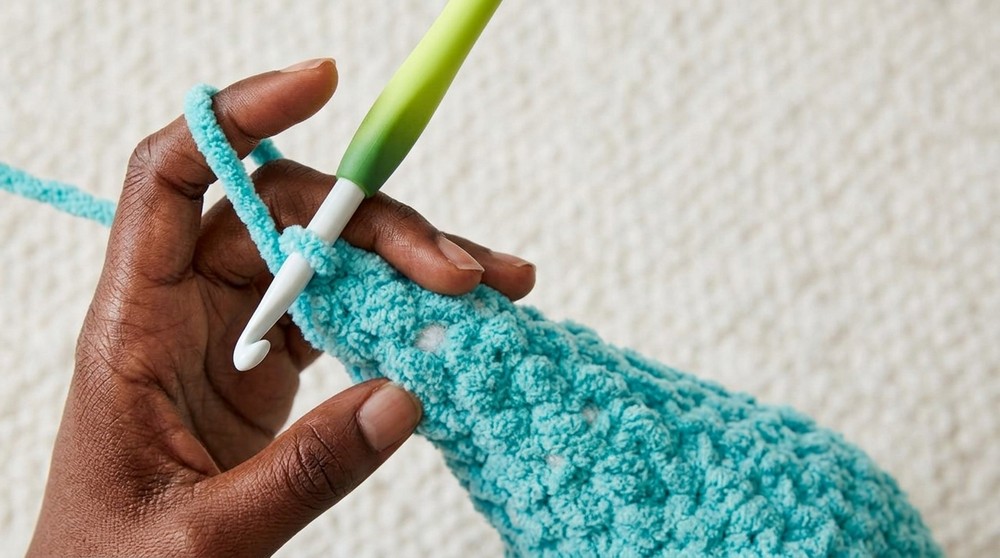
Rnd 15-16: Hdc in first st, sc in next 6 sts, hdc in last 5 sts. (12 sts per round)
Rnd 17: Hdc dec over first 2 sts, hdc in next st, sc dec, sc, sc dec, sc, hdc dec last 2 sts, hdc in last st. (8 sts)
Rnd 18-19: Hdc in first 2 sts, sc in next 4, hdc in last 2 sts. (8 sts per round)
Rnd 20: Hdc dec, hdc, sc dec, sc, hdc dec last 2 sts. (5 sts)
Rnd 21: Hdc in each st around. (5 sts)
Stuff body and tail firmly but do not overstuff.
Rnd 22: Hdc in first 2, sc in next 2, hdc in last st.
Rnds 23-24: Dec around until closed. Sl st to finish, fasten off and hide end inside.
BACK LEGS (Make 2)
Rnd 1: With main color & 7mm hook, make a magic ring, ch 1, 8 sc into ring.
Rnd 2: [Dec, sc] twice, dec over last two sts. (5 sts)
Rnds 3-4: Sc in each st around. (5 sts)
Rnd 5: [Inc, sc] twice, sc in last st. (7 sts)
Rnds 6-7: Sc in each st around. (7 sts)
Rnd 8: Sc in first 4 sts.
Row 9: Ch 1, turn. Sc across 4 sts.
Fasten off, leave a tail for sewing.
FRONT LEGS (Make 2)
Rnd 1: As back legs (magic ring, ch 1, 8 sc).
Rnd 2: [Dec, sc] twice, dec over last two sts. (5 sts)
Rnd 3: Sc in each st around. (5 sts)
Rnd 4: [Inc, sc] twice, sc in last st. (7 sts)
Rnd 5: Sc in each st around. (7 sts)
On the right leg, after Rnd 5, sc 4 more. On the left leg, do not.
Fasten off, leave a long tail for sewing.
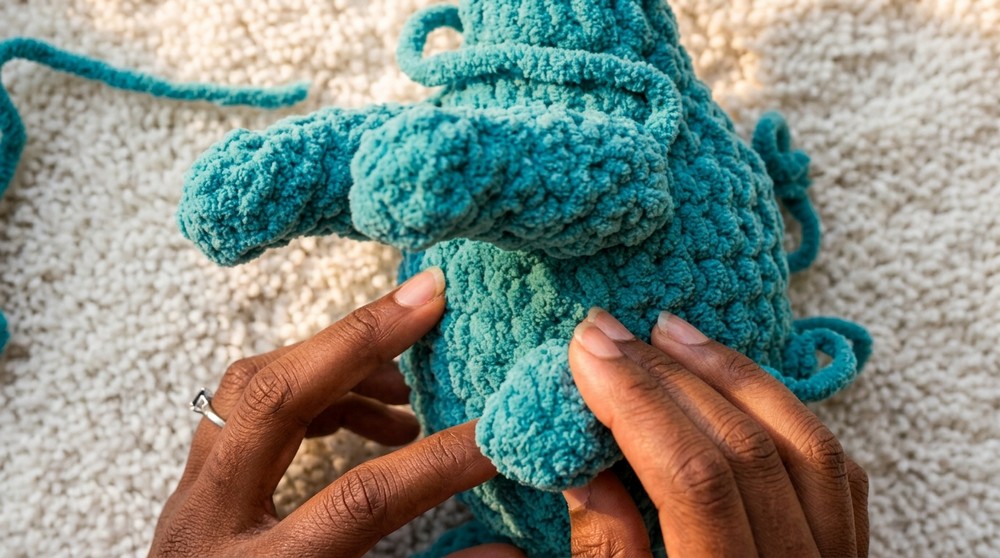
ATTACH LEGS
- Back Legs: Sew to base of body, spaced evenly, at about row 11, leaving ~4 sts between legs.
- Front Legs: Attach to about row 6, about 3 sts apart.
- Stuff lightly before final closure.
STEGOSAURUS SPIKES (Make as you go, both sides)
Attach Grey yarn (7mm hook) where desired along the back, and use the following stitches to create spikes (repeat for the other side, starting at the tail):
- Neck Spike: Sc2tog.
- Upper Back: Hdc2tog (half double crochet two together).
- Body Mid-Back: Dc2tog (double crochet two together).
- Back/Bigger Spikes: Tr3tog (treble crochet three together).
- Tail: Repeat above, as suits size/drop towards tail.
Between each spike, cut yarn, tie inside, or weave tails for a tidy finish.

SMALL WHITE “TAIL/TOE” SPIKES
With 4.5 mm hook & black yarn:
- Short Spike: Join yarn at tip, ch 2, sl st in 2nd ch from hook, sl st to secure to body, fasten off.
- Medium Spike: Join yarn below previous, ch 3, sl st into 2nd ch and next ch, secure to body.
- Long Spike: Ch 4, 3 sl st back, secure to body.
- Repeat on the other side to match.
EYEBROWS & TOENAILS (Optional)
- Eyebrows: Use grey yarn to make a simple dash over each safety eye.
- Toenails: Use white/cream yarn to wrap three dashes around each foot tip.
FACE (Optional)
- Mouth: With embroidery floss, use two strands for visibility. Embroider a small line under eyes.
Conclusion
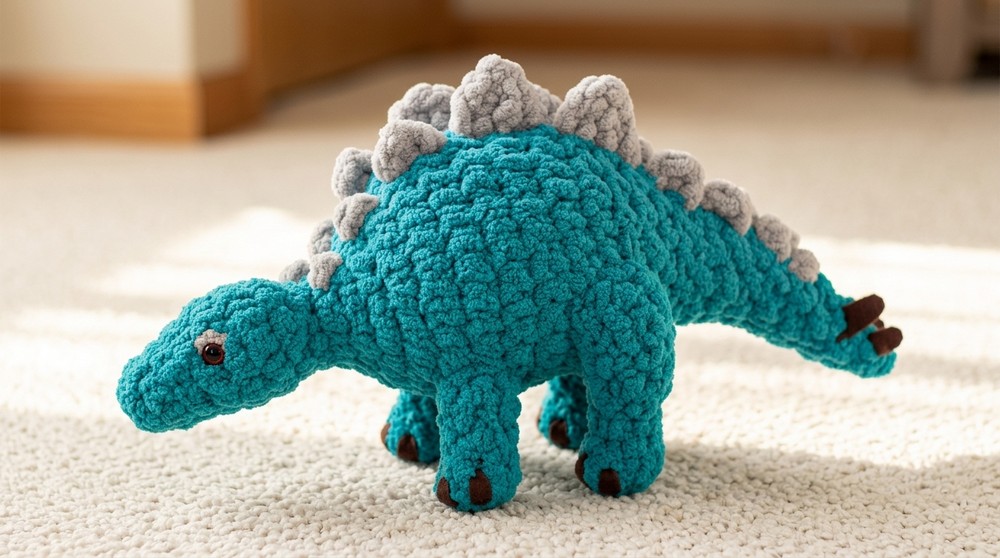
You now have a cuddly, adorable stegosaurus! This pattern is quick and approachable for beginners, and easy to customize with different colors.
Pattern Correction
- Carefully count your stitches after each increase or decrease round for symmetry.
- For the spikes, study their placement on both sides for best results.
- Legs can be filled lightly; do not overstuff.
Tip
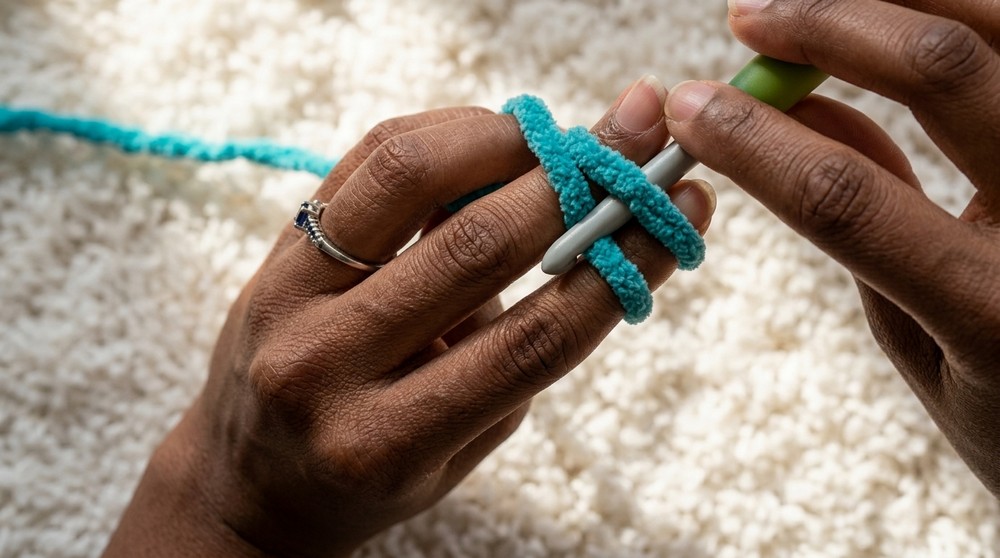
- If you struggle with magic rings when using jumbo yarn, start with a ch 2, then work your stitches in the first ch.
- Use a chopstick or blunt stick to help stuff the body and tail evenly.
- Always secure safety eyes tightly and glue backs if the toy is for children.