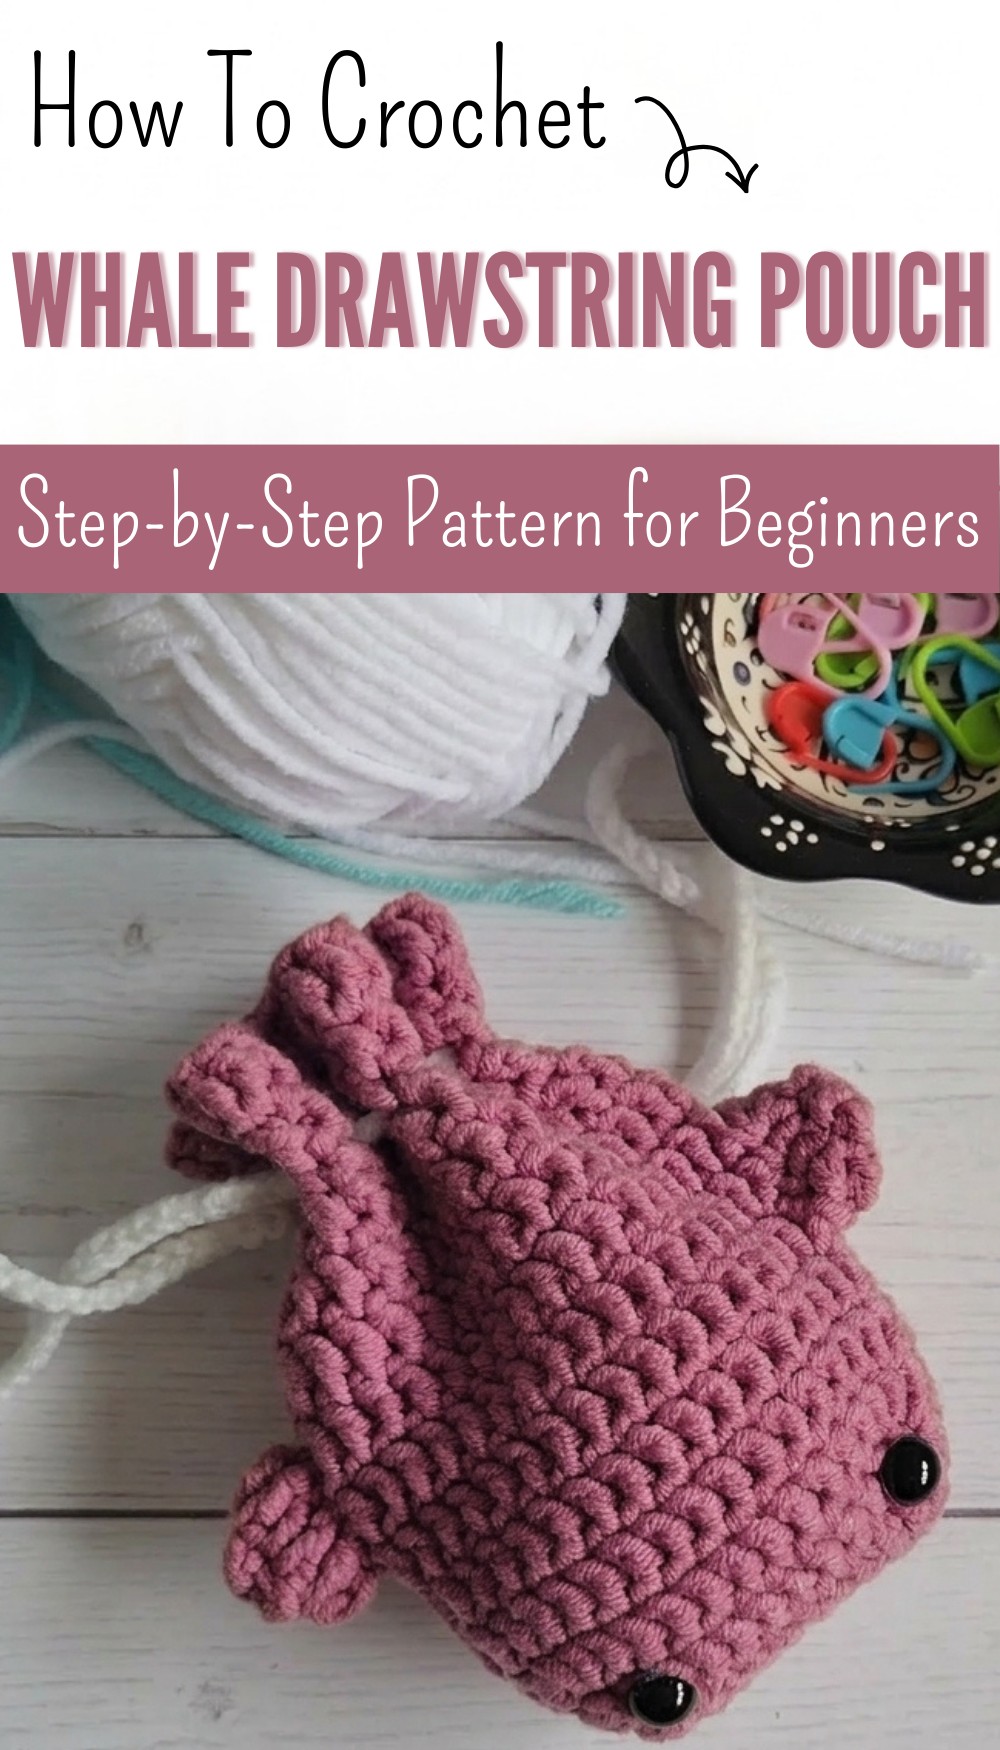
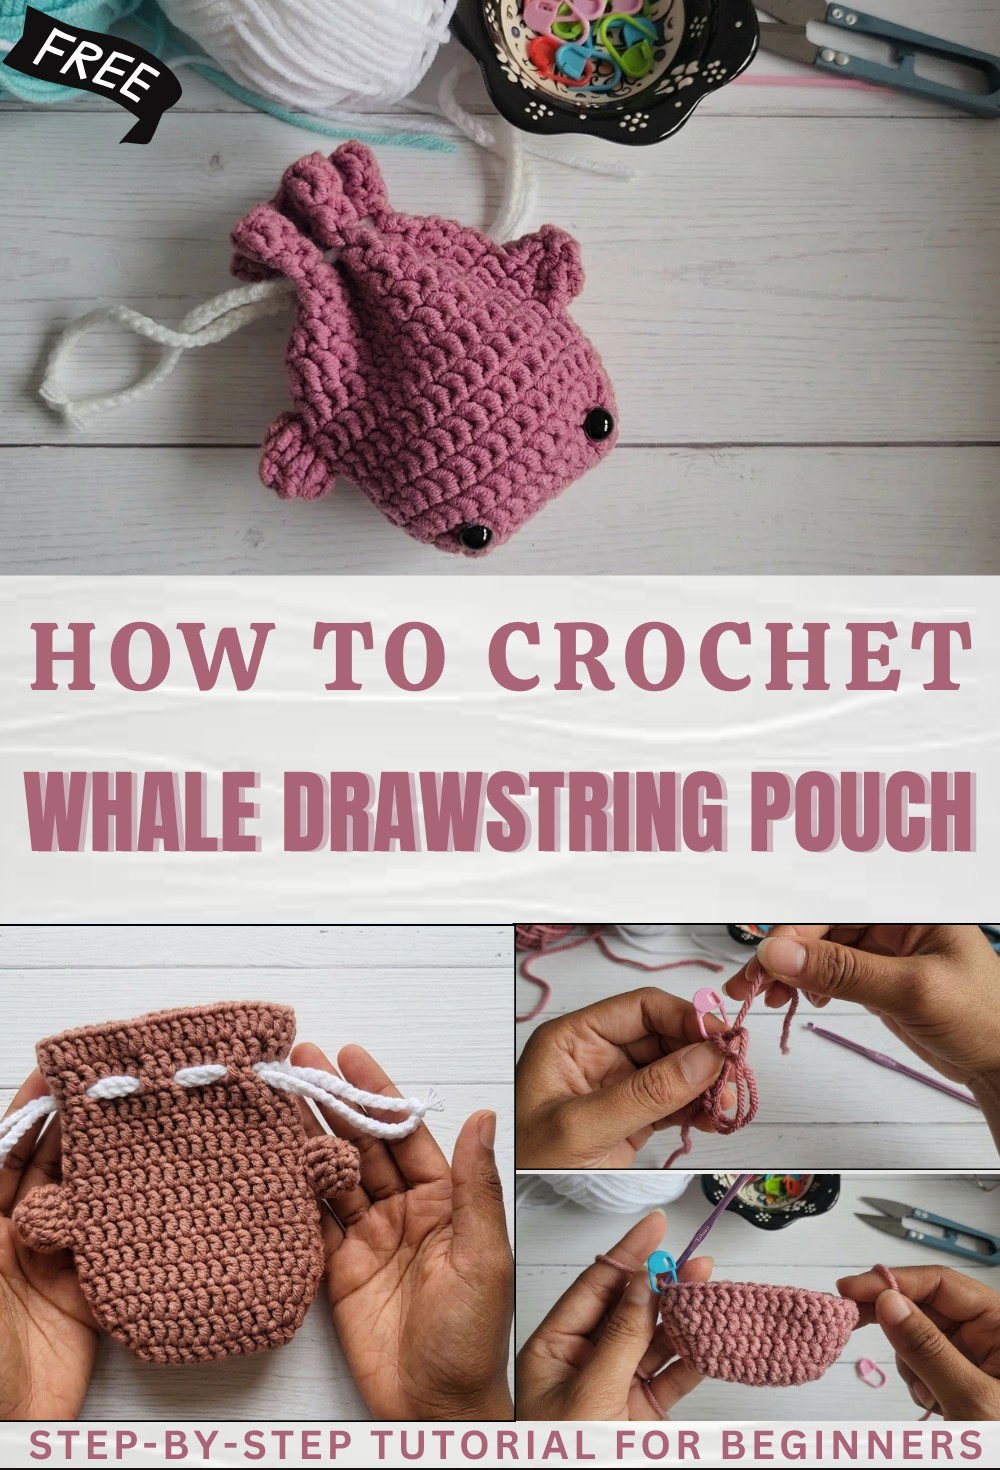
Free Crochet Whale Drawstring Bag Pattern for Ocean Fans
Splash some excitement into your routine with free crochet whale drawstring pouch pattern for storing coins small toys or little treasures.
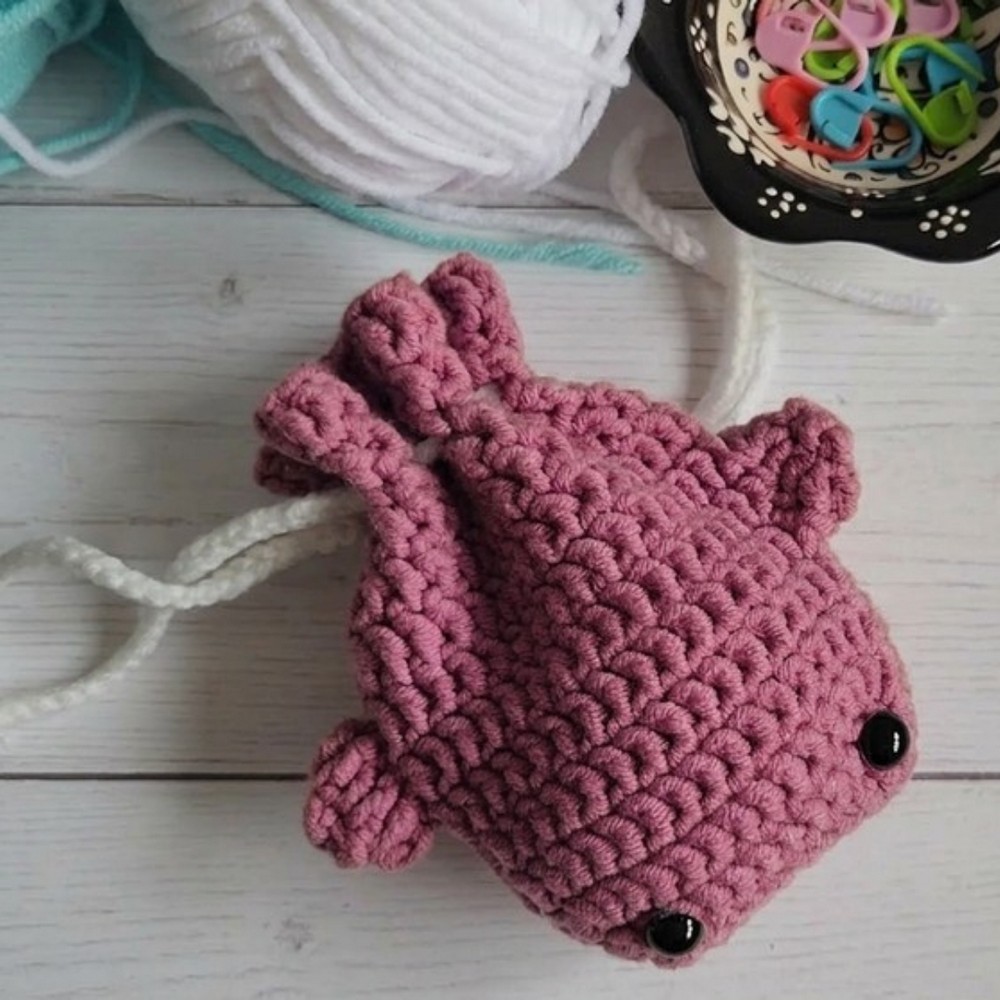
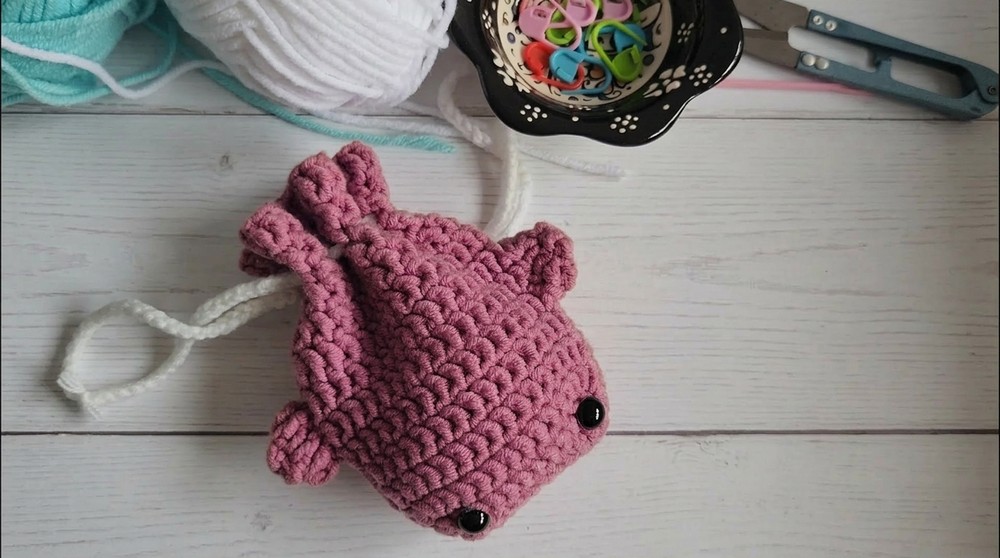
A little pouch shaped like a whale is full of charm and joy for all. Its smooth body and playful tail turn a simple holder into something extra special. The Crochet Whale Drawstring Pouch pattern lets you make a soft bag that looks just like a tiny ocean friend. This pouch has a strong string you pull to close it so all your small things stay safe inside. It’s perfect for carrying treasures like coins keys rings or small toys.
Whimsical Free Crochet Whale Drawstring Bag Pattern for Kids
The bright colors and gentle curves make it easy to spot and fun to touch. Children and grown-ups alike will love this pouch because it feels friendly and reminds everyone of the sea. With its cute shape and clever design this little bag becomes a smart helper at home school or outside. Making your own pouch is simple and gives you something lovely to use every day.
Real Drawstring Whale Pouch Crochet Pattern
Materials
- Yarn: Two colors, Dusty Rose (main, whale) and white (drawstrings); light worsted or DK weight preferred
- Hook: 3.0 mm crochet hook
- Yarn needle (for sewing and weaving)
- Scissors
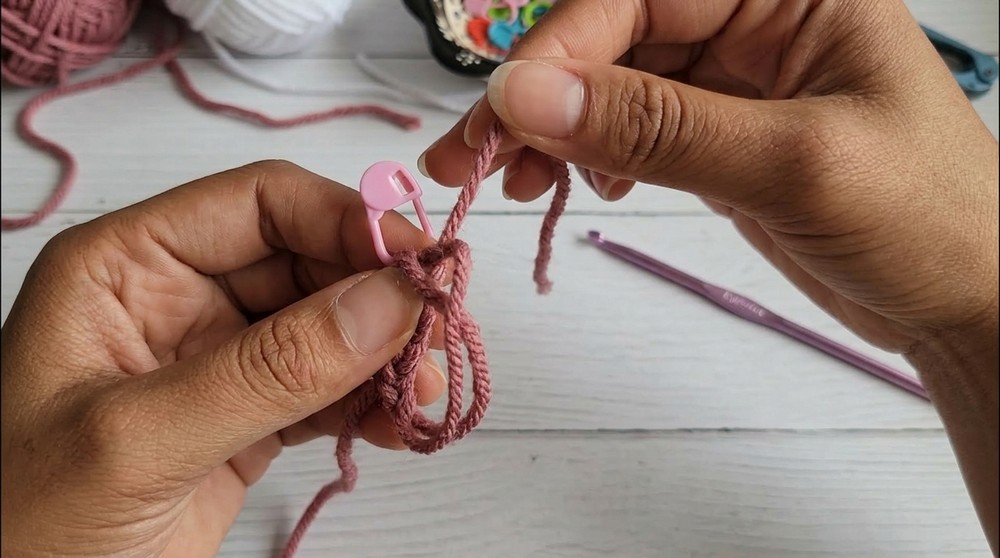
- Stitch markers (helpful for round counting)
- Toy safety eyes or buttons (for whale eyes)
- Glue gun (for affixing eyes)
- Optional: Stuffing, if you wish to make your whale pouch plush
Key Abbreviations
| Abbreviation | Meaning |
|---|---|
| ch | Chain |
| sl st | Slip stitch |
| sc | Single crochet |
| dc | Double crochet |
| inc | Increase (2 sts in one st) |
| st(s) | Stitch(es) |
| MR | Magic Ring |
Special Notes
- The pouch is worked in the round with a flat base, then straight up in continuous rounds.
- Chain 2 at the start of dc rows counts as the first dc.
- Long tails are left for seaming parts.
- Adjust color, size, and drawstring length to your preference.
- You can embroider or glue the face details.
Pattern
Whale Fins (Make 2)
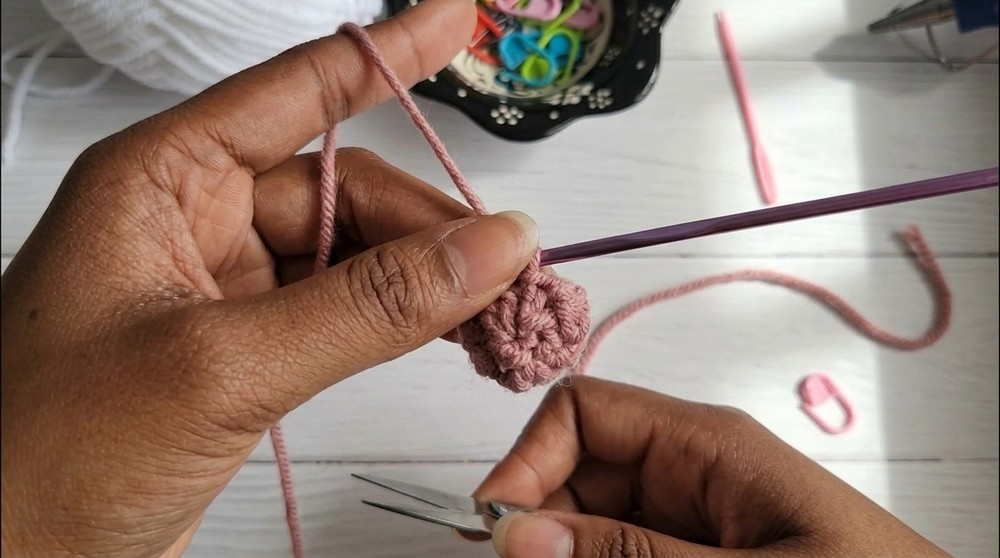
- Begin with a MR.
- 5 dc into MR.
- Pull the ring tight and sl st to the first dc (or closing the round).
- Ch 2 (counts as dc).
- Inc in every dc around (2 dc in each st), 5 times (10 dc).
- Sl st to the first st of the round.
- Cut yarn, leaving a long tail for sewing. Weave in starting tail.
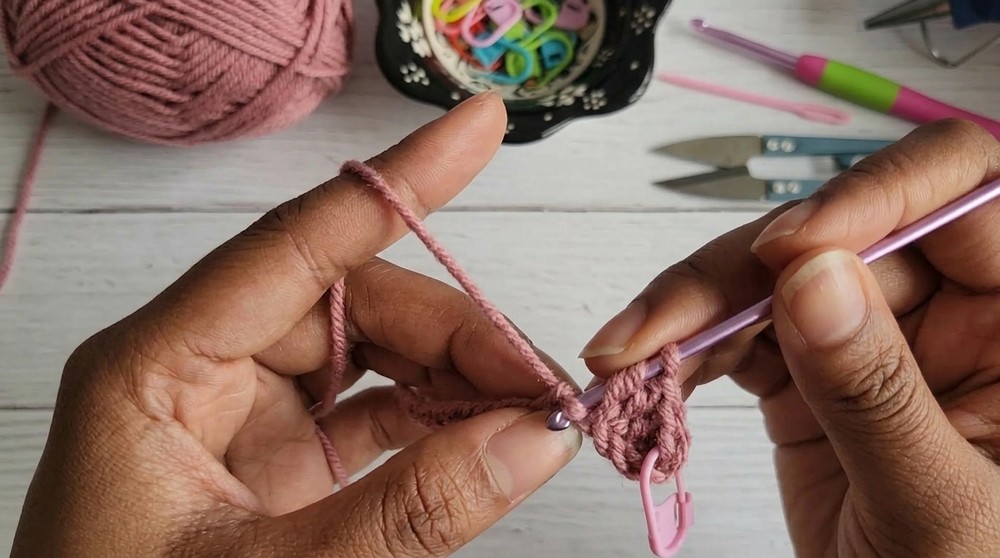
Whale Pouch Body
Foundation Row:
- Ch 12.
- Dc in 3rd ch from hook.
- (Optional: Place stitch marker in first dc.)
- Dc in next 8 ch (total 9 dc so far).
- In last ch, work 3 dc into the same ch (turning the corner).
- Work 8 dc back along the other side of the chain, crocheting over yarn tail if possible.
- In last ch, work 2 dc (increase at end).
- Sl st to 1st dc of round to join.
- You now have an oval base.
Round 2:
- Ch 2.
- Inc (2 dc in same st), dc in next 8 sts.
- In next 3 sts, [2 dc in each] (three inc).
- Dc in next 8 sts.
- In last 2 sts, 2 dc in each (two inc).
- Sl st to 1st dc.
Round 3:
- Ch 2, dc in first st.
- Inc in next st.
- Dc in next 8 sts.
- At the curve:
- [dc in next st, inc in next st] x 3 times.
- Dc in next 8 sts.
- [dc in next st, inc in next st] x 2 times.
- Sl st to 1st dc.
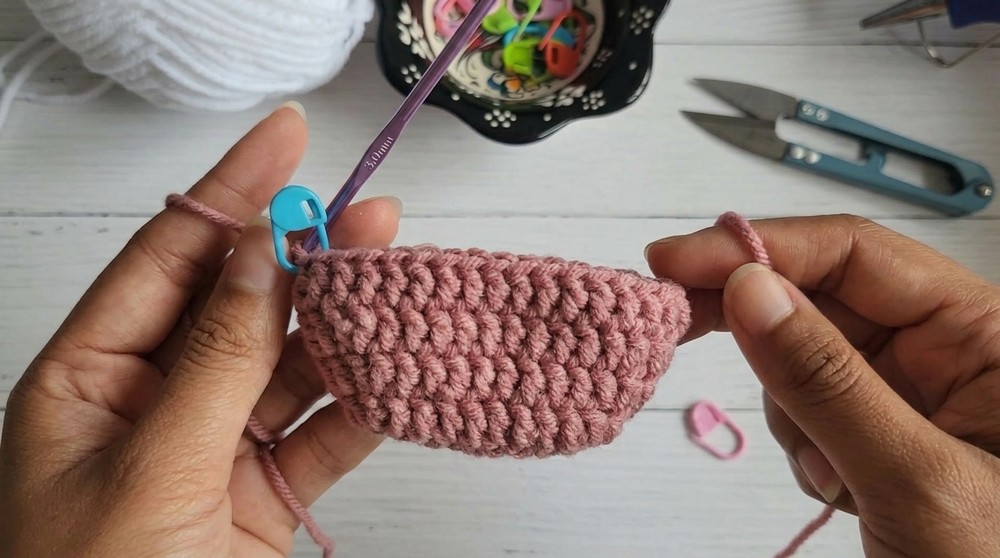
Rounds 4–11:
- Ch 2. Dc in each st around (no increases).
- Place stitch marker in first and last st of each round if desired for tracking.
- Continue until 8 rounds of even dc have been worked.
Round 12 (Eyelet Row for Drawstring):
- Ch 1.
- [Sc in next 2 sts, ch 2, skip 2 sts]—repeat sequence around.
- End with sc.
- Sl st to first sc to join.
Rnd 13:
- Ch 2.
- Dc in each sc and in each ch-2 space (i.e., dc in every st and each gap).
- Sl st to join.
Rnd 14 (Top Ruffle):
- Ch 2.
- [Dc in next st, 2 dc in next st (inc)]—repeat sequence around.
- Finish with an increase if needed to end the round evenly.
- Cut yarn, pull through, and use a yarn needle for an invisible (needle) join:
- Thread tail, insert through both loops of first dc, then into back loop of last dc worked. Tighten and weave in tails.
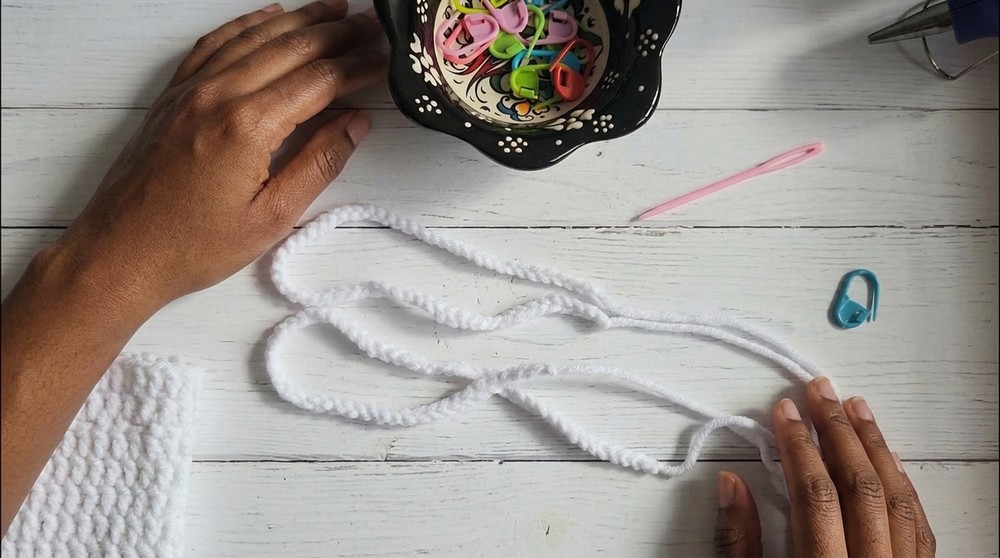
Drawstrings (Make 2)
- With white yarn, ch 60 (or longer if desired).
- Fasten off and cut yarn.
- Make a second string the same way.
Assembly
- Sew Fins:
- With long tail, sew each fin to the pouch at approximately the 7th row from the starting base, at equal intervals on each side.
- Weave the yarn tail inside and trim excess.
- Insert Drawstrings:
- Thread one drawstring through the ch-2 holes, weaving in one direction around the pouch, then tie ends.
- Thread second drawstring starting from the opposite side, weaving through the remaining eyelets, and tie ends. (This creates a classic double drawstring closure.)
- Attach Eyes:
- Select safety eyes or buttons and attach (either sew or glue) between the fins, on the pouch front.
- Let hot glue set if using.
- Add Optional Features:
- Sew a mouth or dots using embroidery floss or matching yarn.
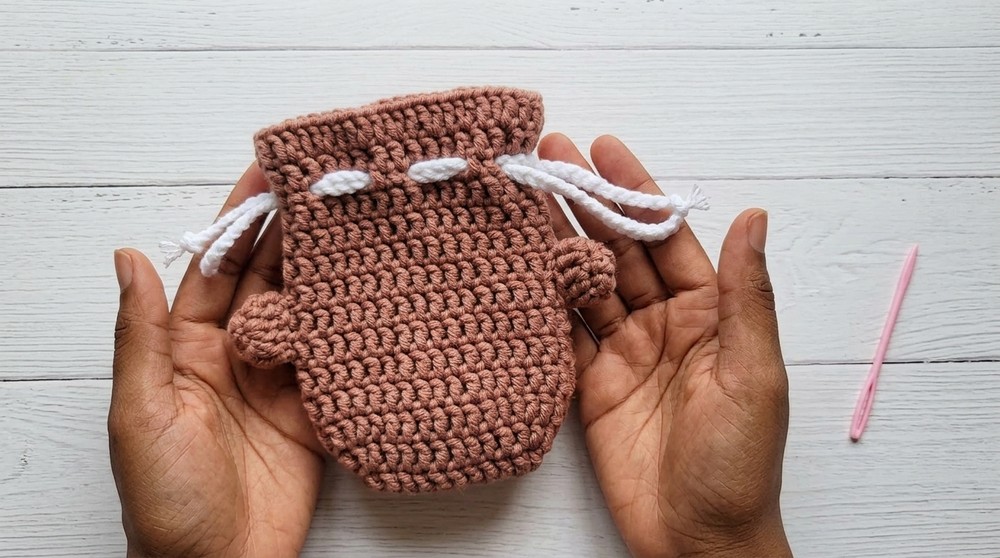
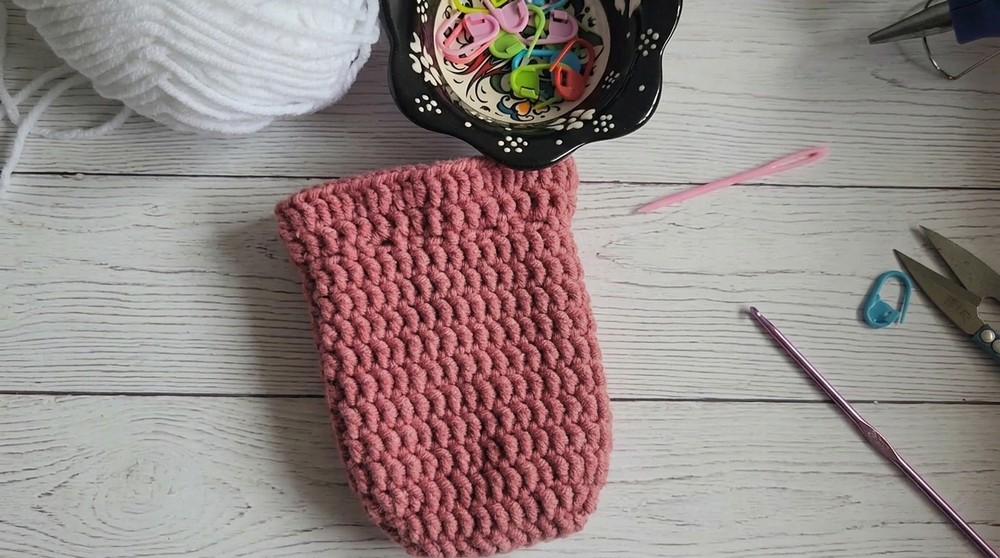
Conclusion
You now have a functional, adorable whale drawstring pouch—perfect for storing small items or as a cute gift. Customize your colors, add features, or upsize as desired.
Pattern Corrections
- Base too small/large? Add or subtract starting chains.
- Want a taller pouch? Continue working more straight rounds before the eyelets.
- Short row or round? Double-check stitch count per round; use markers liberally.
Tips
- Finish with an invisible join for a neat, professional edge.
- Use stitch markers for the first and last stitch to avoid mistakes.
- Adjust drawstring length for personal preference or to suit younger users.
- Customize: Change yarn color, add embroidered facial details, or make the pouch with plush yarn for extra softness.
- Block the pouch for sharper shape and neatness, if desired.