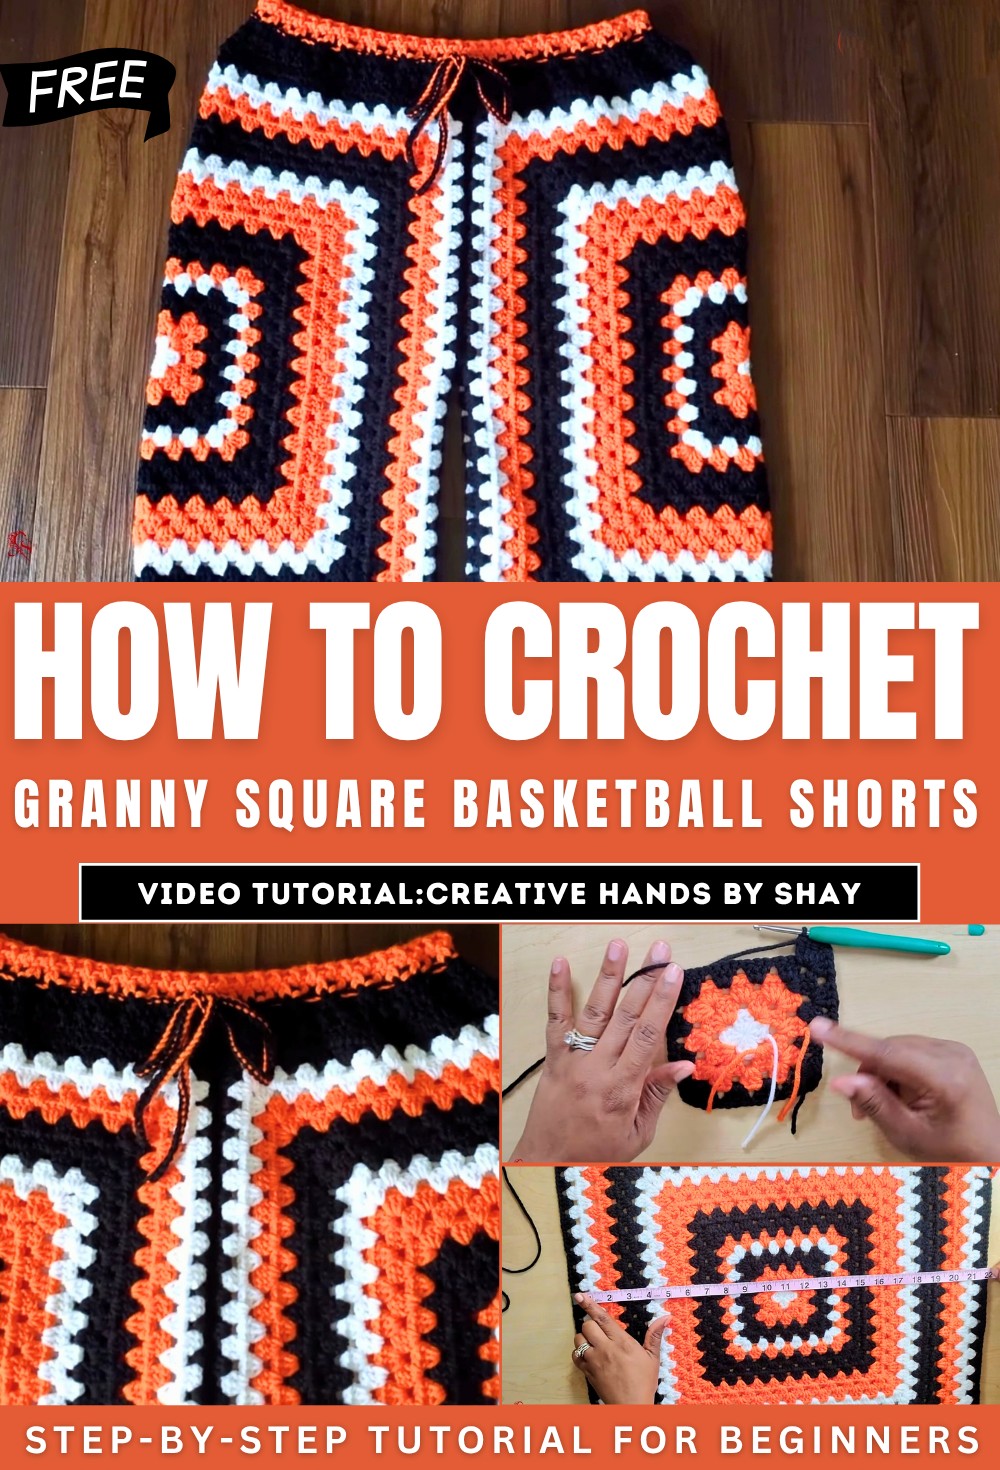
How-To Granny Square Basketball Shorts for Beginners
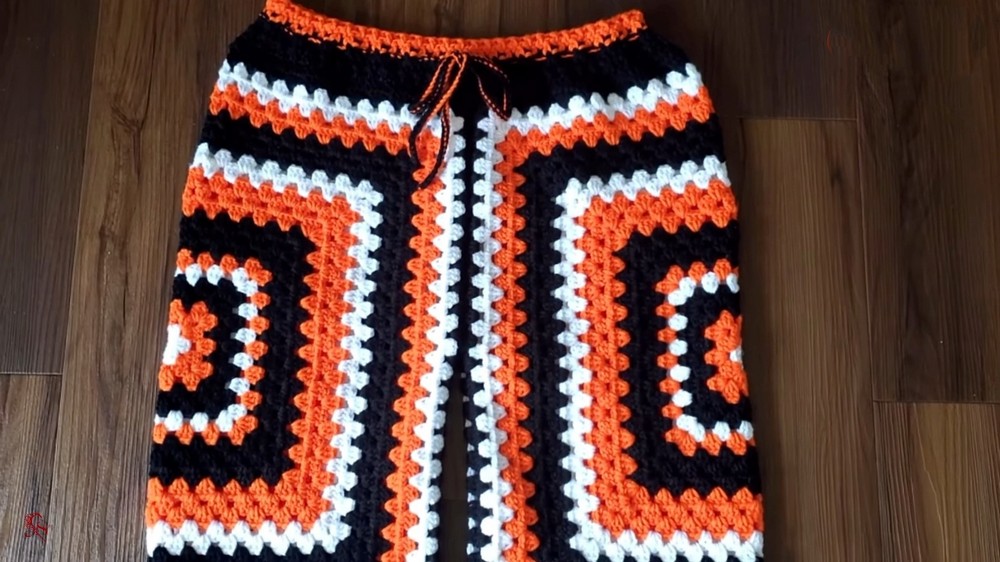
With a detailed step-by-step tutorial, learn how to crochet an adorable granny square shorts perfect for beginners. Using just two granny square panels, the creator guides through assembling the shorts, including measuring, crocheting techniques, and adding a snug waistband and drawstring. With vibrant color combinations and clear instructions, this project is perfect for beginners and experienced crafters alike.
The tutorial emphasizes customization, ensuring the shorts fit perfectly. Check the description for tools, measurements, and extra tips! So, follow through with us for the complete tutorial.
Tutorial Overview
This tutorial, hosted by Creative Hands by SH, demonstrates how to crochet a pair of granny square shorts. The step-by-step guide explains how to create the shorts using granny squares, assemble the panels, and add finishing touches.
Materials Needed
- 4.5 mm crochet hook (with occasional use of a 4.0 mm hook for adjustments)
- Yarn in three colors (black, white, and orange)
- Scissors
- Darning needle
- Measuring tape
- Stitch markers
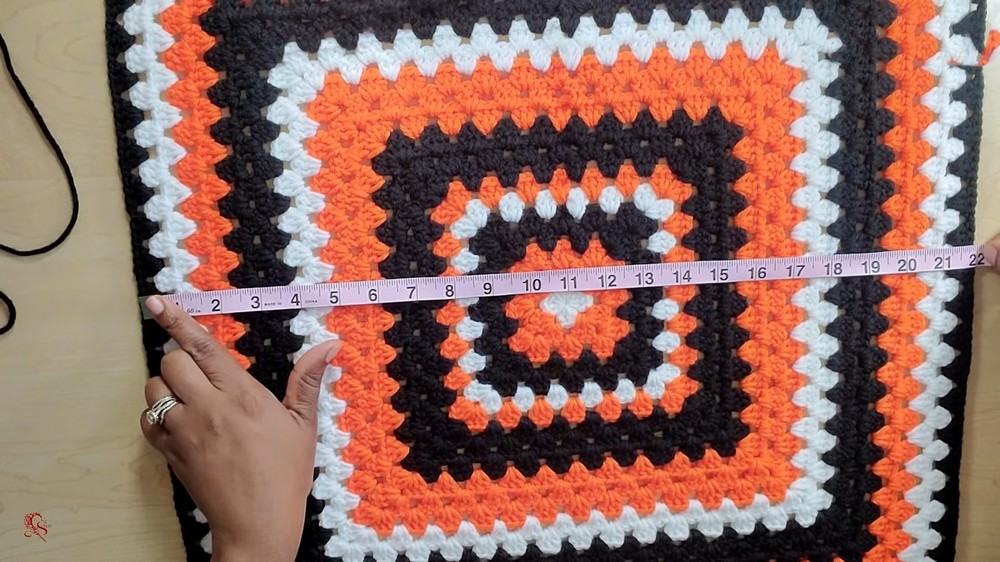
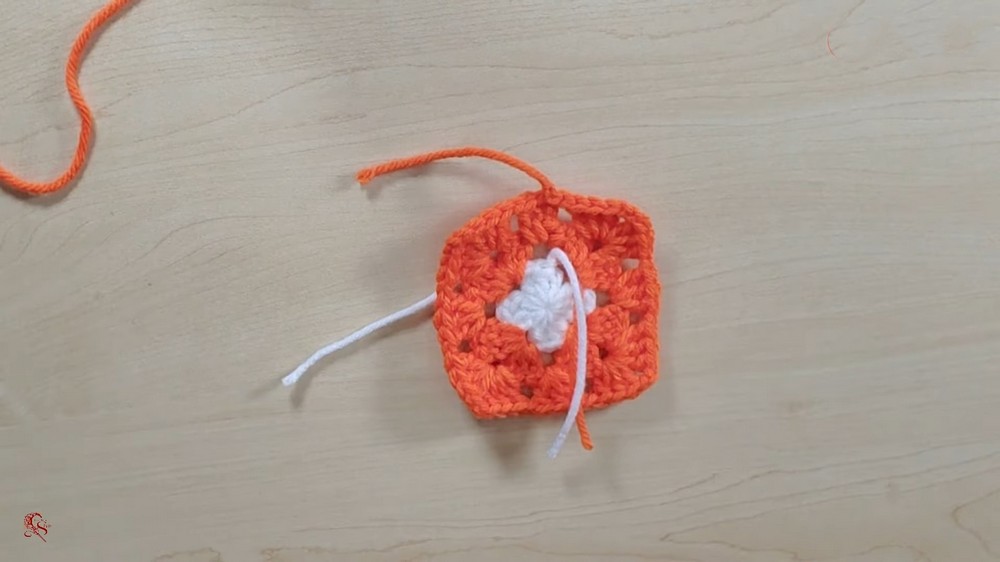
Step 1: Create the Granny Squares
-
Magic Ring and Foundation Round
- Begin by creating a magic ring or chaining depending on preference.
- Build the first round using clusters of double crochet stitches separated by chain spaces.
-
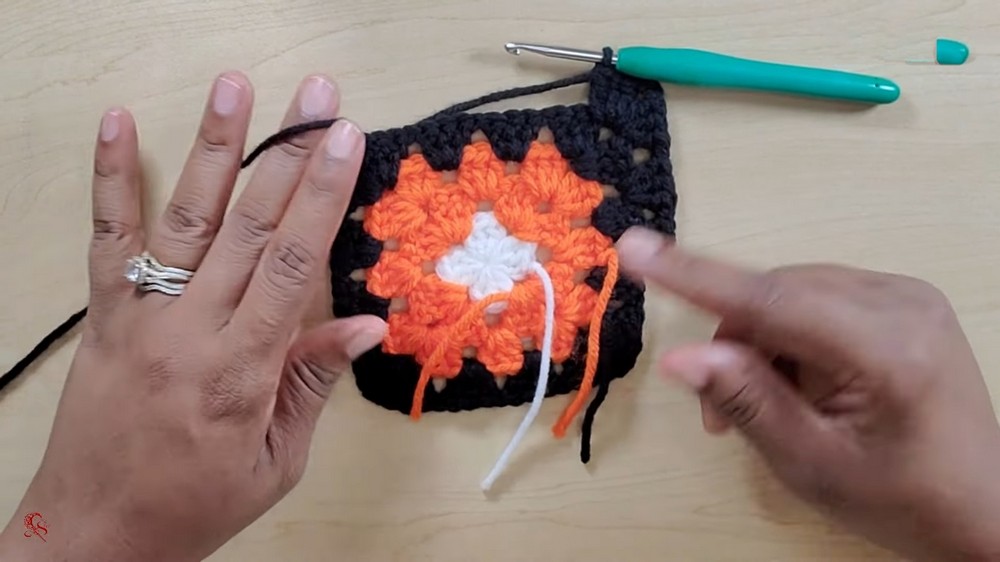
Building Additional Rows
- Alternate yarn colors (e.g., white, orange, black) as you continue adding rows to the square.
- Turn your work at the end of each row to keep the square uniform.
-
Maintaining Uniformity
- Ensure squares are consistent in size and tension.
- Adjust hook size for better alignment between squares, if necessary.
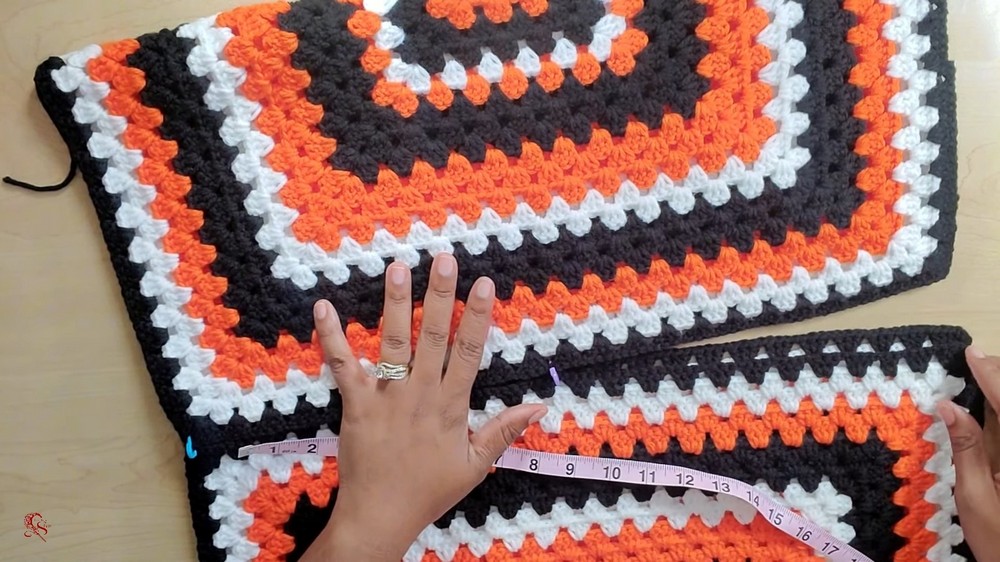
Step 2: Assemble the Panels
-
Measuring and Folding
- Measure and fold each granny square in half to determine the width of the shorts.
- Ensure the folded piece wraps comfortably around the thigh.
-
Sewing or Joining Panels
- Use stitch markers to align the panels.
- Sew the edges of the squares together to form the shorts’ structure. This includes the seams for the waist, legs, and groin area.
-
Slip Stitching for Strength
- Use slip stitches to secure the panels together.
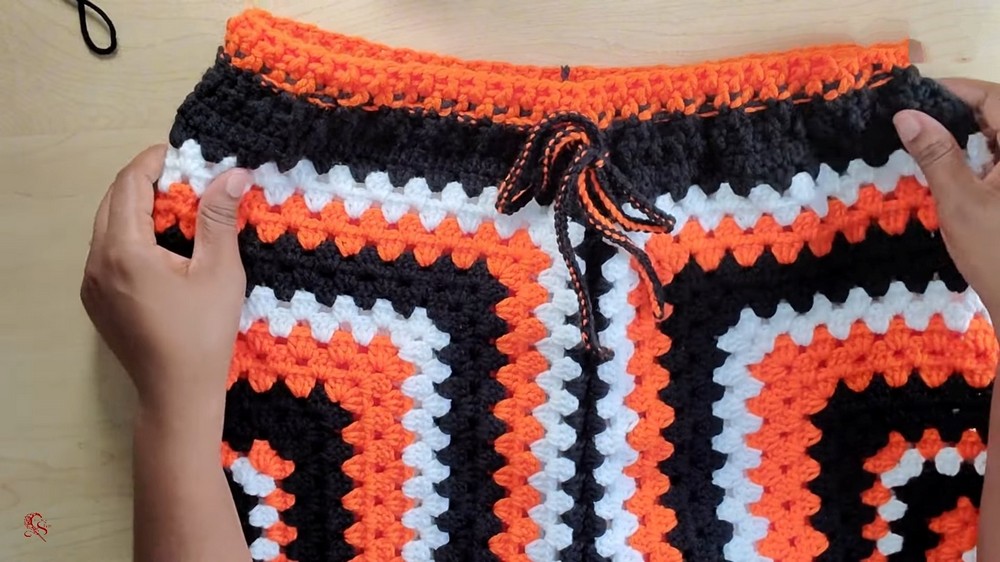
Step 3: Create the Waistband
-
Attach the Waistband Yarn
- Attach yarn at the top edge of the shorts.
-
Double Crochet with Decreases
- Work a row of double crochet around the top while incorporating decreases to tighten the waistband.
- This row eliminates the extra width at the top of the shorts.
-
Front and Back Post Stitches
- Alternate between front and back post stitches to create a ribbed waistband.
- Continue until the waistband reaches the desired width.
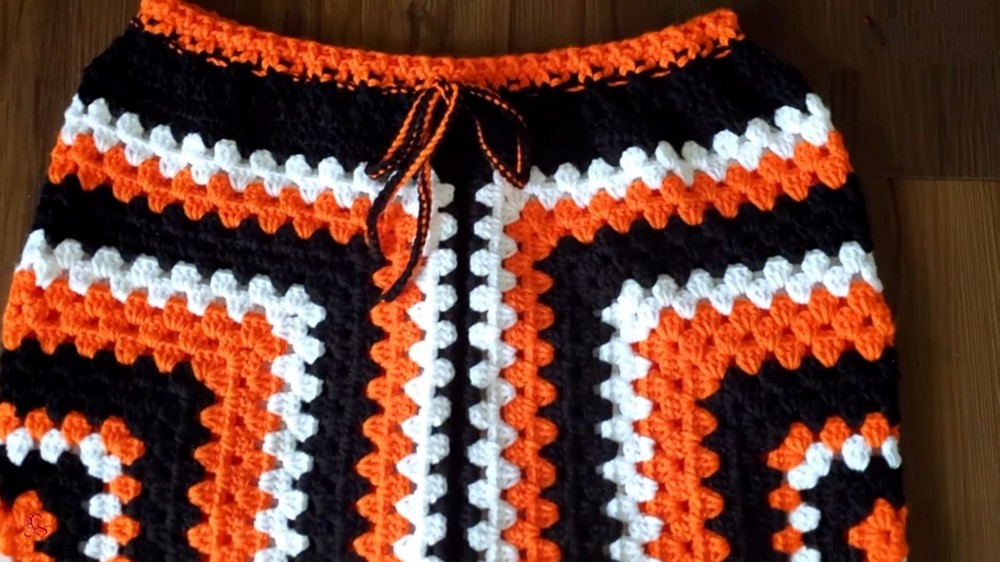
Step 4: Prepare the String Tie
-
Making the Tie
- Use leftover yarn to create a long string using a chain-like method.
- Ensure the string is sufficiently long and stretchy.
-
Weaving the String
- Thread the tie through the waistband, leaving equal lengths on both sides for tying a bow at the front.
Final Touches
-
Secure Loose Ends
- Use a darning needle to weave in any loose yarn ends for a neat appearance.
-
Adjustments and Bow
- Adjust the string tie and add a bow at the front of the shorts.
Conclusion
The tutorial walks through the process of making granny square shorts in an easy-to-follow and beginner-friendly manner. The finished product is stylish and customizable, with ample room for creativity in choosing yarn colors and patterns. The host encourages viewers to experiment and share their creations.