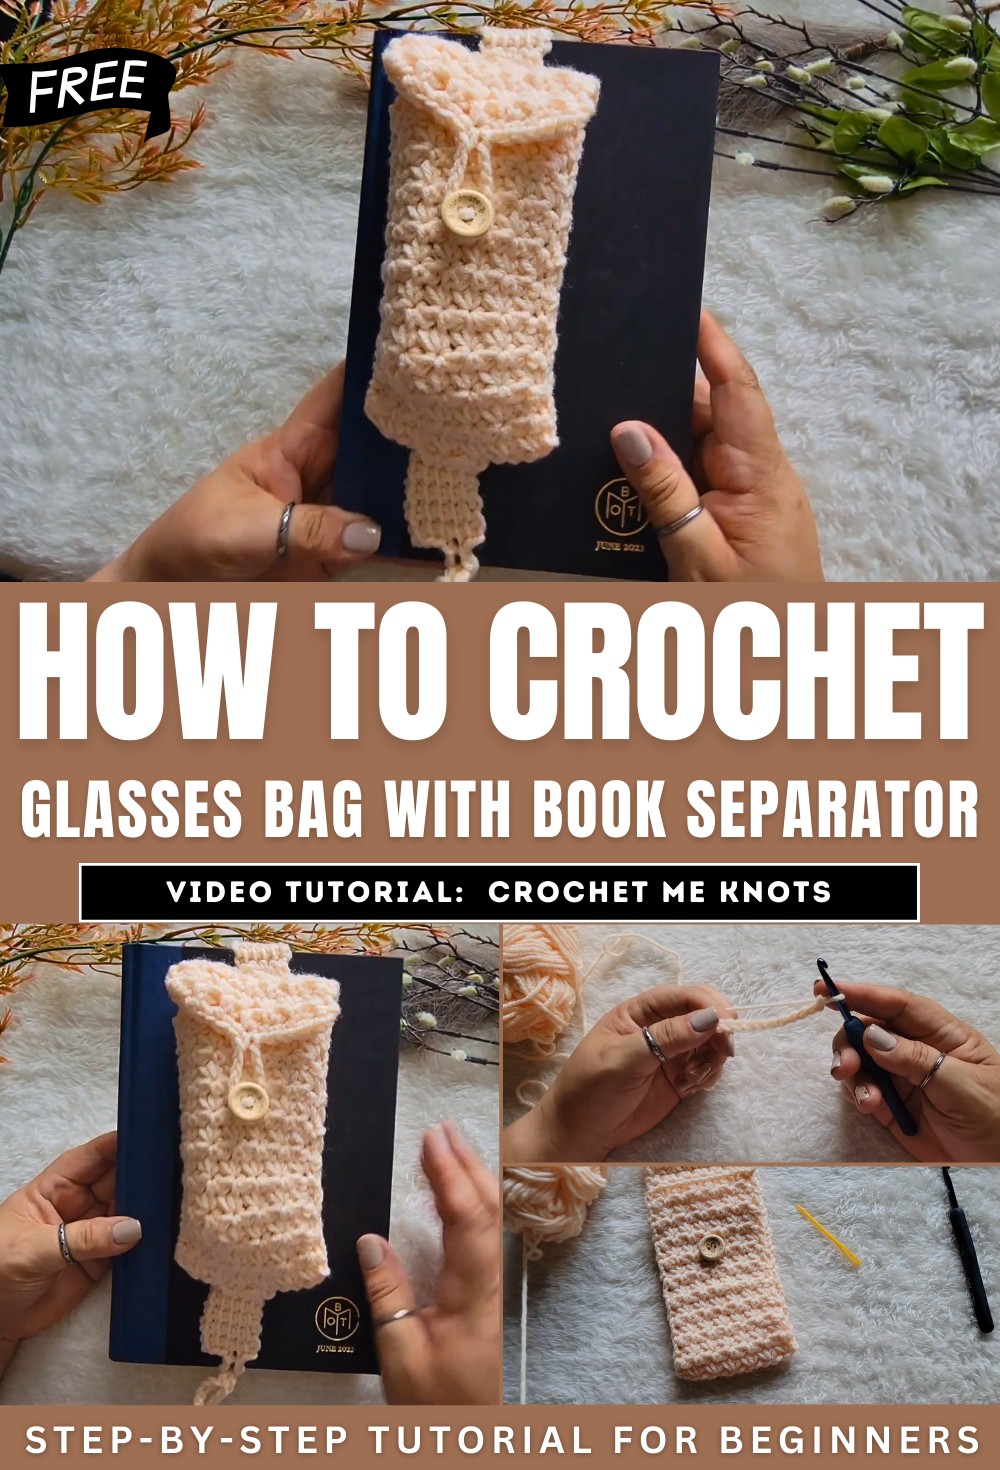
How to Crochet A Glasses Bag With A Book Separator
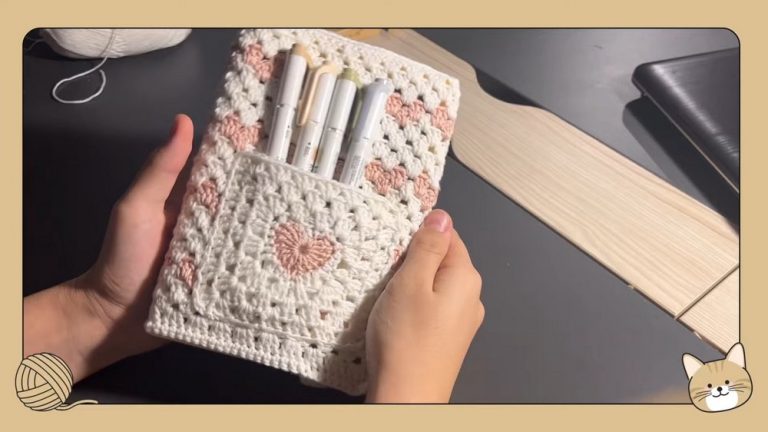
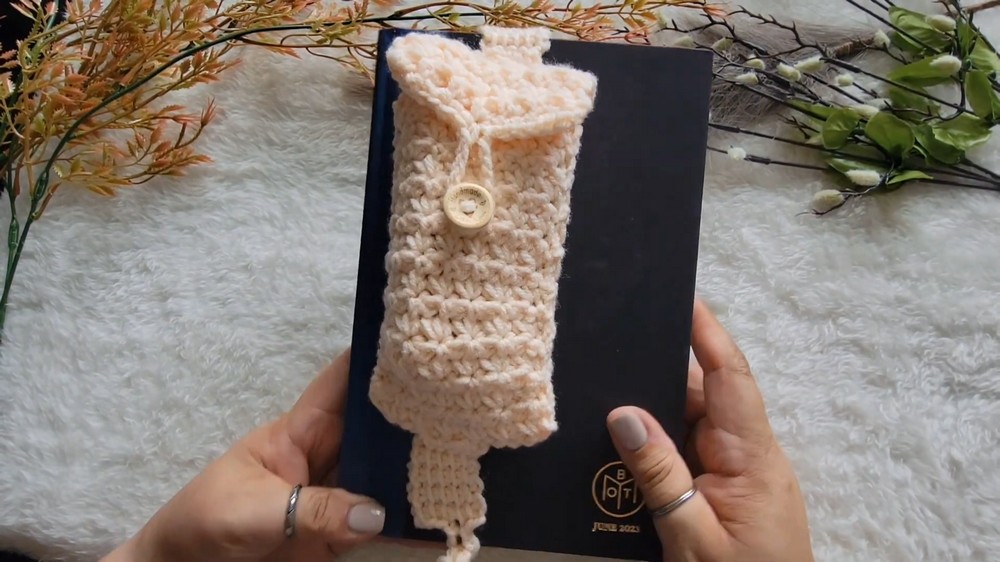
Learn how to crochet a multifunctional glasses pouch that also doubles as a bookmark. Using basic crochet techniques, the creator demonstrates how to knit the trinity stitch, assemble the pouch, and add a button closure. The design includes a bookmark separator and a secure pouch for pens or glasses, making it practical and stylish.
Step-by-step instructions ensure the process is easy to follow, even for beginners. The pouch is customizable with different yarns and colors, offering versatility for various uses, such as a winter headband. This creative project is perfect for craft enthusiasts seeking functional designs. So, follow through with us for the complete tutorial.
Crochet Glasses Pouch & Bookmark
In this tutorial, the creator explains how to crochet a multifunctional pouch that serves as both a glasses case and a bookmark. The design is easy to follow, aesthetically pleasing, and practical for holding reading essentials like glasses, pens, and markers. Here’s a structured breakdown of the instructions:
Materials Needed
- Medium-weight yarn (number 4 acrylic preferred, though cotton or other yarns will work).
- A 5mm crochet hook.
- A pair of scissors.
- A yarn needle with a large eye.
- Two stitch markers.
- A 10mm button (or any preferred size).
Getting Started
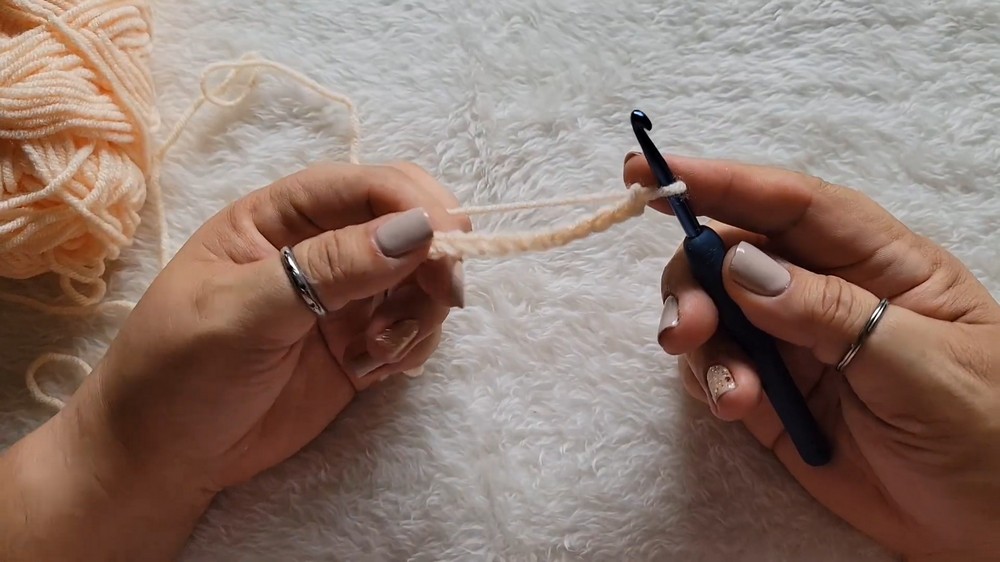
Foundation Chain
- Begin by creating a slip knot.
- Crochet a foundation chain to start the structure of the pouch.
- Leaving a long tail at the start is recommended for sewing the bottom of the pouch later.
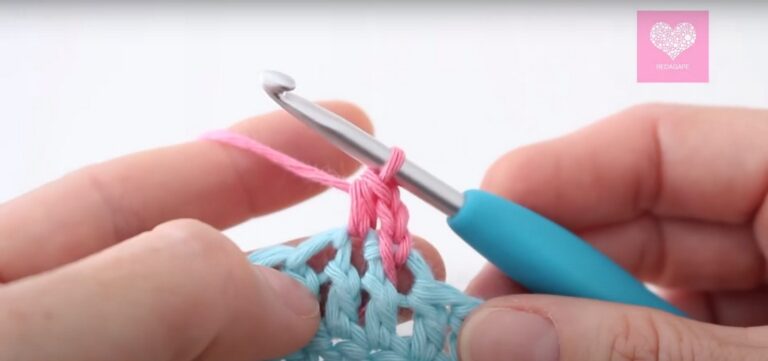
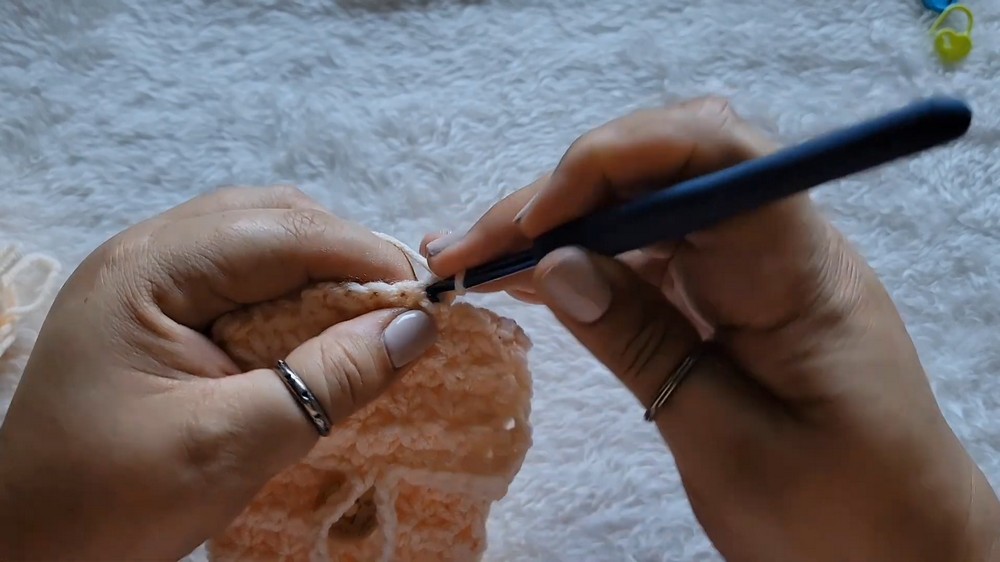
Trinity Stitch Instructions
- The Trinity Stitch, used throughout the project, resembles the Star Stitch but is easier. It involves combining single crochet stitches together.
- Steps to create the Trinity Stitch are demonstrated, including pulling yarn through specific points to form the characteristic “little stars.”
- Continue repeating the Trinity Stitch across the row.
Building the Pouch
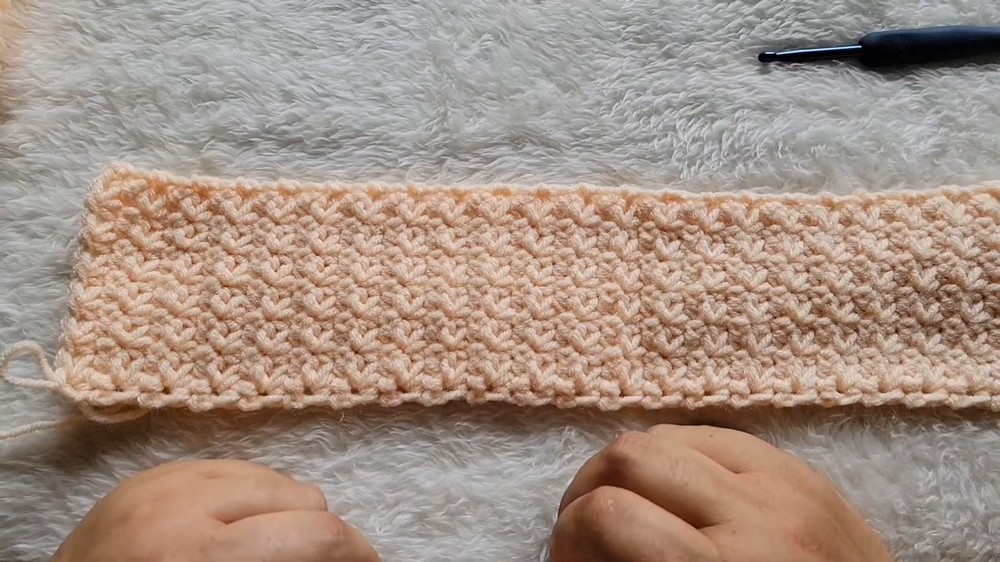
Rows and Texture
- Begin and end each row with a single crochet.
- Continue repeating the Trinity Stitch row after row, while ensuring consistent stitch counts to maintain alignment.
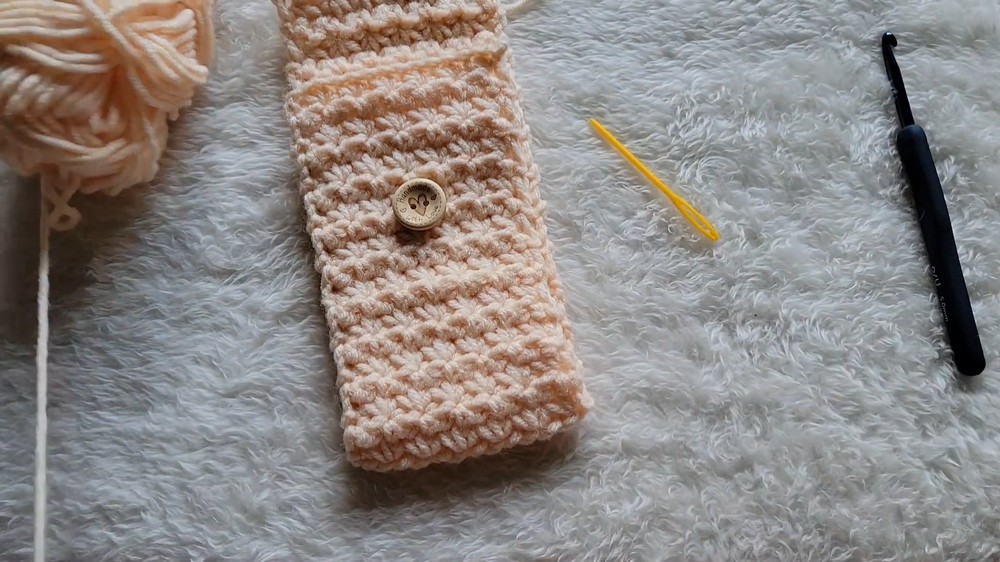
- The texture of the stitch results in a closed, warm, and durable fabric.
Length of the Work
- The tutorial emphasizes maintaining stitch consistency and provides tips for identifying and correcting mistakes.
- Once the correct number of rows has been completed, the resulting piece will serve as the body of the pouch.
Finishing the Pouch
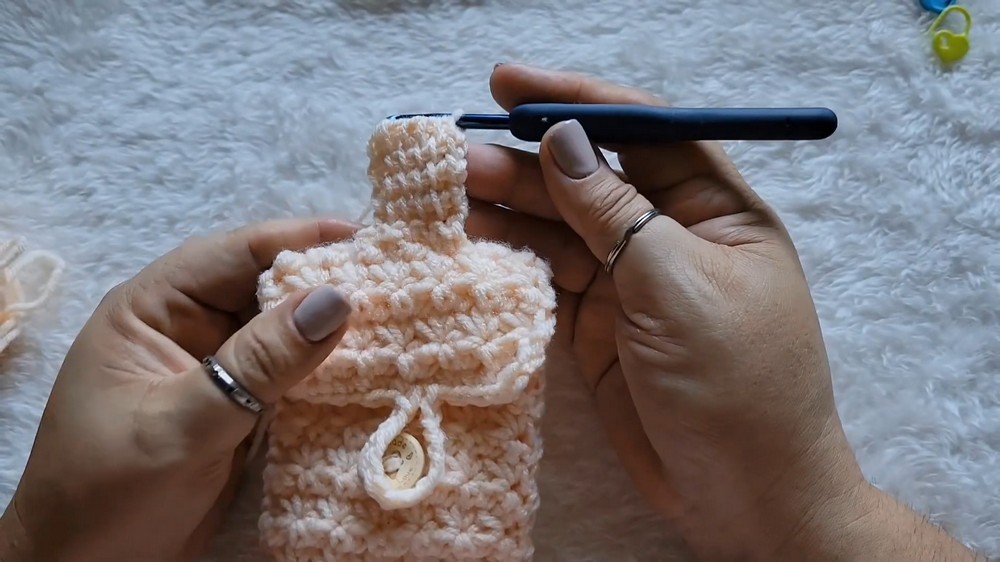
Creating a Button Closure
- To create the closure, single crochet across the top of the last row while leaving an opening for the button by chaining and skipping a section of stitches.
- Sew the button in place, ensuring it aligns with the opening on the flap.
Folding and Sewing
- Fold the bottom of the pouch upward, then sew the sides together neatly using a yarn needle.
- The stitches used for sewing should be shallow to avoid a bulky edge.
- Hide loose threads within the work for a clean finish.
Adding the Bookmark Separator
- Locate the center of the pouch to attach the separator (used as a bookmark).
- Secure the yarn to the center back of the pouch and crochet the separator using either a Tunisian Stitch or single crochets, depending on your preference.
- Create an adjustable strap or loop at one end of the separator for securing it to the book.
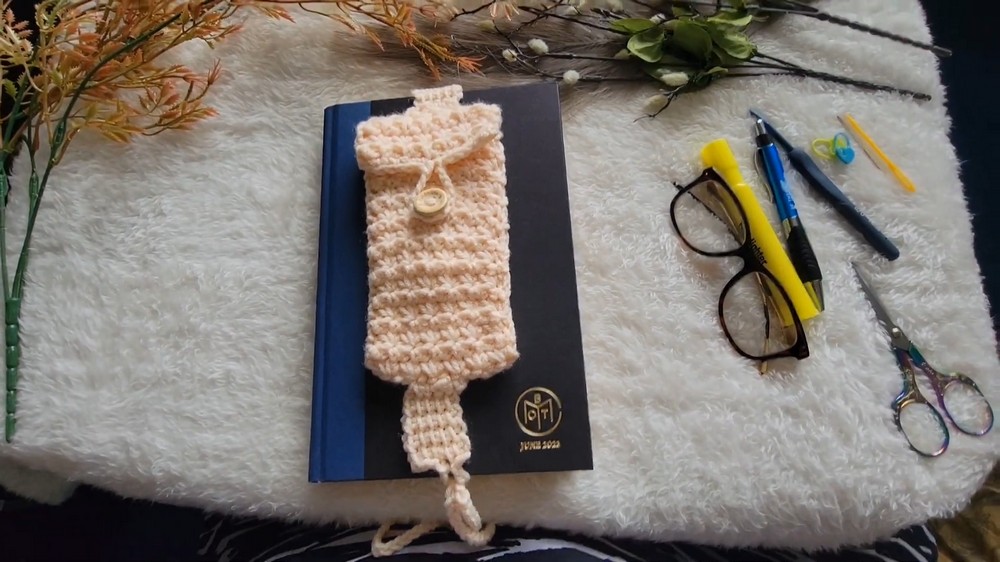
Final Details and Use
- Hide all remaining threads to give the pouch a polished look.
- To use, slide the separator into the desired page of the book, and store glasses, pens, or other items in the pouch at the top.
- The design keeps your reading accessories and bookmarks conveniently combined.
Conclusion
This crochet glasses pouch and bookmark is practical, simple to create, and can be customized further with color changes or other design tweaks. The creator encourages users to share photos of their finished projects and hopes viewers enjoyed the tutorial.