How to Crochet Crop Ivy Tammy Top in Jasmine Puff Stitch for Beginners
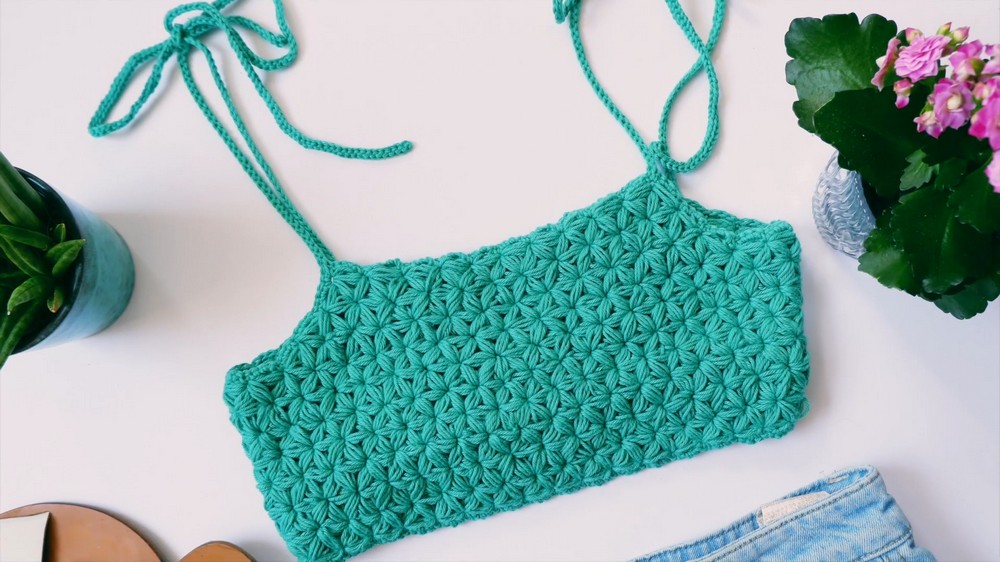
For a little girl, learn how to crochet this Ivy Tammy Top using the beautiful jasmine stitch, which forms intricate six-petal flower patterns. With Paintbox DK cotton yarn, a 4 mm crochet hook, and step-by-step instructions, you’ll learn to make puff stitches, shape the neckline, and add adjustable straps and a lattice tie-back closure for a perfect fit.
The tutorial also covers detailed finishing touches, including adding borders and hiding loose ends, ensuring a polished final product. Perfect for all skill levels, this stylish and customizable top is an excellent project for crochet enthusiasts.

the Ivy Tammy Top Crochet Tutorial
The tutorial walks viewers step-by-step through creating the Ivy Tammy Top using the jasmine stitch, known for its unique six-petal flower design. Below is a summary of the process, organized with headings and bullet points for clarity.
Materials and Tools
- Yarn: Paintbox Yarn DK Cotton (50g skeins, approximately 4 needed).
- Hook: 4mm crochet hook.
- Additional Supplies: Stitch markers and a yarn needle for finishing.
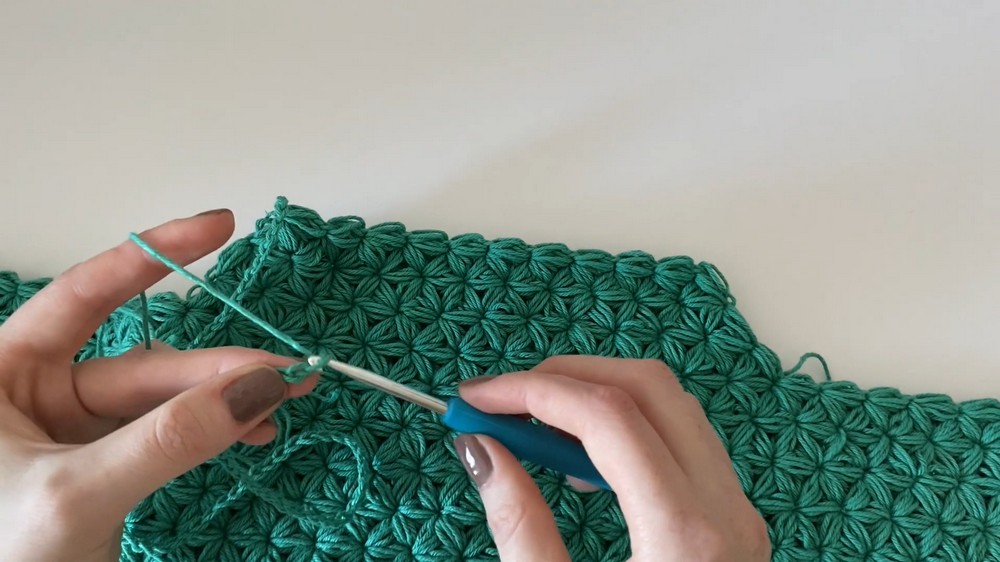
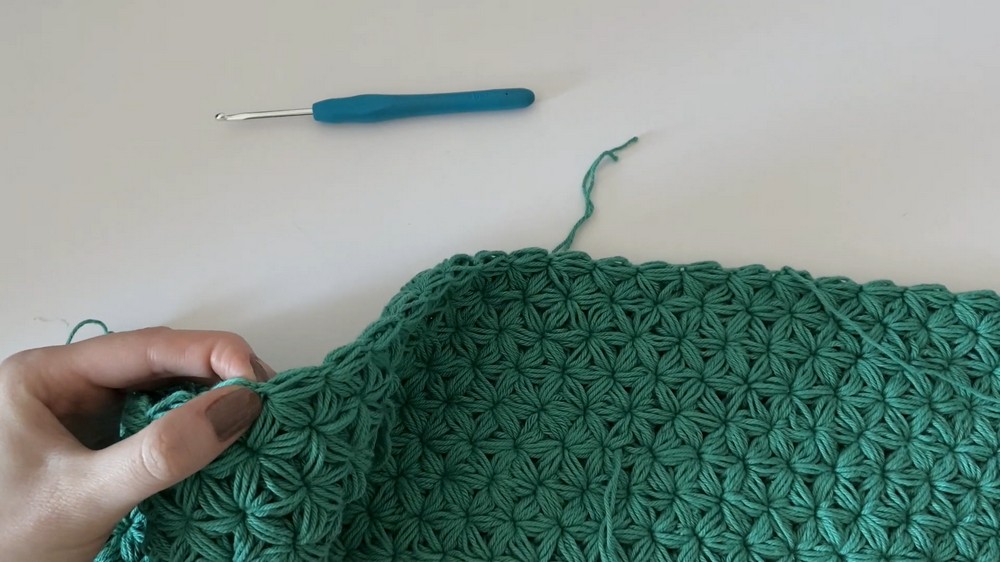
Introduction to the Jasmine Stitch
- The jasmine stitch is the highlight of this project, giving the top its elegant floral texture.
- It builds on puff stitches, which create clusters that resemble petals.
Creating the Foundation
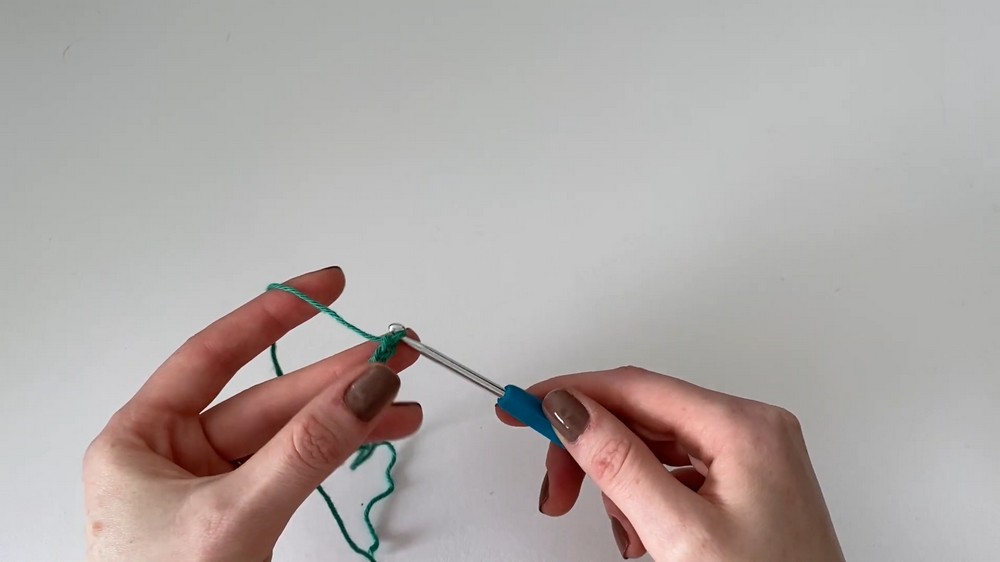
- Begin with a slip knot and chain stitches to start the jasmine stitch.
- Stretch the yarn consistently to maintain uniform puff stitches.
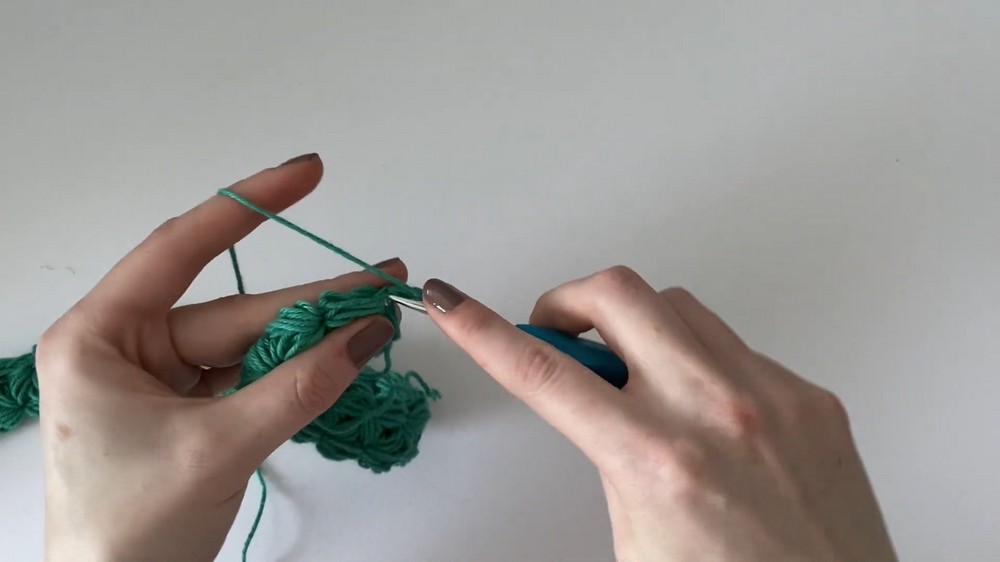
- Puff stitches are created by yarn overs and loops; these clusters will form the width of the top.
- Adjust the width by measuring the chain against your body (approximately 32 puff stitches for a small size).
Constructing the Body
- First Row: Work jasmine stitch puff stitches all the way across the width.
- Turning Puff Stitch: Add a single puff stitch for turning to prevent shrinking rows.
- Subsequent Rows: Continue building rows using the jasmine stitch with three clusters of puff stitches at a time.
Creating the Neckline
- Count puff stitches to determine where the neckline shaping begins (e.g., 9 puff stitches in for the neck curve).
- Attach yarn and skip the turning puff stitch to create angled shaping.
- Work three rows of angled jasmine stitch to finish the neckline while maintaining the sloped edge.
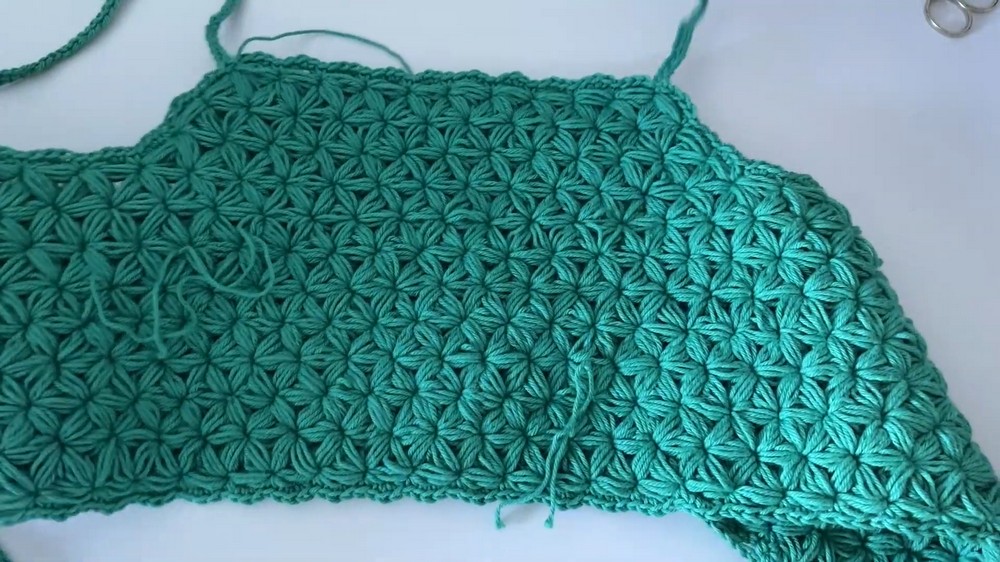
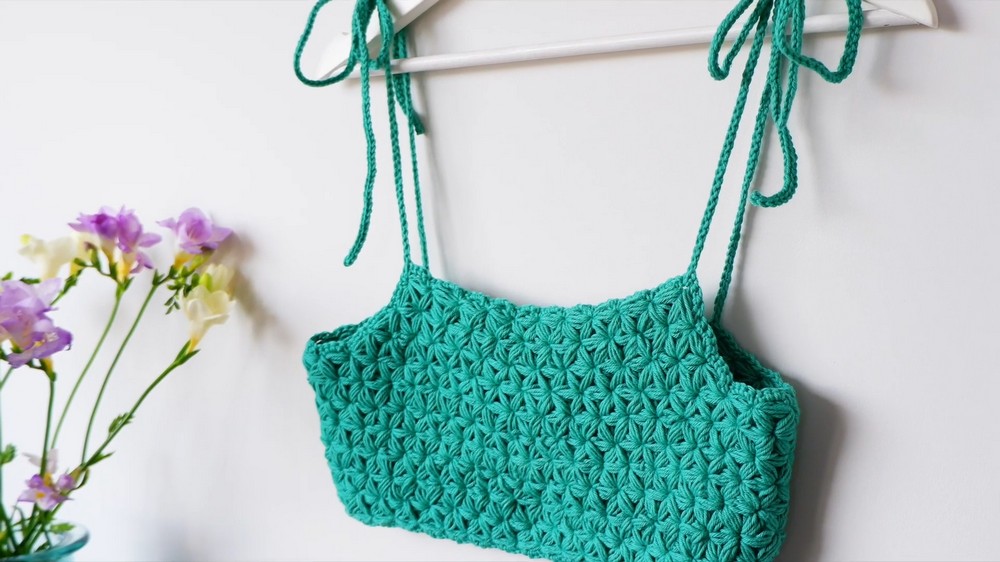
Straps
- Create long straps for tying the top at the shoulders.
- Chain 75 stitches for each strap and slip stitch back down for reinforcement.
- Attach the straps securely to the neckline and ensure symmetry on both sides.
Adding Borders
- Top Edge Border: Single crochet along the edge for a clean finish.
- Side Panels: Add a border to the side edges by single crocheting into puff stitches and chain spaces.
- Corners are reinforced with additional single crochets for sharper edges.
Back Closure Loops
- Add loops for a lace-up tie at the back.
- Chain three, skip three stitches, and single crochet for each loop.
- Create enough loops to match the height of the top, ensuring an adjustable fit.
Final Details
- Finish the bottom edge with a single crochet border.
- Add straps symmetrically at the rear for tying at the back.
- Create a long tie (around 250 chains) to thread crisscross through the loops for closure.
Finishing Touches
- Use a yarn needle to weave in loose ends, hiding them within puff stitches for a clean look.
- Secure all areas and trim excess yarn.
- Adjust the fit and tie the straps at the shoulders and back.
Conclusion
By following the tutorial, anyone can complete the Ivy Tammy Top using the jasmine stitch for a textured and elegant design.