How to Crochet Spider Plushie Amigurumi for Beginners

Learn how to crochet an amigurumi spider plushie with a step-by-step tutorial for beginners and experts. The creator mentions that they are planning on making two spiders: a black and red one, and another one based on a spider they saw on Google. The tutorial is broken down into the different parts of the spider: the body, legs, fangs, and head. The video provides instructions on how to crochet each of these parts using a magic ring, single crochets, and increasing and decreasing stitches to create the shapes.
It also covers how to crochet the legs directly into the head and how to assemble all the pieces, including sewing on the fangs and adding safety eyes. The video concludes with the creator showing the finished spiders. So, follow through with us for the complete tutorial.

Project Overview
The video’s host plans to create two crochet spiders. The first is a black and red spider, similar to a prototype they had made previously. The second spider is inspired by a reference image found online.

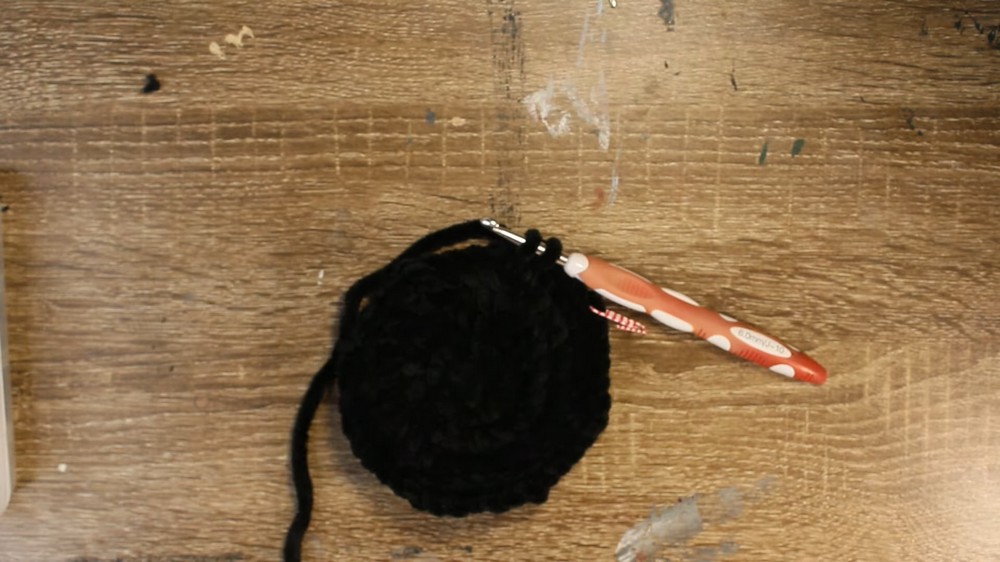
Construction Process
-
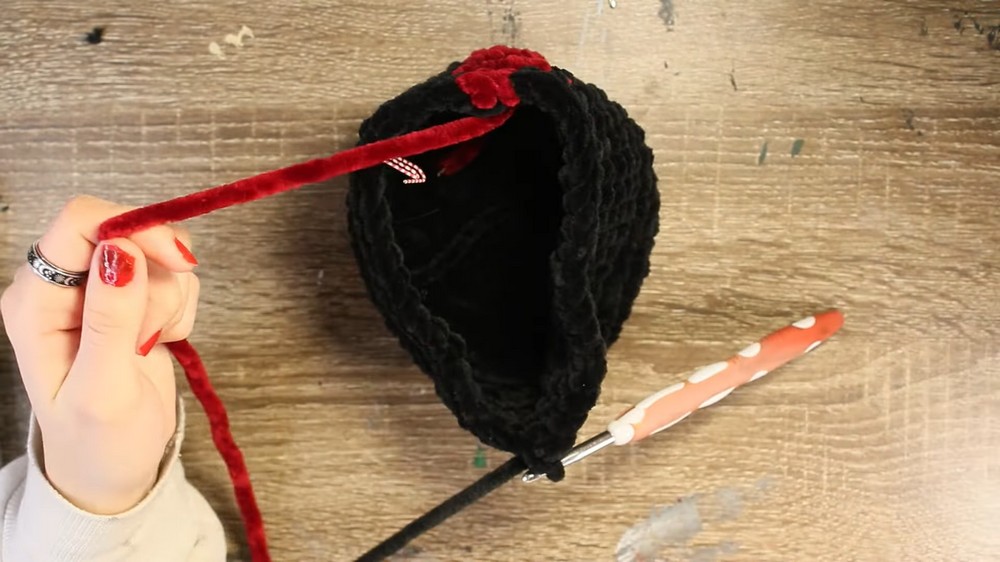
Body: The process begins with creating the spider’s body, which is the red section on the black widow prototype. The shape starts in a magic ring and then is worked in an oval shape for several rounds before beginning the decrease rounds to close it off.

-
Legs: After the body is complete, the eight legs are created. The legs are designed not to need a long string at the end as they will be sewn directly onto the project.
-
Fangs: The fangs are made in a red color. The host mentions that making the smaller items first helps to feel a sense of accomplishment. The fangs also help determine the spacing for the legs.

-
Head: The head is crocheted similarly to the body, starting with an increasing round before decreasing. The legs are incorporated into the head during the second single crochet row. The host also adds four eyes to the head, with two being smaller and placed on the outside of the larger ones.
Assembly and Final Details
-
The fangs are sewn on first, placed in a small gap.
-
The head and body are then connected by sewing them together, taking care to ensure it is not slanted.
Results
The host expresses satisfaction with the final results, particularly with the colors and the pattern, and states there is nothing they would change about it. They also mention that both spiders are for sale.