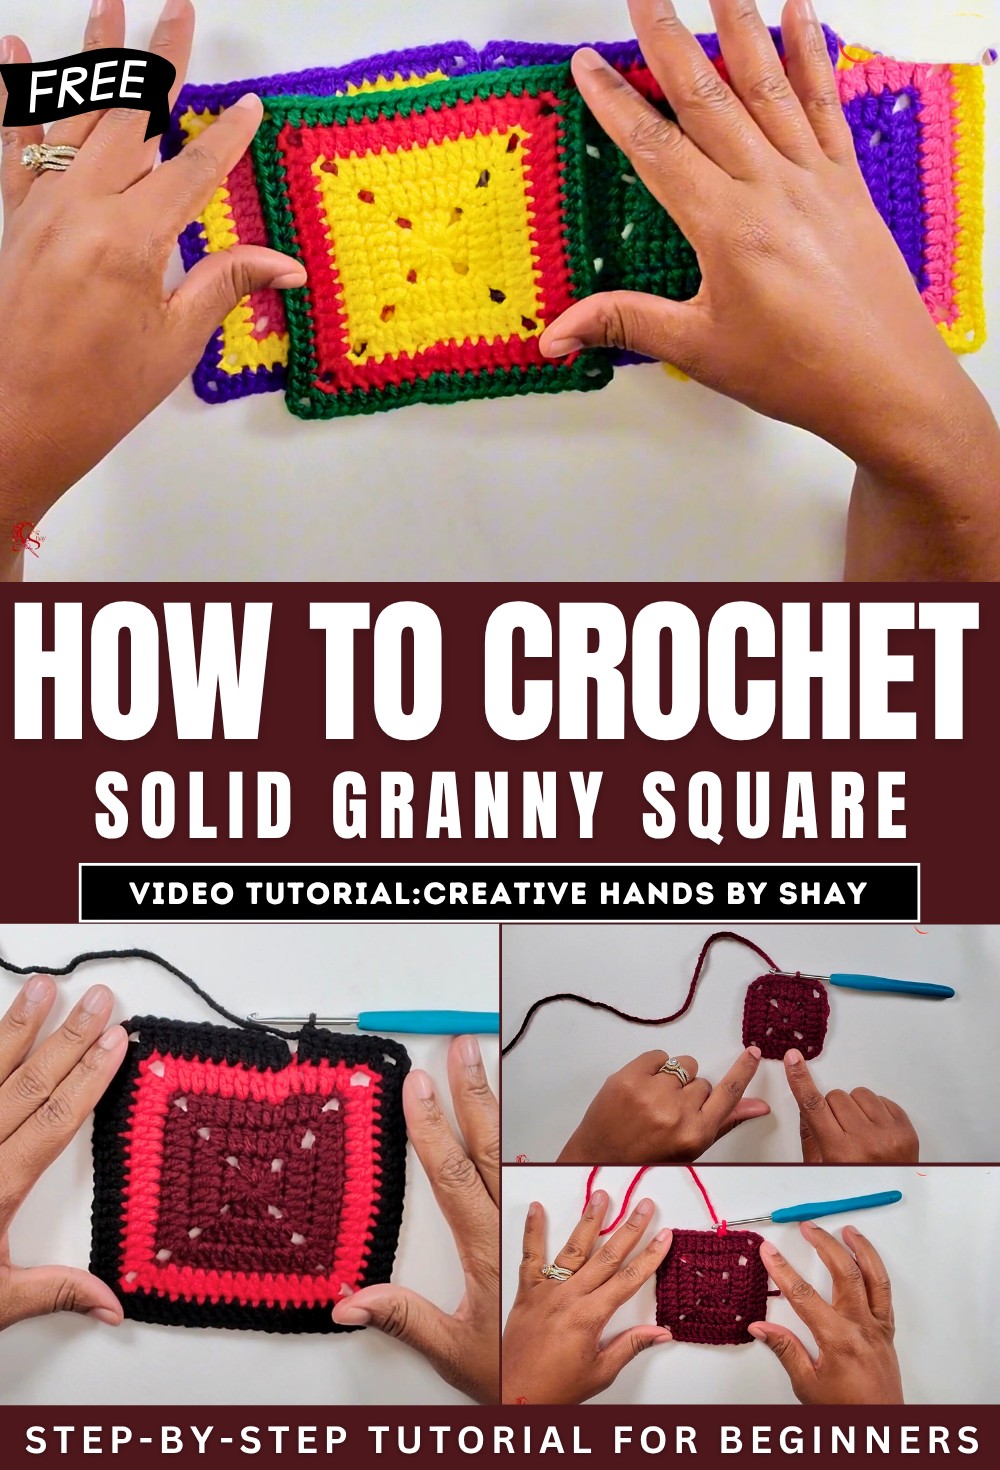
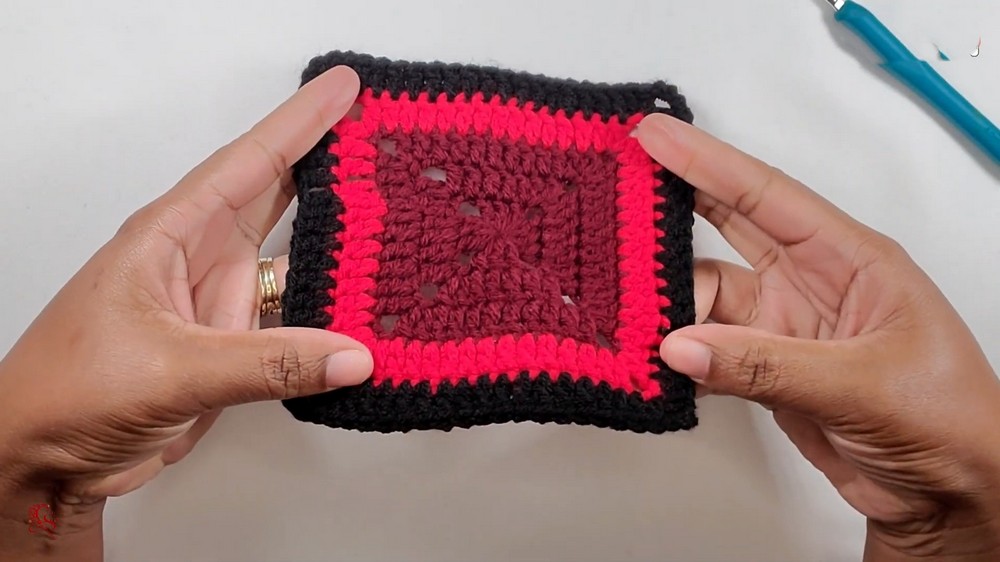
How To Make A Solid Granny Square (Tutorial for Beginners)
In this post, you will learn how to crochet a solid granny square in many colors for all skill levels and experts. It covers the materials needed, including a 4.0 mm crochet hook, scissors, a darning needle, and yarn. The tutorial begins with creating a magic ring and then guides through the first row, which involves making four sets of three double crochets separated by chains.
Subsequent rows involve increasing stitches to expand the square, with instructions on how to change yarn colors. The video concludes with how to fasten off and weave in ends, and suggests using a blocking board for a flat finish. So, follow through with us for the complete tutorial.
Crocheting a Solid Granny Square
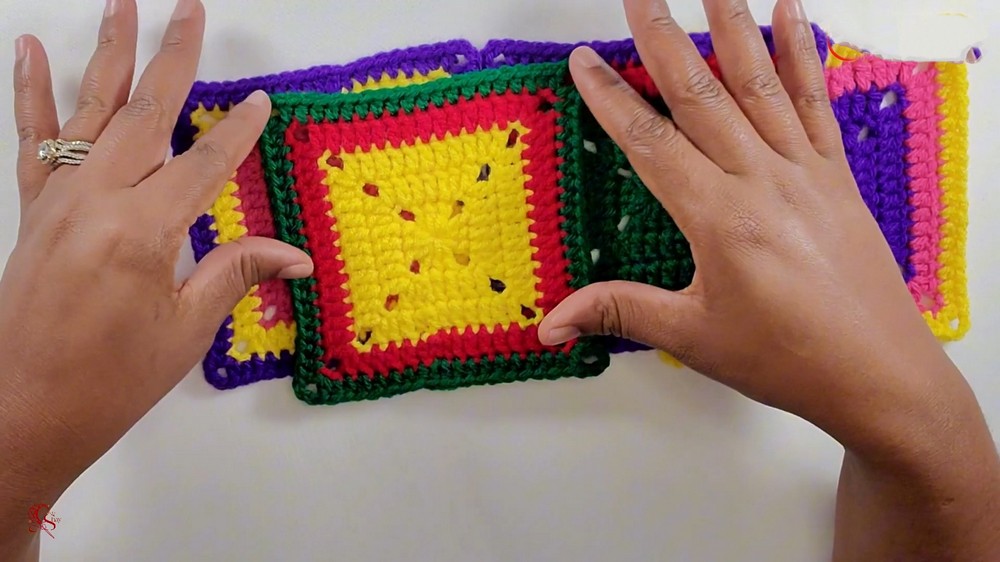
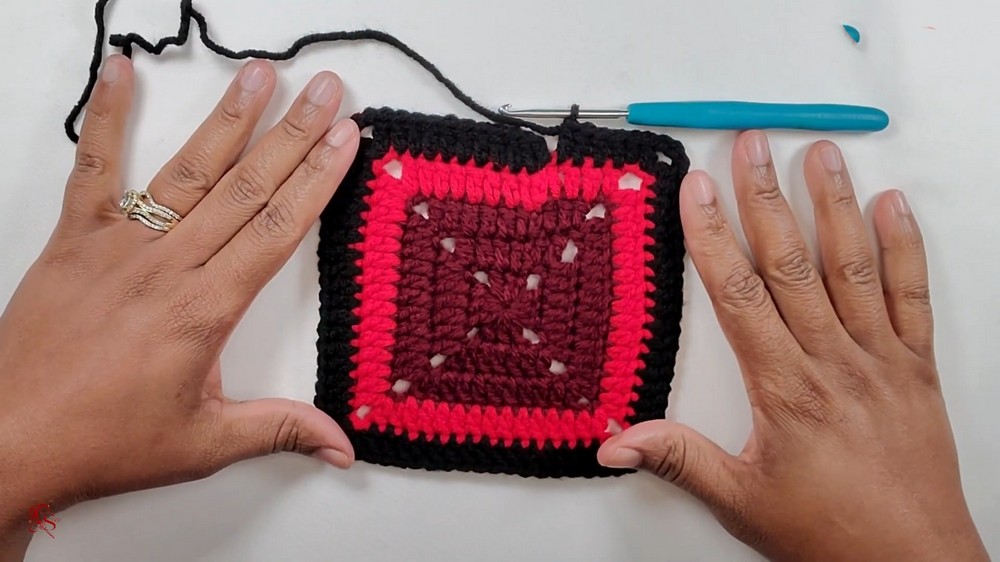
This video provides a detailed tutorial on how to crochet a solid granny square. The creator demonstrates how to make these squares, which can be created in one solid color or multiple colors.
Materials Needed
-
A 4.0 mm crochet hook
-
Scissors
-
A darning needle
-
Yarn (in one or multiple colors)
Construction Steps
The tutorial guides viewers through creating the granny square, row by row, with instructions for increasing the size and changing colors.
-
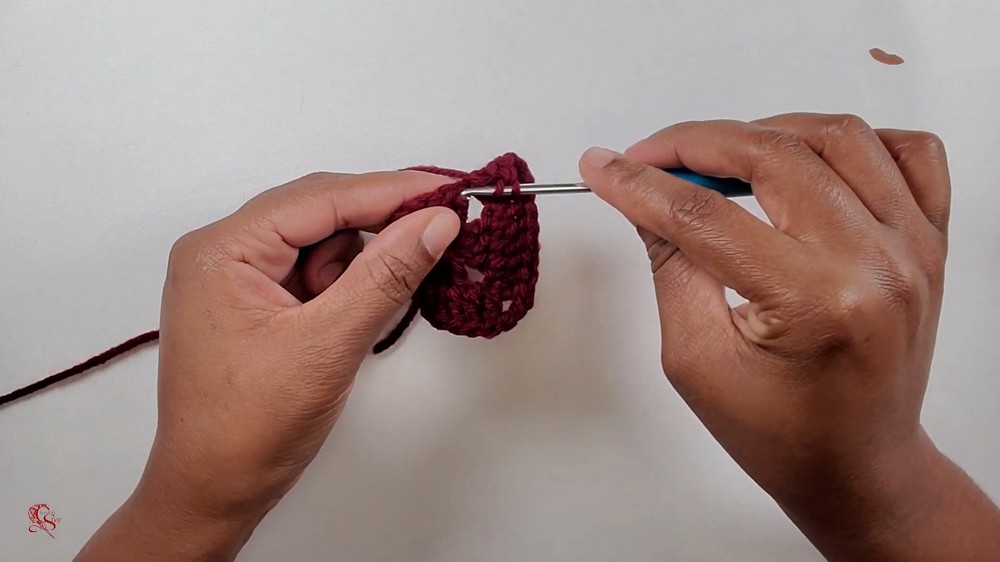
Starting the Square
-
Begin by creating a magic ring. This provides a tight center for the square.
-
Chain up two stitches, which will count as the first double crochet of the round.
-
First Row: Make four sets of three double crochets. Each set should be separated by a chain of three stitches. This forms the initial square shape with four corners.
-
Join the round with a slip stitch into the top of the initial chain two.
-
-
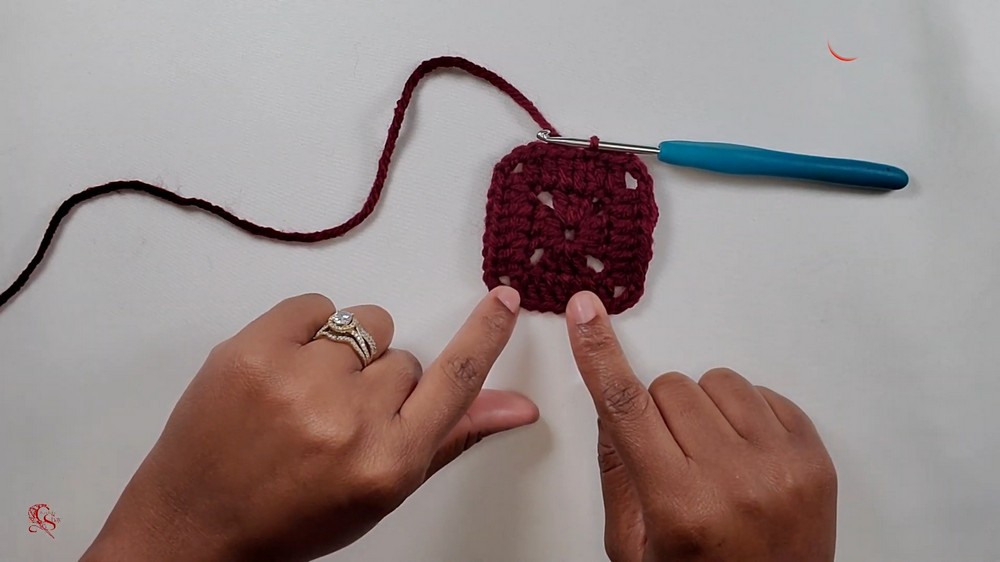
Subsequent Rows (Increasing the Square)
-
Row 2:
-
Start with a chain of two and two double crochets in the same space.
-
Work into the chain-three spaces from the previous row to create the corners. Each corner will consist of a double crochet, a chain of three, and another double crochet in the same stitch.
-
Along each side of the square, you will make double crochets. The goal is to have a specific number of stitches on each side of the square.
-
Join the round with a slip stitch.
-
-
-
-
Row 3:
-
Continue the pattern of making double crochets along the sides and forming corners in the chain-three spaces.
-
The number of stitches on each side will increase from the previous row.
-
Join the round with a slip stitch.
-
-
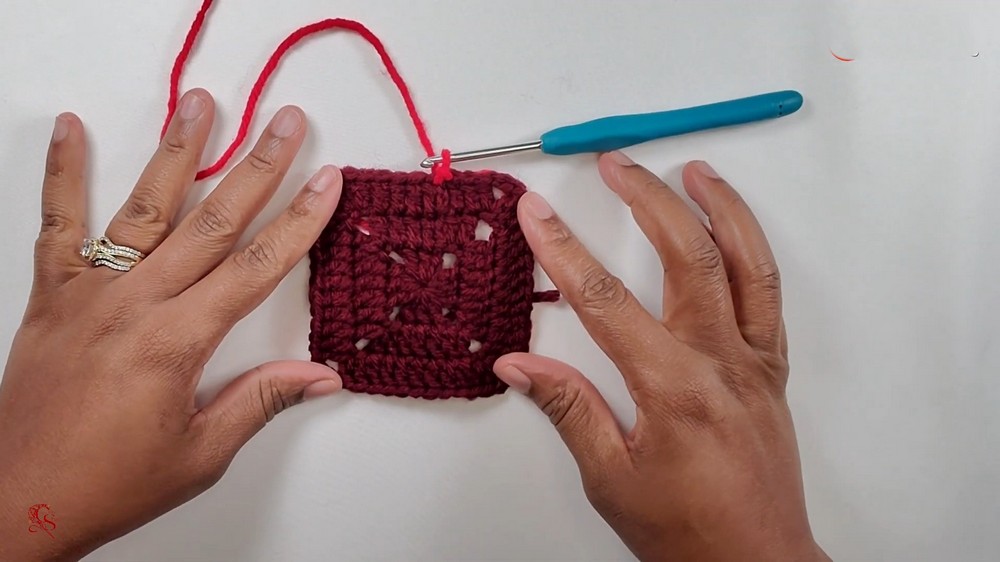
Row 4 (Color Change Demonstration):
-
If you wish to change colors, the video demonstrates how to switch yarn colors just before making the final slip stitch to join the round. This ensures a seamless color transition.
-
Continue the pattern of increasing double crochets along the sides and forming corners.
-
-
-
The number of stitches on each side will again increase.
-
Join the round with a slip stitch.
-
-
Row 5:
-
The tutorial shows this as the final row in the demonstration.
-
Continue the established pattern of increasing stitches on each side.
-
Join the round with a slip stitch.
-
-
Finishing the Square
-
Fastening Off: Once you have completed all desired rows, the video provides instructions on how to fasten off the yarn securely.
-
Weaving in Ends: Use a darning needle to weave in all the tail ends of the yarn for a clean and professional finish. This hides any loose threads.
-
Blocking: The creator suggests using a blocking board to stretch the finished square. This helps the square to lay flat and maintain its shape, especially if it has curled or become uneven during crocheting.