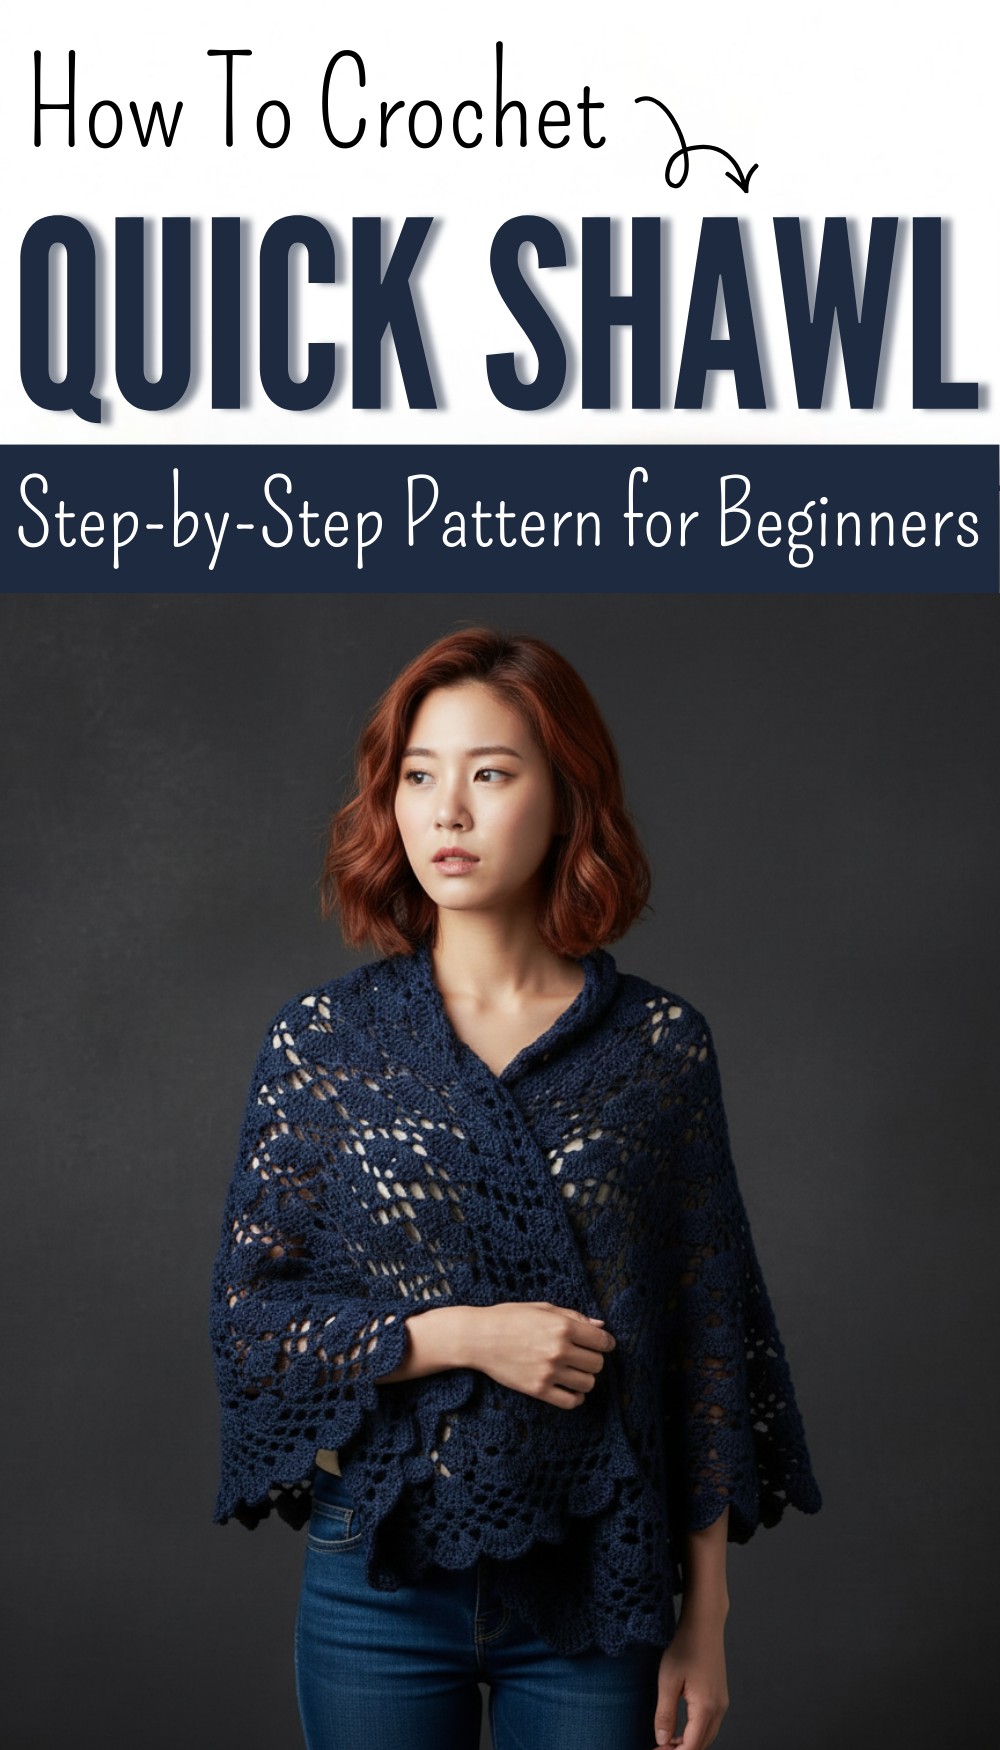
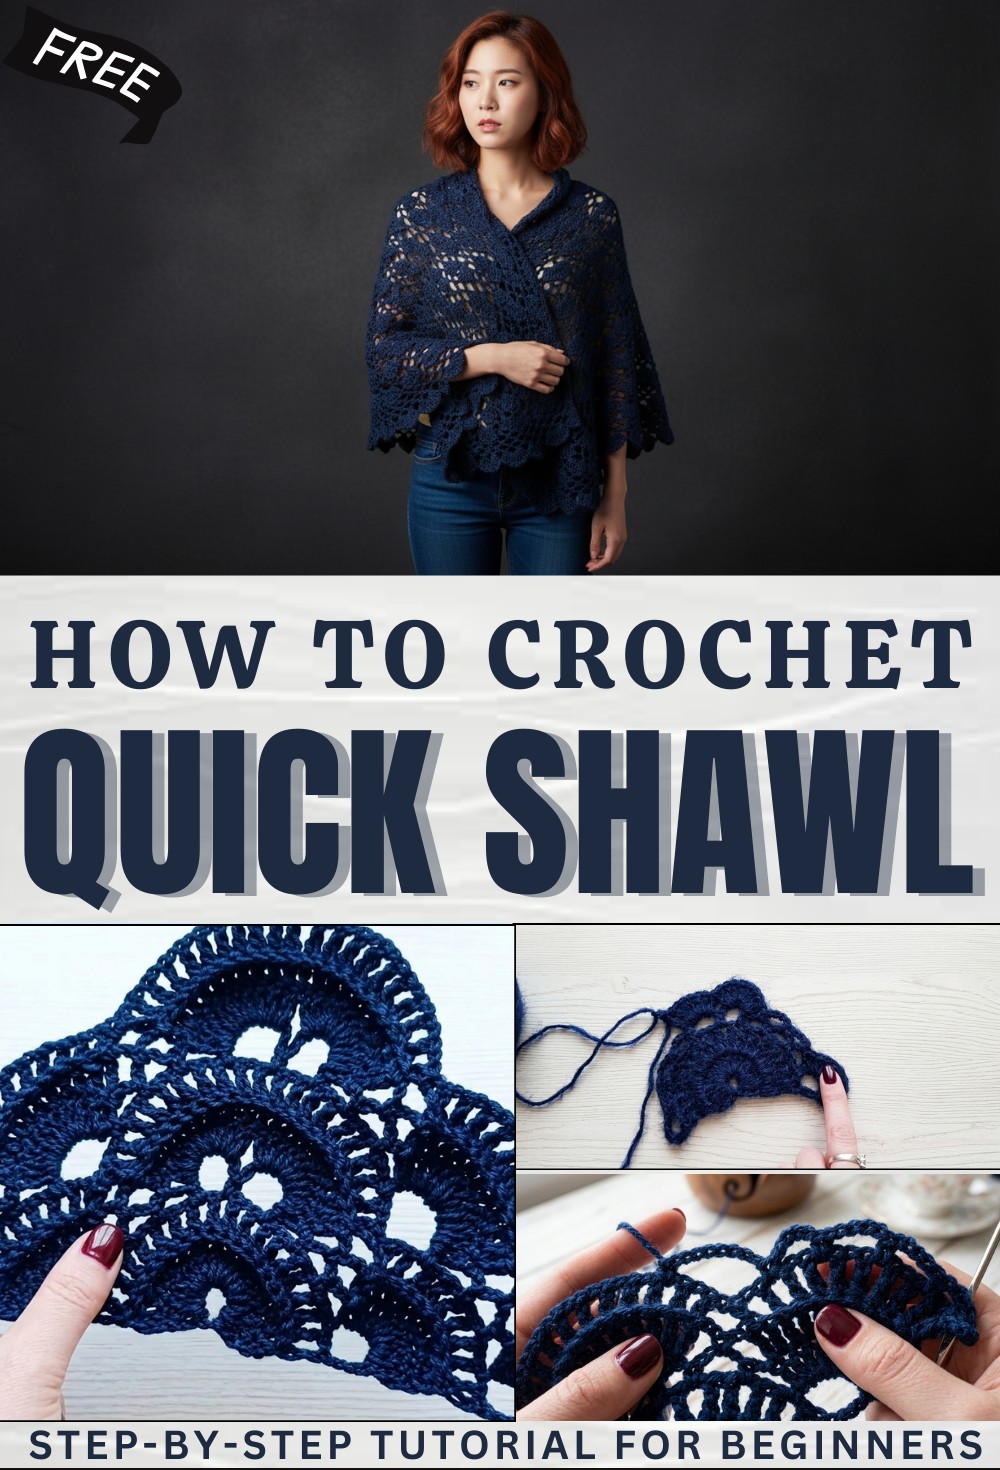
Minimalist Free Crochet Shawl Pattern to Simplify Your Look
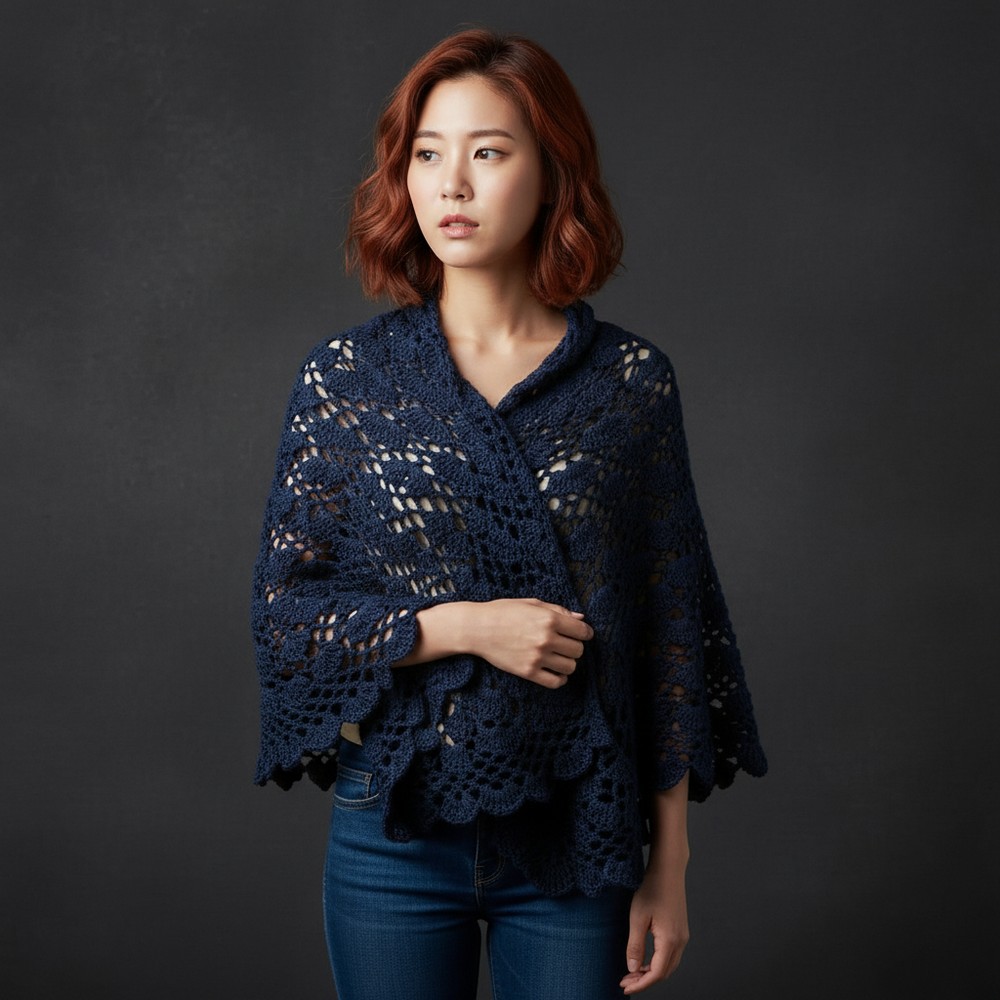
Find comfort and beauty with this free crochet shawl pattern for a soft, stylish wrap that’s perfect for any season or special occasion.
Soft layers with gentle waves rest on the shoulders giving a warm and cozy touch in every season. This wrap often has pretty designs and colors that catch the eye and bring a sense of elegance to your look. A crochet shawl pattern brings a world of choice so you can pick bright shades or soft pastels to match what you love most. Some pieces are simple and lightweight offering comfort for cool evenings while others feel rich and full with lovely textures.
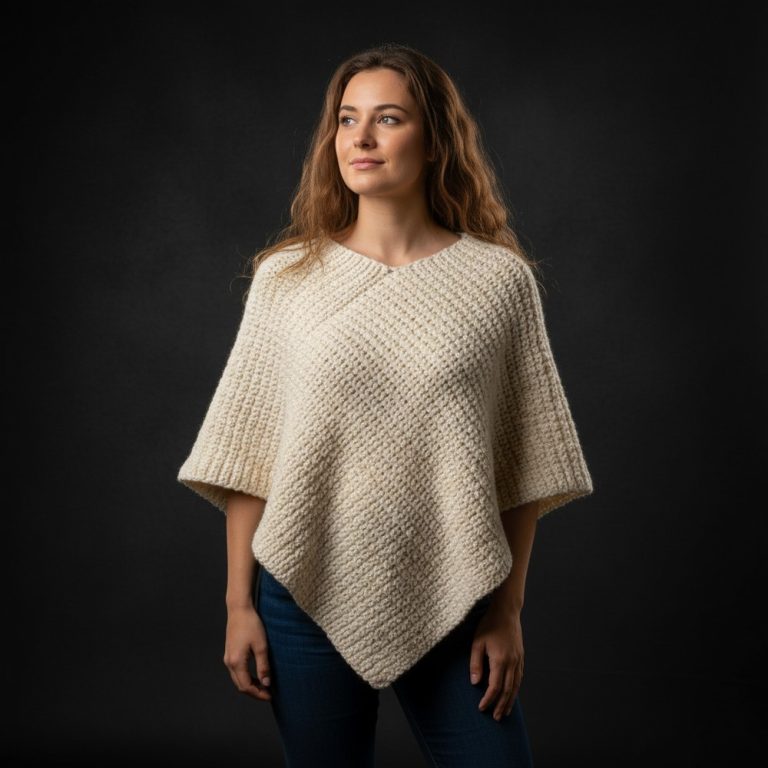
Lightweight Free Crochet Shawl Pattern For Spring Days
Many people use it for extra warmth in chilly air or as a style statement at special events. Because every crochet shawl pattern is easy to adjust you can always have one just right for your family or friends. From young to old this beautiful wrap lets anyone add a touch of beauty to daily life while staying comfortable and stylish every day.

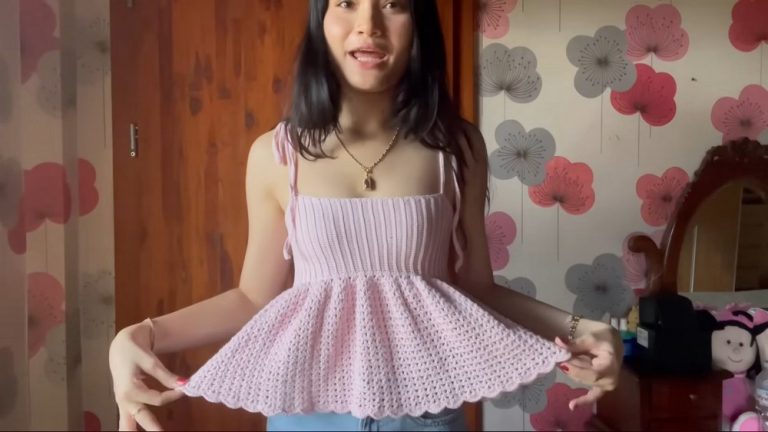
FREE Crochet Modern Shawl Pattern
Materials List
- Yarn: Worsted Weight Yarn
- Hook: Size I-9 (5.5 mm) crochet hook
- Tapestry Needle: For weaving in ends
- Scissors: For trimming yarn
- Optional: Stitch markers, blocking supplies
Abbreviations
| Abbreviation | Stitch Name |
|---|---|
| ch | chain |
| sl st | slip stitch |
| sc | single crochet |
| dc | double crochet |
| fpdc | front post double crochet |
| rep | repeat |
| st(s) | stitch(es) |
| sp | space |
Special Notes
- The shawl is worked in rows, turning at the end of each row.
- Chains at the start of each row count as the first stitch unless noted otherwise.
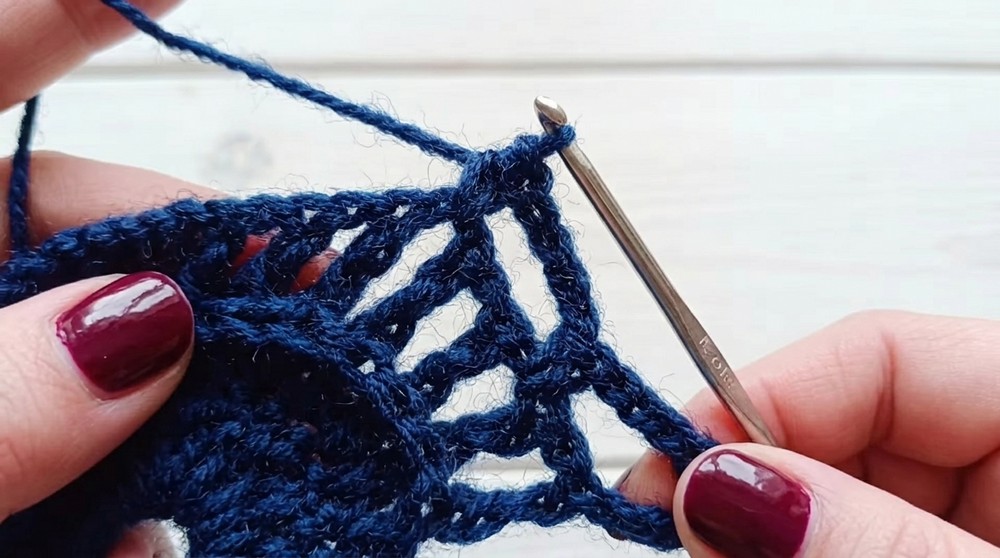
- You will be making “nets” (chain spaces) that create the lacelike effect.
- The shawl can be of any length; stop when you reach your desired size.
- If you are left-handed, feel free to mirror the directions.
Pattern Instructions
Foundation
- Make a slip knot and chain 10.
- Join with a sl st to the first ch to form a ring.
Row 1: Creating the Center Circle
- Ch 3 (counts as first dc).
- Make 19 dc into the ring. (20 dc total)
- Join with a sl st to the top of the beginning ch-3.
Row 2: Build the Base
- Ch 3, turn.
- 1 dc in each st across the row (20 dc).
Row 3: Begin Post Stitch Pattern
- Ch 4, turn.
- Starting in the second st:
- (Ch 1, fpdc around next st), rep across, ending with a dc in last st.
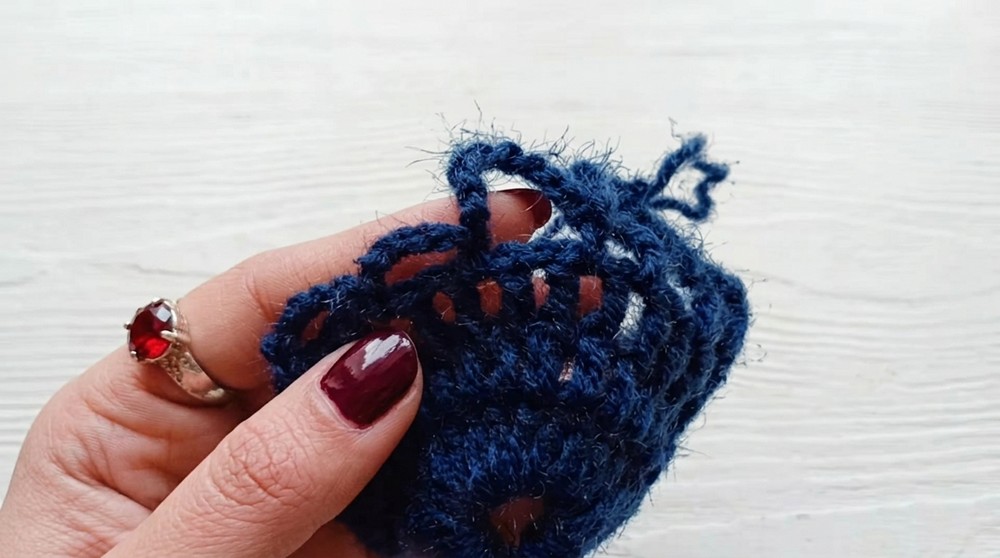
Row 4: Start Mesh (Net) Section
- Ch 10, turn.
- Skip the next mesh space (sp), sc in next mesh sp.
- Ch 5, skip the next sp, sc in next sp. Rep 2 more times (3 mesh “nets” of ch 5 total).
- Ch 10, skip next sp, sc in next.
- Repeat previous step as pattern/width requires.
- End with ch 7, dc in last st.
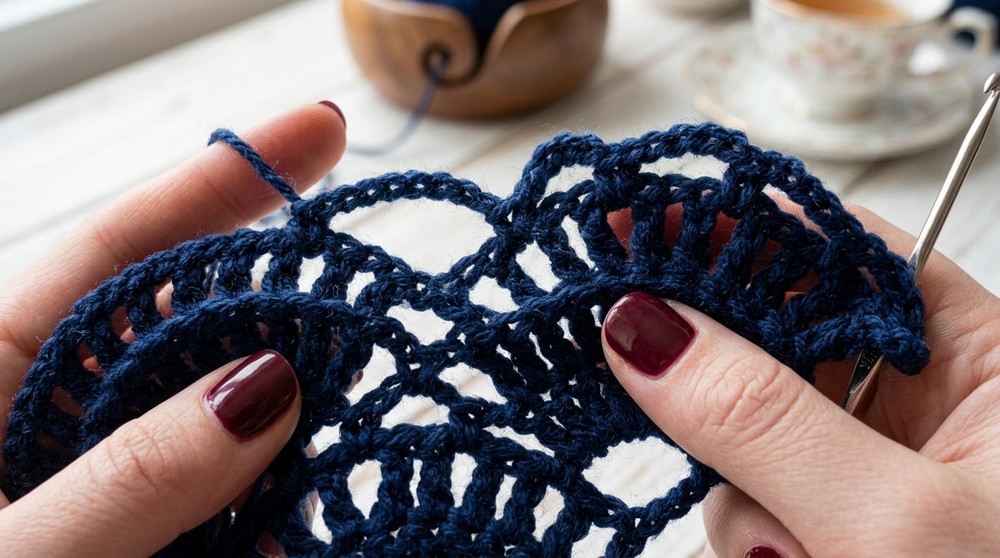
Row 5: Build Mesh & Double Crochet Clusters
- Ch 3, turn.
- Make 10 dc in first ch-10 sp.
- Sc in next ch-5 sp.
- Ch 5, sc in next ch-5 sp. Do this across 3 mesh spaces.
- Make 10 dc in the next ch-10 sp.
- Continue pattern accordingly.
Row 6 and Beyond: Establish Repeats
Even Rows
- Ch 3, turn.
- Work 1 dc in each dc across, joining sections with sc in each mesh/net space.
- For each mesh section: ch 5, sc in next mesh/net, continue as previously described.
Odd Rows
- Ch 4, turn.
- Ch 1, fpdc around next st across, as established.
- For mesh rows: ch 10 for wide mesh, ch 5 for small mesh following the mesh pattern as the shawl grows.
Continue
- Repeat rows of dc and mesh according to established pattern. Increase the number of repeats as the shawl grows, maintaining symmetry. Always check that large ch-10 and small ch-5 meshes are aligned for a uniform netted effect.
Final Row: Finish Edging
- In the last row, you can finish with a solid row of dc or add a border of your choice (shell, picot, etc.) for added flair.
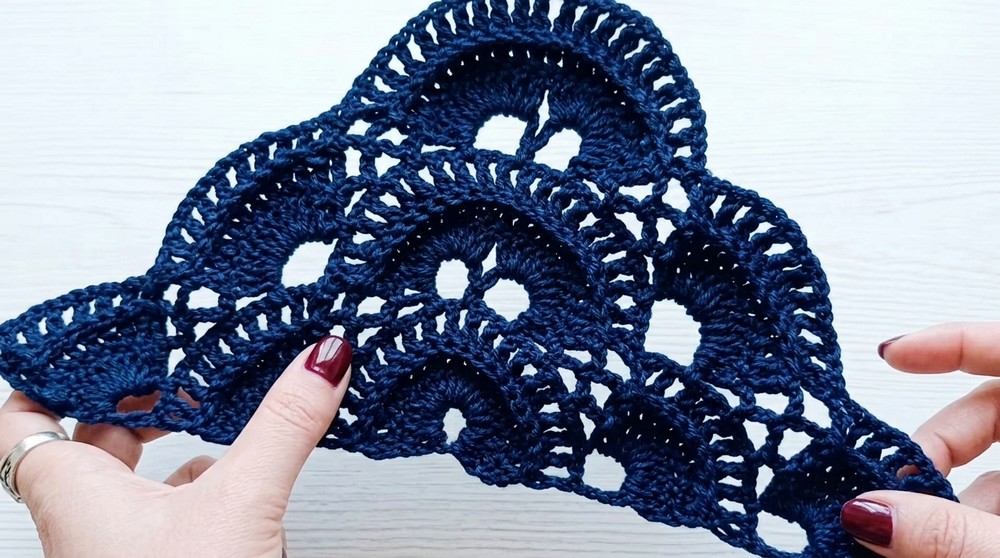
Conclusion
You have now completed the foundation and established the main pattern for your shawl. Repeat the sequence of double crochets and mesh/grid rows until the shawl reaches your preferred size. This pattern creates a lovely mix of solid and lace for warmth and style.
Pattern Corrections & Tips
- Correction: The video occasionally refers to the mesh as “nets” or “peace”. Always interpret these as either chain-spaces (ch-10 = wide mesh, ch-5 = narrow mesh).
- Tip: Use stitch markers to help keep your place, especially where the mesh sections increase.
- Tip: Block your shawl after finishing to open up the lace and even the edges.
- Tip: If you want a larger or smaller shawl, simply repeat the mesh and double crochet rows as needed.