Simple Free Crochet Bag Pattern for Fashionable Storage
Easily style your day with free crochet bag pattern as you create a cute and useful accessory perfect for shopping, school or any fun outing.
Beautiful shapes and unique design can come together with your hands and some yarn to make something special for everyday use. A crochet bag pattern offers a simple way to create a bag in any style or size you like. This bag is not just for holding things; it helps you express your own creativity and adds charm wherever you go. Soft yarn loops make the bag strong yet gentle, and you can use it for shopping, school, going to the park, or visiting a friend.
Free Crochet Bag Pattern for Eco-Friendly Fashion
Often, the bag has handy features like a pocket or a drawstring that keeps important items safe. The finished look of a bag made by following a crochet bag pattern is always one-of-a-kind, showing the care you put into making it by hand. Making and using your own bag can fill each day with a sense of pride and joy, making it much more than just something to carry your things.
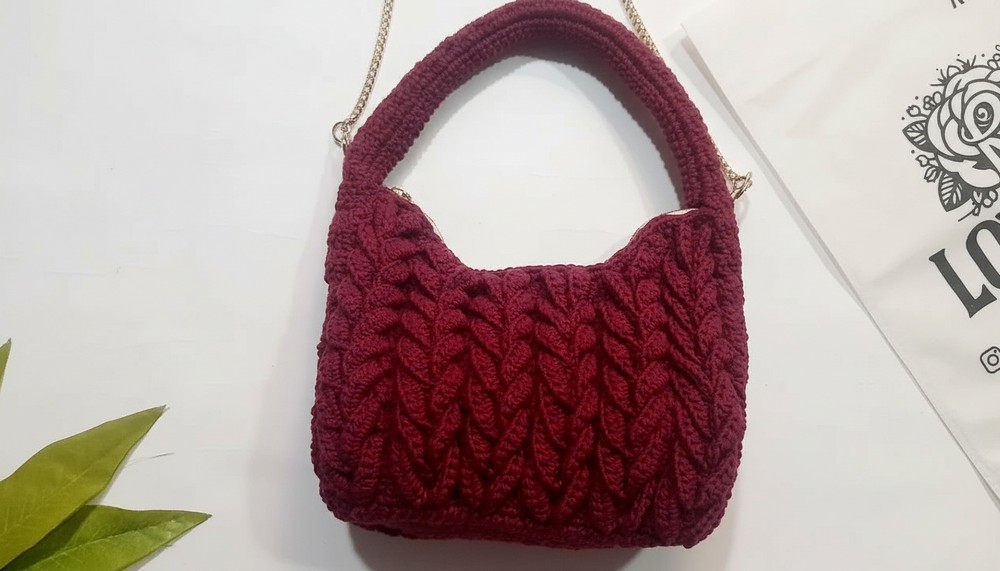
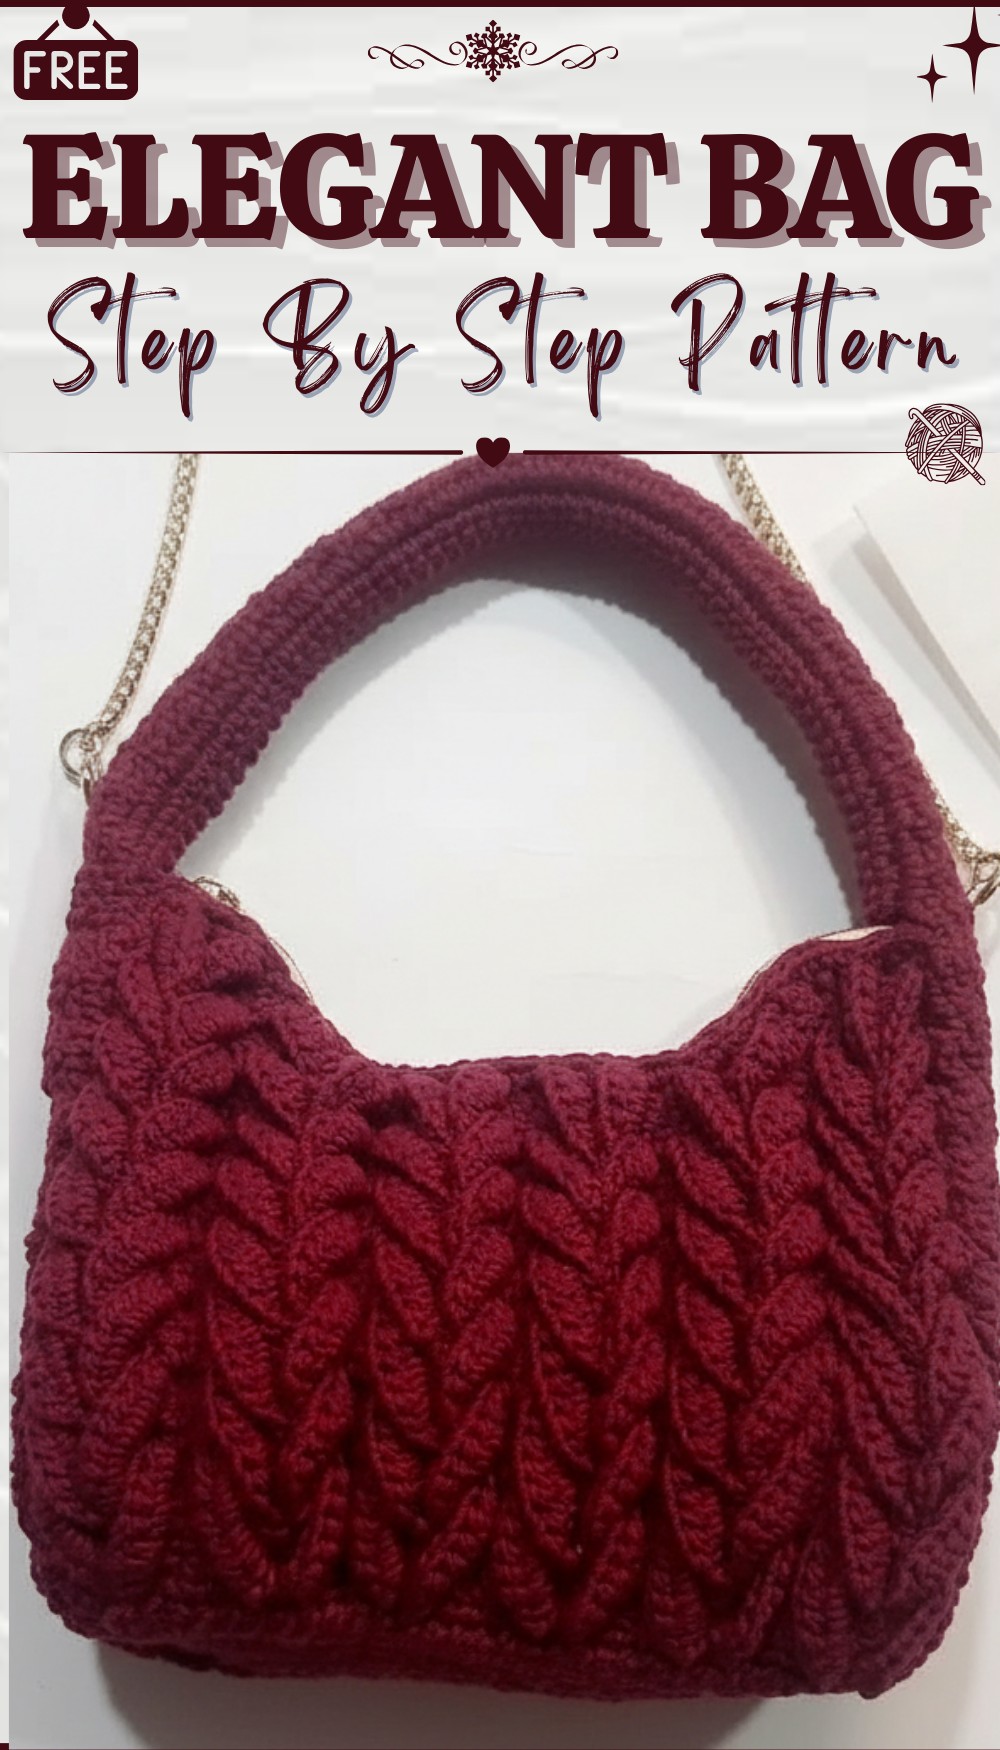
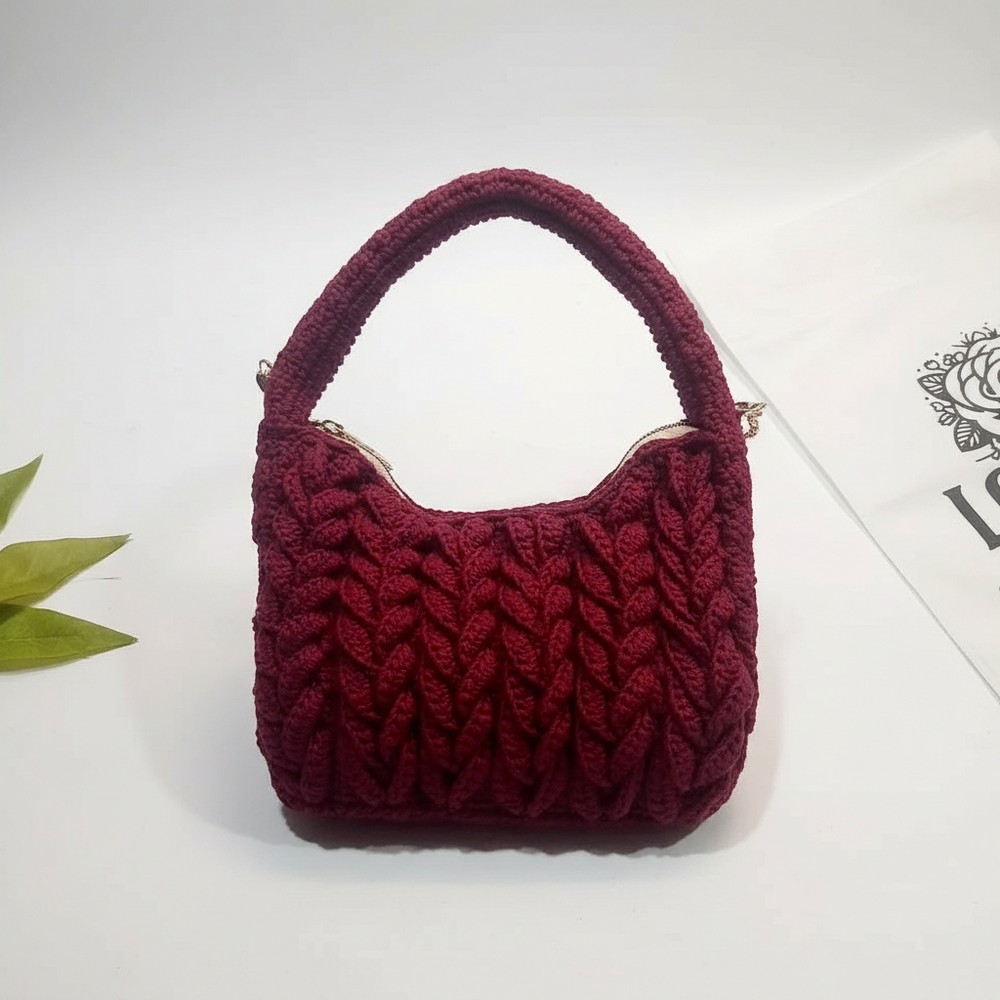
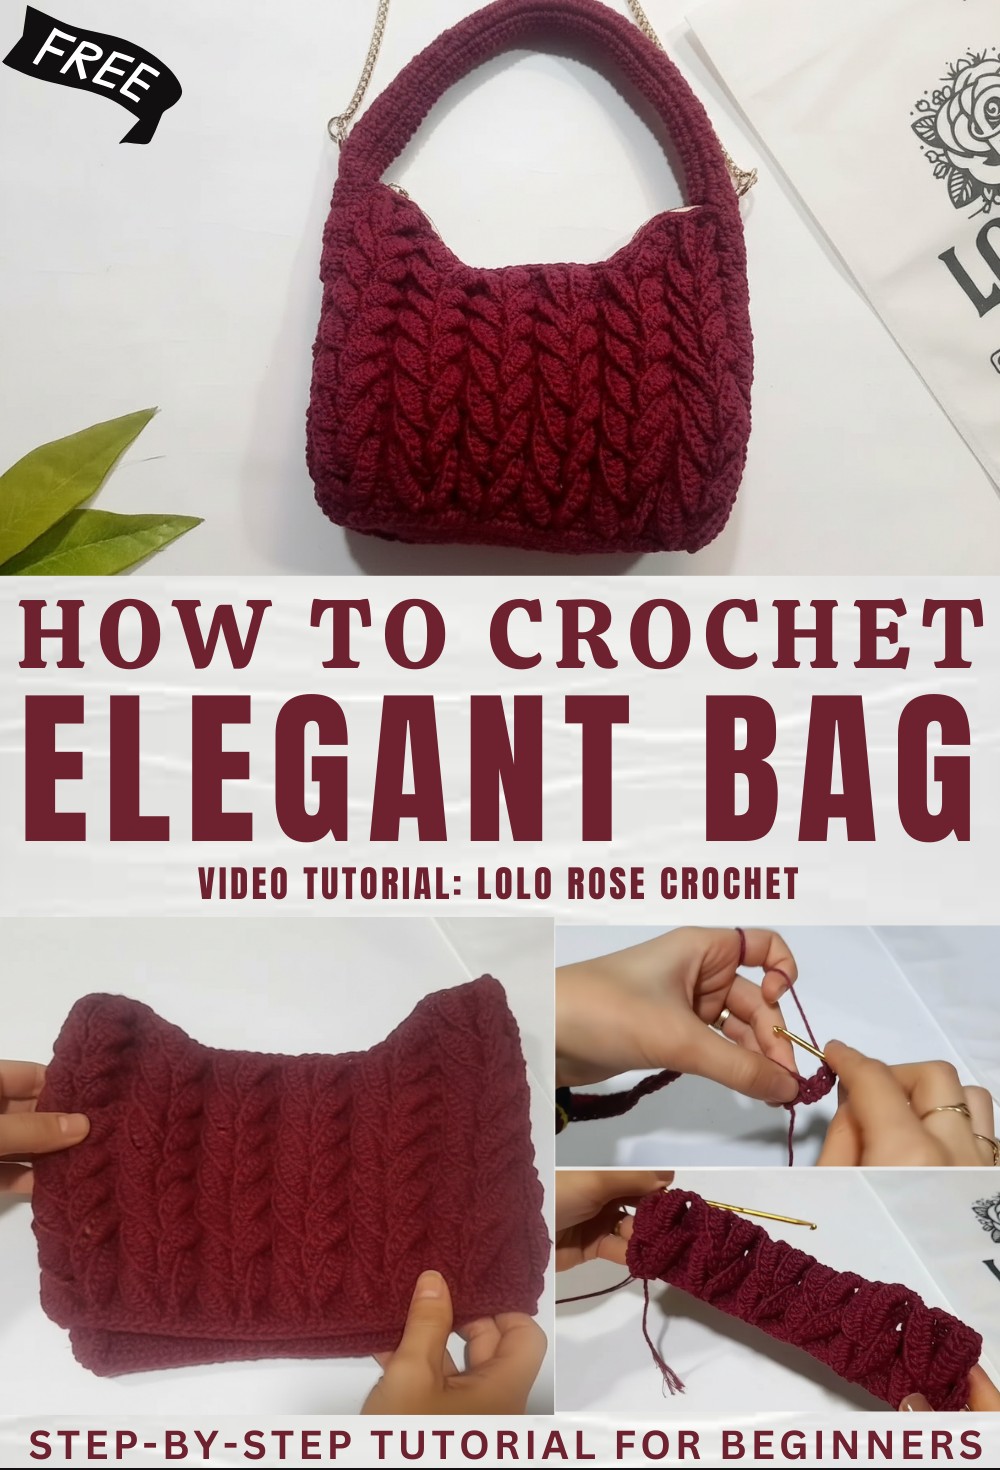
Braided Macrame Cotton Bag Pattern
Materials
- Yarn: 500g macrame cotton cord, approx. 1.5–2mm thickness
- Hook: Size 5.0 mm crochet hook
- Scissors
- Stitch markers
- Tapestry needle/yarn needle (for sewing)
- Zipper (optional, for closure)
- Transparent sewing thread (for zipper)
- Chain or thread for optional bag strap
Key Abbreviations
- ch – chain
- sc – single crochet
- hdc – half double crochet
- dc – double crochet
- sl st – slip stitch
- st(s) – stitch(es)
- rep – repeat
Special Notes
- Work the foundation chain and first row into the back bump for a professional edge.
- Stitch counts for sides/base should be consistent between all matching pieces.
- All assembly is done with the yarn and tapestry needle using invisible or whip stitch, unless otherwise noted.
- The braid detail forms the central decoration of the bag.
- Sides, base, and handles are reinforced with additional rows for durability.
Pattern Instructions
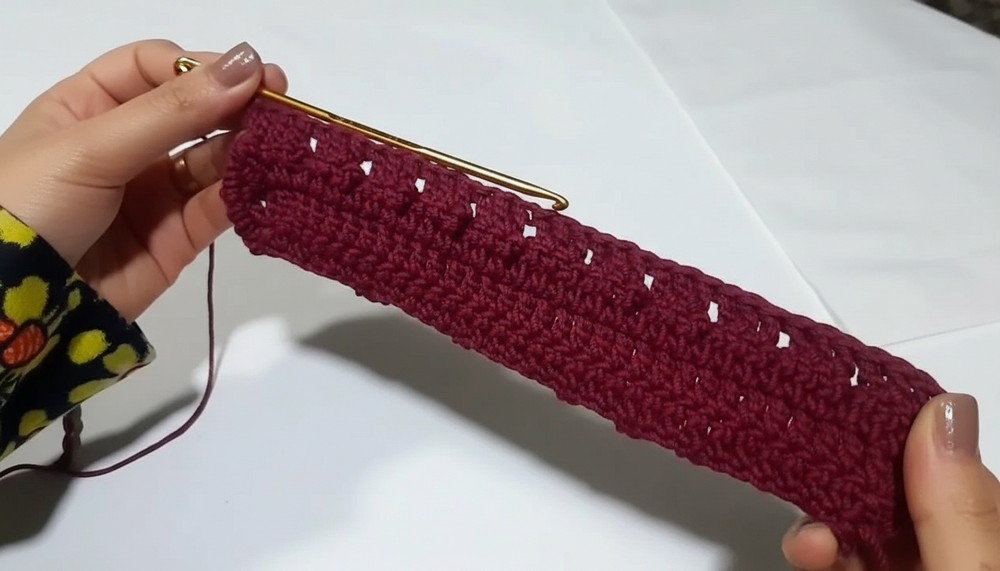
1. Bag Body (Make 2)
Foundation
- Ch 31.
- Work into the back bump of the chain for the neatest edge.
Row 1:
- In first ch, sc, then ch 1, dc in same ch (counts as first 2 sts and increases).
- Dc in each ch to end.
- In last ch, 2 dc in the same ch (increase).
- (You’ll have 33 dc total.)
Row 2:
- Turn. In first st, sc, ch 1, dc in same st (increase).
- Dc in next 31 sts.
- In last st, 2 dc (increase).
- (Total: 35 dc)
Continue even for a few rows until you are ready to add braid detail.
2. Marking for the Braid
- On next row, after turning, place a stitch marker every 5 stitches across the row (you’ll have markers in 6 spots).
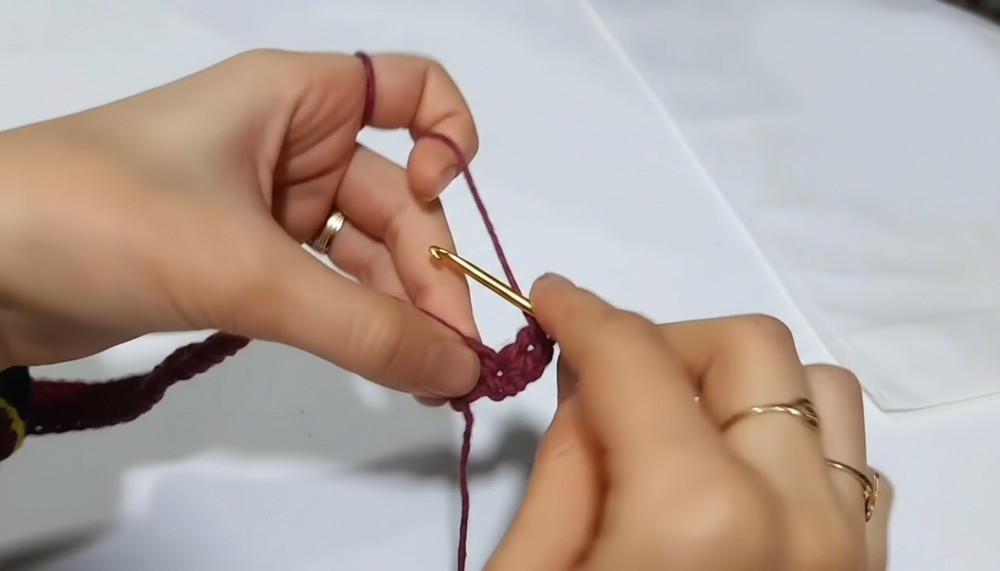
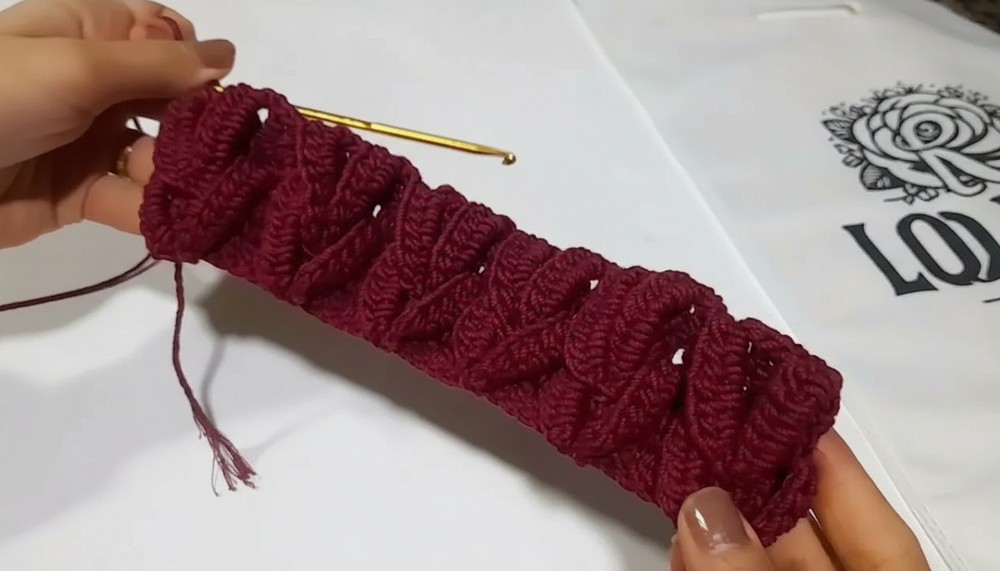
3. Braid Row
- Turn. At the start of the row, work sc into first stitch, then ch 7.
For each marked stitch:
- Remove marker and sl st into marked stitch.
- Ch 1, sc in chs, 6 hdc into next 6 chs.
- In the next dc, 3 dc into one st, then ch 6, sl st back into same st (creates a braid loop).
- Ch 1, sc into next chs, 6 hdc into next chs. Continue repeating this motif across.
- At the end: finish with dc into any remaining st.
4. Plain Double Crochet Rows
- Turn. Work 1 dc in each st across the next row.
5. Repeat Braid and Plain Rows
- Repeat the braid row and the plain dc rows, alternating, until you have reached your desired bag depth.
- For sample: about 7 “braid” rows were used.
6. Decrease Rows for Taper (near top/closure)
When working the 2nd braid motif (top/closing row of the bag):
- Begin decreasing: for the third braid, work the first dc, then work a dc2tog (decrease) over the next 2 dc.
- Continue straight the rest of the way; at the end, again work a dc2tog before the final dc.
7. Sides and Base
- Base:
- Ch 12, work 11 sc into the back of the chain.
- Continue for 31 rows (as many as the base width of your bag).
- For sides, ch the same as base rows, and work in sc rows the same height as bag body.
- Sides:
- Work as for base but only to the bag side width required (typically 20 cm or approx. 7 inches).
- Make two; count rows to match bag height.
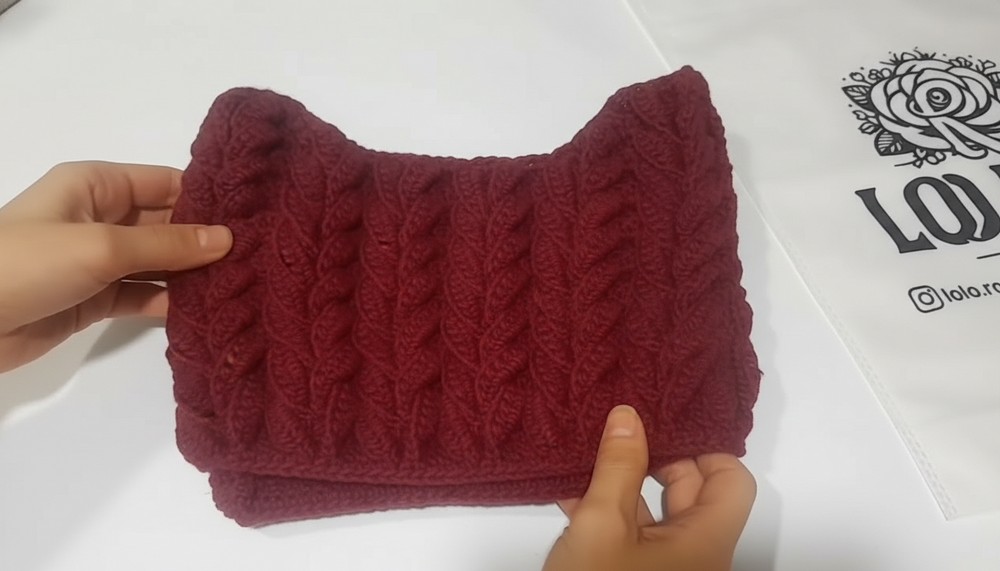
8. Bag Assembly
- Lay out all pieces.
- Sew one side, the base piece, and the other side with whip stitch or invisible seam using matching yarn and tapestry needle.
- Match up rows/stitches exactly for neat joining.
- Attach the second body panel.
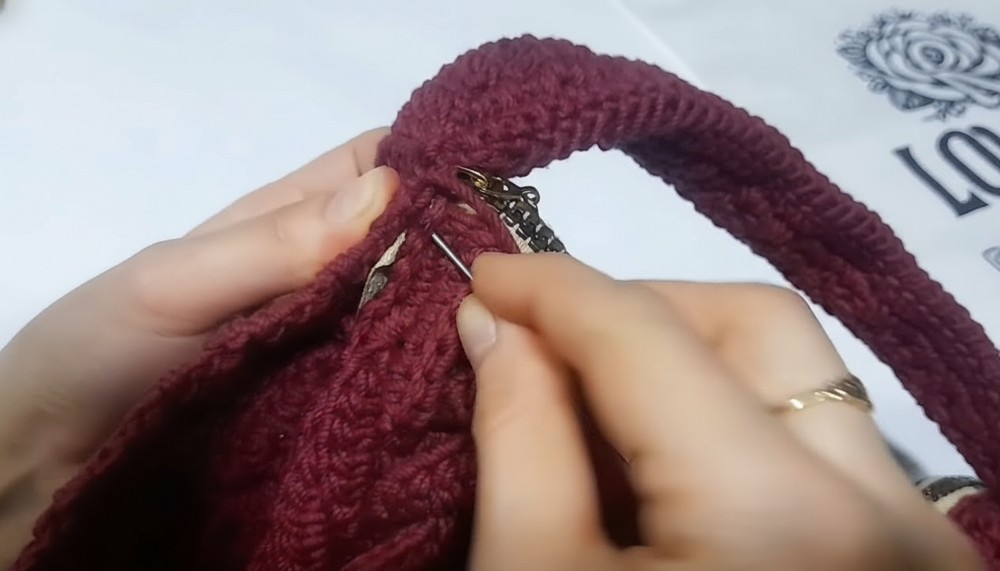
- Sew in the zipper (optional) with transparent thread BEFORE completing the final side seam for easier assembly.
9. Handles
- From the top side seam, with yarn still attached, work 30 rows in dc for desired handle length.
- At the end, sew the handle edge to the top of the bag with the tapestry needle, or ch to reach desired handle length and attach securely.
- Make the same for the other side, or work continuously if preferred.
- Reinforce ends with several secure passes.
10. Border/Finishing
- Work two rounds of sc around the opening and along the handles for strength and polish.
- Weave in all threads.
- Steam or block bag gently if needed for shape.
Conclusion
This roomy and durable macrame cotton bag is ideal for daily use. The alternating braid rows add a bold textural accent, while the reinforced base and handles ensure long-lasting strength. The pattern is highly customizable: add chains and handle length, experiment with colors, or line with fabric for even more structure.
Pattern Correction & Tips
Correction:
- Always check that the number of stitches remains consistent when working on sides, base, and main panels to simplify matching for join.
- Decreases should only be made as described for clean shaping near the bag’s top closure.
Tips:
- For neat edges, always go into the back bump of the starting chain.
- Attach the zipper before seaming sides for easier access.
- Reinforce handles and top edges by extra rounds of slip stitch or single crochet.
- Customize the bag by adding a fabric lining, snap or magnetic closure, inner pocket, or a purchased chain strap.