How to Add Border to Granny Square Afghan
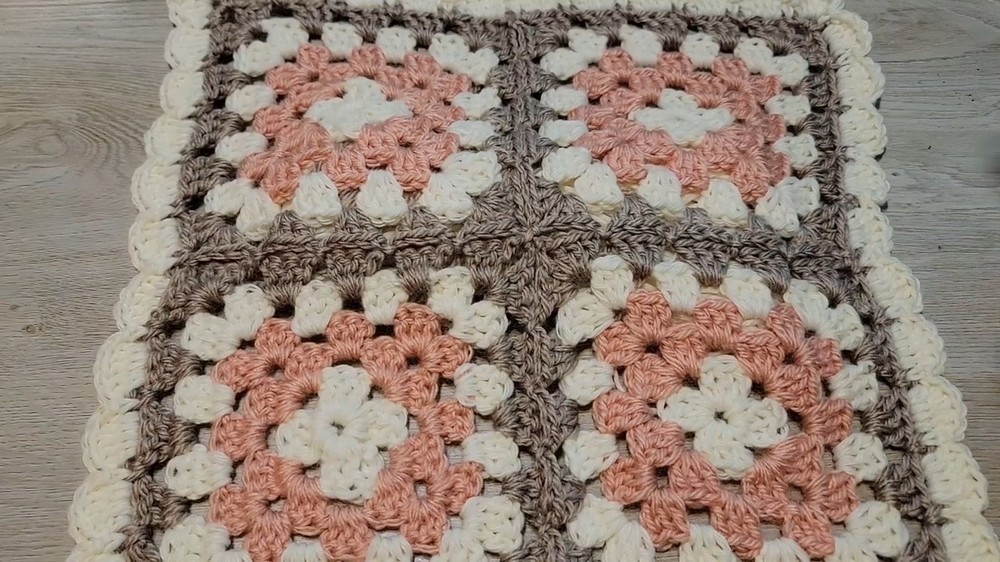
Learn how to add a seamless border to a granny square Afghan with this step-by-step tutorial for beginners and experts. Tutor shares tips on starting the border not at the corners, explaining that people often scrutinize these areas closely. Using the same color for cohesion, she demonstrates chaining and single crocheting techniques, offering advice to maintain even tension.
The tutorial is designed to equip viewers with the skills to create a beautiful, flat-laying crochet Afghan.
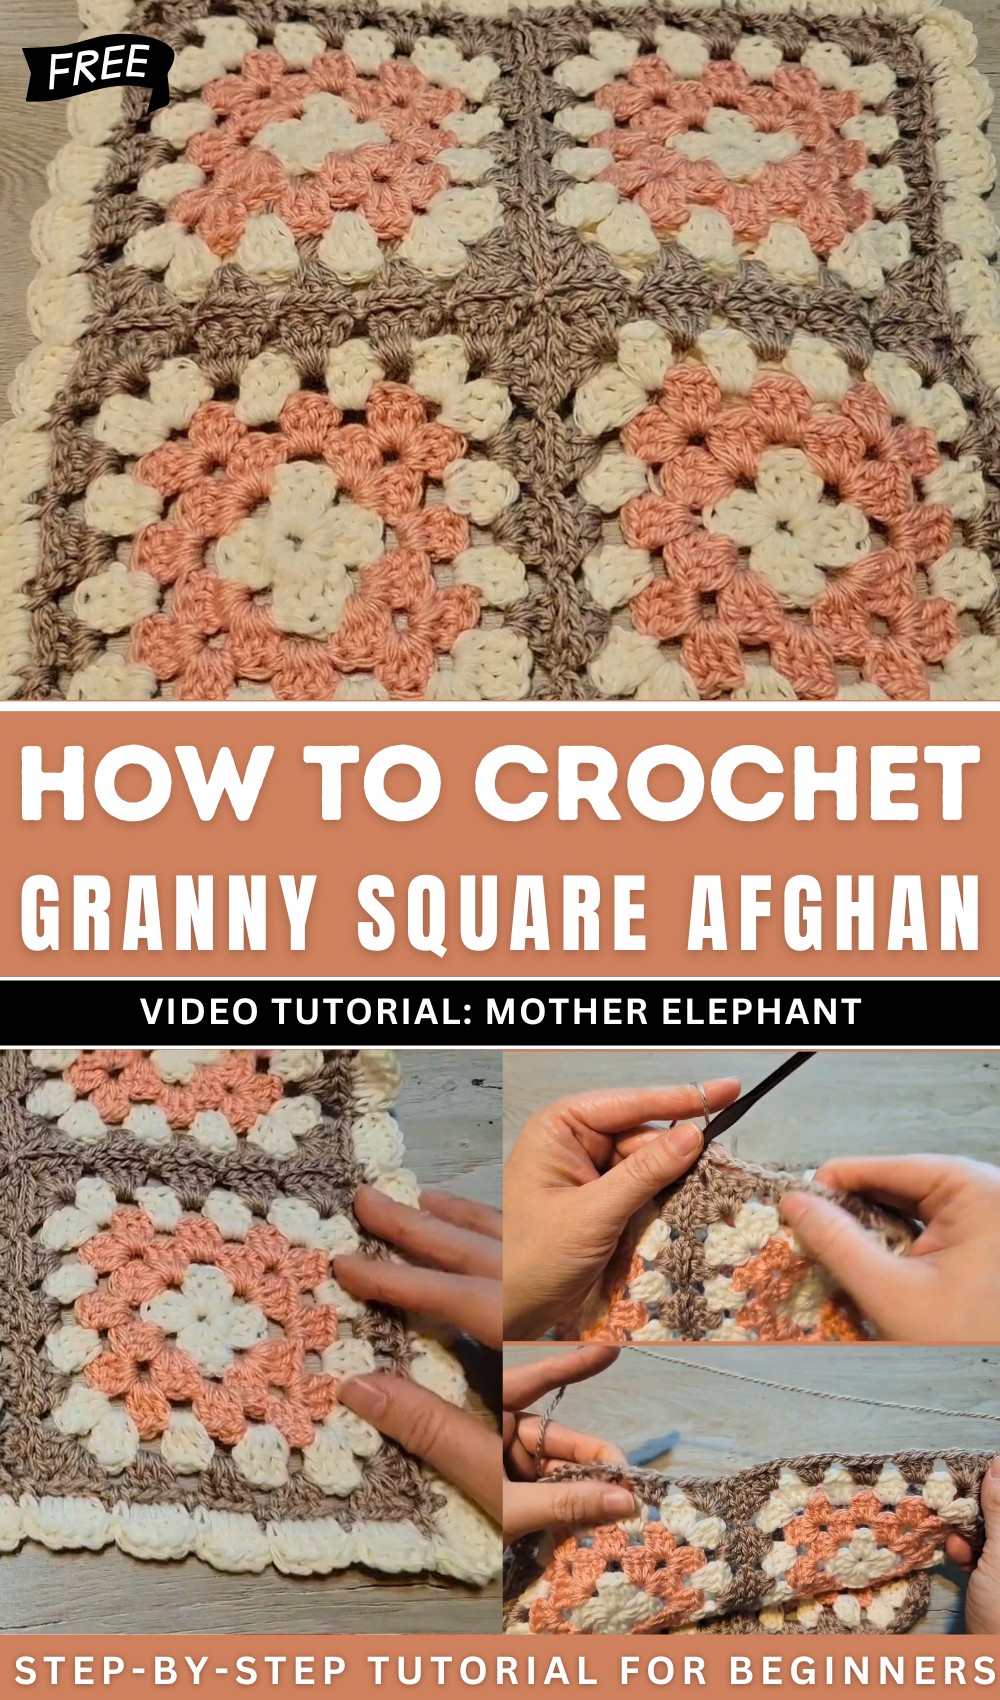
Granny Square Afghan Shell Border Pattern
The focus of the video is learning how to add a transitional border to a granny square Afghan sample. Miranda emphasizes the importance of specific techniques to ensure the Afghan looks seamless and professional.
Materials List
- Yarn:
- Worsted weight or yarn of your choice, in two colors:
- Color A (to blend with your last round/join color for the border prep row)
- Color B (for the decorative shell border)
- Worsted weight or yarn of your choice, in two colors:
- Recommended Hook:
- US Size H-8 (5.0 mm) or size suitable for your yarn
- Tapestry needle: For finishing and sewing in ends
- Scissors
- Stitch marker (optional): For marking corners
Key Abbreviations
| Abbreviation | Meaning |
|---|---|
| ch | chain |
| sc | single crochet |
| dc | double crochet |
| st(s) | stitch(es) |
| sl st | slip stitch |
| sp | space |
| rep | repeat |
| … | repeat instructions between asterisks |
Special Notes
- Pattern written in US crochet terminology.
- Always work with a relaxed tension for neat, even stitches, especially in the transition (prep) row.
- Where instructions reference “corner,” it means the actual corner chain space of your joined granny squares.
- For best results, block your finished Afghan.
Instructions
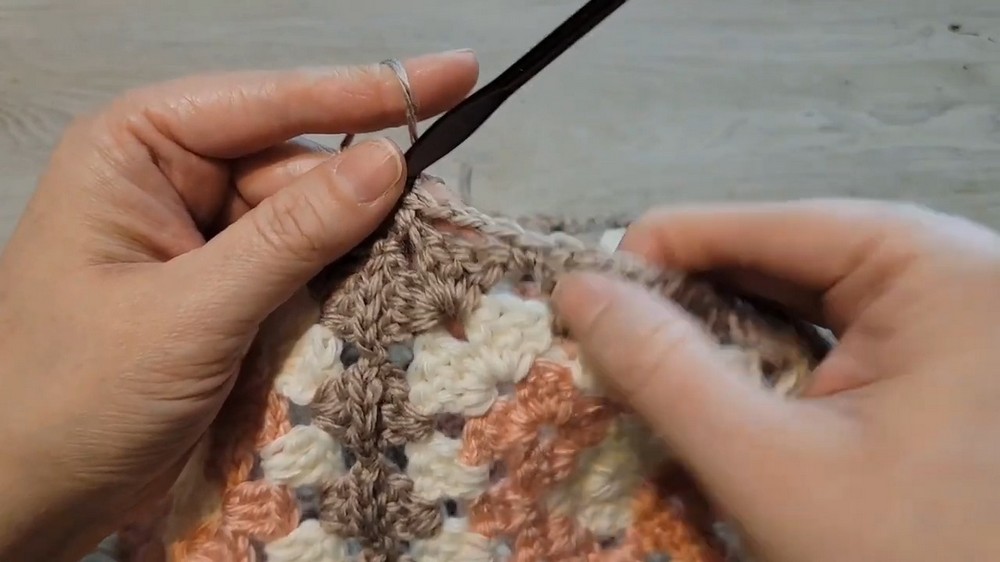
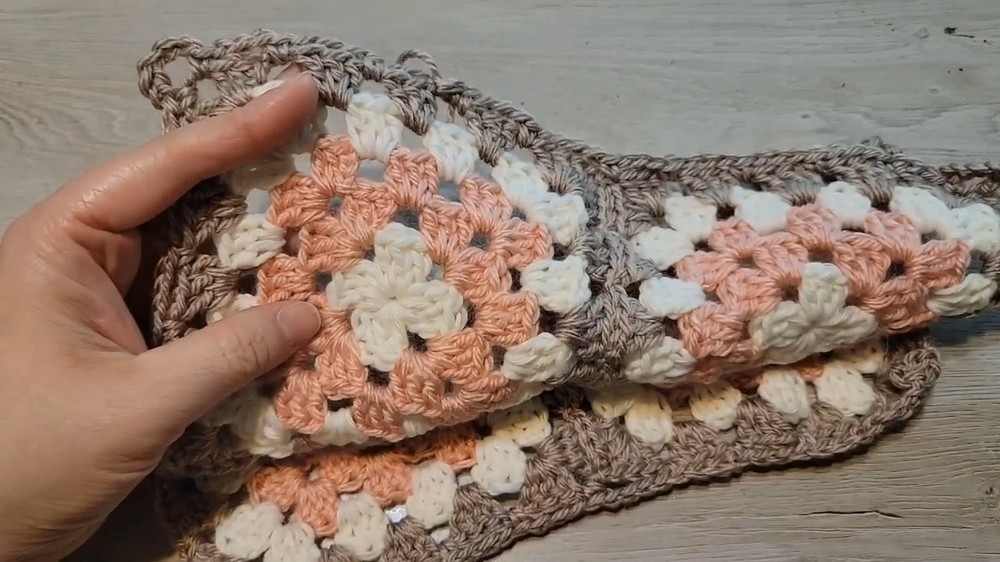
Step 1: Prep Row (Foundation for Border)
Yarn: Use Color A (same as join row for seamlessness).
- Attach yarn with a slip knot to any edge chain space (not in a corner) using a sl st.
- Ch 3, sc in next chain space (not too tight).
- Repeat: ch 3, sc in next chain space along the edge until the next corner.
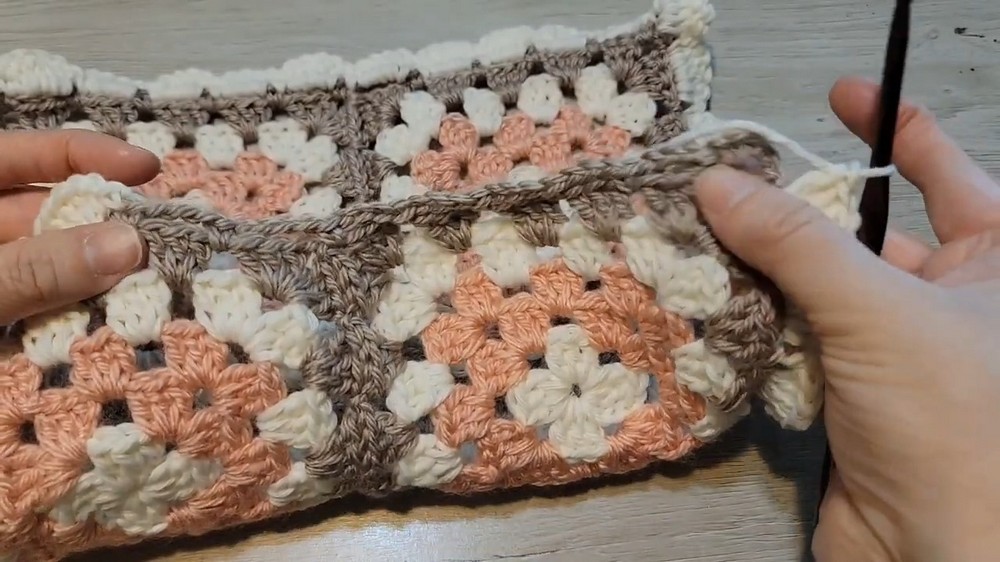
- At each corner:
- *Ch 3, sc in corner space.
- Ch 5, sc in the same corner space.*
(This creates a large loop for turning corners.)
- Continue down each side:
- Repeat ch 3, sc in next chain space.
- At joins between squares, if the gap is long, ch 4 instead of ch 3 to span the join and ensure the border stays flat.
- Continue around all 4 sides, following:
- ch 3 or ch 4 (at joins), sc in each chain space, and
- in corners: ch 3, sc in corner, ch 5, sc in corner.
- Finish: After last ch 3, sl st to the first starting space or to the first sc to join. Fasten off and weave in the tail, making sure stitches are relaxed for later ease of border work.
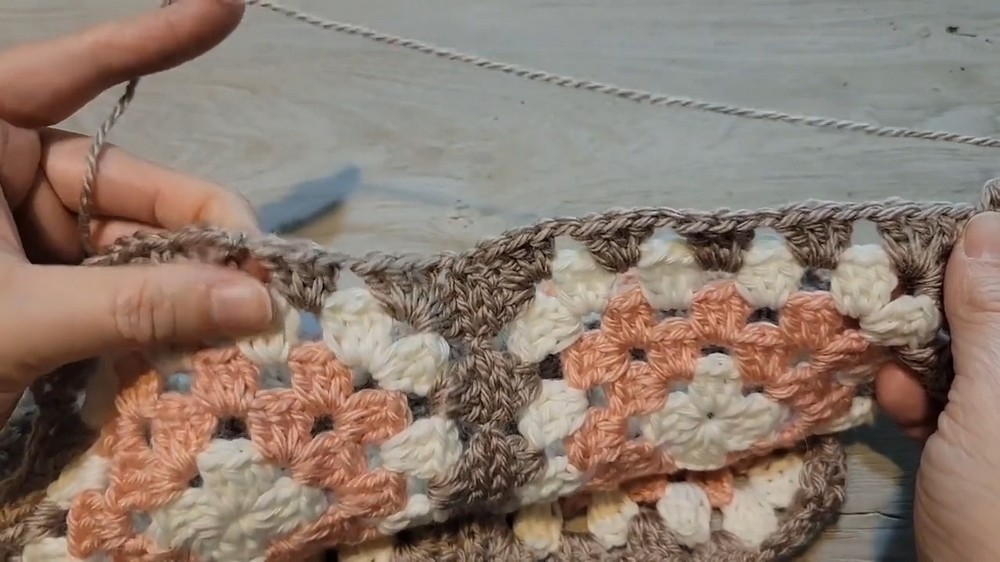
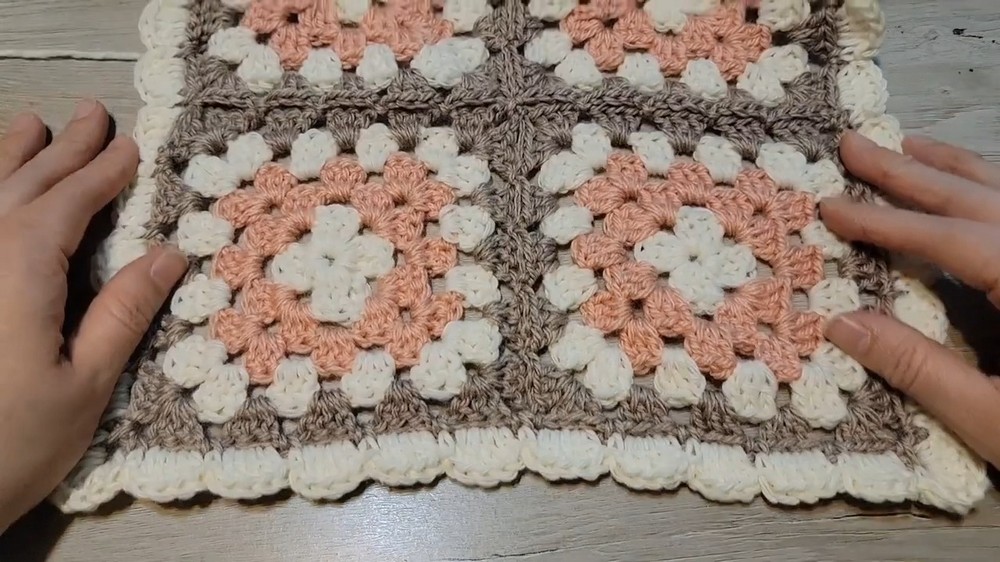
Step 2: Shell Border
Yarn: Switch to Color B (contrasting or bright for effect).
- Join yarn to any sc of the border prep row (preferably at beginning of a side, not a corner).
- Start: Sc in sc. 5 dc in next chain space.
- Repeat down the side:
- Sc in next sc, 5 dc in next space—continue pattern until the corner.
- Corner Shell:
- Sc in next sc (corner). 7 dc in corner ch-5 space. Sc in same sc (corner).
- This turns the corner.
- Sc in next sc (corner). 7 dc in corner ch-5 space. Sc in same sc (corner).
- Continue next edge:
- 5 dc in next space, sc in next sc—repeat across.
- If you reach a prep row ch-4 (used at a join), simply place 5 dc in it as you would in a ch-3 space.
- Continue this pattern all the way around:
- On edges: (Sc in sc, 5 dc in next space)
- On corners: (Sc in sc, 7 dc in next ch-5 space, sc in same sc)
- To finish:
- After last shell, sl st to first sc at the start of round.
- Fasten off, leaving a tail. Weave in all ends for a neat finish.
Final Steps
- Block if desired for crispness and to ensure your border lies flat.
- Weave in all ends with tapestry needle.
- Lay your Afghan flat and shape as needed.
Pattern Correction & Tips
- Corners not flat? If your corners curl, decrease the number of dc (try 6); if they’re tight, add another dc.
- Shells too loose/tight? Adjust your tension or the number of chains in the prep row.
- Prep row too visible? Select a color very close or identical to your join.
- For completely invisible joins in border: Try the invisible join method (fasten off, use needle to sew final stitch).
Conclusion
With this shell border, your Granny Square Afghan will be beautifully finished and look professional.
You now have the skills to make Afghans of any size, seamlessly join squares, and add elegant borders.