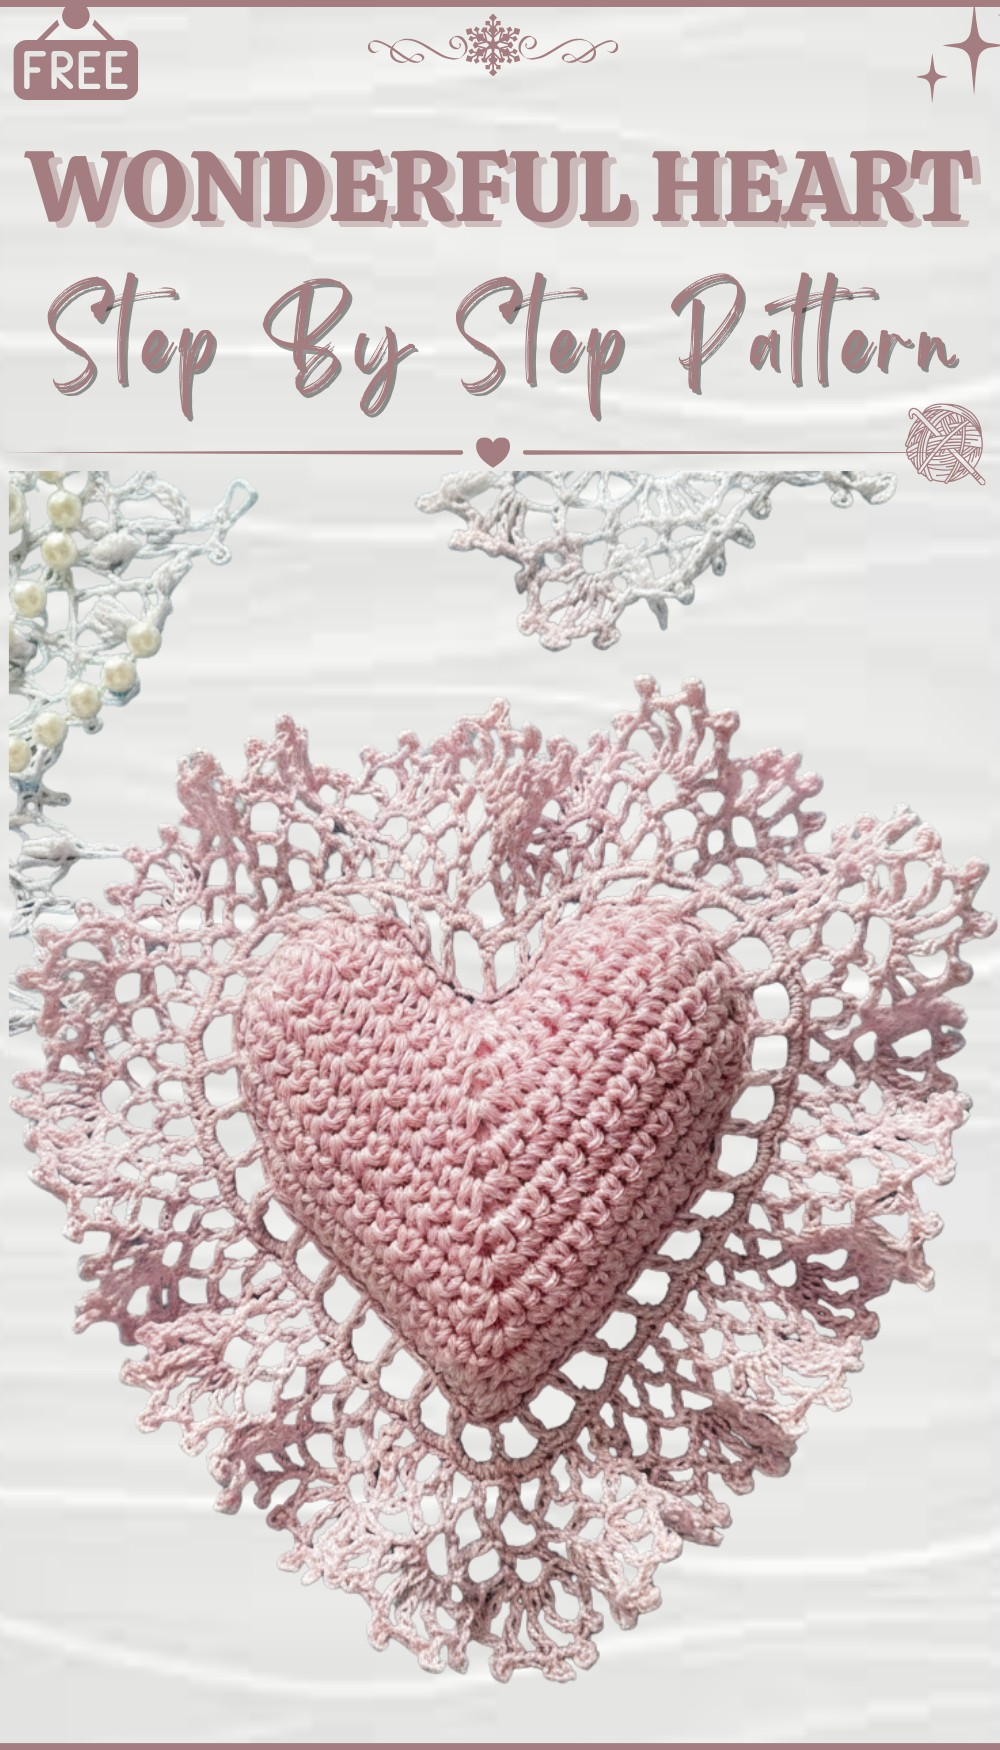
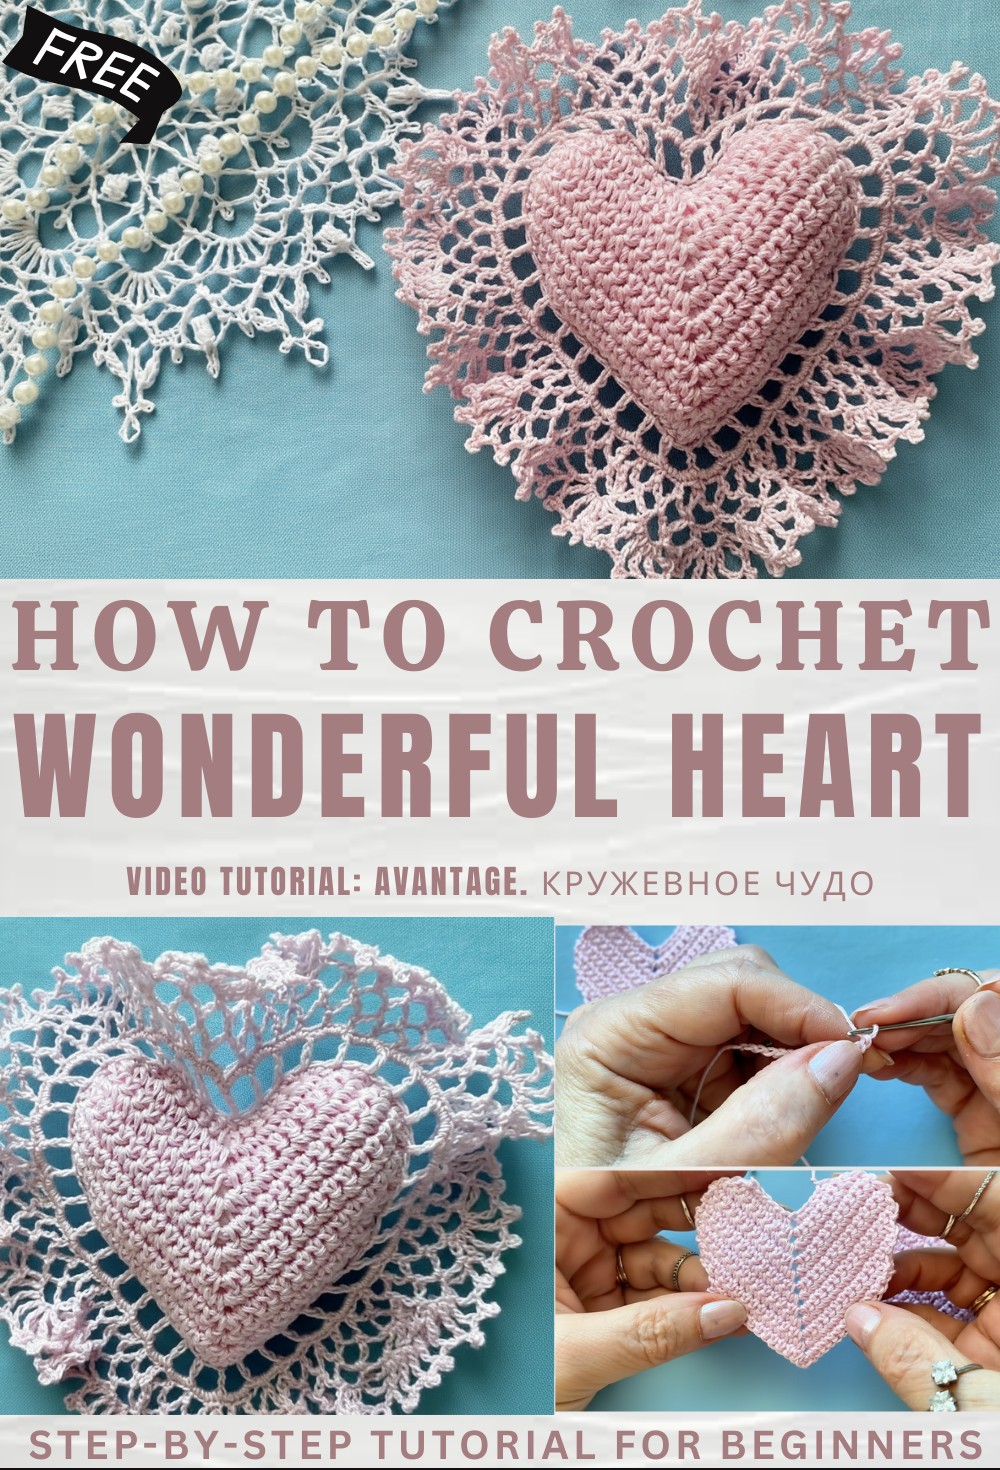
Beautiful Free Crochet Heart Pattern for Decorations
Sprinkle love into your day with this free crochet heart pattern that’s perfect for quick gifts, colorful decor and heartfelt surprises.
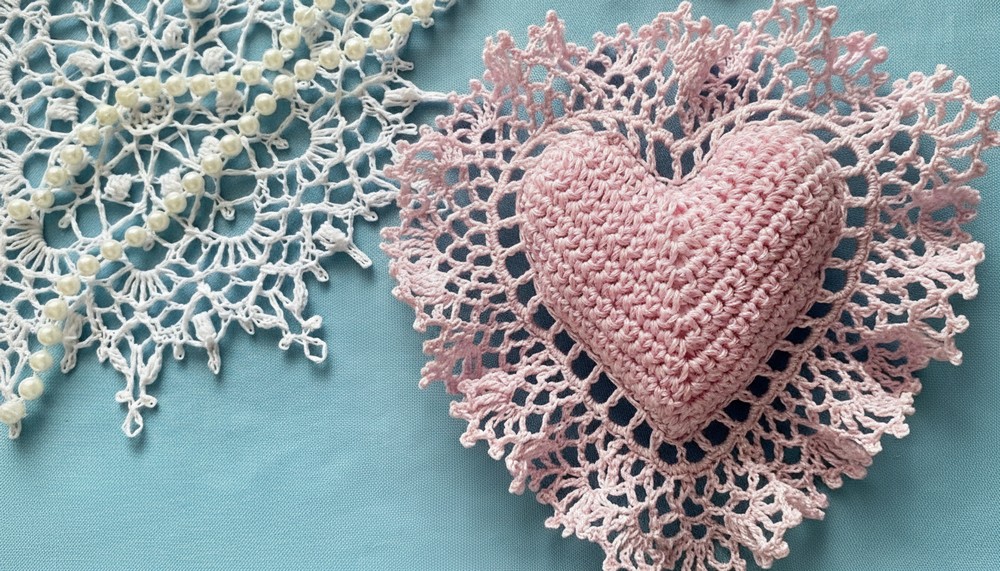
Lovely handmade heart brings warmth and happiness into any space. Soft yarn creates a bouncy shape and bright colors catch the eye. People enjoy making this heart because it is so simple and quick to complete. A crochet heart pattern lets you create a tiny decoration or a bigger soft shape for gifts and home décor. This sweet heart can hang on a bag be part of a keychain or even be used as a single party decoration.
Easy Free Crochet Heart Pattern for Cozy Home Accents
A finished heart makes a thoughtful token to comfort a friend or add a loving touch to a card or present. Making a heart teaches basic stitches which is helpful for beginners and for those with little experience. Using different yarns and colors lets you express your feelings and creativity each time. The crochet heart pattern gives a chance to spread smiles and make special memories with every colorful heart made by hand.
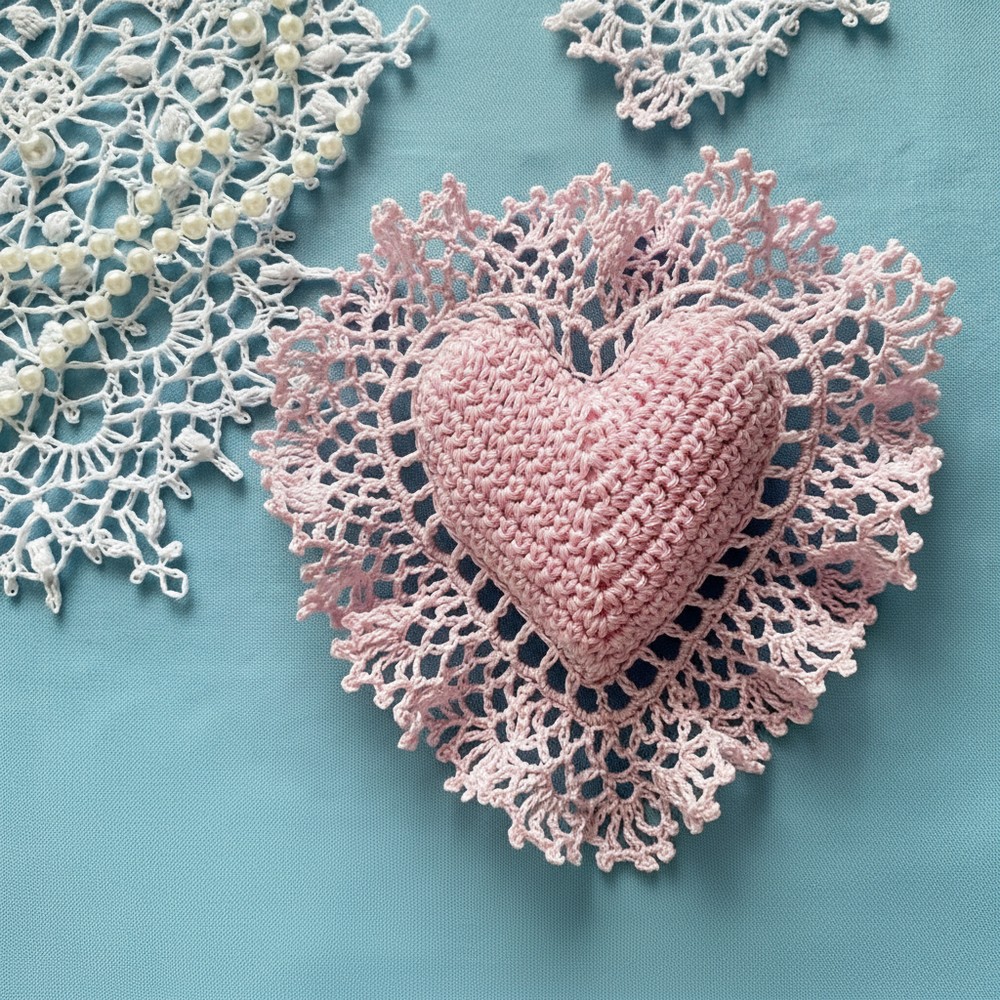
Aromatic Heart Sachet Crochet Pattern
Materials
- Yarn/Thread:
- Main heart: 100% cotton, 50g/200m (thicker thread, color of choice)
- Lace/edging: Fine cotton thread, 50g/475m (white recommended, more than twice thinner than main)
- Hook: 1.3 mm steel crochet hook (adjust as needed for your yarn/thread)
- Notions:
- Yarn/tapestry needle
- Scissors
- Synthetic stuffing (polyfill)
- Optional: Aromatic oil or dried herbs for sachet
- Stitch markers
Key Abbreviations
- ch – chain
- sc – single crochet
- dc – double crochet
- sl st – slip stitch
- picot – ch 3, sl st in first ch
- sp – space
- st – stitch
- rep – repeat
Special Notes
- Pattern is written in US terminology.
- Gauge is not crucial, but heart should be firm and lace should be airy.
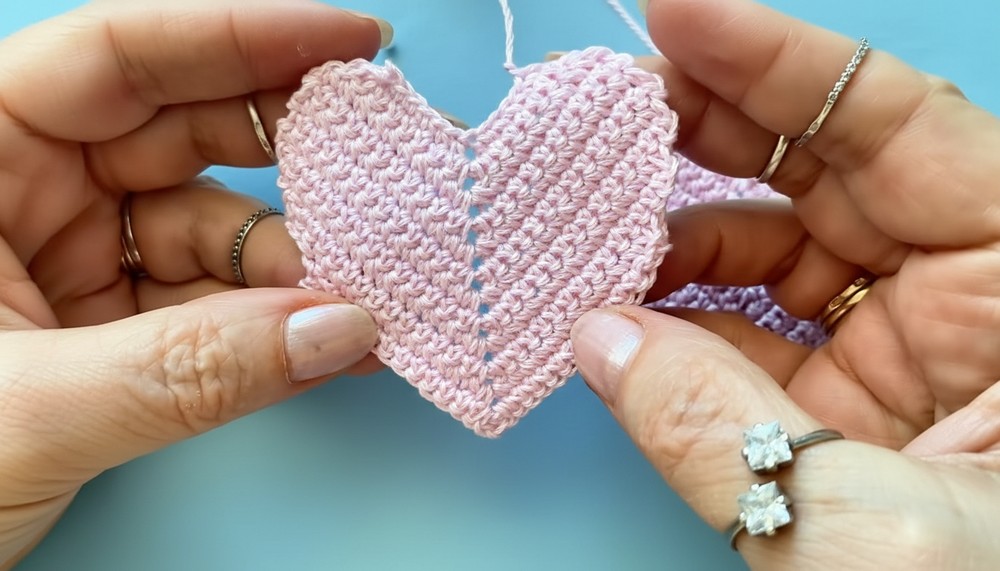
- You will crochet two symmetrical heart halves, join them, fill, and embellish with a lace border.
- The lace border is worked in rounds after joining.
Pattern Instructions
A. Heart Base (Make 2)
1. Foundation Row
- Ch 12.
- Turn, ch 1 for turning.
- Work sc in the back bump of each ch across. (6 sc).
- Ch 2, turn.
2. Increase Rows
Repeat as follows, expanding at each end via ch-2/chain increases and always working sc over sc, and additional sc under the chain spaces:
- Rows 2–7:
- Start with ch 2, turn.
- Work sc in second loop and each sc across (increase at start and end). At the ch-2 space, work additional sc under the chain.
- You’ll have the following st counts per row:
- Row 2: 8 sc each side
- Row 3: 10 sc each side
- Row 4: 11 sc each side
- Row 5: 12 sc each side
- Row 6: 13 sc each side
- Row 7: 14 sc each side

Count each row for accuracy. Increases are on both sides.
3. Body Rows (No Increase)
- Rows 8–10:
- Ch 1, turn.
- Begin in 2nd st (do not work into the first sc to decrease) and work sc across. At end, sc2tog (another decrease).
- You should maintain 14 sc per side.
4. Decrease Rows
Decrease at both ends.
- Row 11:
- Ch 1, turn.
- Begin in 2nd st, work sc across, decrease at end (sc2tog). 13 sc.
- Row 12:
- Ch 1, turn.
- Begin in 2nd st, work sc across, decrease at end. 12 sc.
- Fasten off, leaving a long tail for sewing.
B. Joining & Filling
1. Hold both heart halves together (right sides out).
- Using fine thread and sc, join around the perimeter, matching stitches as best as possible.
- When you reach the gap, stuff firmly with polyfill or aromatic filling.
- Finish joining and fasten off.
- Use decreases at the pointed tip for shaping:
- Insert hook through 2 loops from each heart, yarn over, pull through both, do not complete sc, repeat for next st, pull through all 3 loops.
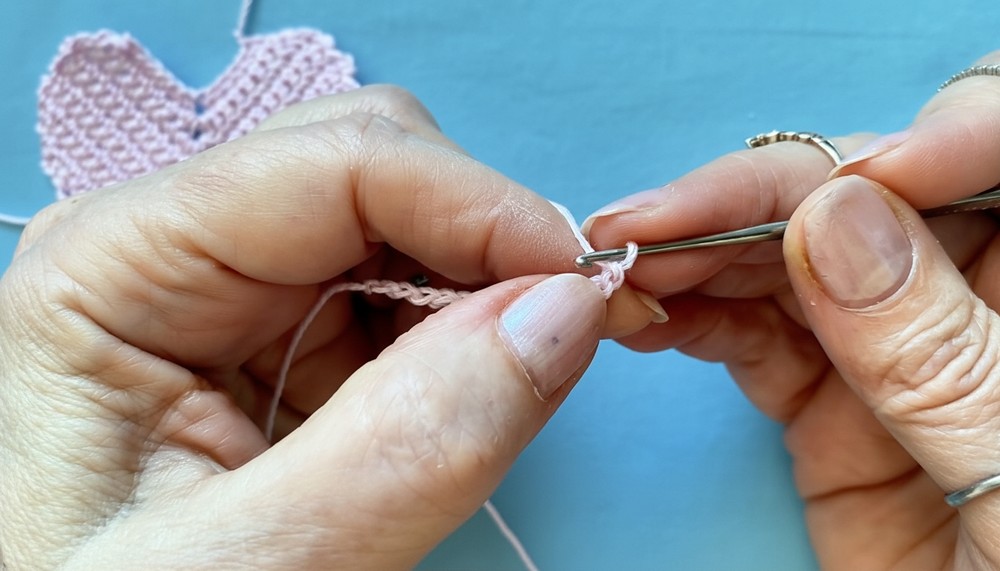
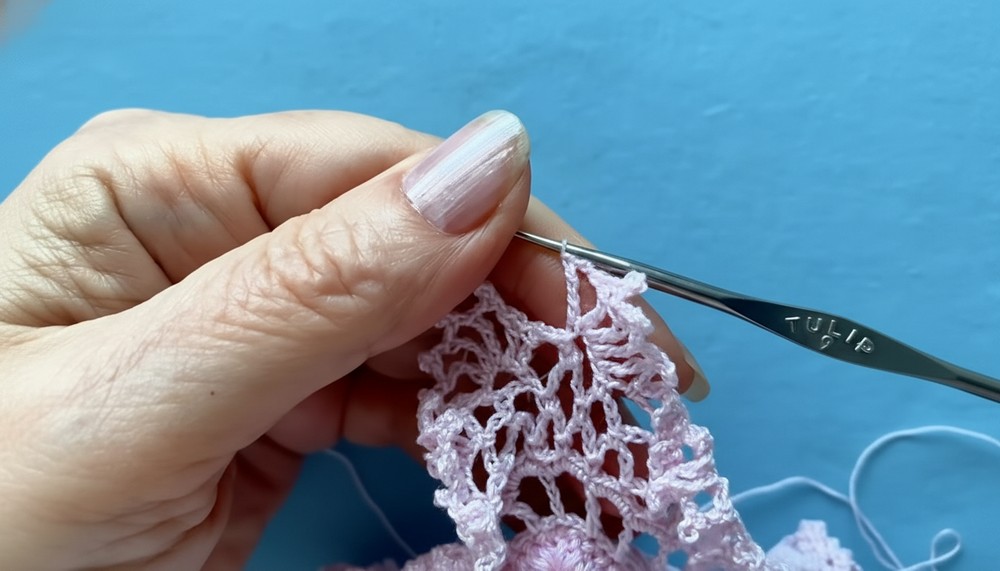
C. Decorative Lace Border
Row 1:
- Attach fine thread at heart tip.
- Ch 6 (3 as first dc, 3 as space), dc into same st, ch 3, skip 1 sc, dc into next sc; repeat around perimeter.
- Make sure to work evenly, especially at corners/tips. Join with sl st to third ch at round start.
- You should have an even number of cells; adjust if needed (e.g., 18 cells). Symmetry is important for later rounds.
Row 2:
- Ch 1, 5 sc in each ch-3 space around, ch 1 between each group.
- Join with sl st.
Row 3:
- Ch 1, sc in next sc, ch 5, skip 1 sc, sc in next sc; repeat (forming arches).
- For tips and corners, adjust as needed (may need to work into 3rd sc or add extra sc at corners).
- Join with sl st.
Row 4:
- Repeat Row 3: ch 5, sc in next arch.
- For corners: sometimes you may prefer to skip 2 sc for more openwork.
- Join with sl st.
Row 5:
- Repeat as above for desired width and openness, being mindful of corners/tips.
- For points, you may do sc into first loop, ch 5, sc into last loop to shape tip.
Row 6: Fans and Picots (Final Border)
- Find the arches at tips, attach fan:
- Ch 1, work 5 dc into each loop/arch.
- Between each dc, work a picot (ch 3, sl st in first ch).
- After fan, sc in next arch.
- Repeat around, alternating fan-sc-fan-sc for a delicate, airy look.
- Join with sl st.
Finishing
- Gently stuff heart if not already done.
- (Optional) Place a drop of aromatic oil or dried herbs inside.
- Steam or gently shape lace edging for best appearance.
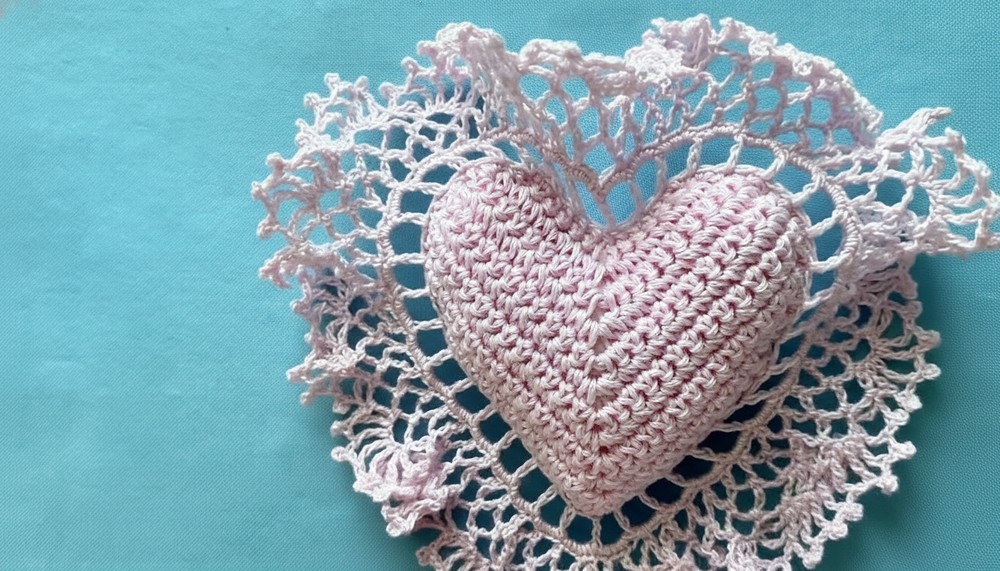
Conclusion
This airy and delectable aromatic heart sachet is a wonderful DIY gift for Valentine’s Day or any occasion. The delicate lace enhances the sweetness and elegance of the base. Personalize the yarn, edge, or aromatic filling to create unique gifts for your loved ones.
Pattern Corrections & Tips
Corrections:
- Ensure both heart halves are identical in stitch counts.
- Adjust cell counts for lace to maintain symmetry; add or decrease at corners for neatness.
Tips:
- Use stitch markers to keep track of rows and increases/decreases.
- Stuff lightly for a pillow, heavily for a volumetric sachet.
- Steam lace border for best results.
- For more openwork, skip 2 sc between arches as you progress on border rows.