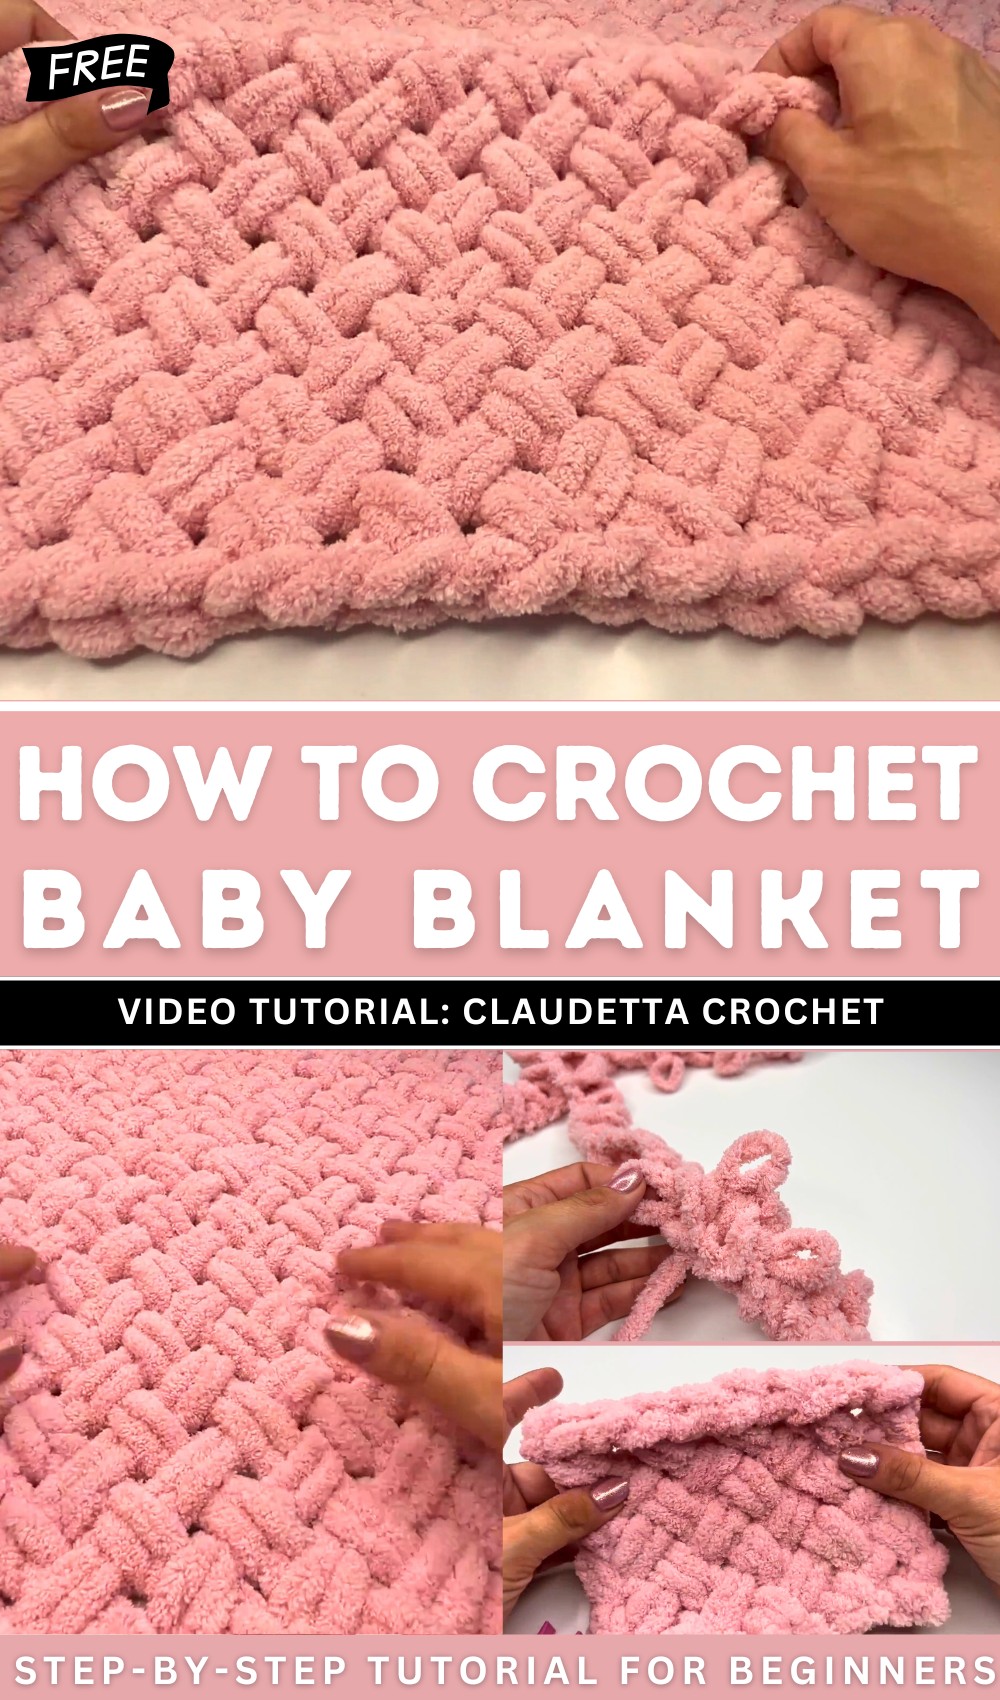
How to Cozy Baby Blanket With Plush Yarn

With a step-by-step tutorial, learn how to crochet a soft and chunky baby blanket without a crochet hook following a step-by-step tutorial for beginners. The blanket measures 85×80 cm, ideal for a baby. The pattern involves repeating only two rows, making it a quick and enjoyable project.
The video also demonstrates how to join new yarn skeins and how to finish the blanket with a clean edge. Follow through with us for the complete tutorial!
Free Finger Crochet Fluffy Blanket Pattern
Materials Needed
- Yarn: Alize Puffy (or any loop yarn; about 5 skeins for an 85 x 80 cm baby blanket)
- Scissors
- Stitch markers or clothespins (optional, to mark edge stitches or rows)
- Darning needle (optional, for weaving in ends or sewing open loops closed)
- Crochet hook (6mm) (optional, for weaving in ends)
Abbreviations & Terms
- Loop yarn: Yarn pre-formed into loops; no crochet hook needed
- Row: One completed pass of loops from right to left, or left to right
- Stitch/Loop: Each pre-formed yarn loop
Special Notes
- Blanket size is easily adjusted; base chain must have an even number of loops.
- Pattern is created by crossing loops as described below.
- Work is always done with your hands and fingers.
- Markers help identify edge stitches to prevent confusion.
Pattern
1. Prepare the Yarn
- Unwind your skeins of loop yarn.
- Cut open and discard the first two loops—this creates a yarn tail you will use for sewing later.
- For joining a new skein, cut open two loops from both the end of the old skein and start of the new; tie these ends securely together.
2. Foundation Row
- Count out your starting loops: For a baby blanket, use 48 loops (or any even number—width is adjustable).
- Lay the loops flat on your workspace, right side facing up. Use markers to mark the first and last loops of your row if desired.
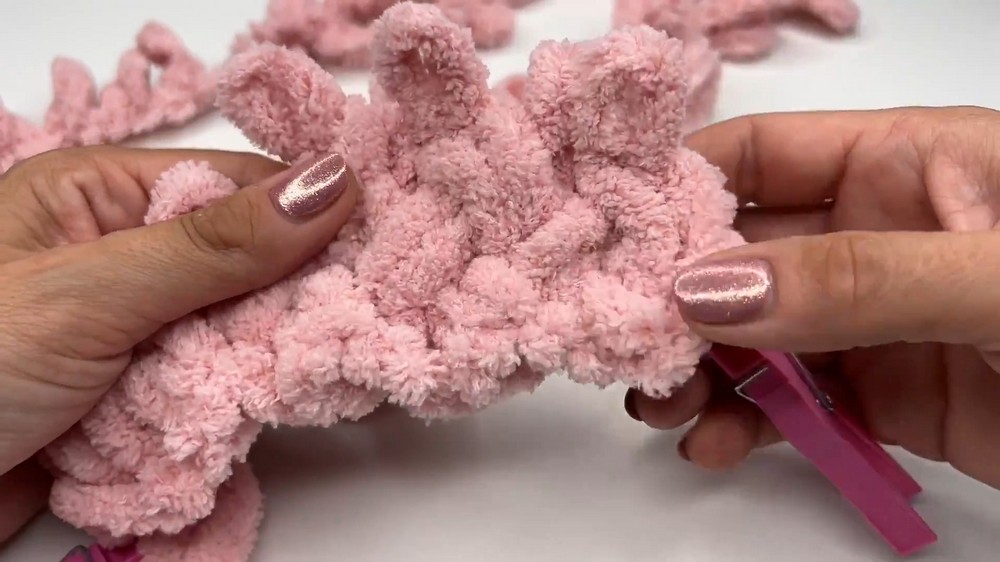
3. Row 1 (Right to Left)
- Starting at the rightmost loop, work toward the left.
- Working two loops at a time:
- Cross the right loop over the left loop.
- Insert your finger from back to front through the pair; pull the next free loop (from the working yarn) up from behind through the right loop—this creates a new standing loop.
- Pull the next free loop up through the left loop.
- Repeat this cross-and-pull-up sequence for each pair of loops in the row.
- Continue to end of row, crossing right over left, pulling yarn loops through each.

4. Row 2 (Left to Right)
- Turn your work. Now, work from left to right.
- Skip the very first and last loops (marked edge stitches)—they remain unworked for this row.
- For each pair of available loops:
- Cross the left loop over the right loop.
- Pull the next free loop up through the left loop from behind.
- Pull the next free loop up through the right loop.
- Repeat to the end of the row.
- Only the interior stitches are worked; edges remain unworked.
5. Repeat Rows:
- Repeat Rows 1 and 2, always alternating direction:
- Odd rows: work right to left, crossing right over left.
- Even rows: work left to right, crossing left over right.
- Always skip the first and last edge loops only on left-to-right rows. The edge stitches are only worked in the right-to-left rows.
- Continue until you reach the desired blanket length.

6. Joining a New Skein
- See “Prepare the Yarn” section: cut and knot new skein ends together securely, then continue finger crocheting as above.
7. Finishing Edge (Bind Off/Closing Row):
- At your final row, finish with a special bind-off:
- Decide which side you are finishing from (follow pattern sequence).
- Starting at the edge with the open loops (not the working yarn side), work two loops at a time:
- Cross the left loop through the right loop.
- Pull the left loop through the right, tightening slightly as you go.
- Continue for all pairs across the row, finishing the edge.
- Cut the yarn between two loops, leaving enough tail for sewing.

8. Securing and Weaving in Ends
- Use your fingers or a darning needle (or a small crochet hook) to weave in long yarn tails through the edge stitches to secure them.
- Pull firmly to ensure the blanket does not unravel.
- Trim any excess yarn.

Conclusion
This finger-crocheted blanket works up incredibly fast, creates a beautifully textured pattern, and is extra soft thanks to plush loop yarn. The pattern is simple and highly repeatable—after a few rows, the process becomes second nature! No hook or advanced skills required.
Pattern Corrections and Tips
- Pattern must have an even number of starting loops for the stitch pattern to work evenly.
- Use markers on edge stitches to help keep edges straight.
- When skipping the outer loops on left-to-right rows, do not forget to pick them up on right-to-left rows.
- Always cross the working direction’s loop (right or left) over its neighbor to keep the basketweave pattern consistent.
- Finger-crocheted loop yarn is perfect for crafters of any skill level and for quick gifts.
Video Guide