How to Crochet a Baby Bonnet Hat for Beginners

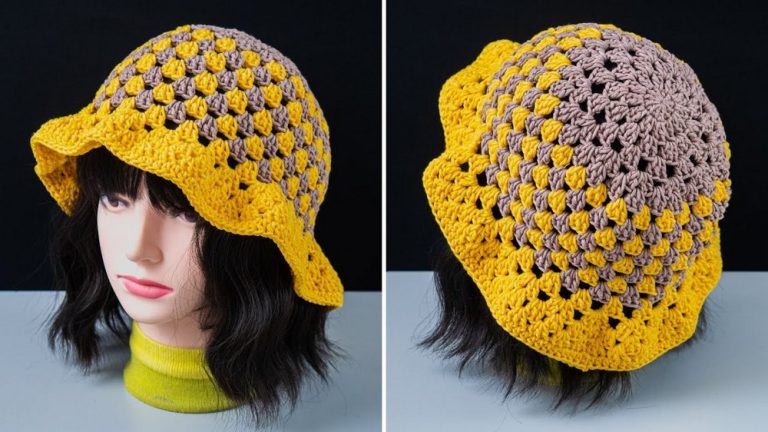
For gifting to a newborn at baby showers, learn how to crochet a beautiful shell stitch baby bonnet for a 0–3-month-old. Using lightweight pink and lilac yarn with a 4mm crochet hook, the tutor provides clear instructions for crocheting the crown, adding shell stitches, and alternating colors for variation. Sandy explains each step, from forming the base ring to shaping the bonnet, creating straps, and finishing with pom-poms for a delightful touch. The hat is very special and beautiful.
With detailed guidance, the tutorial is beginner-friendly and ensures a polished, elegant design. The bonnet’s soft texture and charming aesthetic make it perfect as a thoughtful gift or keepsake. So, follow through with us for the complete tutorial.
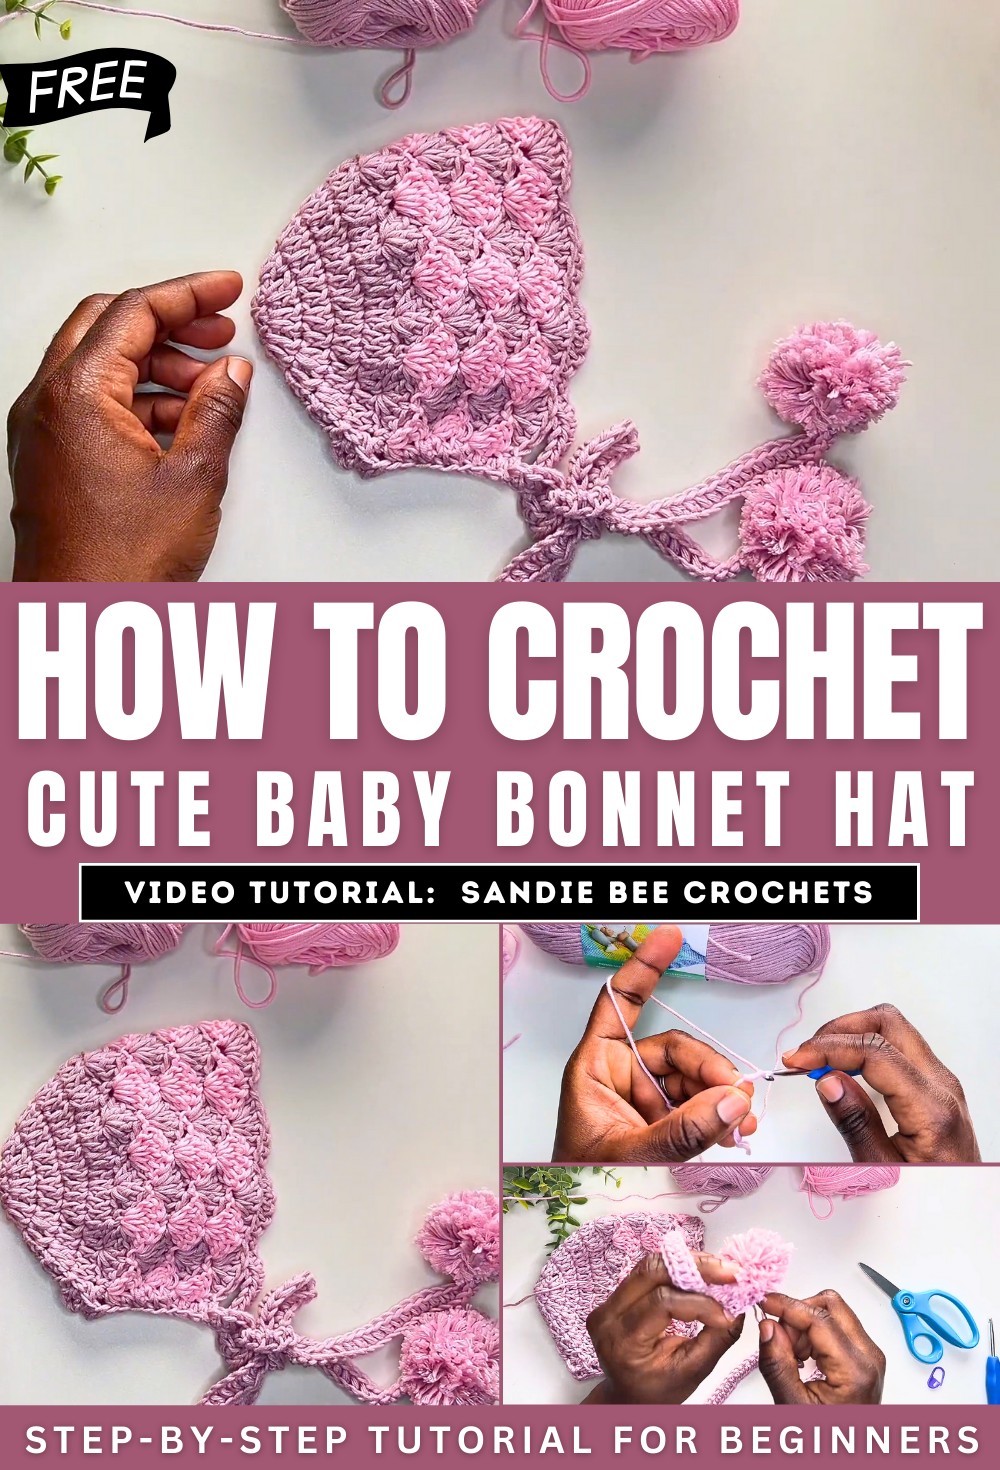
How to Crochet a Shell Stitch Baby Bonnet (0–3 Months)
This tutorial by Sandy B Crochets provides step-by-step instructions for creating a beautiful shell stitch baby bonnet designed for 0–3-month-olds. The bonnet features a delicate shell stitch pattern, alternating colors, and strap ties finished with pom-poms. The project is perfect for beginners and intermediate crocheters looking to make a thoughtful handmade gift.
Materials Needed
- Yarn: Lightweight yarn, shown in pink and lilac for this tutorial (Bernat Softy Baby).
- Hook: 4 mm crochet hook.
- Pom-poms: Two pom-poms, either handmade or purchased.
- Other Tools: Yarn needle for weaving in ends and attaching pom-poms, along with scissors.
Steps to Create the Baby Bonnet
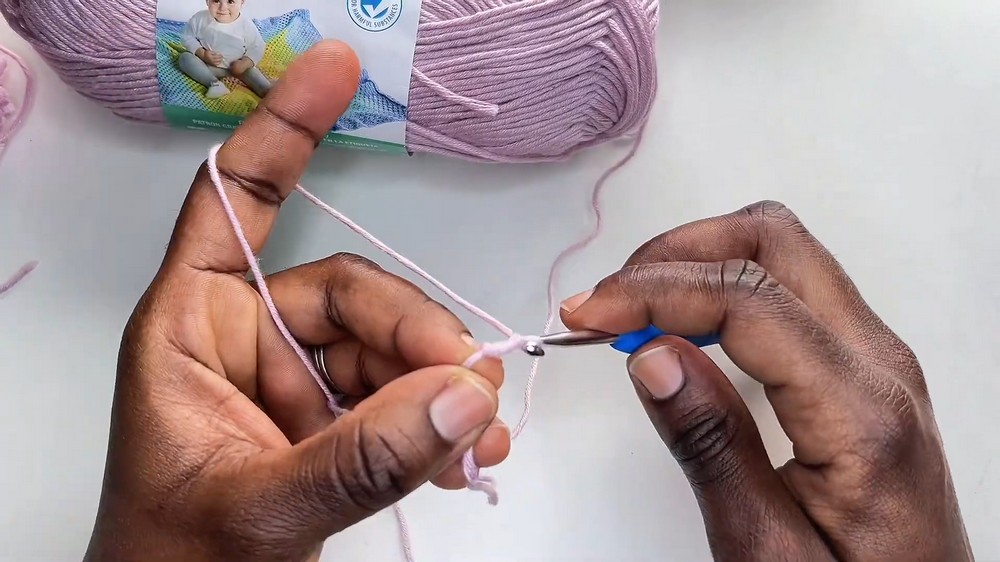
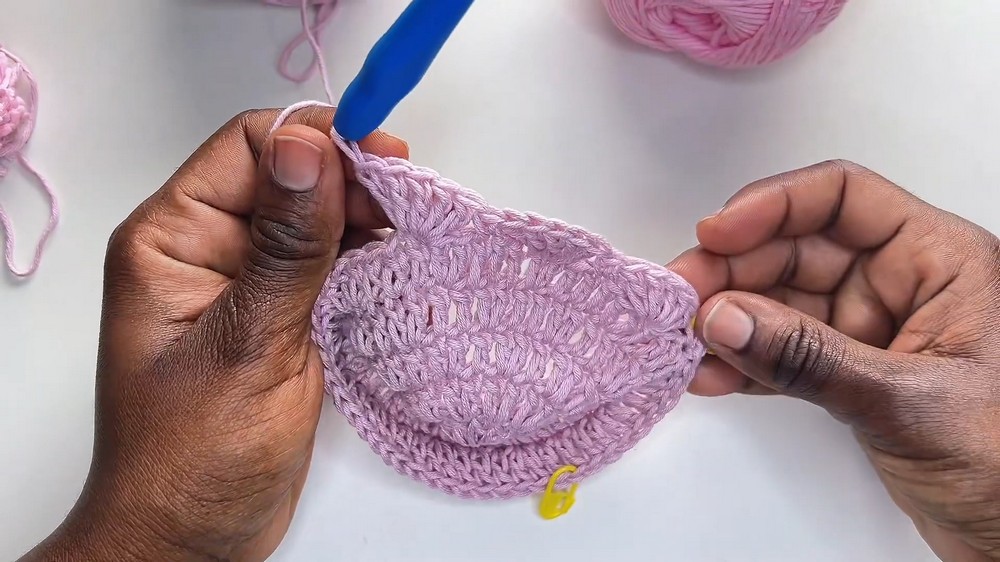
1. Creating the Crown
- Begin by forming the crown of the bonnet using either a slip knot with a chain or a magic circle.
- The tutorial demonstrates how to work through rounds to gradually shape the crown.
- Increase the stitches systematically across several rounds to achieve the desired size and diameter of the crown.
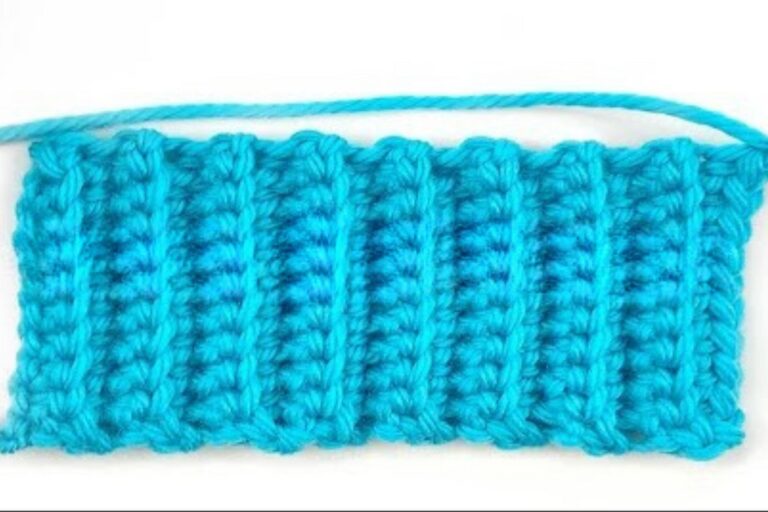
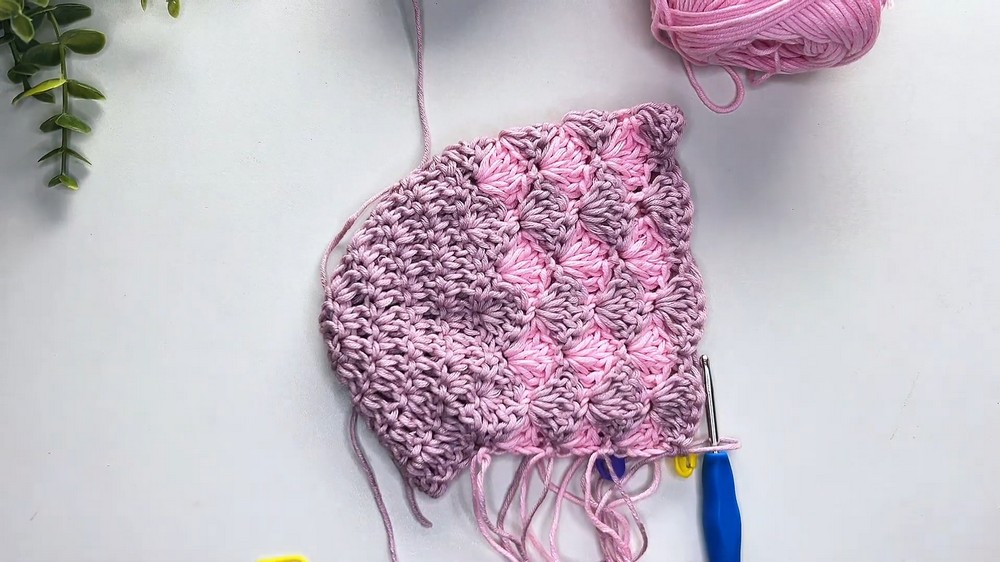
2. Starting the Shell Stitch Rows
- Mark a specific stitch to begin the shell stitch rows, which create the unique textured pattern of the bonnet.
- The shell stitch involves alternating between single crochet stitches and clusters of five double crochet stitches.
- The instructor explains how to switch yarn colors at the end of rows for a multicolored effect, though viewers can choose to use one consistent color if preferred.
3. Alternating Rows
- The shell pattern alternates between rows with full shells and half shells, forming a repeating sequence.
- The tutorial provides detailed guidance for completing rows, maintaining symmetry, and achieving the correct length for the bonnet.
- The process continues until the shell rows measure the desired size, creating the body of the bonnet.
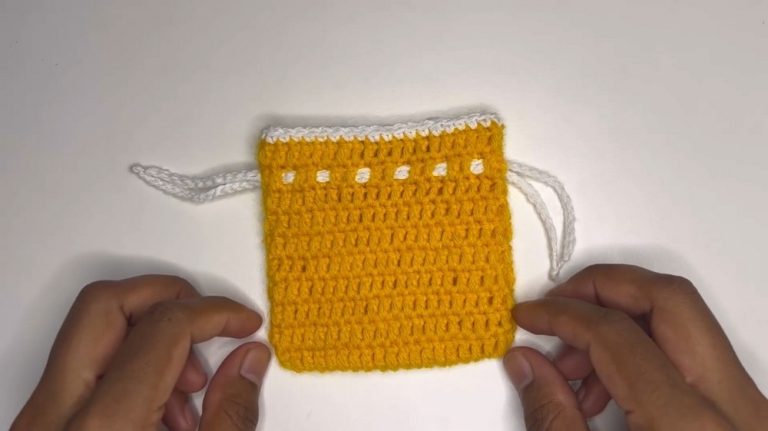
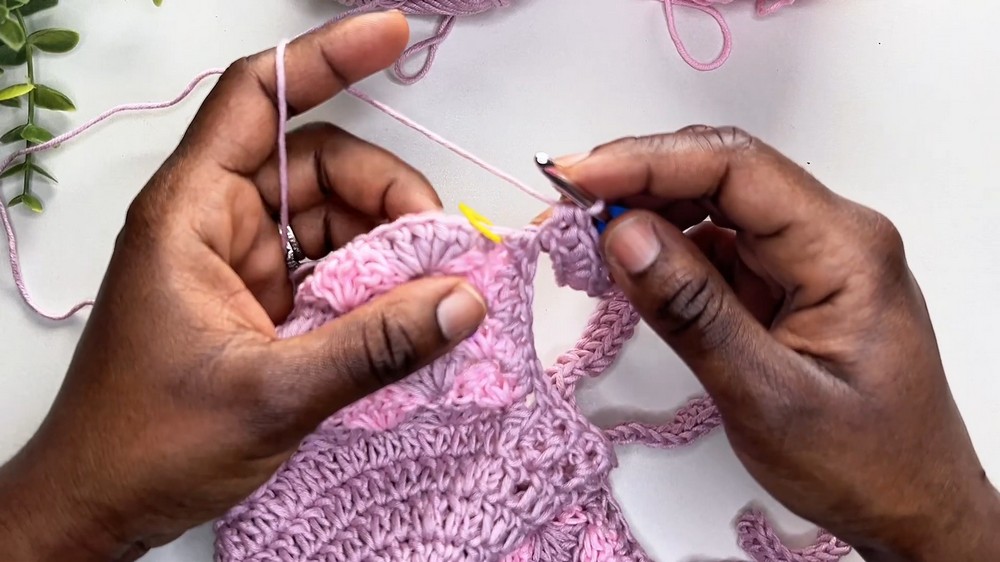
4. Edging and Strap Creation
- To finish the edges of the bonnet, a combination of half double crochet, front post double crochet, and back post double crochet stitches are used.
- Two straps are added on either side by chaining and working into these chains, providing ties for securing the bonnet.
- The instructor demonstrates how to ensure clean edges and consistent stitch work.
Finalizing the Bonnet
1. Weaving in Ends
- Using a yarn needle, weave in all loose ends to give the bonnet a polished look.
2. Attaching Pom-poms
- Pom-poms are attached to the ends of the straps for added charm and character.
- The instructor notes that viewers can use pre-made pom-poms or create their own using a linked pom-pom tutorial.
Tips and Customization
- Sandy encourages viewers to experiment with color choices. While she alternates pink and lilac in this tutorial, any combination can be used to suit personal preferences or themes.
- The bonnet’s straps can be made longer or shorter, depending on the desired fit.
Conclusion
The shell stitch baby bonnet is complete, featuring soft textures, a snug fit, and decorative pom-poms. Sandy closes the tutorial by encouraging viewers to explore her other crochet projects to continue their creative journey. This bonnet makes for a lovely handmade gift for newborns and is a perfect project for new and experienced crocheters alike.