How to Crochet Ribbing Using Any Stitch
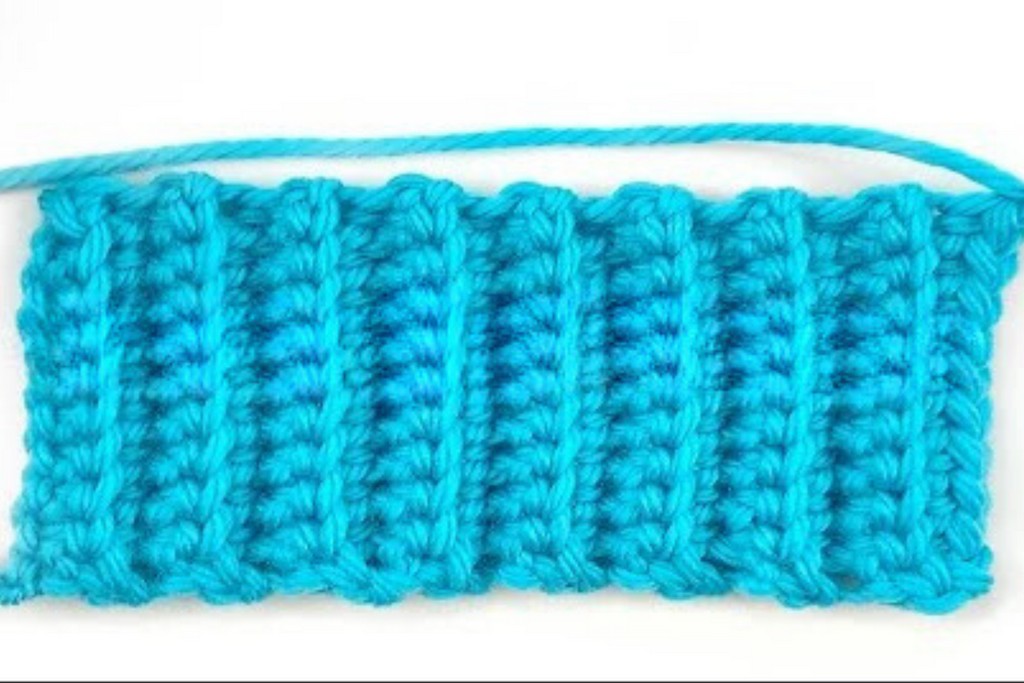
Ribbings are a must-have detail to finish beanies, sweaters other wearables. It gives stretchiness and texture, making the item attractive. So, learn how to crochet ribbing using any basic crochet stitch with this step-by-step tutorial for beginners. Changing the stitch type, you can get various types and looks of the ribbings. So, follow through with our written and video guidelines in this regard.
How to Crochet Rib
Are you ready to learn how to crochet rib stitches? We shall talk about them in detail in this section:
Special Technique to Know
If we look closely, we shall notice that there are raised rows (columns when rotated). These are the result of inserting the crochet hook into a special place as described below:
Working Back Loop Only: Normally, you may want to work any basic crochet stitch under the both top loops of a stitch. But in case of back loop only, you will work in one of top V-loop known as back loop.
If you face the crochet fabric towards you, the top loop of a stitch far from you is called back loop. Inserting the crochet hook brings the new row to back side and previous row seems to be raised. See where is the back loop in step 4.
Pattern Type:
The pattern for the crochet rib stitch is a one-row repeat. But the first row will be worked uniquely. While the rest will be similar.
Note: Pattern is Written in US terms.
Pictorial Guide With Instructions
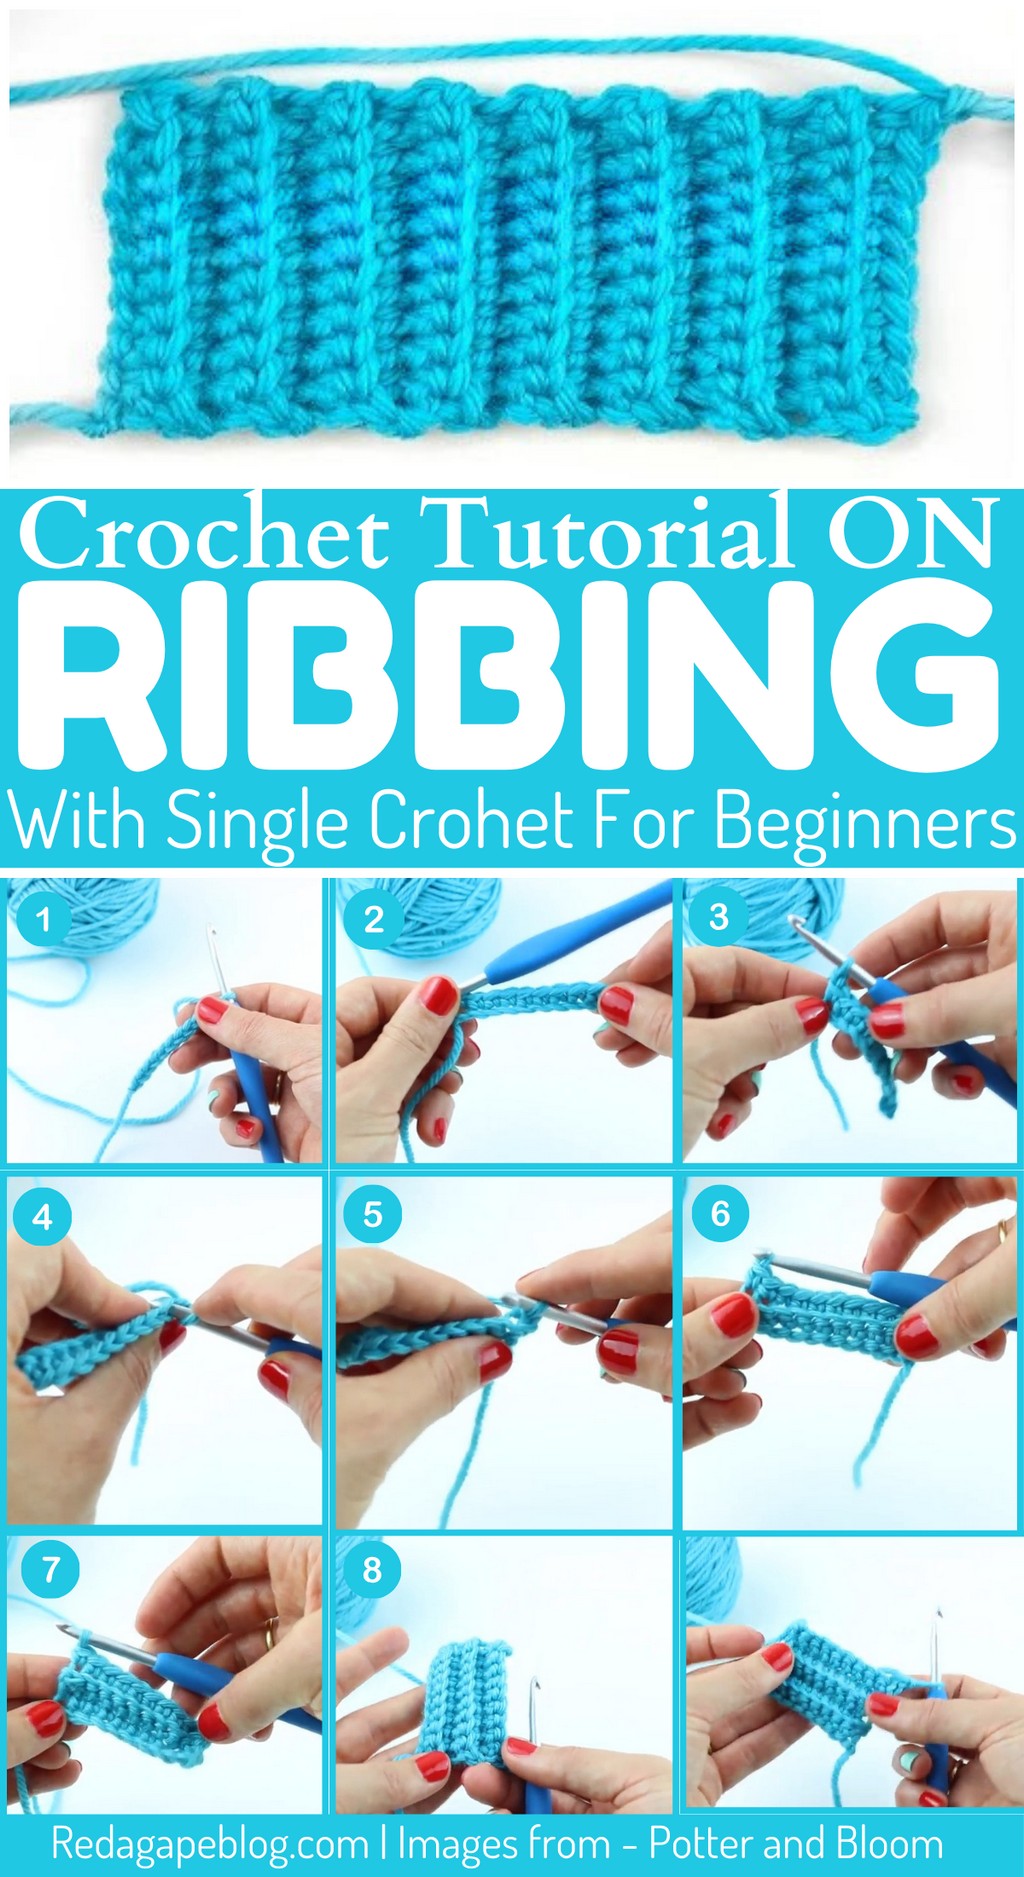
If you like visual learning, you will merely need the below picture for the single crochet ribbing:
Abbreviations Used:
- Ch – Chain Stitch
- Sc – Single crochet
- st – Stitch
- BL – Back Loop
- BLsc – Back Loop Single Crochet
- Rep – Repeat
Instructions For Single Crochet Rib
Below are the written instructions for the most basic type of ribbing (single crochet rib):
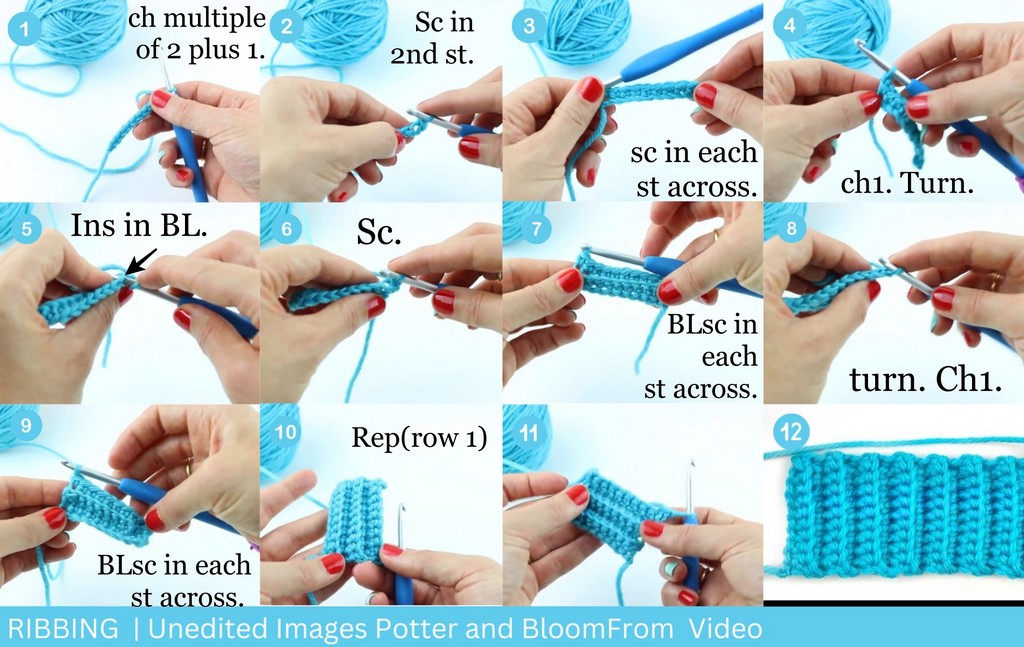
- Foundation row: Chain in multiple of 1 plus one turning chain.
- Row 1: Insert the crochet hook into the second chain from the hook and single crochet there (insert the hook into the stitch, yarn over and pull up a loop, yarn over and pull through both loops on the hook). Single crochet across each chain in the foundation row.
- Chain 1 (turning chain does not count as stitch here). Turn the work.
- Row 2: Insert the hook into the back loop of the first stitch and single crochet there. Repeat (Back loop single crochet) all the way across.
- Repeat the row 2 until you get the desired height.
Instructions for Slip stitch, Half-double, Double crochet, Treble, etc Rib
If you want a ribbing with more or less height than a single crochet, you can use the larger or smaller crochet stitches. Below are the instructions for such ribbings:
- Foundation row: Chain in any number plus turning chains depending upon the stitch you choose. Below are some turning chain numbers:
- Slip Stitch: 1 or not any
- Half-double Crochet: 2
- Double Crochet: 3
- Row 1: Skip the turning chains and insert the hook into the next stitch. Crochet a stitch there and all the way across.
- Turning chain(s). Turn.
- Row 2: Insert the hook into the Back loop of the stitch and work a particular stitch. Then, work the selected stitch all the way across in the Back Loop Only.
- Repeat row 2.
More Stitch Tutorials
The crocheting journey does not stop here; keep learning these crochet techniques: