How to Single Crochet (sc) | Step-by-Step Tutorial For Beginners
Are you in need of learning how to single crochet? I welcome you to this single crochet (sc) step-by-step tutorial for beginners. You will learn alot about single crochet, revise the previous techniques, and study the process of this stitch with pictures. So, grab your hook, and let’s get started!
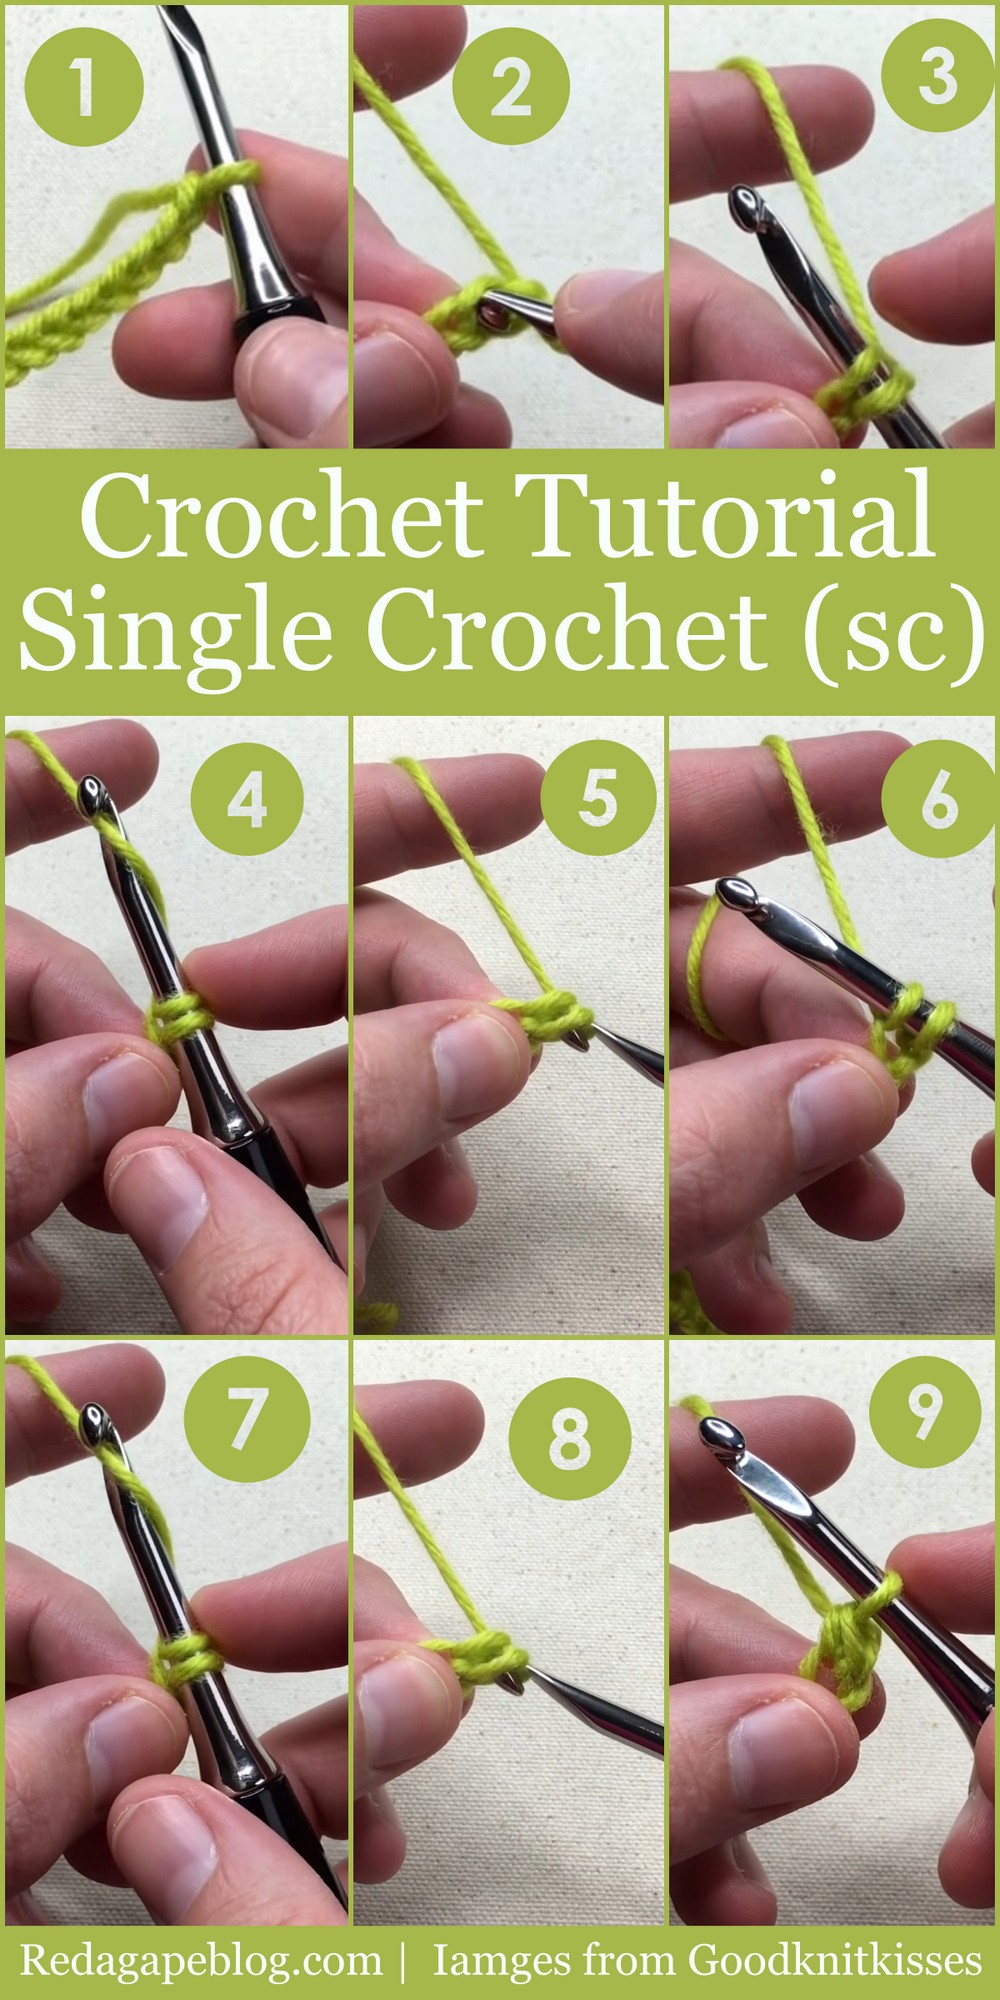
Chart Symbol
While following a crochet symbol chart of a pattern, you can identify the single crochet with a “+” or “X.”

Beginner Crochet Pattern: How to Single Crochet (sc)
Materials List
- Yarn: Medium (Worsted) Weight Yarn, Category 4
Choose a smooth, light-colored yarn to see stitches easily. - Hook: US Size I-9 (5.5 mm) crochet hook
Use metal, plastic, or wood as preferred. The stated hook size is suitable for most worsted yarns. - Other Supplies (optional):
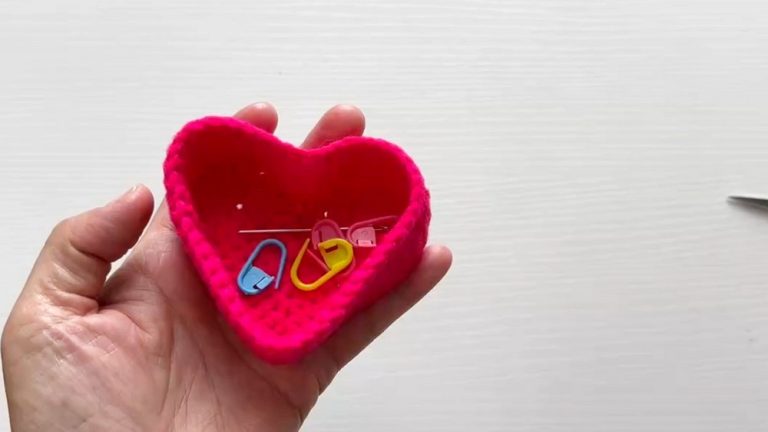
- Stitch markers or safety pins (for marking stitches or saving your place)
- Tapestry needle (for weaving in ends)
- Scissors
Key Abbreviations (US Terminology)
- ch – chain
- st – stitch
- sc – single crochet
- yo – yarn over
Special Notes
- This tutorial follows US crochet terminology.
- The slip knot and the loop on the hook are not counted as a chain stitch.
- For a chain of single crochets, add one extra chain to your starting chain (e.g., for a row of 20 sc, chain 21).
- For beginners: use a hook and yarn that glide easily and allow you to see your stitches clearly.
- Tension is important but will improve with practice.
Step-by-Step Pattern: Foundation Chain & Single Crochet
1. Make a Slip Knot
- Make a slip knot with your yarn using your preferred method.
- Place the slip knot on your hook. Ensure it is loose—not tight.
2. Hold Your Hook and Yarn
- Hold your hook using either the knife hold (like holding a knife) or pencil hold (like a pencil), whichever is comfortable.
- Drape the working yarn over your fingers for tension:
- Kristen lays it over her pinky, weaves it around her fingers, and up over the index finger.
3. Make a Foundation Chain
- For this practice: Chain 21.
- To chain:
- Yo (yarn over) by bringing the hook under and over the yarn.
- Pull the yarn through the loop on the hook.
- Repeat until you have 21 chains.
- Remember: The slip knot and loop on your hook do not count as a chain stitch.
Tip:
After chaining, check that your chain is neither too tight nor uneven. If it’s too tight, use a larger hook for the chain, then switch to your regular hook.
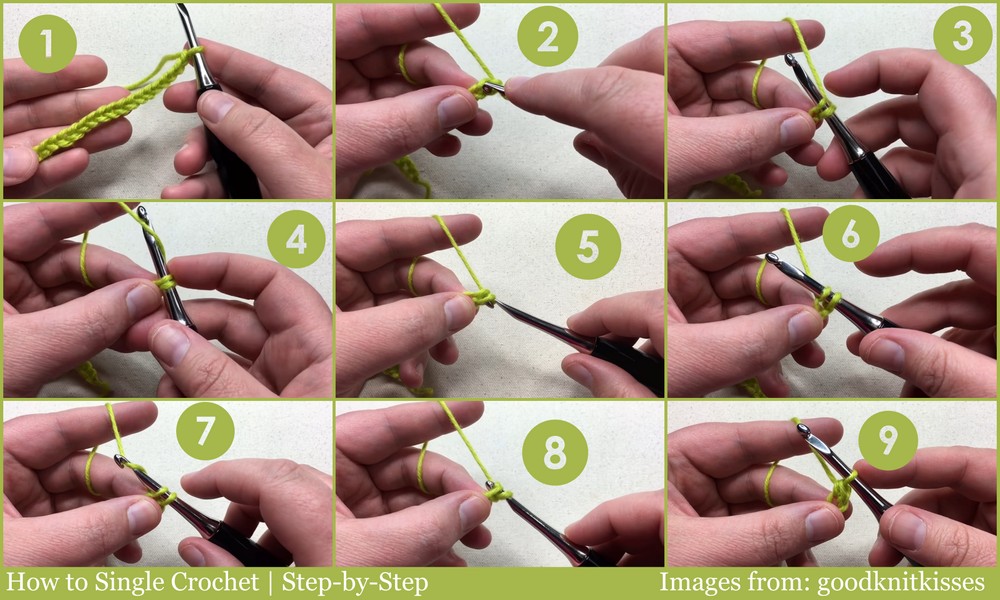
4. Single Crochet (sc) into Foundation Chain
- Insert your hook into the second chain from the hook (not counting the loop on your hook).
- Yo and pull through the chain (2 loops on hook).
- Yo again and draw through both loops on hook.
- First single crochet (sc) complete.
- Continue:
- Insert hook into the next chain, yo, pull through (2 loops).
- Yo and pull through both loops.
- Repeat to the end of the chain.
Tip:
If you make a mistake, simply pull out your hook, gently tug the working yarn to unravel to the problem stitch, and reinsert your hook to continue.
5. Turn and Work Next Row
- After the row is done, ch 1 (turning chain).
- Turn your work so you are ready to crochet into the previous row.
- Insert your hook under both top loops of the first stitch.
- Yo, pull through (2 loops), yo, pull through both loops (sc made).
- Repeat across the row, working under both top loops unless a pattern directs otherwise.
6. Continue for Additional Rows
- Each time you finish a row:
- Make ch 1 (turning chain)
- Turn your work and continue as above.
7. Finish Off and Weave in Ends
- When your piece is the desired length:
- Cut yarn, leaving a 4–6” tail.
- Yo and pull through remaining loop to fasten off.
- Thread tail onto a tapestry needle.
- Weave the tail through stitches on the back, working in several directions to secure.
- Trim excess.
Pattern Correction
- Correction: Be careful not to count the slip knot or the loop on your hook when counting your foundation chain.
- Common Mistake: If your foundation row is too tight and it’s difficult to insert your hook, consider making your chain with a larger hook size.
Tips
- Consistent Tension: Don’t grip yarn or hook too tightly; relax your hands.
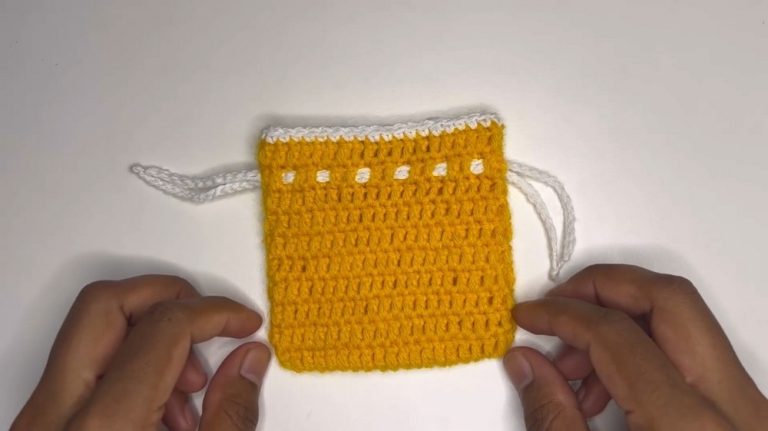
- Saving Project for Later: If you need to set your work aside, insert a stitch marker or safety pin through the active loop to prevent unraveling.
- Weaving in ends: Weave in at least 3” of yarn, zigzagging in more than one direction for security.
Conclusion
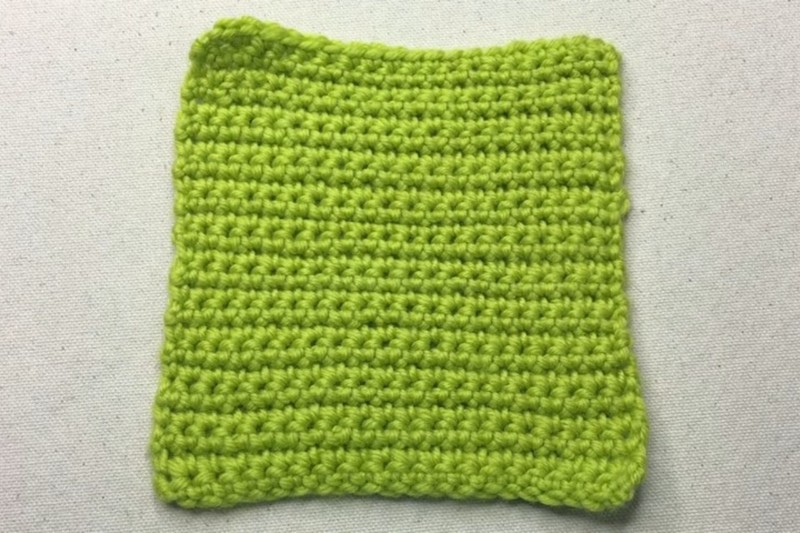
Mastering the single crochet (sc) stitch is essential for all crochet beginners. This foundational stitch is the first building block for many projects, offering a dense, reversible fabric. With practice, your tension and stitch consistency will quickly improve. Continue practicing, and consult this guide as often as needed.