How to Crochet a SCRUNCHIE for Beginners
Learn how to crochet a scrunchie using thin, slightly woolly yarn, perfect for beginners. The creator walks viewers through the process, starting with crocheting a 10 cm wide and 50 cm long rectangle and then attaching it to a basic hair tie. The process includes tips on managing challenging yarn and adapting the pattern. Along the way, she introduces her cats, Ka and Bumbo, adding a personal and endearing touch to the video.
Despite facing some struggles, the creator’s enthusiasm shines as she completes the scrunchie and reflects on her creation. It’s a delightful and relatable craft tutorial. So, follow through with us for the complete tutorial.
Crochet Scrunchie Tutorial
The creator begins the tutorial by introducing herself and explaining the focus of the project—a handmade crochet scrunchie. She shares her excitement for the video, mentions she’s working with a specific yarn for the first time, and gives a lighthearted personal touch with anecdotes about her cats.
Materials Needed
- A basic hair tie.
- Slightly woolly, thin yarn.
- A measuring tool.
- A crochet hook (3 mm, as used in the tutorial).
Step-by-Step Process
1. Crocheting the Rectangle
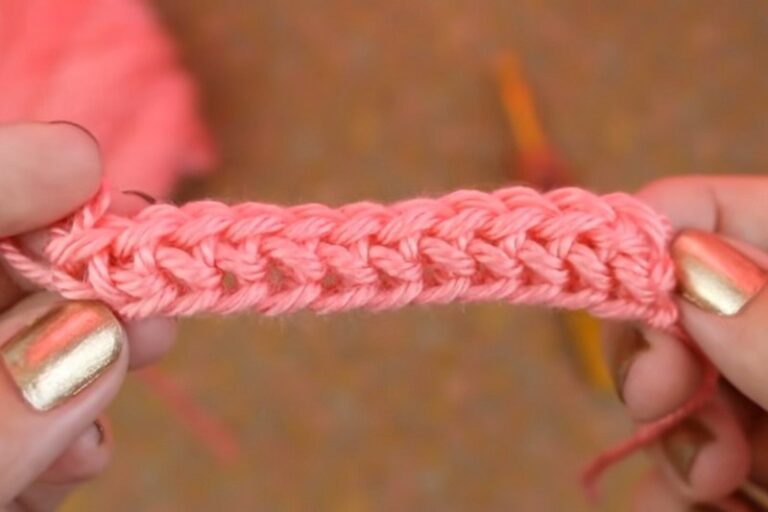
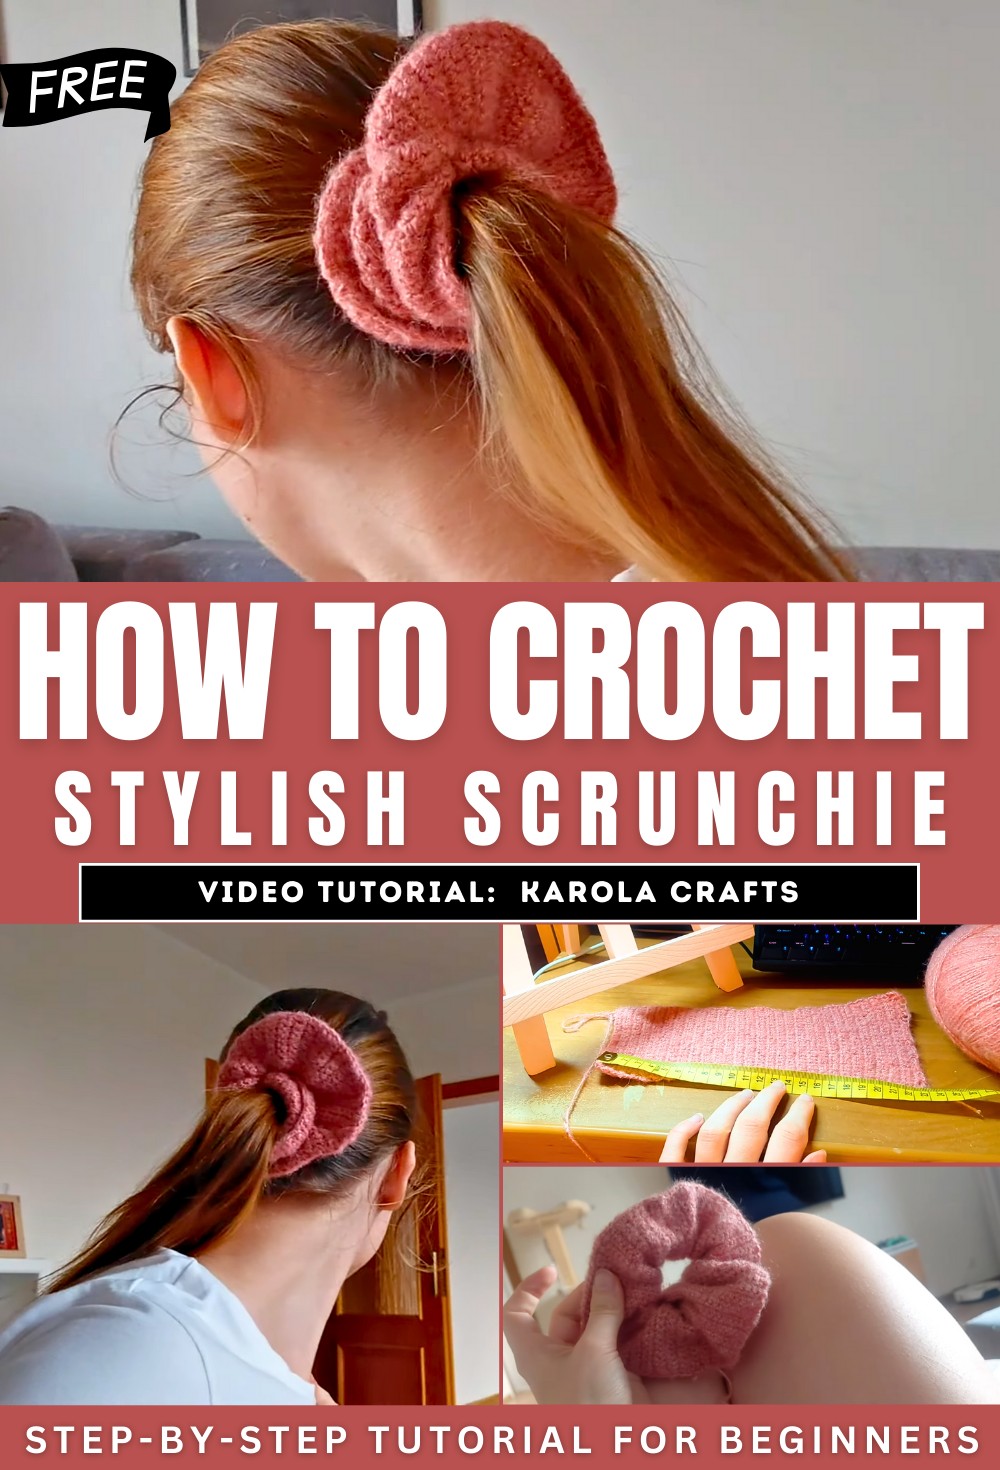
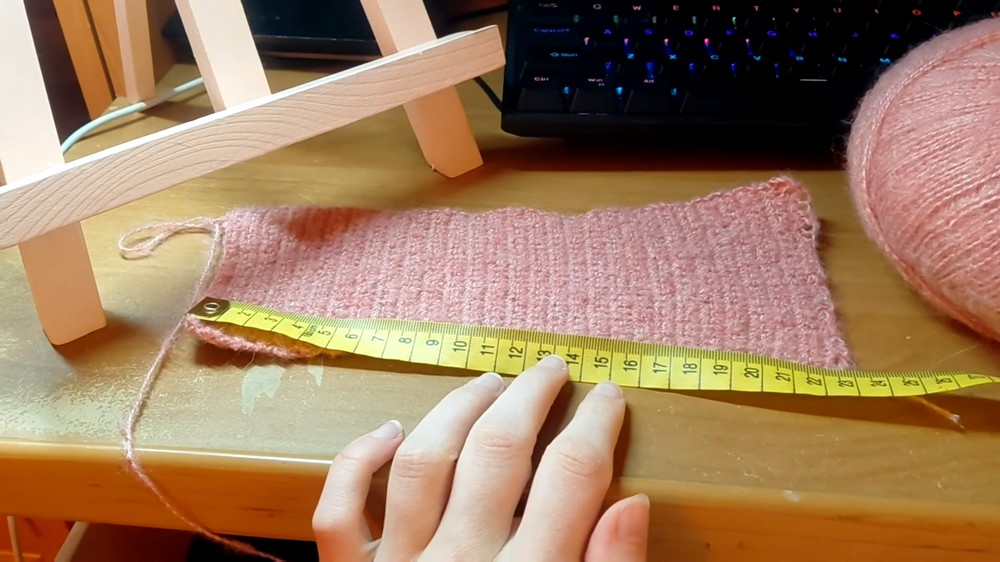
- Start by crocheting a rectangle that is approximately 10 cm wide and 50 cm long.
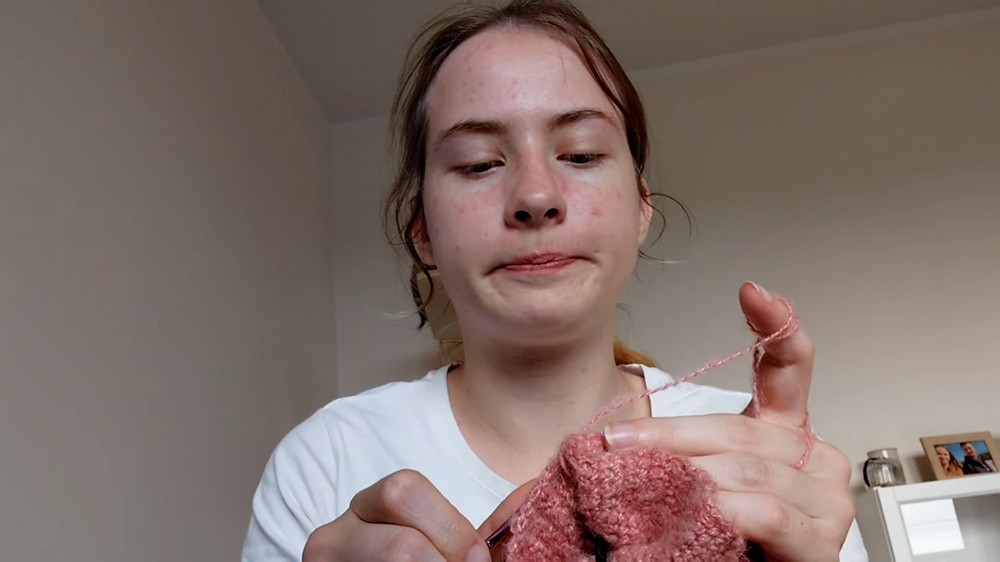
- The creator notes that the project can take time, especially if the yarn is difficult to manage (as hers is). She mentions struggling with the hairy texture of the yarn, which sometimes catches during the process.
2. Joining the Rectangle
- Once the rectangle is completed, the next step is to fold it and join the edges together.
- Using a technique where the crochet hook stitches through the “eyes” of the edges, the creator shows how to carefully secure the piece into one continuous loop. She advises not to cut the yarn yet.
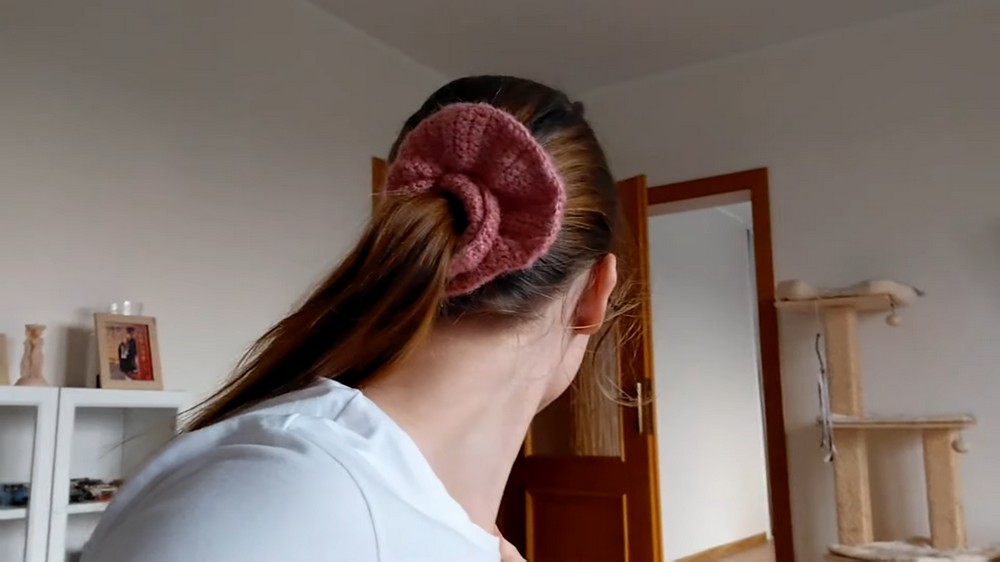
3. Adding the Hair Tie
- After creating the loop, the hair tie is placed inside the crocheted rectangle.
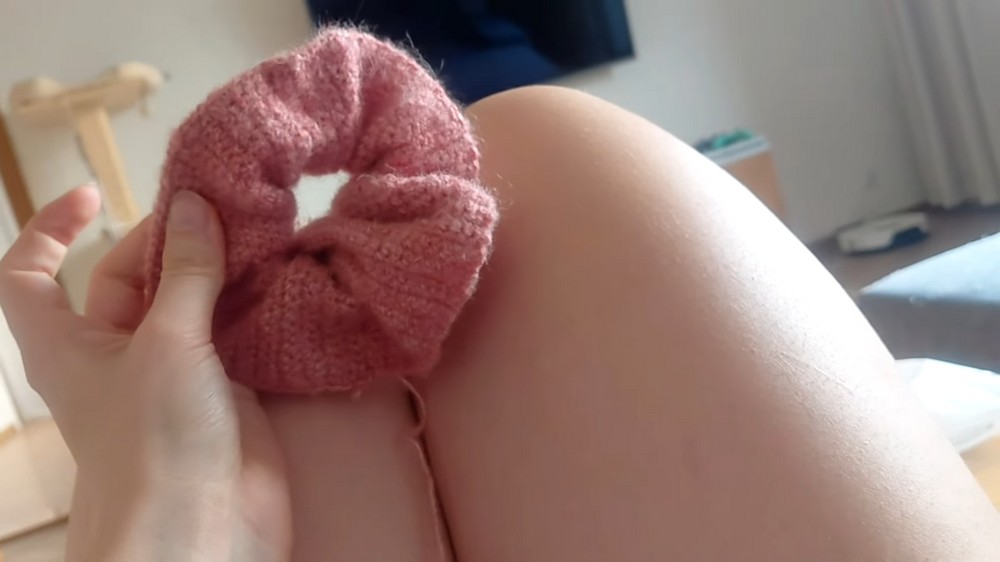
- Fold the fabric and crochet the edges to encase the hair tie completely. This part can be tricky, especially when using challenging yarn, but the end result begins to resemble the scrunchie shape.

4. Final Touches
- The creator adjusts loose ends, cuts excess yarn, and hides the remaining strands by tucking them inside the fabric. This step ensures a polished and smooth finish.
Challenges and Tips
- Yarn Texture: The presenter openly shares her struggles with the hairy yarn and advises viewers to choose a material they’re comfortable working with.
- Customization: She suggests that making the rectangle longer than 50 cm could create a more wavy and dramatic scrunchie. Viewers can tailor the scrunchie to their desired length and thickness.
- Preferred Starting Side: The creator admits she chose to crochet along the shorter side of the rectangle because she dislikes working on chains from the longer side. She advises viewers to choose a method that is easier for them.
Cats & Personal Insights
Midway through the tutorial, the creator pauses to introduce her two cats—Ka (nicknamed Shiva) and Bumbo—adding a personal and heartwarming element to the video. She humorously comments on their personalities, making the tutorial more engaging.
Final Thoughts
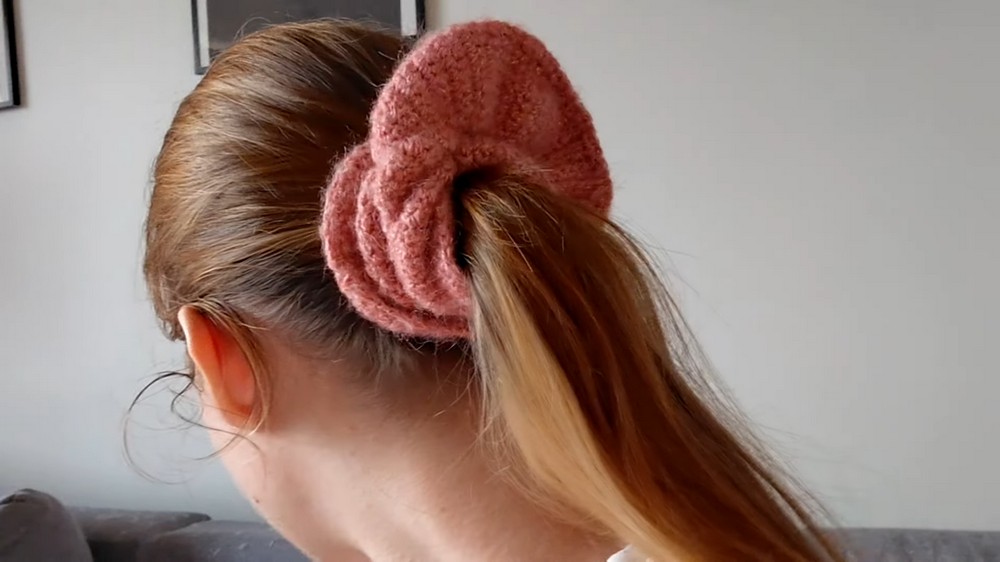
In the end, the creator is surprisingly happy with how the scrunchie turned out, despite her initial doubts. She tries the scrunchie on herself and remarks on its functionality, although she suggests experimenting with longer dimensions for more dramatic results.
Conclusion
The video wraps up with a heartfelt thank-you to viewers. The creator states that she was motivated to complete the project due to the video and is excited to share more in the future.