How to Crochet a Cute Sun Hat Great Tutorial for Beginners
In this post, The Sparkly One shares a creative tutorial on crocheting a stylish sun hat using 100% cotton yarn, specifically Peaches & Cream. This versatile hat is sturdy, with no need for starch or wires, and can be made in just about four hours by experienced crocheters. Rhonda demonstrates techniques like the magic circle and offers tips on size adjustments, yarn options, and styling. Follow through with us for the complete tutorial!

Crochet a Cute Sun Hat Tutorial
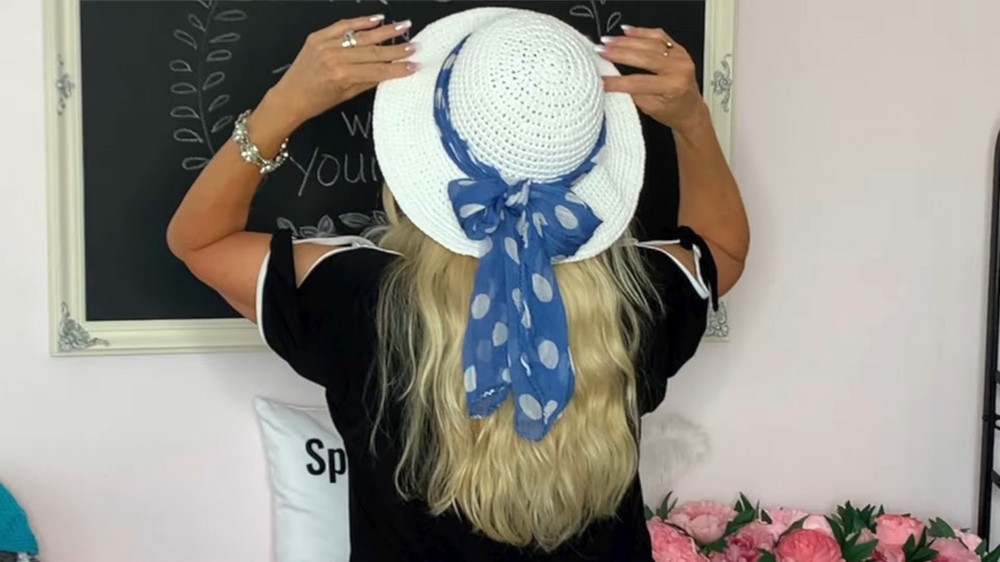
- Rhonda introduces her previously popular sun hat video, showcasing creative ways to accessorize the hat.
- Encouraged by audience feedback, she creates a step-by-step tutorial for making the crocheted sun hat.
- The hat uses 100% cotton yarn (Peaches and Cream), which provides natural stiffness for the brim without requiring wires or starch.
- The project is ideal for experienced crocheters, taking approximately 4 hours to complete.
Materials and Tools
- Main Yarn: Peaches and Cream Original Cotton Yarn by Yarnspirations.
- Other suitable options include:
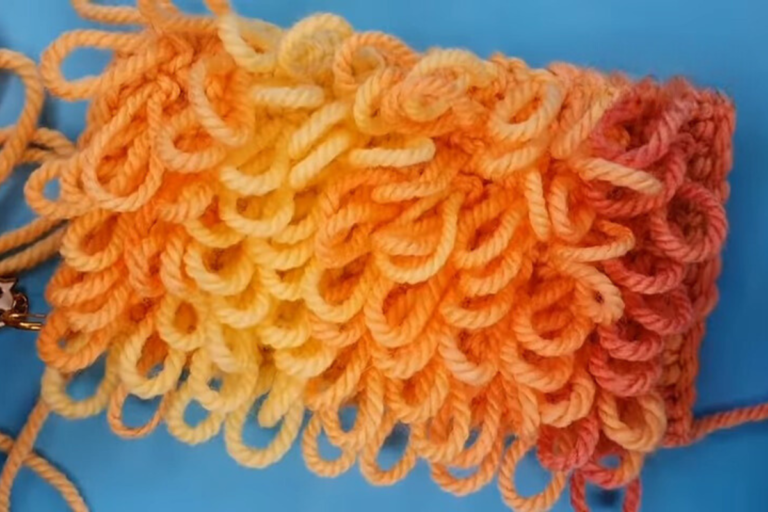
- Red Heart Super Saver Ombre Yarn (used for alternate hat versions).
- Hobby Lobby Yarn Bee Sugar Wheel Yarn (self-striping yarn for variety).
- Yarn weight: Size 4 worsted or size 3 yarn (adjustments needed for smaller yarn).
- Crochet hook size: Size F (recommended for loose crocheters) or Size G (for tighter crocheters).
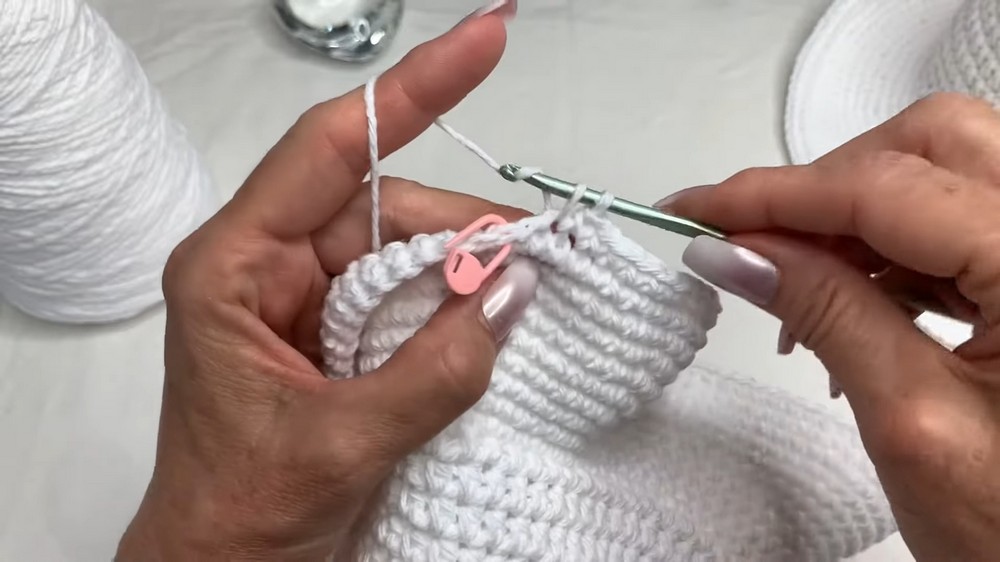
- Optional additions: Stitch markers for tracking progress.

Key Features of the Hat
- Portability: The hat can be folded and stored inside a bag.
- Durability: It’s washable, sturdy, and maintains its shape.
- Versatility: Can be made with various yarn types and colors, tailored to individual preferences.
- Different hook sizes allow variations in the hat size.
- Adaptations possible for bulky yarns with pattern adjustments.
Step-by-Step Process
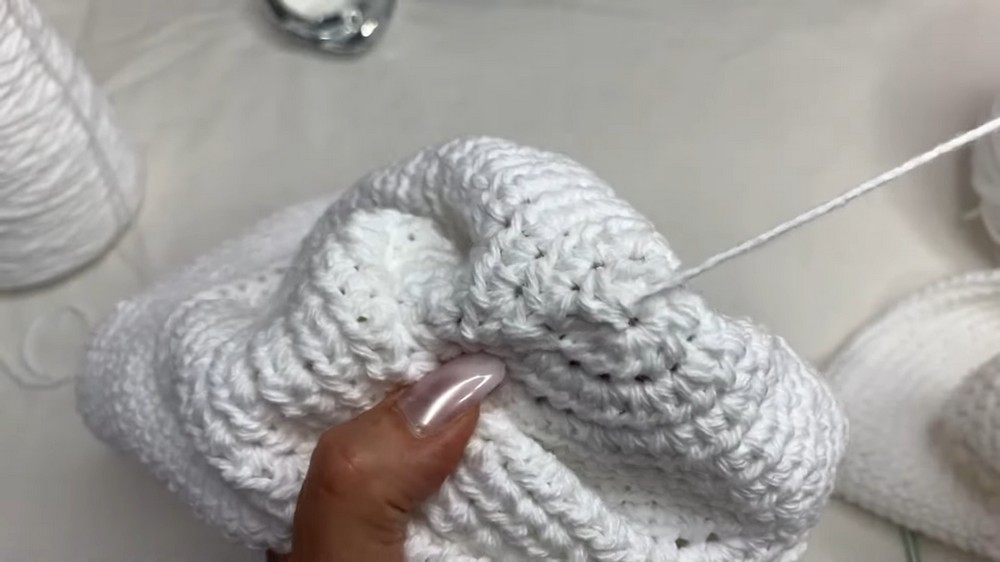
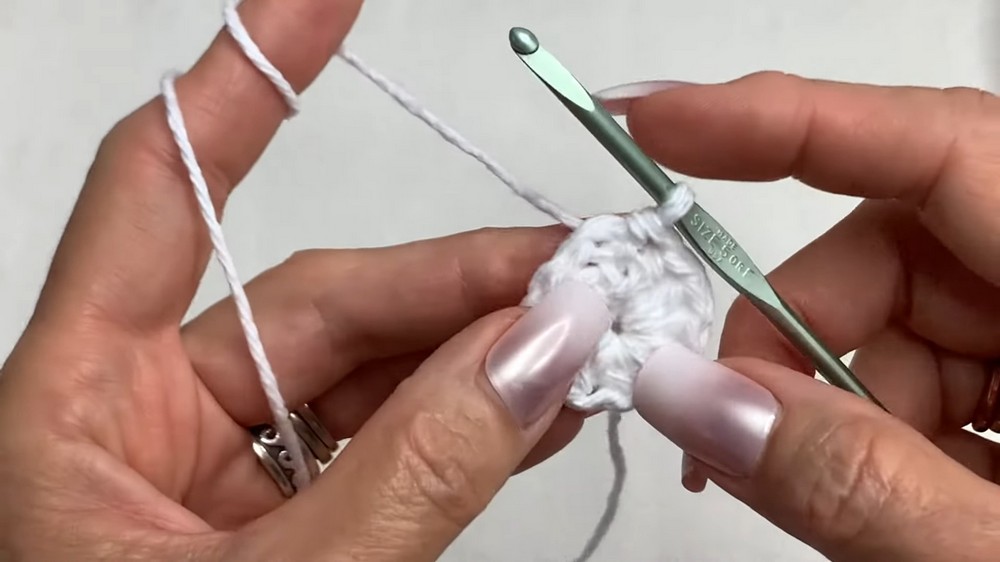
- Creating the Base:
- Begin with the magic circle technique.
- Crochet rows with strategic increases to form the crown of the hat.
- Sizing the Crown:
- Measure the diameter to ensure the crown’s size matches the intended head size (approximately 6–7 inches for adults).
- Adjust the pattern with extra rounds for larger heads.
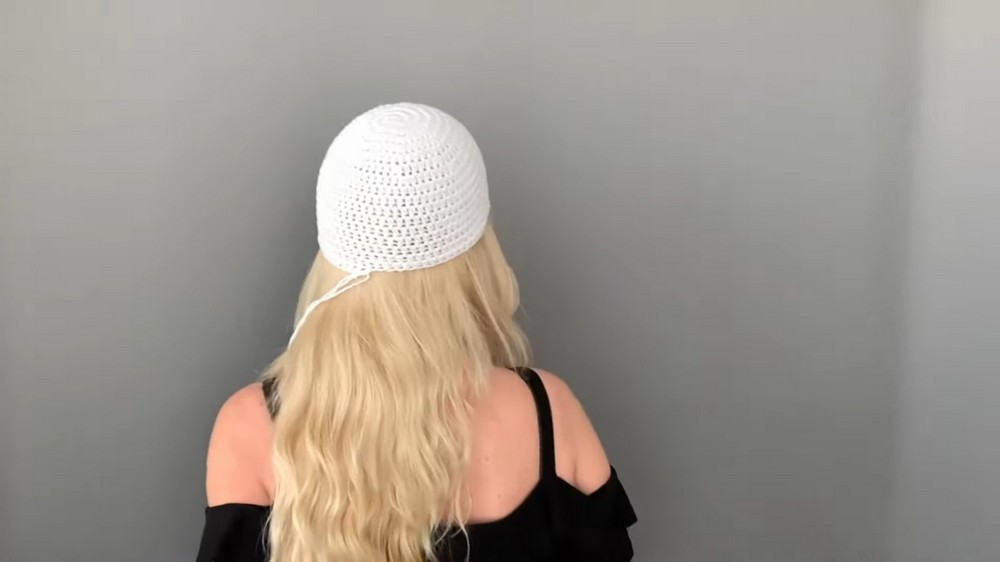
- Crocheting the Sides:
- Crochet approximately 10 rows in a continuous stitch for the sides.
- Ensure the sides are dome-shaped to fit comfortably on the head.

- Crafting the Brim:
- Transition to single crochet stitches for the brim.
- Use increases spaced strategically in rows to create and widen the brim (e.g., alternating patterns like “1 single crochet, 2 single crochets”).
- Repeat and refine rows for a sturdy and flattering brim shape.
- Finishing the Hat:
- Add final touches to the brim by creating slip stitches for a braided edge.
- Weave in loose ends using a needle for a clean finish.
Styling and Variations
- Versatility in Design:
- The hat can be styled as a safari hat, cowboy hat, or fedora, showcasing its adaptability.
- Different types of yarn and hook sizes allow unique variations.
- Alternative Patterns:
- Rhonda mentions a future tutorial for a floppy hat design for those looking for other styles.
- Hat Examples:
- The white hat made with Peaches and Cream yarn.
- The pink hat created using a size G hook for a larger fit.
- The purple hat combining ombre yarn and solid purple yarn.