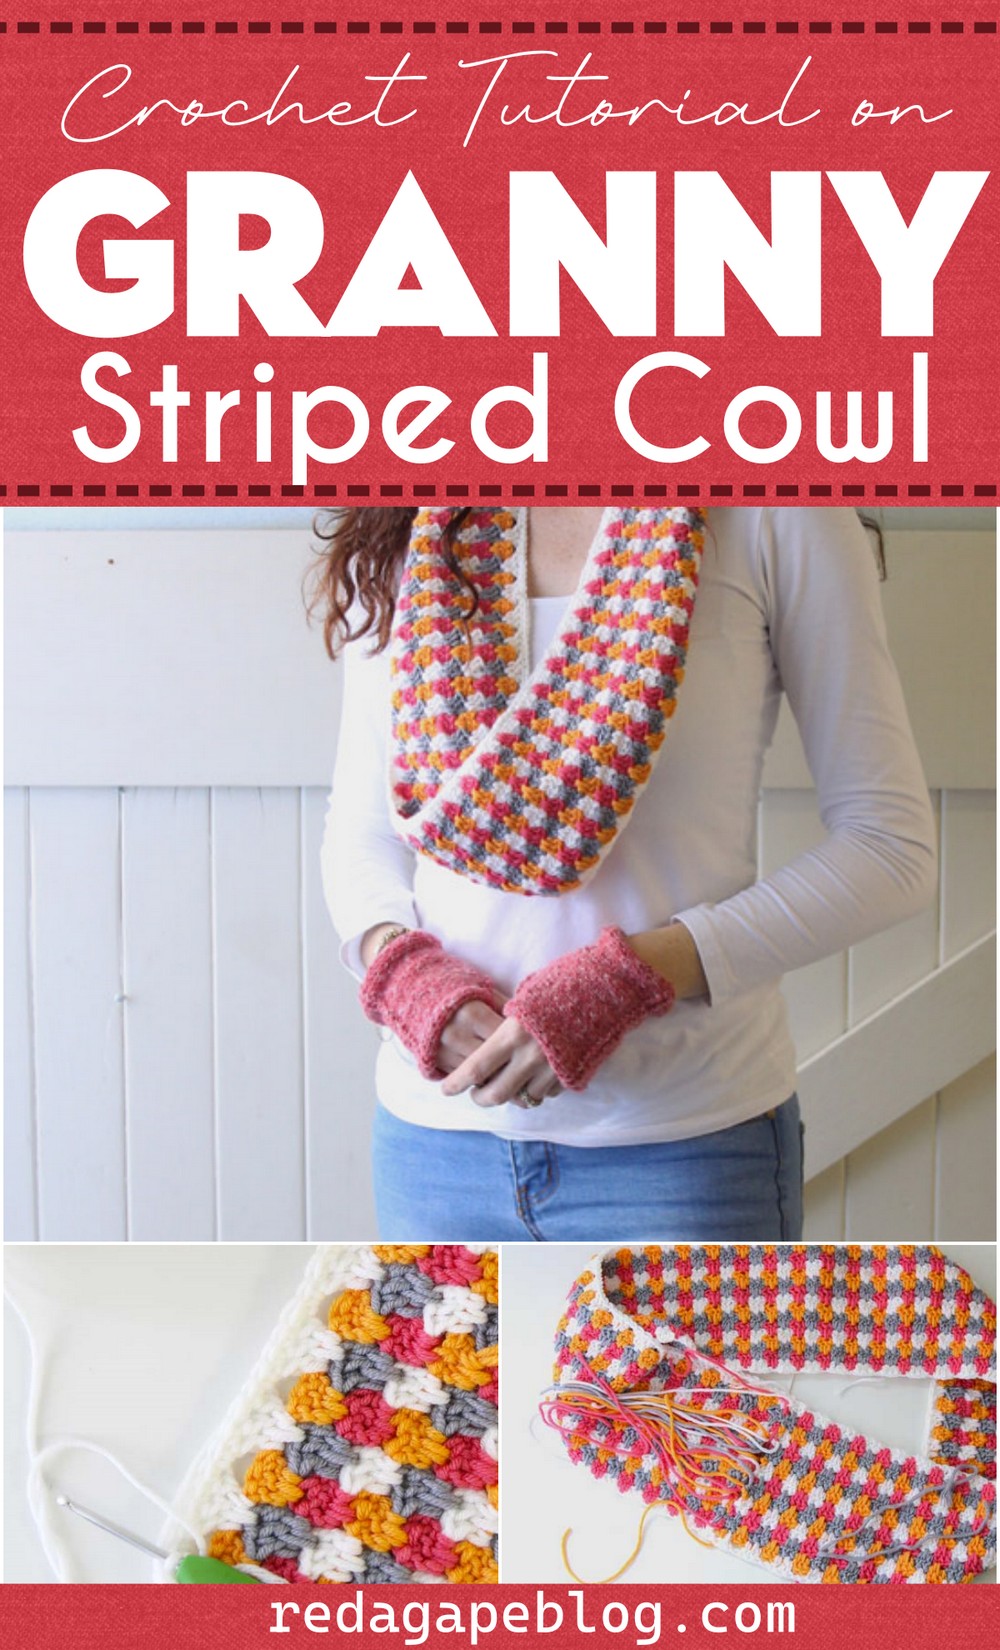
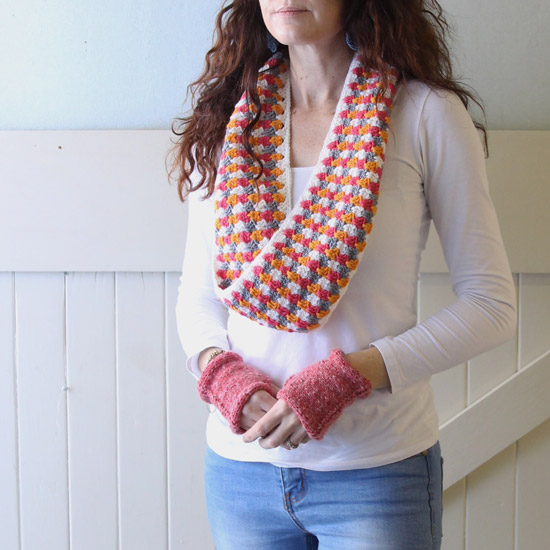
Free Crochet Spiked Granny Cowl Pattern For Winter
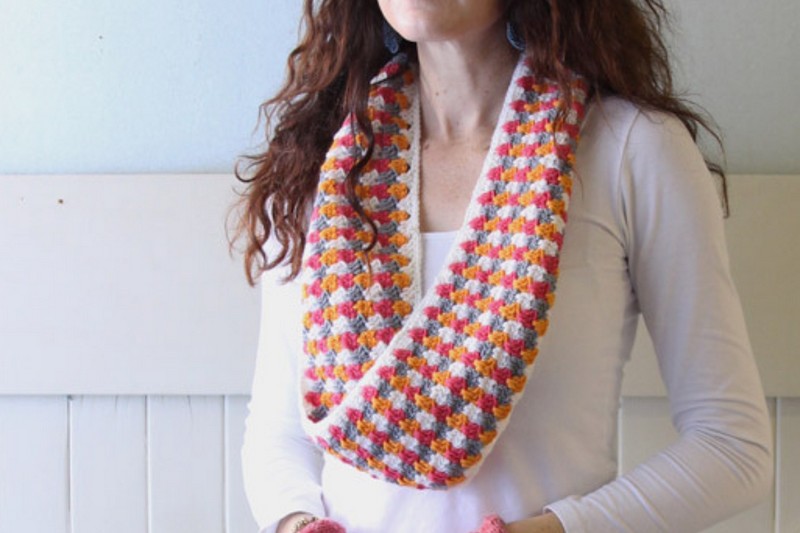
This colorful granny spiked cowl is a simple crochet project that can easily be finished in a weekend. It uses a classic granny stripe stitch with a slight alteration – a spike! Today, I have come up with its step-by-step tutorial and pattern for beginners, and you will really love the finished look. Its length will be a bit like a scarf, but I love to call it a scarf. So, let’s get started!
How will spiked granny square crochet?
You’ll be working in back-and-forth rows using a combination of single crochet, double crochet, and spiked double crochet (all US) stitches to create your granny spike cowl. Once you have finished and get the desired height, you twist the cowl and join the ends together while working with the yarn needle.
What is the best yarn for the crochet cowl?
Since the cowl will cover the neck and face (though sometimes), the yarn should be as soft and warm and less scratchy as possible. I found these characteristics in the merino wool, which, although a little more expensive than acrylic, is a great choice.
Let’s revise the stitches needed.
If you have not long done basic crochet stitches, let’s revive them with these quick guides and learn the abbreviations:
Ch – Chain: You will need it to crochet the foundation row. Yarn over (wrap it over the hook from back to front), and pull it through the loop already on your hook.
DC – Double Crochet: This stitch is called single crochet in the US. To do this, yarn over and insert the hook into the stitch, yarn over, and pull up a loop. Yarn over and pull through the two loops on the crochet hook.
Tr – Treble: This stitch is called double crochet in the US. To do this, Yarn over your hook, insert the hook into the stitch where you want to place your dc, yarn over again, and pull through the stitch.
Now, you have 3 loops on your hook. Again, yarn over and pull through the first two loops.
You’ll have 2 loops left on the hook. Another yarn over and pull through the remaining two loops to finish your double crochet!
Guide For Special Crochet Stitch | The Spike Treble Crochet (UK)
This stitch is similar to regular treble crochet with the difference of where you will insert the hook. I shall refer to it with spk tr. In my cowl pattern, you will crochet a cluster of 3 spiked treble crochet. Here is how:
First: Perform the regular yarn before inserting the hook and enter the hook into the base of the stitch under the stitch you are working on (stitch of the previous row). Then, perform the remaining steps of treble.
Second: Now for the second stitch, yarn over. This time, insert the hook into the base of the stitch present in the row below the row you are working on. Then, complete the remaining steps of the treble.
Third: Repeat the first spiked treble for the next stitch. Now, you have completed the cluster.
If you’re still unsure of what this means, the images below should help to explain it more clearly. You will see the term ‘spk tr’ wherever you need to work this stitch. All stitches are in UK terms.
How does our spike treble crochet vary?
In the case of our granny spiked treble crochet cluster, the first and third treble crochet will be done as we do in general (top loops of stitch), while only the 2nd stitch will be performed in the base of the stitch (space) in the previous row.
How To Crochet Granny Spiked Cowl?
In this section, we shall start with the granny spiked really easy cowl instructions:
Skill Level: Beginners
Note: All stitches are in UK terms.
Measures approx: 15cm wide and 105cm around
Materials:
- Debbie Bliss Rialto DK – Yarn A (White), Yarn B (Petunia), Yarn C (Grey), Yarn D (Tangerine)
- 4mm, 3.5mm crochet hook
- yarn needle
- scissors
Instructions
To start, make a slip knot with the yarn A and use the 4mm hook and ch172 – Foundation ch. Feel free to chain a few extra stitches if you’re not sure you’ve counted correctly. You can always undo them at the end. If you’d like your cowl longer or shorter, alter your number of chains in the foundation row and stick to multiples of 4.
Row 1
tr into the 4th ch from the hook, tr into the next st (counts as 3tr). * Ch1, skip a ch and work 1tr into the next 3 ch, ch1. Repeat from * until you reach the end of the row.

Row 2
Attach Yarn B and cut Yarn A, leaving a generous tail (You will be using the tail to attach one end to the other to form a cowl). Ch4 (counts as 1tr, ch1) and then work (tr, spk tr, tr) into the next ch-1 sp: t0 create the spiked treble, the middle tr is worked into the empty ch from the foundation ch below (see image below) In the following rows the spk tr will be worked into the top of the middle tr from 2 rows below. * Ch1, (tr, spk tr, tr) into the next ch1 sp. Repeat from * to end. Ch1, tr into the top of intital ch3 from Row 1.

Row 3
Attach Yarn C and cut yarn B leaving a generous tail. Ch3 (counts as first tr), tr into the middle tr (spk tr) from round one (see image), tr into same sp. * Ch1, (tr, spk tr, tr) into the next ch-1 sp. Repeat from * to end.

Attach Yarn D and cut yarn C leaving a generous tail. Ch4, (counts as 1tr, ch1) and then work (tr, spk tr, tr) into the ch-1 sp. * Ch1, (tr, spk tr) in each ch-1 sp across the row. Ch1, tr into the top of intital ch3 from Row 1. Finish with a tr into the top of the beg ch3 from the previous row.


Row 5
Attach Yarn A and cut yarn D leaving a generous tail. Ch3 (counts as first tr), spk tr, tr into same sp. * Ch1, (tr, spk tr, tr) into the next ch1 sp. Repeat from * to end.
Repeat rows 2 – 5 three more times and fasten off.
Joining the crochet cowl
Step 1 – Twist your work before laying the two ends side by side (see image)

Step 2 – Using the generous tails, join the ends by threading a yarn needle and weaving them together. The cowl doesn’t have a designated right side, so twisting it won’t effect the design. You will notice that pink and orange don’t match up, but the grey and white will, making it almost seamless in appearance. If you want them to match exactly, don’t twist your cowl. I prefer a twist as it sits nicely.
Step 3 – After you have joined your two ends, using your 3.5mm hook and Yarn A work a border of dc around the cowl. Attach Yarn A at the join, working over the top of the tr stitches first. Work 1dc into each tr and ch sp. When you get to the start of the foundation chain work 1dc into each ch stitch. Because the cowl is twisted, you will continue to work dcs until you reach where you began. SS into the intial dc and fasten off. All done!