How To Crochet A Floral Granny Headband for Beginners

In this post, you’ll learn how to create a beautiful crochet headband using simple techniques. The process begins with forming a magic ring or a chain loop, followed by crafting single crochets, clusters of double crochets, and chain spaces to build a square motif. Multiple squares are created, joined together using slip stitches, and bordered with single crochets for a clean finish.
The tutorial also guides you through shaping the headband and refining edges. Perfect for beginners, this project allows flexibility in size and design, making it ideal for personal use or as a thoughtful gift. So, follow through with us for the complete tutorial.

Crochet Headband Tutorial
This tutorial demonstrates how to crochet a stylish headband using square motifs and basic crochet techniques. The video walks viewers through each step, beginning with the creation of individual motifs, joining them, and completing the finishing touches to assemble the headband. The process is beginner-friendly and adaptable for different sizes and designs. Below is a detailed summary of the instructions presented.
Materials Needed
To follow along successfully, the tutorial suggests the following materials:
- Yarn (multiple colors for variety).
- Crochet hook.
- Scissors.
- Needle for weaving in ends.
- Measuring tape (optional for sizing the headband).

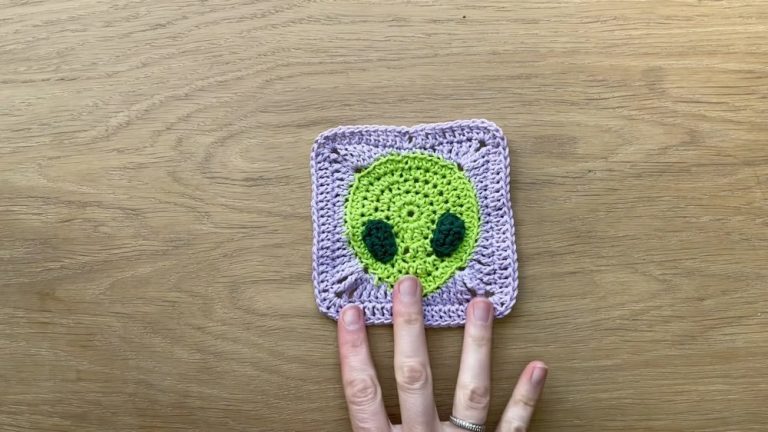
Step 1: Creating Individual Squares
The first section of the tutorial focuses on crafting small square motifs that make up the foundation of the headband:
- Begin with a magic ring or chain loop to form the starting circle.
- Create the base shape with stitches to complete the first round.
- Add subsequent rows to convert the circle into a square shape by working corners and chain spaces.
- Change yarn colors as desired, ensuring the tails are properly secured and hidden for a clean look.

Step 2: Joining the Squares
Once the required number of square motifs is completed (five in this tutorial), they are joined together to form a rectangular strip:
- Align two squares and connect them using slip stitches.
- Work into the back loops of each square for a seamless effect.
- Use this joining method or any other technique to attach the squares, creating a long band of connected motifs.
- Repeat until all squares are joined into a single rectangle.

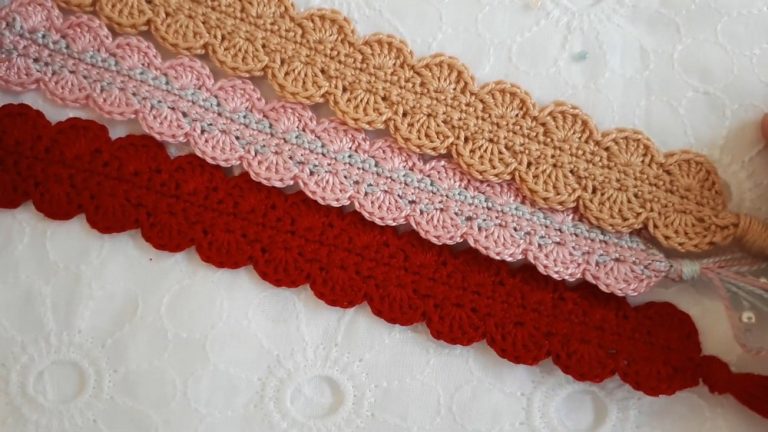
Step 3: Adding the Border
To reinforce the structure and give the headband a polished finish:
- Work single crochets all around the edges of the rectangle.
- Add extra single crochet stitches in the corners to prevent pulling or distortion.
- Carefully crochet around the gaps left between motifs for a smooth and consistent border.
- Optionally, additional decorative borders such as picots can be added for flair.

Step 4: Shaping and Final Assembly
After completing the rectangular base:
- Begin reducing stitches at both ends to create a tapered shape that fits comfortably when worn.
- Use two double crochets worked together to decrease the size gradually across rows.
- Continue decreasing rows until you achieve the desired fit or the band narrows at both ends.
Step 5: Finishing the Headband
Finally, complete the assembly process:
- Add rows to construct the remaining headband sections, adjusting length as needed.
- Hide all yarn tails using a needle to weave them into nearby stitches for a clean appearance.
- Trim any excess yarn.

Customization Options
The tutorial provides ideas to customize the headband:
- Adjust the number of squares to fit larger or smaller sizes.
- Use different color combinations or patterns for a variety of looks.
- Add intricate borders or decorative designs to the edges for a personalized touch.
Conclusion
This tutorial simplifies the process of crocheting an elegant headband, combining the practicality of square motifs with creative assembly techniques. It’s perfect for personal use or gifting, offering flexibility in design and size. By following the steps, viewers can create a professional-looking accessory while honing their crochet skills.