How to Crochet a Ribbon Bow for Beginners
In the post, you’ll learn how to crochet a tiny ribbon bow in a beginner-friendly tutorial. This quick and easy project is perfect for those new to crocheting. The bow can be tied onto various items, such as bags, baskets, or cups, adding charm to everyday objects. The project takes about 15 minutes and is customizable in size and texture.

Introduction
- The tutorial is hosted by Mat, targeting beginner-level crocheters.
- It focuses on crocheting a tiny ribbon bow, which is quick and simple to make.
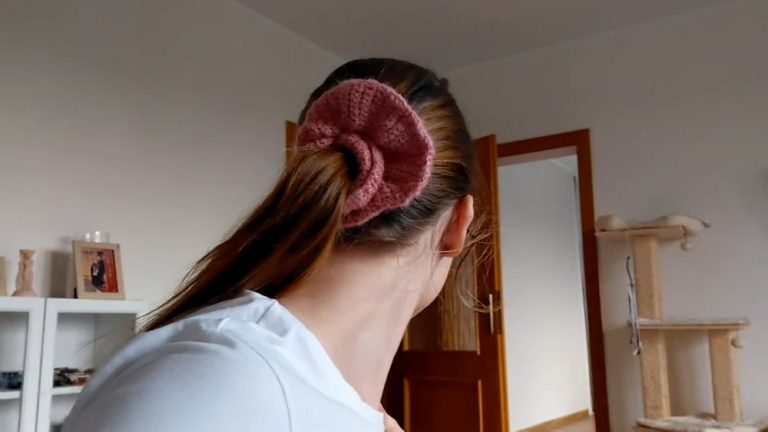
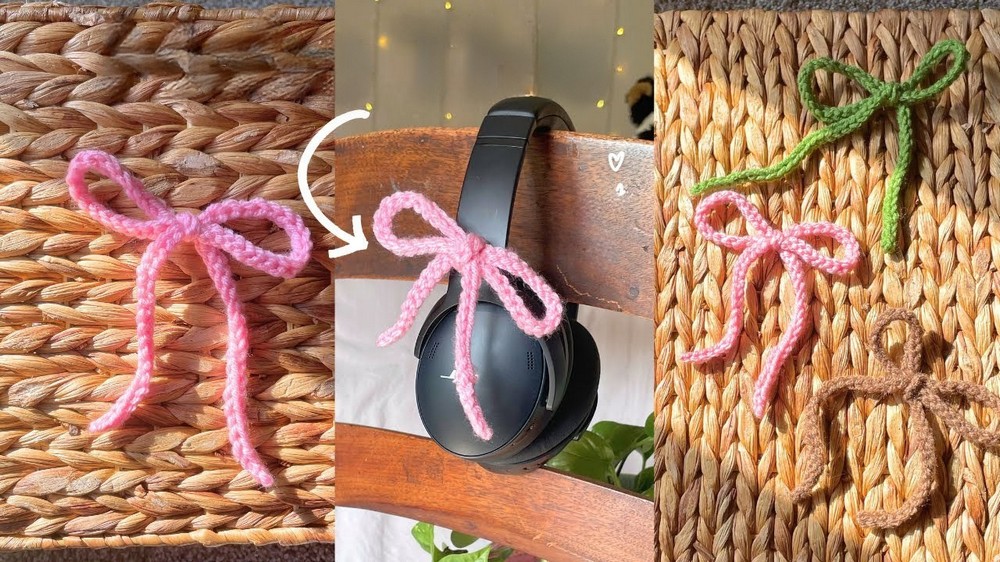
- The bow can be tied onto various items such as bags, baskets, or cups, offering several creative possibilities.
- Mat emphasizes that the project only takes around 15 minutes and can be customized with different types of yarn for diverse textures and sizes.
Preparation
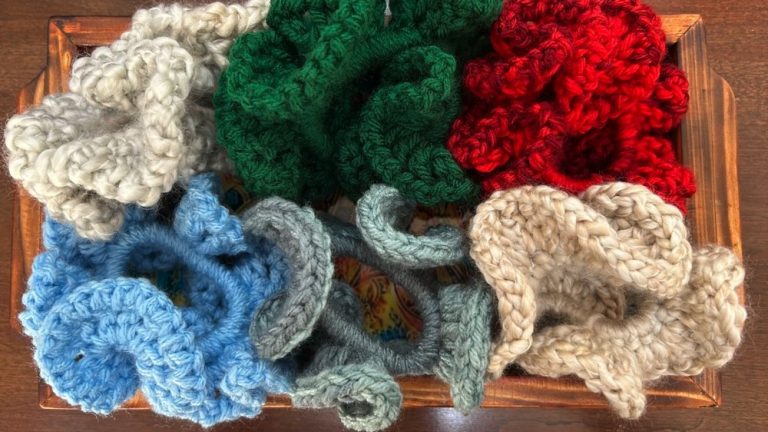
- Choosing Yarn: Select the type of yarn based on the desired look and texture of the bow.
- Measuring Yarn: Gather an adequate amount of yarn depending on how long you want the ribbon to be.
- Creating the Slip Knot:
- Form a slip knot in the middle of the yarn, leaving a significant tail on one side.
- Mat explains how to carefully make the slip knot by crossing the yarn to form a loop and pulling the tail end through the loop.
Organizing Your Workspace
- Arrange the yarn setup:
- Place the skein of working yarn on the left side.
- Move the tail of yarn to the right to avoid confusion during crocheting.
- Mat shares tips for holding the yarn:
- Wrap the working yarn around your fingers to create proper tension.
- Hold the work firmly with your thumb and middle finger while elevating the yarn with your pointer finger.
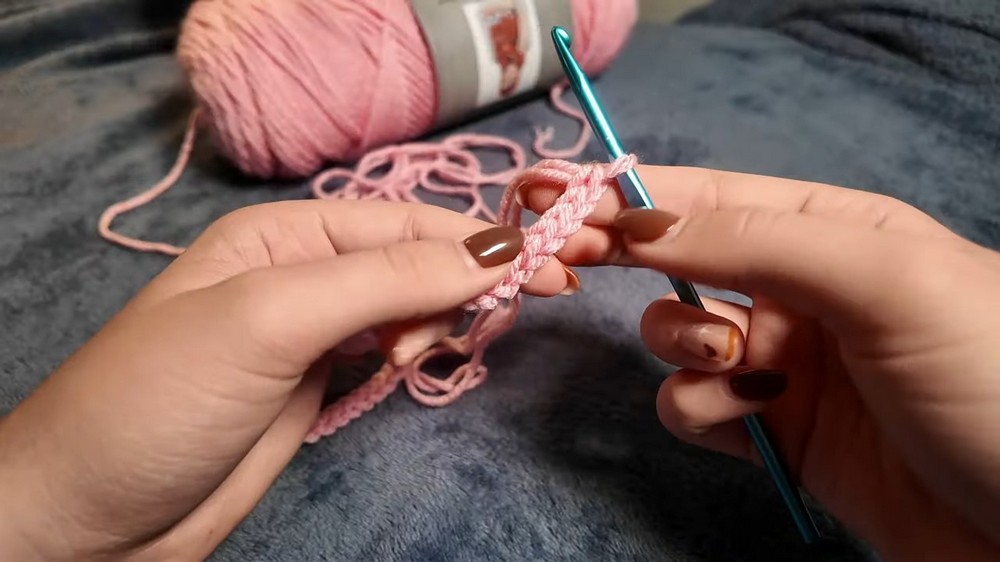
Crocheting the Ribbon
- The process involves using both the working yarn (connected to the skein) and the tail of yarn simultaneously.
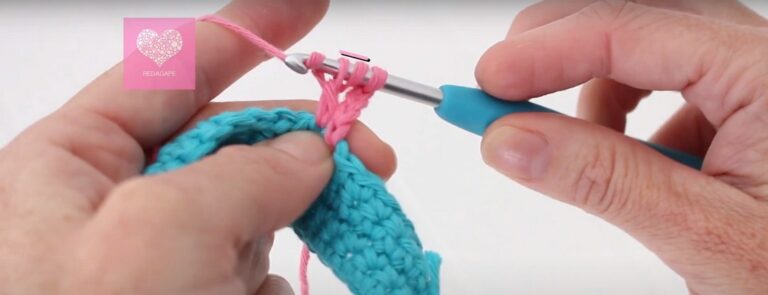
- Creating Stitches:
- Wrap the tail around the crochet hook and yarn over using the working yarn.
- Pull through both loops, repeating the process until you achieve the desired ribbon length.
- Mat stresses the importance of proper technique, including holding the tail securely and ensuring it wraps correctly.
Finishing the Ribbon
- After reaching the desired ribbon length:
- Trim both the tail and the working yarn, leaving small sections to weave in.
- Use a yarn needle to weave the tails into the stitches, blending them seamlessly into the ribbon.
- Once the ends are secured, cut off any excess yarn, leaving a clean finish.
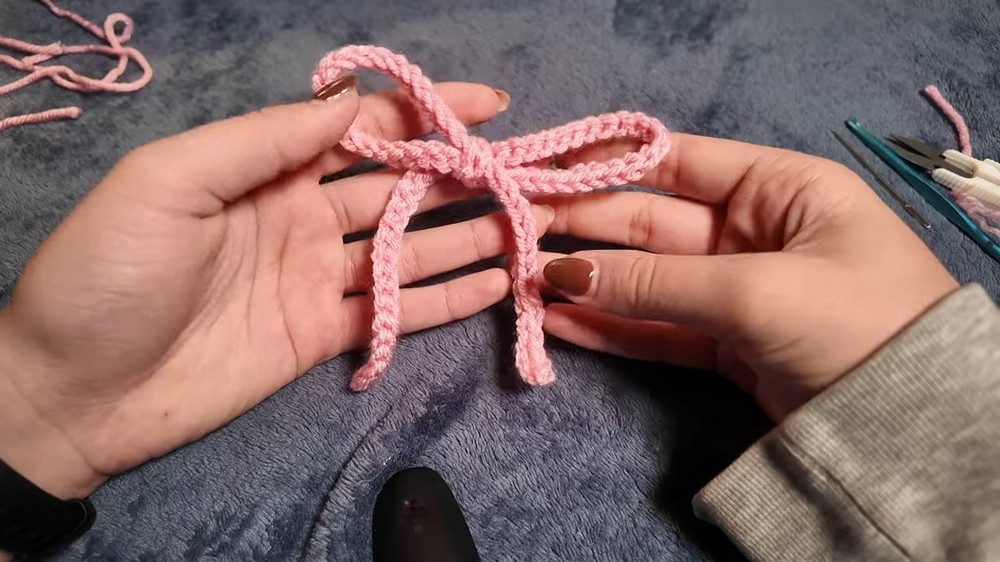
Tying the Bow
- Mat demonstrates several ways to tie the ribbon into a bow:
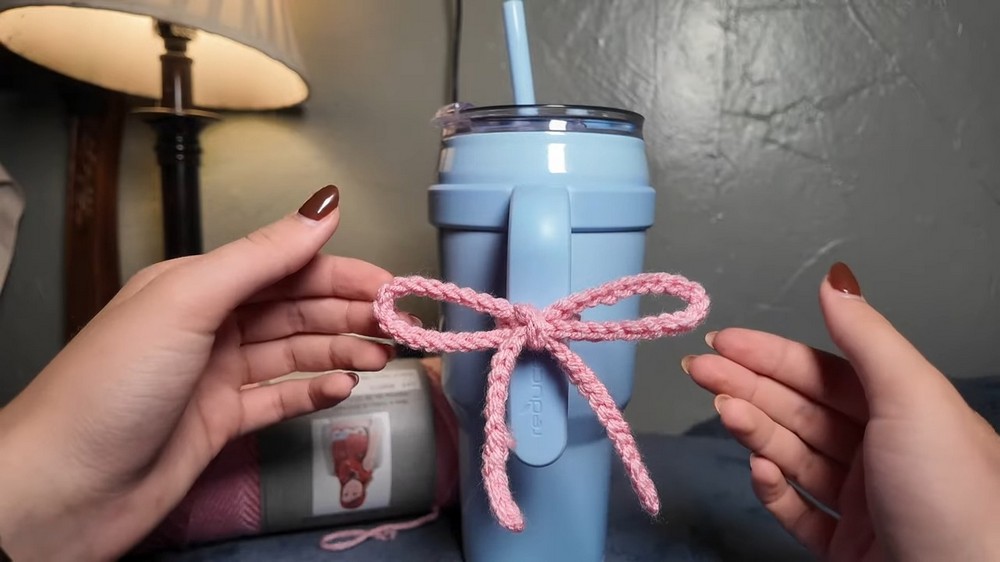
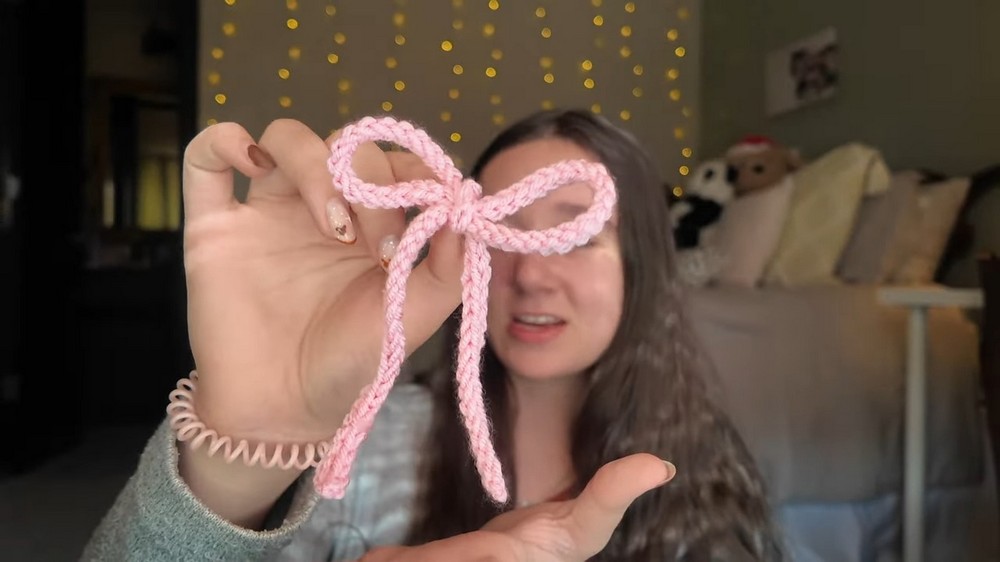
- Freehand Bow: Similar to tying shoelaces, grab both ends and pull into a bow shape.
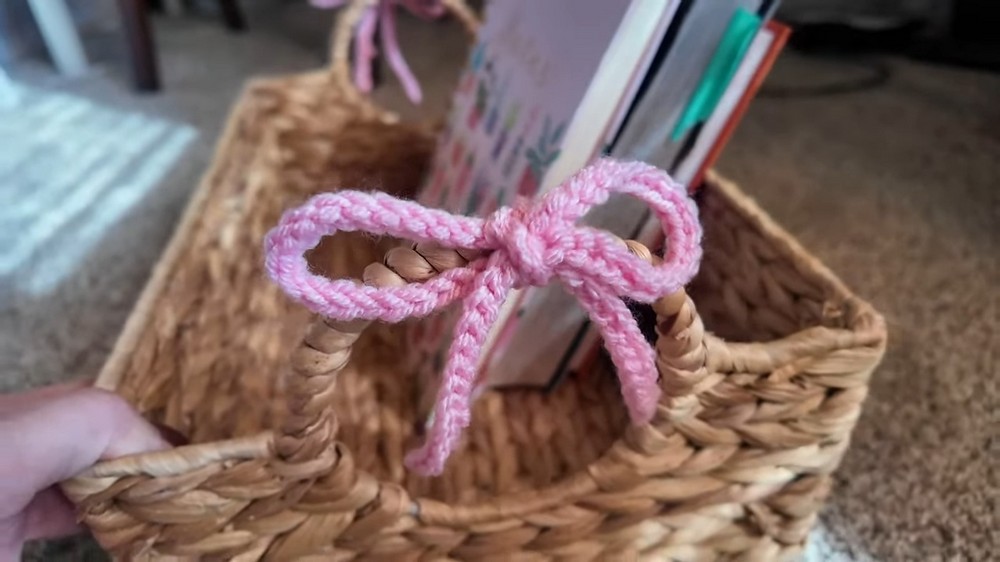
- Attached Bow: Tie the ribbon onto a handle or object, ensuring equal length on both sides before shaping it into a bow.
-
- He showcases different techniques, including creating loops and pulling through, offering flexibility in styling the bow.
Applications of the Bow
- The ribbon bow can be tied onto items like bags, baskets, or cups, adding a decorative touch.
- It can be made with various yarns to create different sizes and textures, such as fluffy or thick yarn for larger or softer bows.
- The bow is versatile, making it a great way to customize accessories and household items.
Conclusion
- Mat emphasizes the project’s simplicity and versatility, noting it is one of the quickest crochet projects.
- He encourages using different yarn types for experimentation and customization.
- The tutorial concludes with Mat inviting viewers to share how they plan to use their ribbon bows.