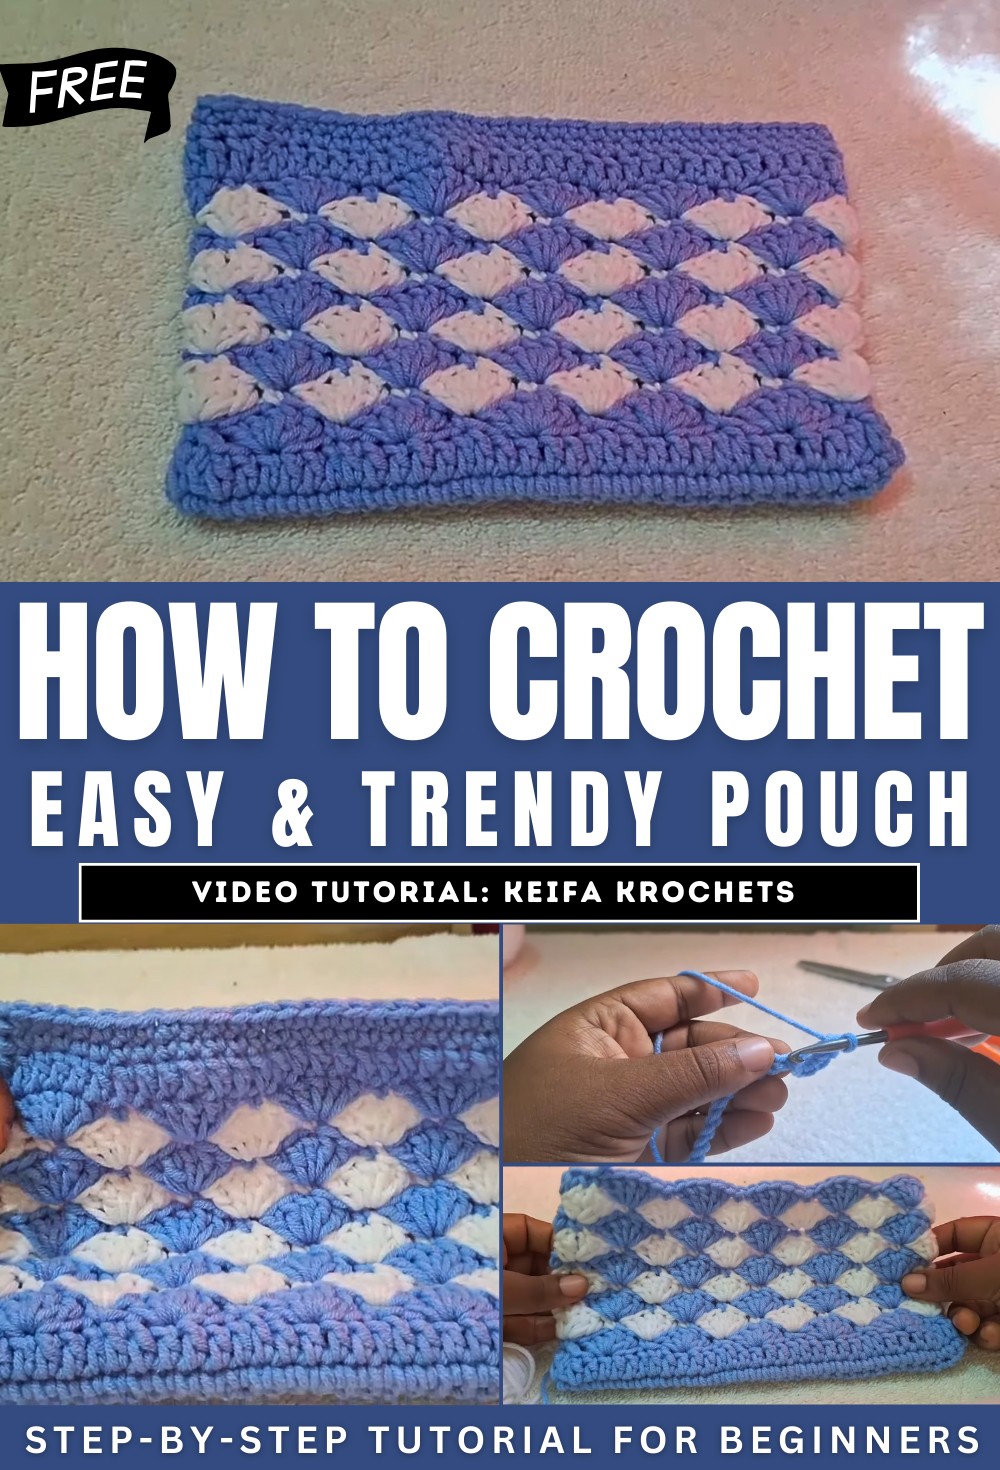
How To Crochet A Shell-Stitch Pouch for Ocean Theme
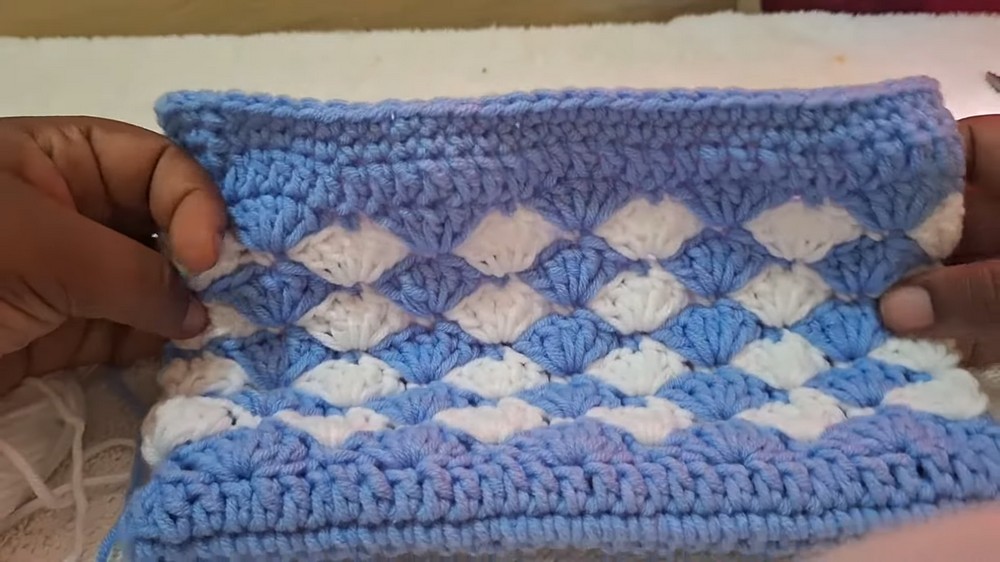
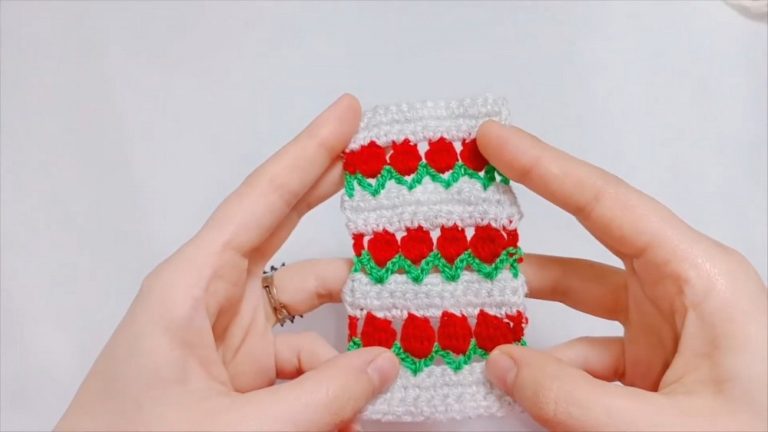
In this post, you’ll learn how to crochet a beautiful shell-stitch pouch or wallet for holding your keys and coins. Using 50g of soft cotton yarn in two colors, a 5mm crochet hook, and scissors, the process begins with creating a foundation of 33 chains, followed by rows of single and double crochet. The intricate shell pattern is formed by alternating single and double crochets, with color changes adding vibrancy.
The pouch is completed with nine rows of shell stitches and a simple finishing touch around the top. The result is an elegant handcrafted pouch, perfect for beginners and experienced crocheters alike. So, follow through with us for the complete tutorial.
Crochet Shell-Stitch Pouch/Wallet
This tutorial demonstrates how to crochet a beautiful pouch or wallet using shell stitches. It provides step-by-step instructions, making it beginner-friendly, and uses basic materials and techniques to create the finished product. Below is a detailed summary of the process:
Materials Needed
- 50g of soft cotton yarn (two different colors).
- 5mm crochet hook.
- A pair of scissors.
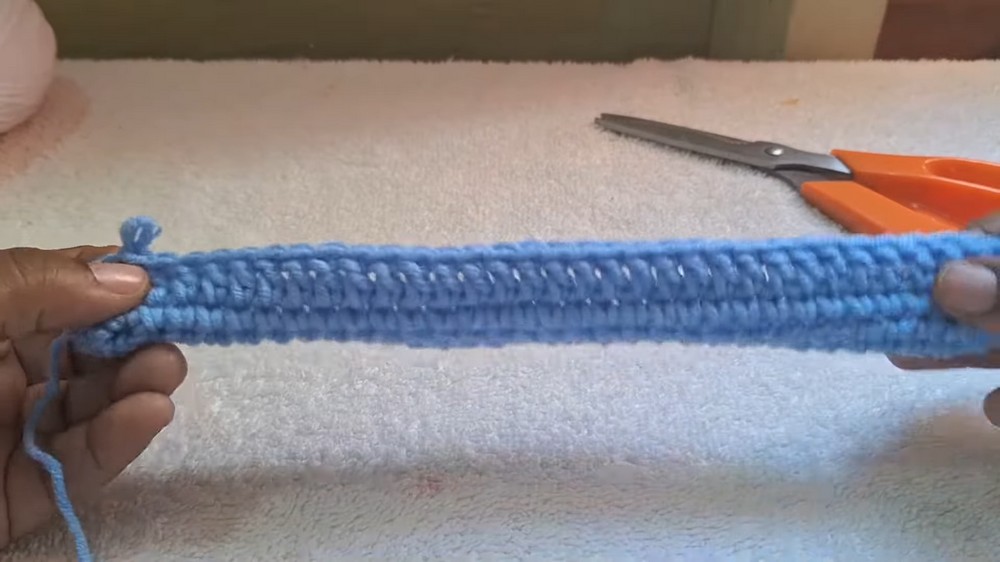
Step 1: Creating the Base
- Slip Knot and Foundation: Begin by creating a slip knot and making a series of chains to form the foundation of the pouch.
- Single Crochet: Work single crochet stitches across the chains, adding extra stitches at both ends for shaping.
- Circular Construction: Turn the work and crochet along the opposite side of the chains to complete the base, ending with a slip stitch to secure the round.
Step 2: Setting Up the Shell Stitches
- Double Crochet Row: Crochet a row of double crochet stitches over the base to create a smooth surface for the shell design.
- First Row of Shells:
- Begin with a chain and work five double crochets into specific stitches.
- Alternate between single crochets and double crochets to form the distinct shell pattern.
- Repeat Pattern: Follow a repeat sequence, working the shell stitches evenly across the row. End with a slip stitch to finish the first shell row.
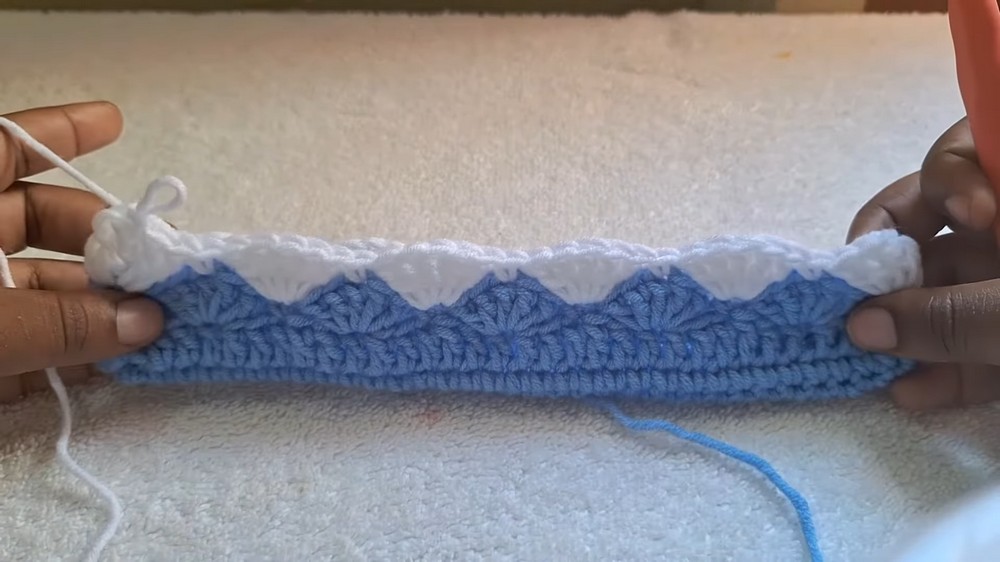
Step 3: Adding Color
- Color Change: Introduce the second yarn color by fastening it onto the work. Keep the first color intact for later use.
- Second Row of Shells:
- Work a similar shell stitch pattern but adjust the placement of single and double crochets as required.
- Complete the row by joining with a slip stitch.

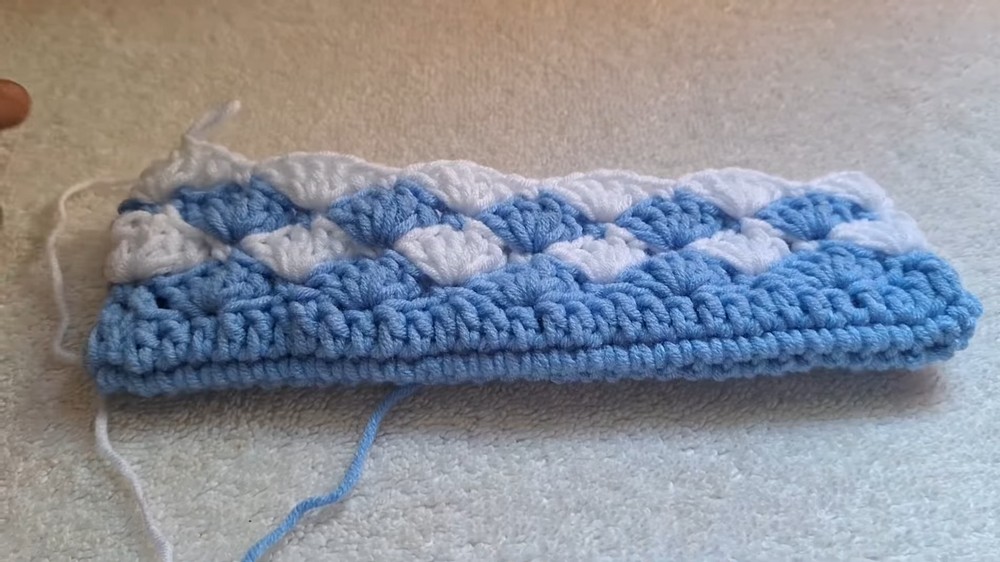
Step 4: Building the Shell Pattern
- Alternating Rows: Repeat the two shell stitch rows alternately, maintaining symmetry and consistency in the design.
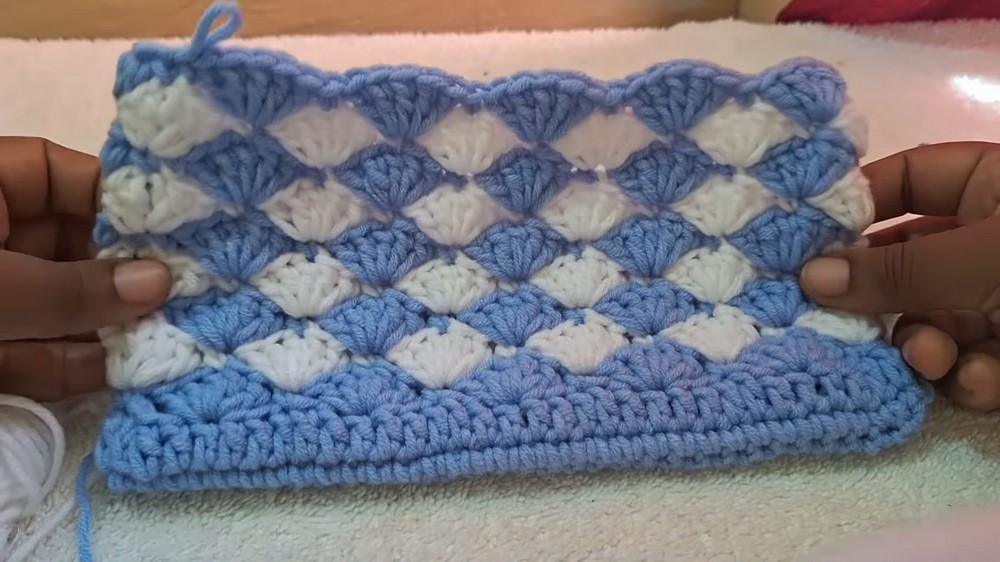
- Pouch Height: Continue working the shell pattern until nine total rows are completed.
Step 5: Finishing the Top
- Main Color Return: Switch back to the main yarn color for the finishing rounds.
- Top Edge:
- Crochet a row of double crochet stitches around the top to smooth the edge.
- Add two rows of single crochet stitches for a neat and firm finish.
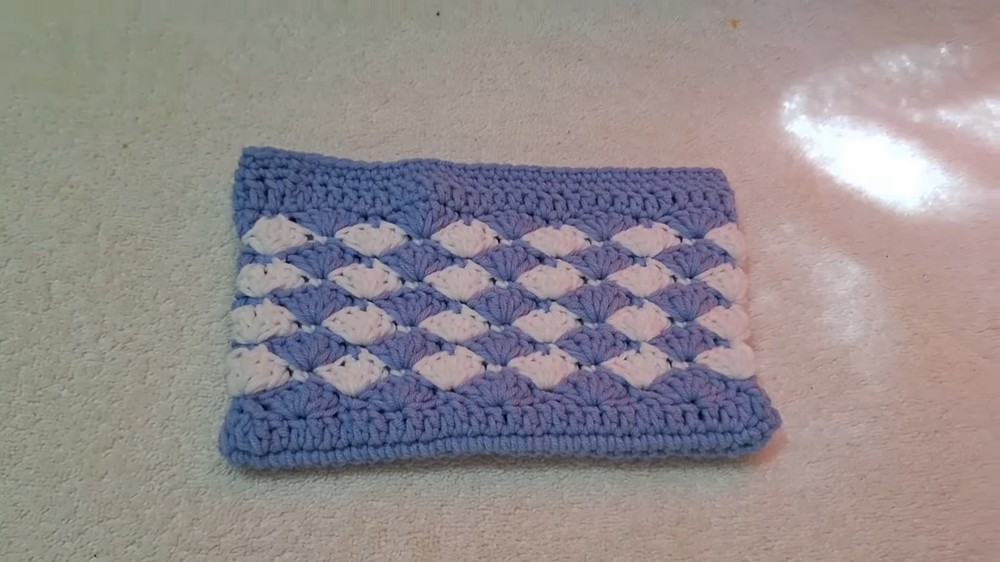
Final Product
After completing the crochet work and securing the edges, the pouch is ready. The elegant shell-stitch pattern creates a textured and visually appealing design, making the pouch suitable for everyday use or as a decorative item.
Conclusion
This tutorial provides clear instructions for creating a handmade shell-stitch pouch. It’s perfect for beginners and intermediate crocheters, allowing customization with colors and sizes. If you enjoyed the process, consider subscribing to the creator’s channel for more tutorials!