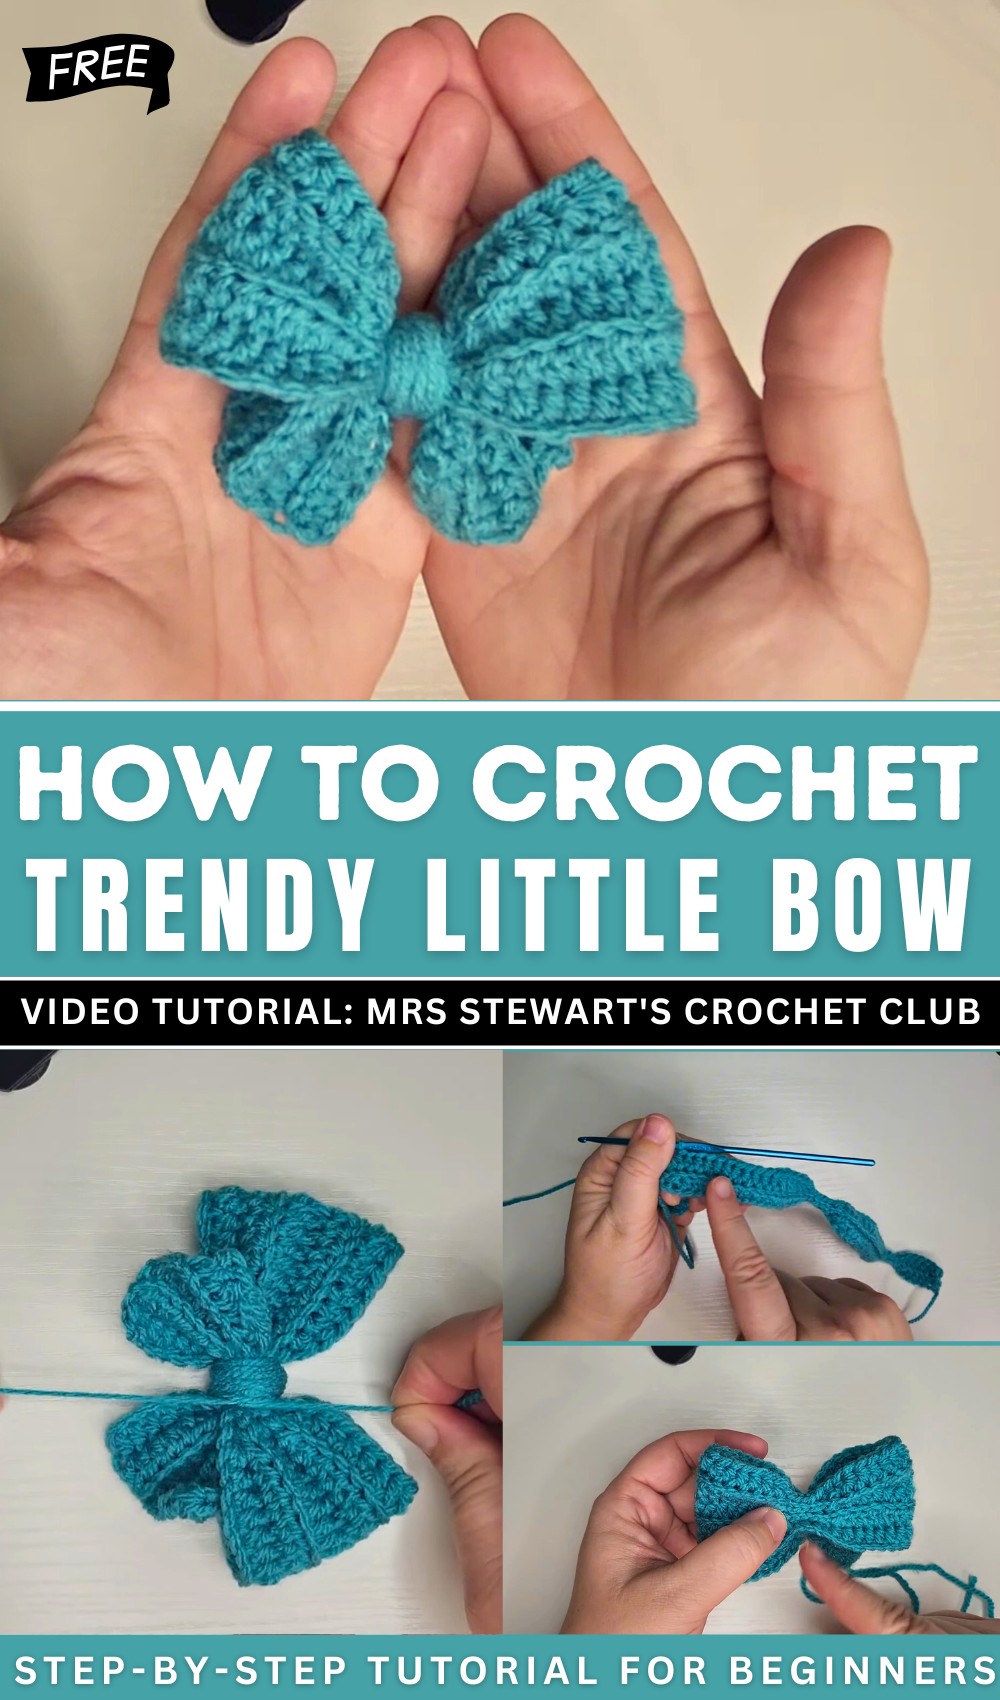
How To Crochet Trendy Little Bow Easy Pattern
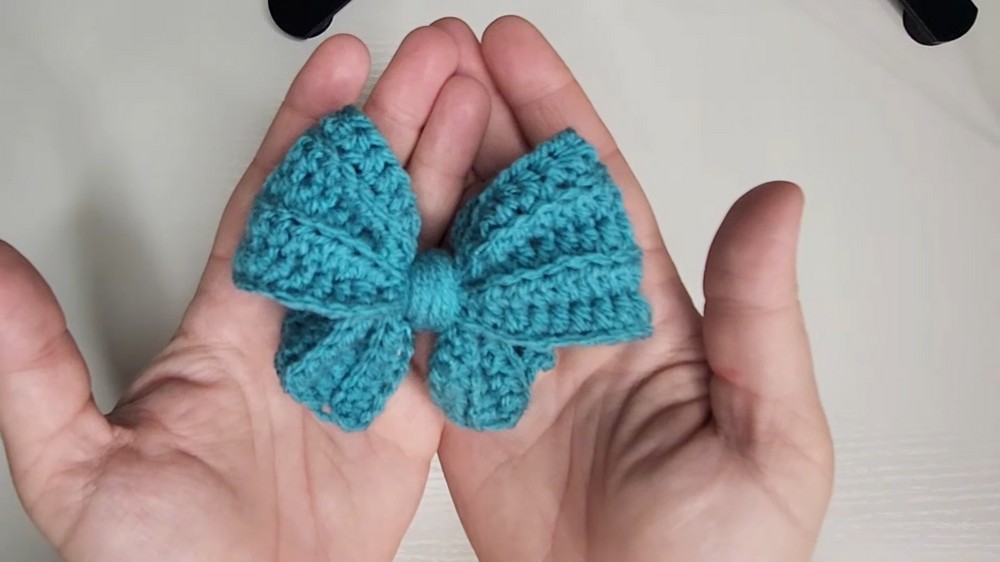
This is a step-by-step tutorial on making a charming crochet bow, perfect for embellishing toys, hair accessories, or other crafts. Using only five rows, the tutor demonstrates techniques such as half-double crochet and slip stitches in back loop-only patterns, ensuring the design is quick and beginner-friendly.
The bow’s size is customizable based on the yarn and hook used, making it ideal for using up scrap materials. It’s a simple yet versatile project for any occasion!
trendy little bow EASY Tutorial
Crochet A Trendy Little Bow
The tutorial explains how to crochet a simple bow using five rows in a pattern. The bow assembly is quick and easy, making it a great project for beginners. The bow can be customized to different sizes based on yarn or hook size, and it’s ideal for using scrap yarn. Suggested uses include embellishments for toys, hair accessories, or decorative crafts.
Free Crochet Bow Pattern
Materials Needed
- Yarn: Any weight or type, depending on desired bow size (Worsted weight or Scrap yarn is ideal for standard size)
- Hook: 3.5 mm (E/4) for small to medium bow; larger hook for larger bow
- Darning needle (optional; for weaving in ends)
- Scissors
- Stitch marker (optional)
- Hair elastic or clip (optional, if making a bow accessory)
Abbreviations
| Abbreviation | Term |
|---|---|
| ch | Chain |
| hdc | Half Double Crochet |
| sl st | Slip Stitch |
| BLO | Back Loop Only |
| st(s) | Stitch(es) |
| rep | Repeat |
Special Note: Unless otherwise indicated, all stitches are worked in the back loop only from Row 2 onward.
Pattern
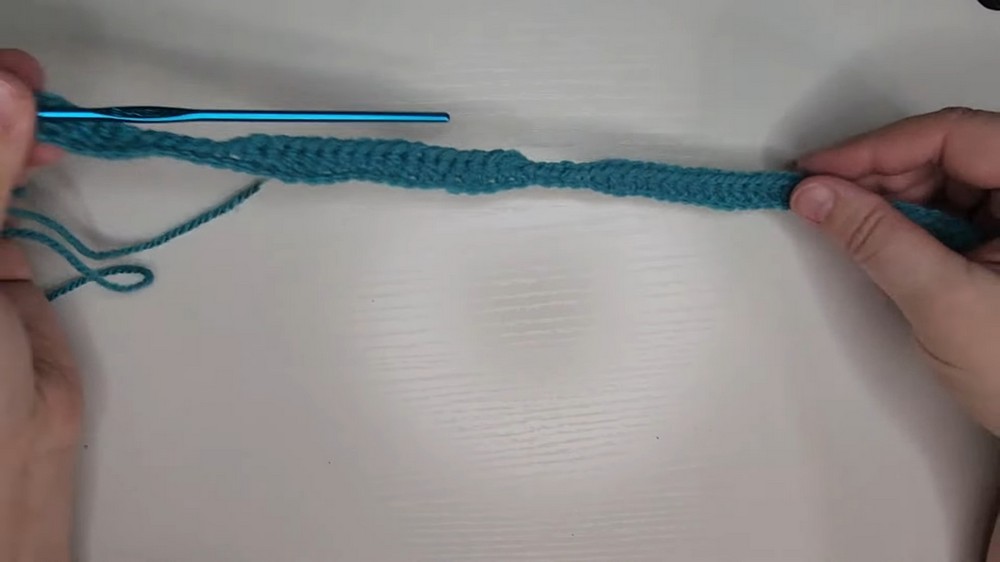
Foundation Chain
- Ch 63.
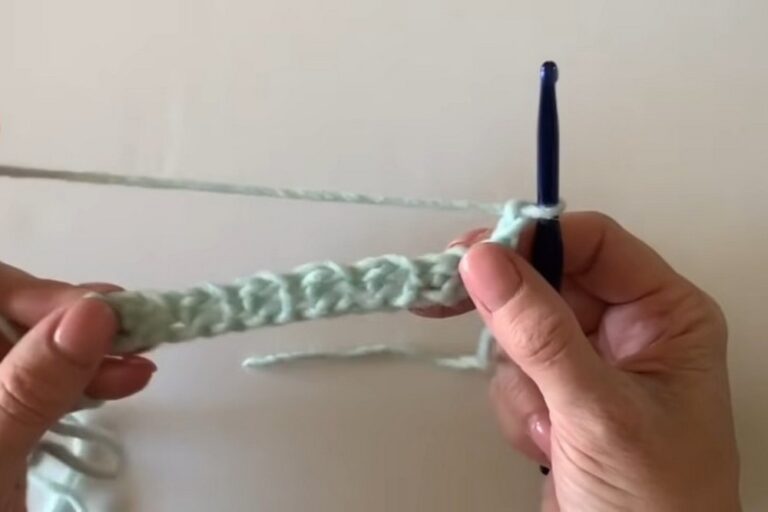
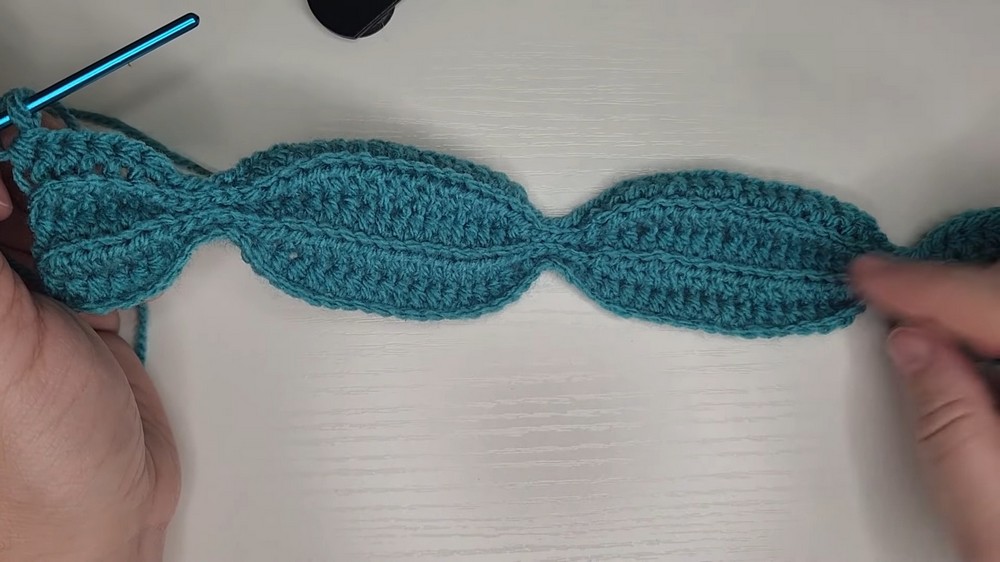
Row 1:
- Hdc in 2nd ch from hook and next 5 sts (6 hdc).
- Sl st in next 6 sts.
- Hdc in next 16 sts.
- Sl st in next 6 sts.
- Hdc in next 16 sts.
- Sl st in next 6 sts.
- Hdc in last 6 sts.
(You will have a total of 62 stitches. Confirm each section for accuracy.)
At end of row, ch 1, turn.
Row 2 (BLO from now on):
- Hdc in BLO of first 6 sts.
- Sl st in BLO of next 6 sts.
- Hdc in BLO of next 16 sts.
- Sl st in BLO of next 6 sts.
- Hdc in BLO of next 16 sts.
- Sl st in BLO of next 6 sts.
- Hdc in BLO of last 6 sts.
Ch 1, turn.
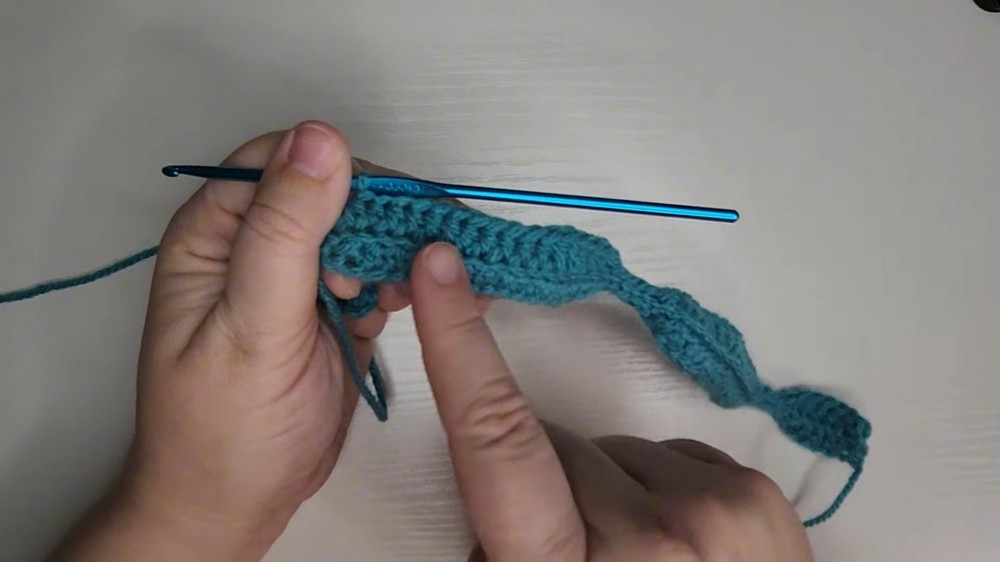
Rows 3, 4, and 5:
- Rep Row 2 for three more rows, always working in the back loop only.
At the end of Row 5, fasten off, leaving a long tail for assembly.
Assembly
- Weave in both yarn ends on the back of the work using a darning needle or crochet hook.
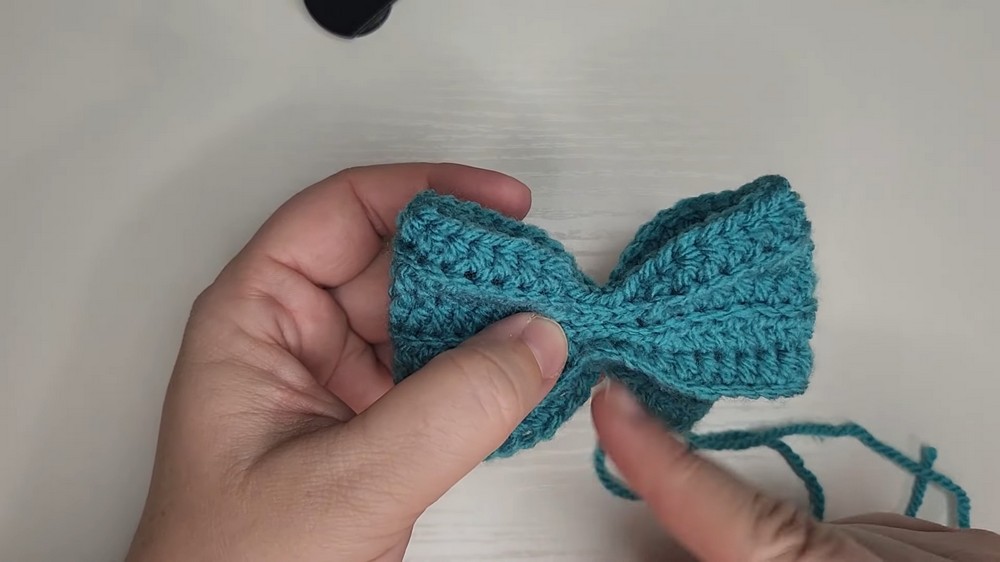
- Fold the rectangle into a bow shape, bringing both ends to the center so the “bands” align.
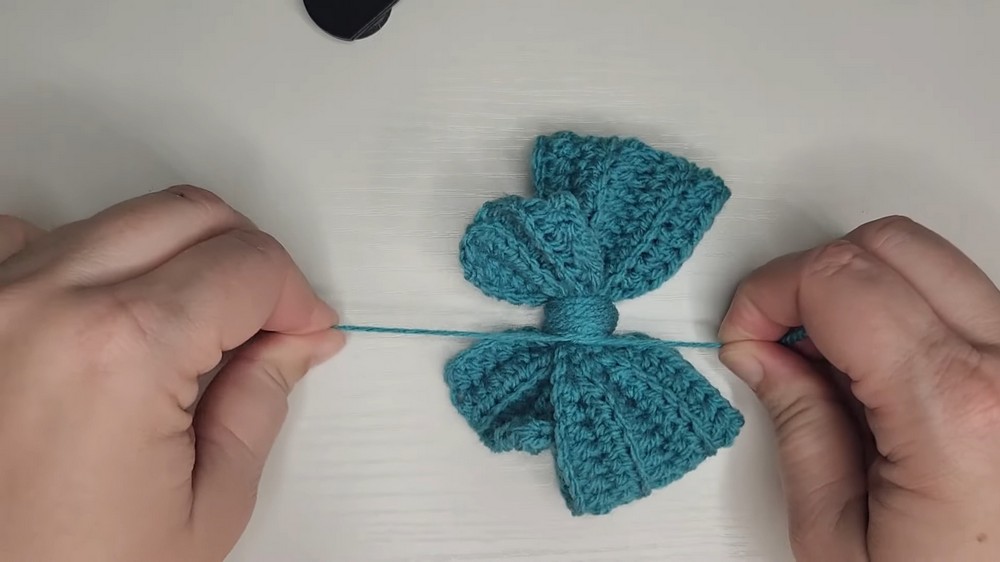
- With a separate piece of yarn, tightly wrap the yarn around the center of the bow several times until secure and you’re satisfied with the shape.
- If you wish to add a hair elastic, simply loop it into the wraps at this stage.
- Tie the ends of the wrapped yarn securely at the back.
- Weave in and trim any excess yarn at the back to tidy.
Conclusion
This simple yet attractive crochet bow pattern works up quickly and lets you use up scrap yarns. After assembly, the bow may serve as a toy embellishment, hair accessory, or decorative accent. Adjust hook/yarn size for a larger or smaller bow as required.
Pattern Correction & Improvement
- Chain count confirmed: Row works out correctly with 63 chains.
- Row count: Total of 5 rows is accurate for a sturdy bow structure.
- Stitch sequence: Double-check slip stitch sections; they may be tight—loosen your tension when making slip stitches for ease of work on following rows.
- Assembly: If available, use a darning needle for weaving, but a crochet hook can be used as demonstrated.
Tips
- For best visual definition, always work tightly but not so tight that stitches are hard to work into, especially for slip stitches.
- Varying yarn and hook size allows for miniature to oversized bows.
- If attaching to an accessory, hot glue can secure bow to hair clips, or you can sew with a needle and thread.
- Bows may be blocked slightly if desired for crispness.