How to Crochet Goldfish Keychain for Kids
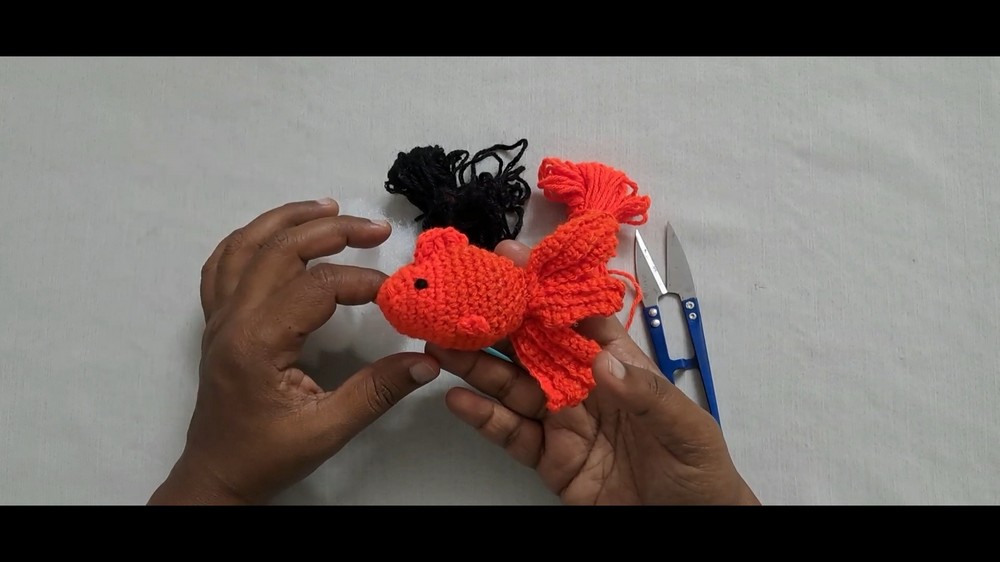
Learn how to crochet a beautiful goldfish keychain, perfect for beginners, following a step-by-step tutorial for all skill levels. The creator details the process to crochet the fish’s body, tail, fins, and flippers, making it easy to follow along and create a charming keychain. Follow through with us for the complete tutorial to crochet this goldfish!
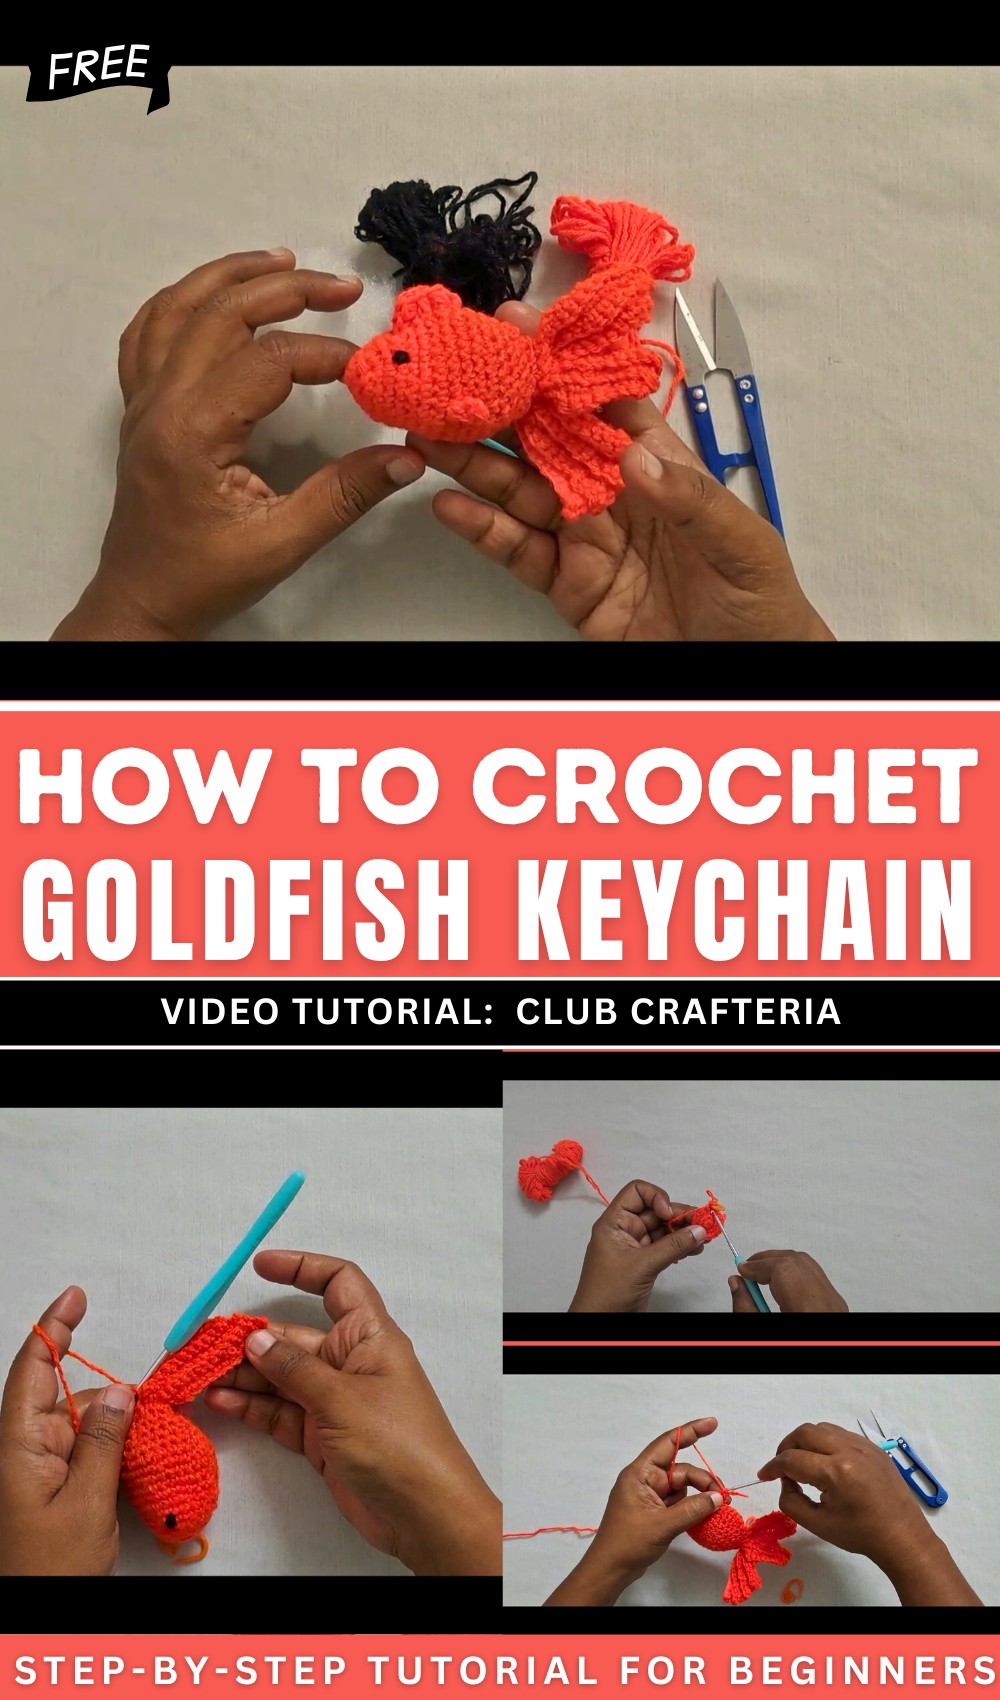
Goldfish Keychain Free Crochet Pattern
Materials
- Yarn: Two colors of worsted weight yarn (gold/yellow and contrasting color)
- Hook: 3.5–4.0 mm (E-G) crochet hook (choose size for a firm fabric)
- Stuffing: Small amount of fiberfill
- Scissors
- Yarn needle (for sewing and weaving in ends)
- Stitch marker
- Embroidery thread or felt for eyes (optional: use plastic safety eyes)
- Keyring (optional, for making a keychain)
Key Abbreviations (US Terms)
- MR – magic ring
- ch – chain
- sc – single crochet
- hdc – half double crochet
- dc – double crochet
- sl st – slip stitch
- inc – increase (2 sc in same stitch)
- dec – decrease (single crochet two together)
- st(s) – stitch(es)
Special Notes
- Use a stitch marker to help track rounds.
- Each round is finished with a sl st and started with ch 1 unless stated otherwise.
- Work tightly for a neat finish and to avoid stuffing leak.
- Adjust color changes and assembly as you prefer.
- Pattern is beginner friendly and assembled in parts.
Step-by-Step Pattern
BODY
Round 1:
Make a magic ring (MR), ch 1, 6 sc into the ring. Pull tight. Join with a sl st to first sc. (6 sts)
Round 2:
Ch 1, 2 sc in each st around (inc). Place a stitch marker in the first sc. Join with a sl st (12 sts)
Round 3:
Ch 1, sc in next 3 sts, 2 sc in next st; repeat around. Join with sl st. (15 sts)
Round 4:
Ch 1, sc in next 4 sts, 2 sc in next st; repeat around. Join with sl st. (18 sts)
Round 5:
Ch 1, sc in next 5 sts, 2 sc in next st; repeat around. Join with sl st. (21 sts)
Round 6:
Ch 1, sc in next 6 sts, 2 sc in next st; repeat around. Join with sl st. (24 sts)
Round 7:
Ch 1, sc in each st around. Join with sl st. (24 sts)
Round 8:
Ch 1, sc in next 3 sts, 2 sc in next st; repeat around. Join with sl st. (30 sts)
Rounds 9–13:
Ch 1, sc in each st around. Join with sl st. (30 sts each round)
(Attach safety eyes or embroider eyes between Rounds 10–11 if desired.)
Begin Decreases
Round 14:
Ch 1, sc in next 3 sts, dec; repeat around. Join with sl st. (24 sts)
Round 15:
Ch 1, sc in next 6 sts, dec; repeat around. Join with sl st. (21 sts)
Round 16:
Ch 1, sc in next 5 sts, dec; repeat around. Join with sl st. (18 sts)
Round 17:
Ch 1, sc in next 4 sts, dec; repeat around. Join with sl st. (15 sts)
Round 18:
Ch 1, sc in next 3 sts, dec; repeat around. Join with sl st. (12 sts)
Round 19:
Ch 1, sc in each st around. Join with sl st. (12 sts)
Round 20:
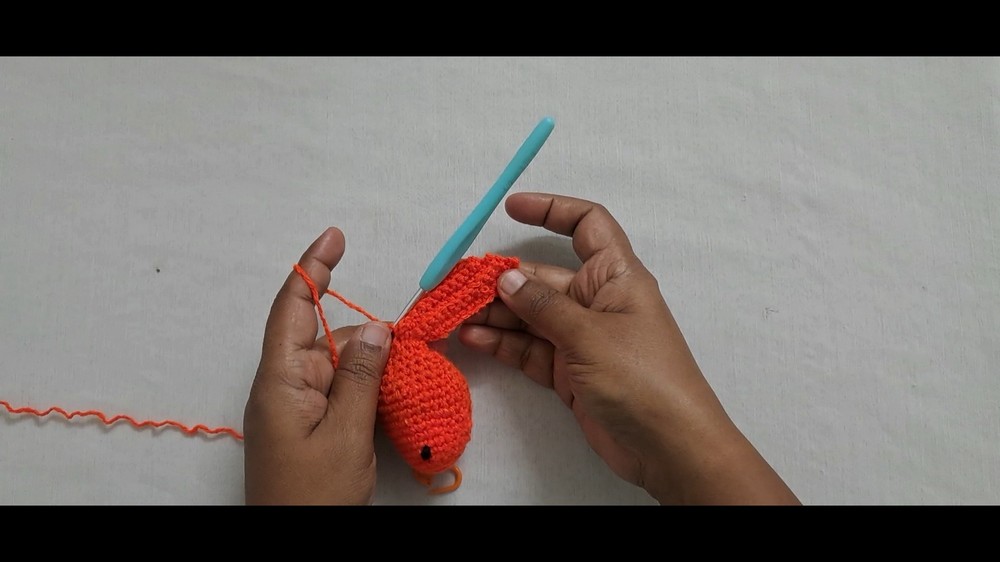
Fasten off, stuff body firmly with fiberfill.
TAIL
Row 1:
Attach yarn to the back of the fish. Ch 15.
Row 2:
Begin in 2nd ch from hook: sc in each ch across (14 sc).
Join tail to body by sl st into the same spot you started the chain from.
Row 3:
Turn, ch 1; working in back loops only, sc in next 13 sts (leave last st unworked). Sl st into next st on the body.
Row 4:
Turn, ch 1; skip first stitch, sc in back loops only in next 12 sts. Sl st to body.
(Repeat as before: each row, skip first/last st to decrease tail width.)
Row 5:
Repeat Row 3 (sc in next 11 back loops only), sl st to body.
Row 6:
Repeat Row 4 (sc in next 10 back loops only), sl st to body.
Continue:
Repeat this process, alternating skipping first/last stitch per row, until the tail is as narrow as desired (~4 sts wide).
Finishing the Tail:
Add smaller tail “rays” for a ruffled look:
- Ch 5, turn, sc in each ch back to base, sl st to tail/body.
- Repeat on desired tail base points.
Fasten off and weave in any ends.
FIN (Dorsal Fin, 1 Piece)
- Attach yarn to the middle top of the body.
- Ch 1, sc in same st.
- In next st, 3 hdc in same st (all in one st).
- Next st, dc in same st.
- Next st, 3 hdc in same st (all in one st).
- Next st, sc in same st.
- Fasten off and weave in ends.
FLIPPER (Make 1 or 2 as desired)
- Attach yarn at the desired spot (underside near the front).
- Ch 2.
- dc in same st.
- Ch 2, sl st in same st.
- Fasten off and weave in ends.
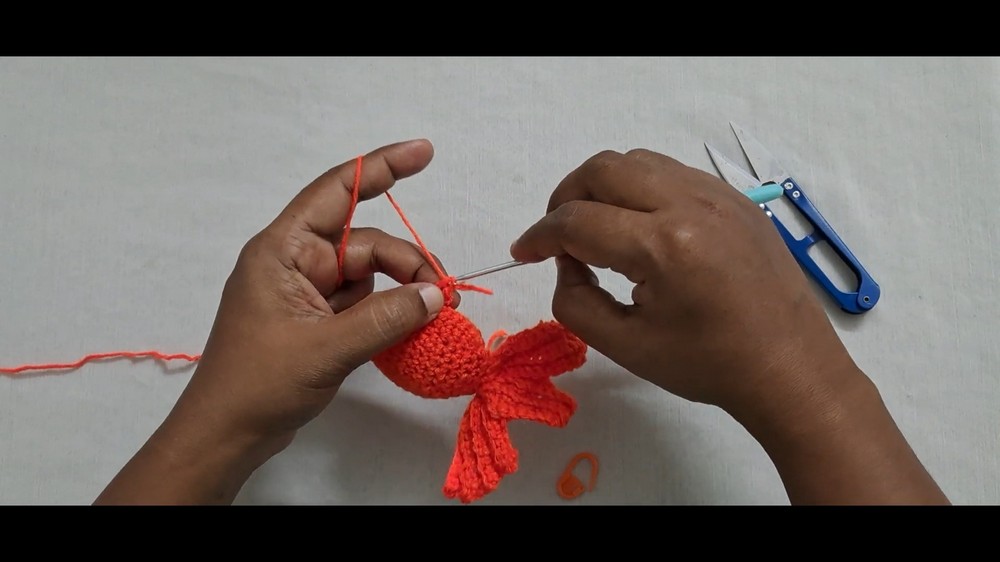
Assembly & Finishing
- Embroider or attach eyes.
- Attach keyring securely to the top/back of your goldfish.
- Weave in all ends.
- Shape fins and tail as desired.
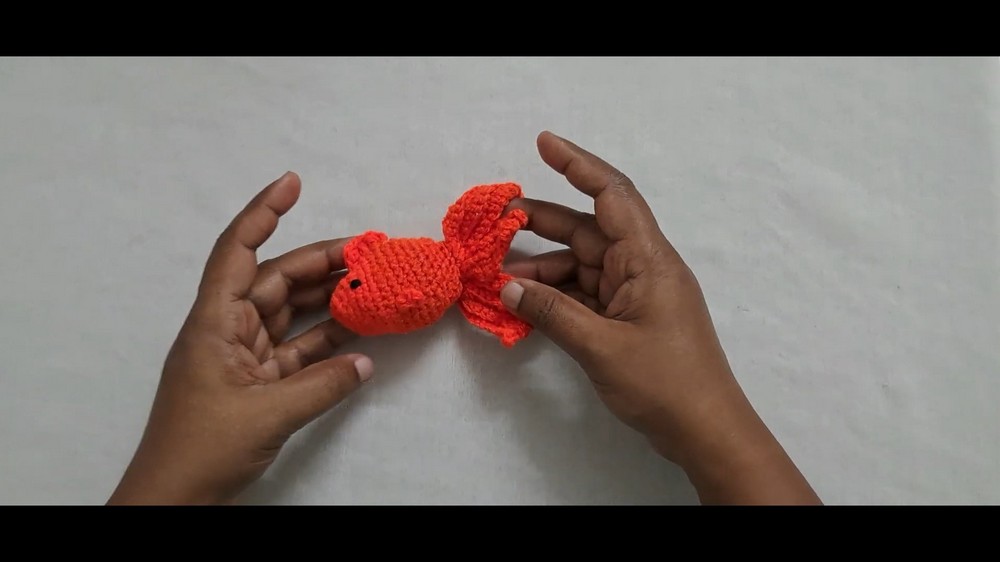
Conclusion
This beginner-friendly goldfish keychain is a charming, speedy project that builds confidence in amigurumi basics. Customize colors and size for unique results, and attach to bags, keys, or gift as a handmade token.
Pattern Correction
- Check your stitch counts after every round—accuracy matters for shaping.
- Use a tight gauge to keep stuffing hidden and goldfish sturdy.
Tips
- Use a stitch marker to keep track of rounds, especially as the body grows.
- Stuff firmly, but do not overfill to avoid distorting stitches.
- For eyes, safety eyes, embroidery, or small black beads can all be used.
- Try sparkly or variegated yarn for fancy “goldfish” effects.