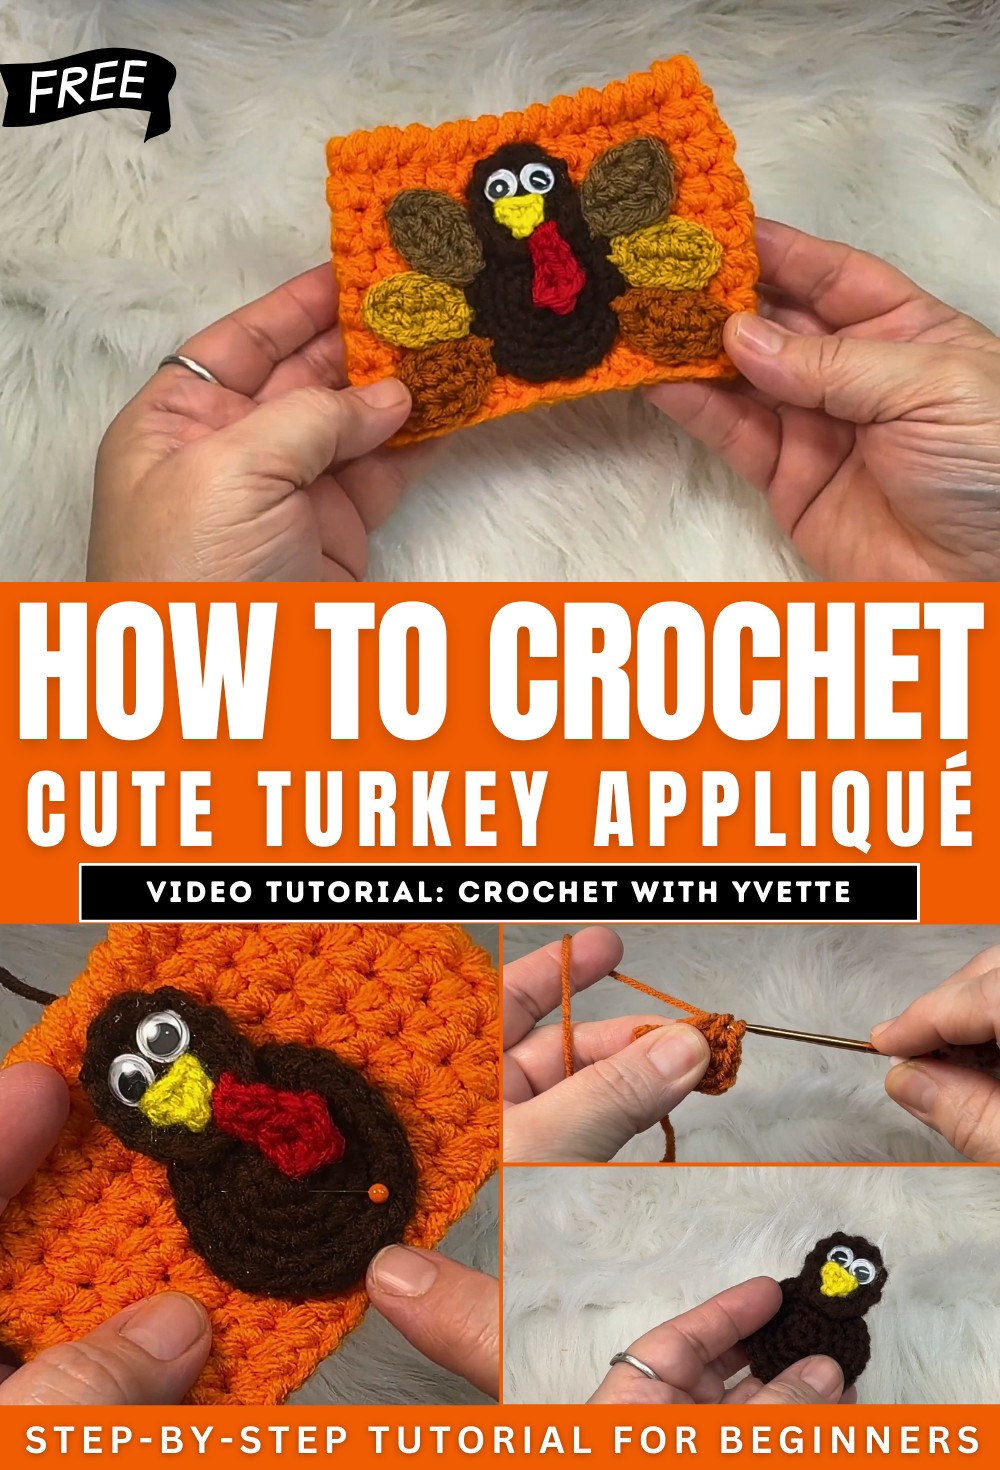
How to Crochet a Turkey Appliqué for Thanksgiving
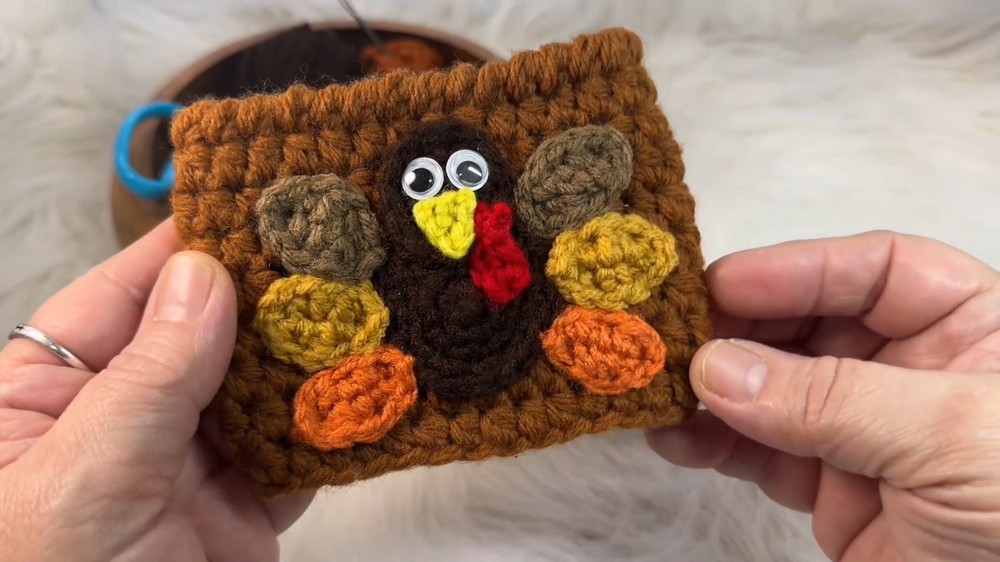
Learn how to crochet a festive turkey appliqué, perfect for fall or Thanksgiving-themed projects and perfect for kids. Designed for beginners, the video offers step-by-step guidance on creating and assembling various parts of the turkey, including the feathers, head, body, beak, and snood. Evette carefully explains techniques like single crochets, half-double crochets, and double crochets, while providing suggestions for colors, hooks, and useful tips.
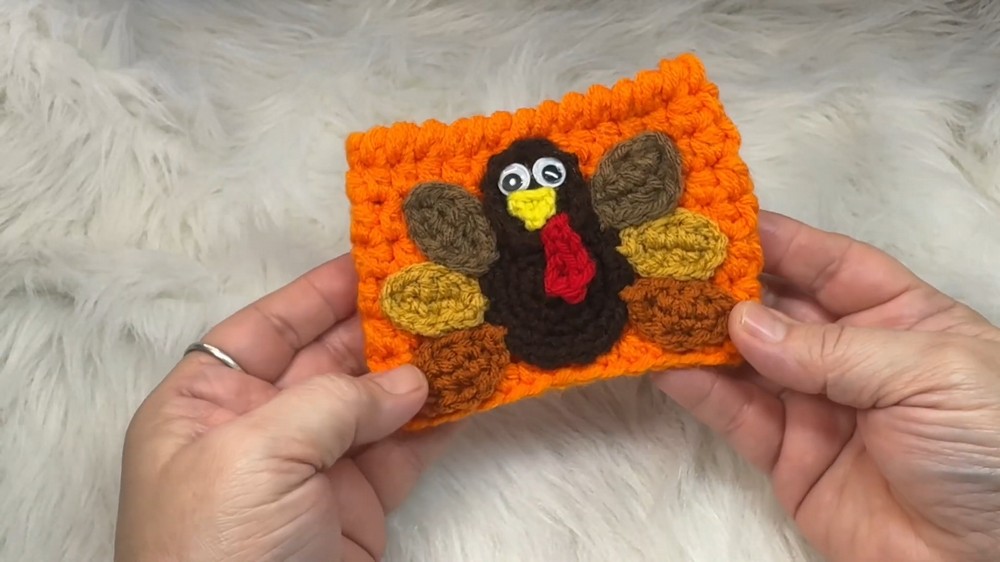
The finished appliqué can be attached to cup sleeves, handbags, or other projects. With patience and creativity, this adorable turkey is a wonderful handmade addition to your crafting collection! So, follow through with us for the complete tutorial.
Crochet Turkey Appliqué Tutorial
This “Crochet with Evette” tutorial walks viewers through the step-by-step process of creating an adorable turkey appliqué, perfect for adding a festive touch to fall and Thanksgiving-themed projects. The design is beginner-friendly and provides clear, detailed instructions for crocheting and assembling the different parts of the turkey. Below is a structured summary of the tutorial:
Introduction
- Evette introduces the project: a fun and festive turkey appliqué.
- The tutorial is beginner-friendly, providing slow-paced instructions that can be paused or rewound if needed.
- Supplies needed include yarn in various colors (for feathers, body, beak, and snood), a crochet hook (C, D, or F, depending on the piece being worked on), googly eyes, yarn needles, stitch markers, and optional fabric glue.
Steps to Make the Turkey Appliqué
Making the Feathers
- The feathers are designed as small, leaf-shaped pieces and can be made in several colors of your choice.
- The tutorial explains how to work on both sides of the chain to shape the feather evenly.
- Evette recommends creating six feathers, with extra yarn left at the end for stitching them onto the body.
Crocheting the Beak
- A small triangular beak is created using yellow (or any preferred color).
- The tutorial demonstrates how to crochet this tiny piece while securely hiding loose yarn ends to ensure a neat finish.

Creating the Snood
- The snood, a small red piece that hangs over the turkey’s beak, is designed next.
- Evette explains proper placement and secure stitching using a yarn needle for attaching the snood later.
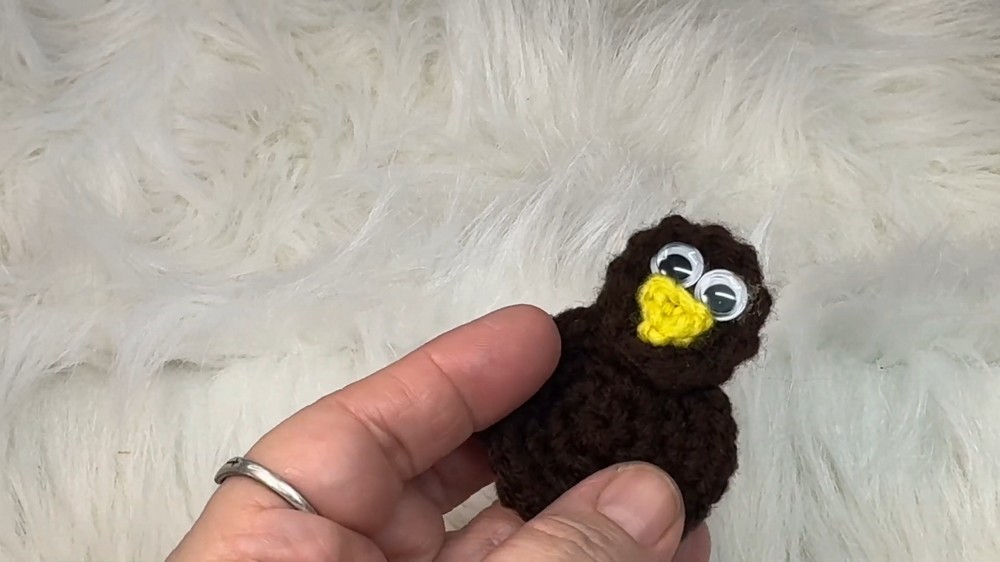
Making the Head and Body
- The head is crocheted first using a circular pattern, with suggestions to use lighter colors (e.g., white) for better visibility if you’re new to crochet.
- The body is made similarly, following the same initial rounds as the head but adding one additional round to make it slightly larger.
- Tips on hiding yarn ends and securely closing circles are provided throughout the tutorial.

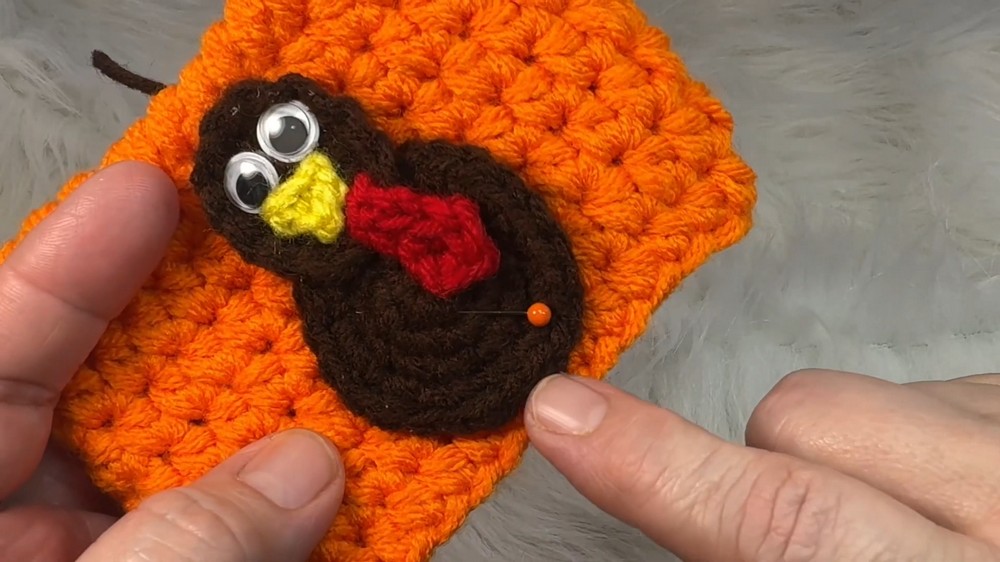
Assembling the Turkey
- The head is stitched to the body using a yarn needle. Evette recommends placing the head slightly off-center to allow room for the feathers.
- Feathers are stitched onto the body individually. Straight pins are used to hold feathers in place during stitching to ensure accurate placement.
Final Details
Attaching the Googly Eyes
- Use a glue gun to attach the googly eyes, being careful not to get glue on the yarn.
- Evette emphasizes using minimal glue and keeping the work clean and tidy.
Adding the Beak and Snood
- The beak is attached near the center of the head, and the snood is placed right beside the beak in a position of your choosing.
- Each piece is carefully stitched on using a yarn needle, with guidance on securing loose ends.
Finishing Touches
- Loose yarn ends are hidden by working them through the back loops of the stitches to ensure nothing unravels.
- Evette shares tips on trimming excess yarn and creating even placement for the final look.
- Straight pins and patience are key for clean stitching and alignment.
Uses and Personalization
- The finished appliqué can be added to cup sleeves, handbags, hats, and other fall-themed projects.
- Evette encourages creativity, from choosing feather colors to adjusting the placement of the parts.
Conclusion
- The turkey appliqué is a fun, creative project that requires patience and attention to detail but yields a charming finished product.