How to Crochet Babydoll Top & Dress for Beginners
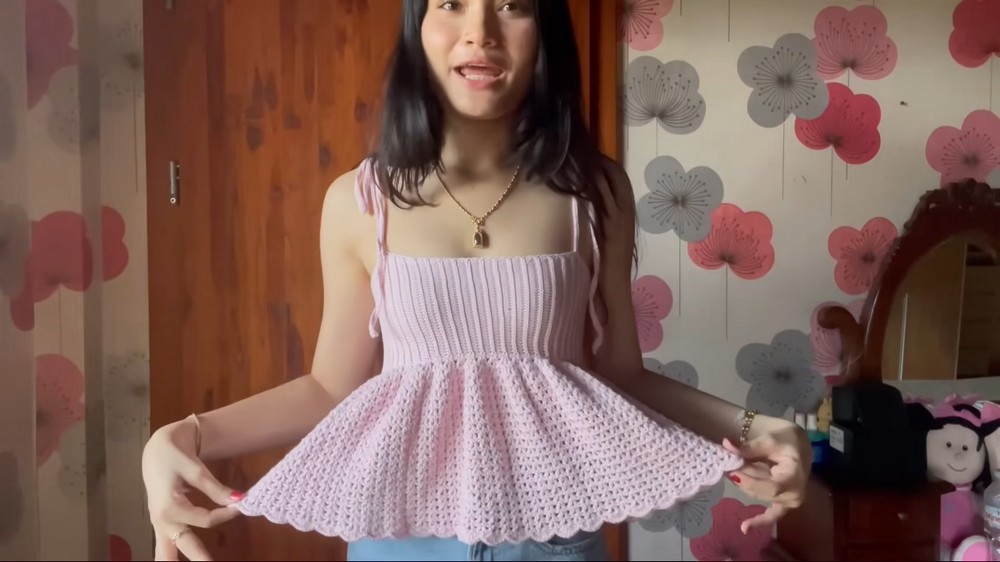
With a step-by-step guide, learn how to crochet an adorable baby doll top with adjustable tie straps, perfect for beginners. Using soft cotton yarn and a 3mm hook, the project features ribbed stitching for the upper part and a v-stitch pattern for the bottom, with options to extend it into a dress.
The tutorial also includes instructions for adding scalloped edges and straps, along with helpful tips for customization and achieving the perfect fit. So, follow through with us for the complete tutorial.

Crochet Babydoll Top & Dress Tutorial
The video provides a step-by-step guide to create an adorable crochet babydoll top with adjustable tie straps. A dress variation of the top is also suggested, requiring only the continuation of rows using the v-stitch demonstrated in the tutorial. Yarn details are provided: approximately 250-270 grams for the top, and 550 grams for the dress.
Materials Required
- Yarn: 100% soft cotton yarn (recommended weight: number 2).
- Hook: 3mm crochet hook (or alternative based on personal preference).
- Measurements for the top are provided in inches, allowing customization for different yarns and hooks.
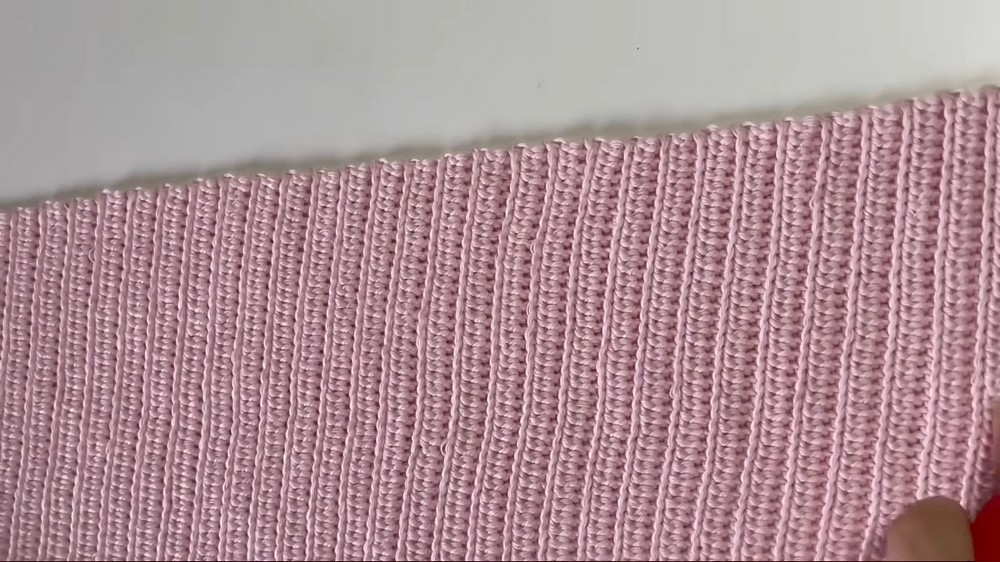
Creating the Top Panel
Initial Steps:
- Start with a slipknot and chain to the desired length of the top panel. Ensure it fits across the bust.
- Add extra chains because the slip stitch rows will shrink the length slightly.

Alternating Stitch Routines:
- Slip Stitch:
- Work loosely to avoid shrinking and ensure smooth progression.
- Mark the first stitch with a stitch marker to manage stitch counts accurately.
- Half Double Crochet (Back Loop Only):
- Perform half double crochets in the back loop of each stitch, marking the first and last stitches for tracking purposes.
- Alternate rows between slip stitches and half double crochets, maintaining the ribbed texture of the panel.

Ensuring Fit:
- The panel should fit snugly around the bust and stretch slightly when worn to ensure a personalized fit.
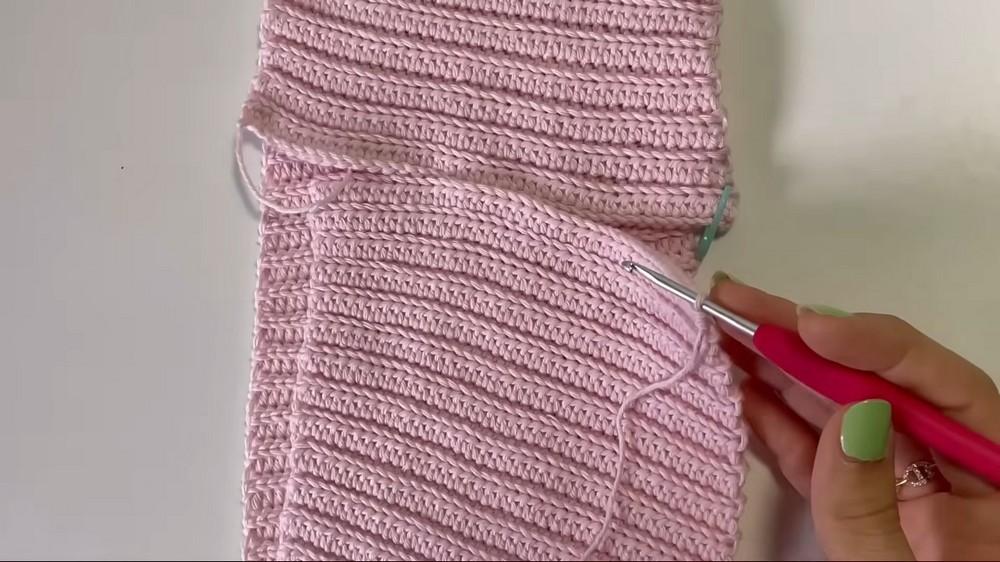
Joining the Panel
- Seam the edges using slip stitches on the wrong side.
- Decide between the clearer ribbed texture (right side) or the muted texture (wrong side) as the visible outside.
- After sewing, flip the project to the right side and prepare for additional crochet around the edges.

Bottom Part of the Top (or Dress)
Foundation Row Using V-Stitch:
- Begin with a chain, followed by double crochet, chain 1, and another double crochet to form a “v-stitch.”
- For the first row of the skirt portion, create an increase row by adding additional v-stitches into the same stitch.
Subsequent Rows:
- Transition to regular v-stitches without increases for all remaining rows.
- Work double crochets, chain 1, and double crochets in each chain space around to establish a consistent pattern.
- Continue rows until reaching the desired length for the top (or lengthen for a dress).
Adding Scalloped Edging
- Use a shell stitch pattern with seven double crochets in each chain space, alternating with single crochets in the next space to create the scalloped effect.
- Adjust spacing at the end to maintain an even edge.
- Slip stitch to join, chain 1, and fasten off the edging.
Adding Adjustable Straps
- Position straps by marking placement with stitch markers after trying on the top.
- Ensure alignment by counting rows between seams and strap placements.
- Chain to the desired strap length (approximately 27 inches) and crochet single stitches back along the chain.
- Attach the straps to the marked points and repeat for all strap placements.
Final Touches
- Weave in loose ends to clean up the project.
- The completed top features a snug fit, adjustable tie straps, ribbed texture, decorative edging, and a flared bottom.
Conclusion
- This crochet babydoll top tutorial offers flexibility for customization, enabling viewers to make either a short top or longer dress variation.
https://youtu.be/pL45zVeHIws