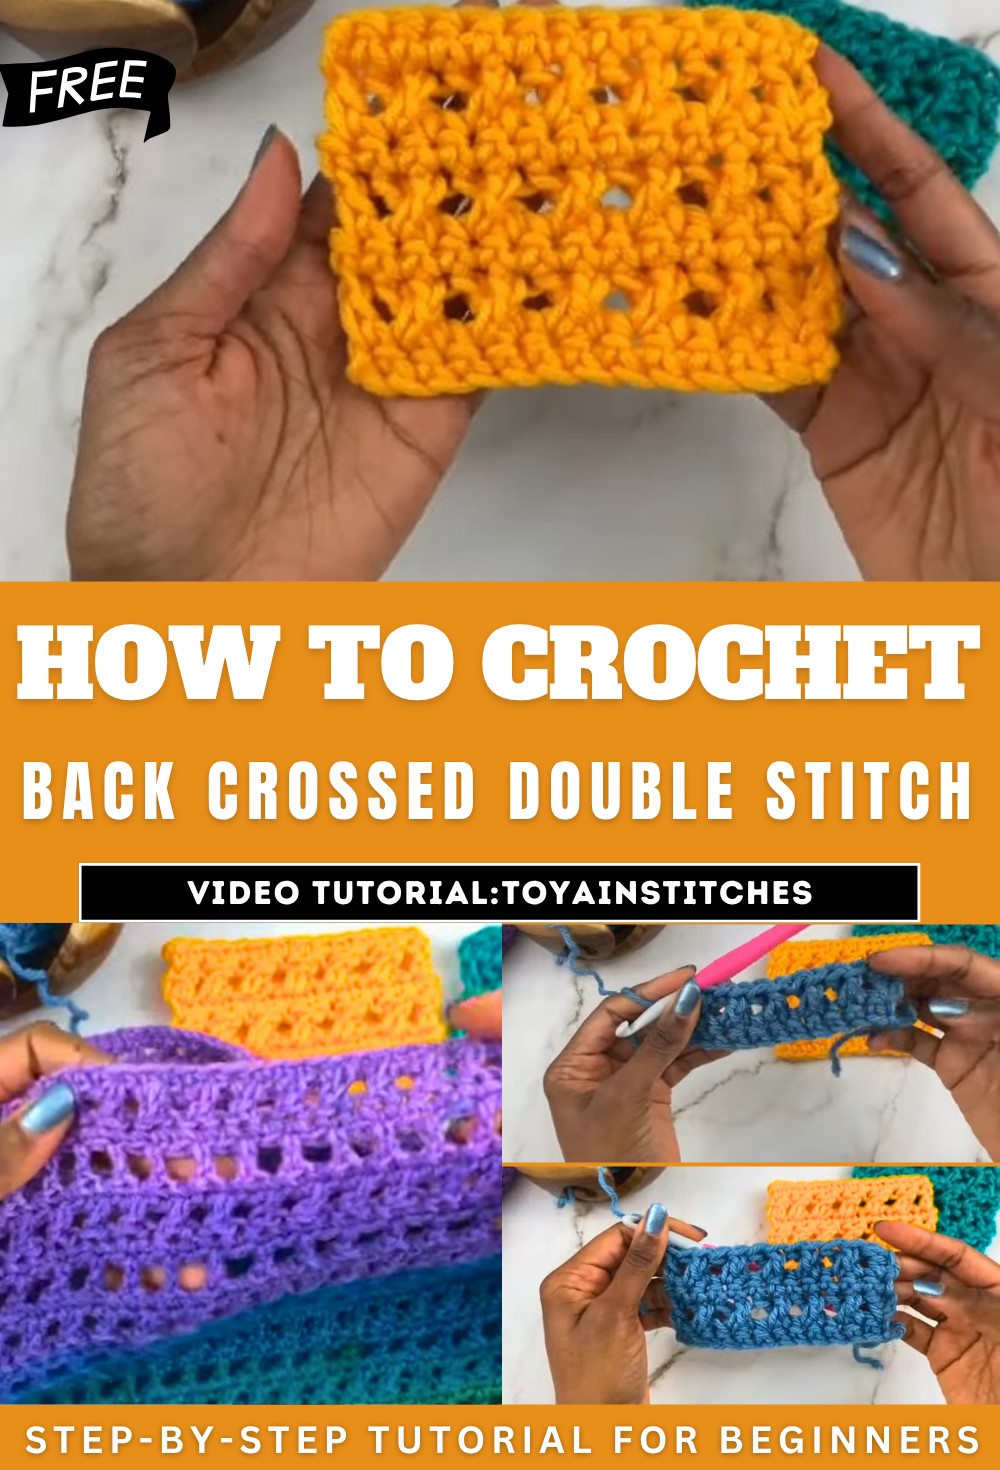
How to Crochet Back Crossed Double Stitch for Beginners
Learn how to crochet the back cross double crochet stitch with a row of single crochet between each back cross double crochet row for better stitch definition. The tutorial covers the stitch multiple, appearance, materials, foundation chain, and detailed step-by-step instructions for creating the stitch, including how to work the double crochets to form the cross.
The creator also mentions using this stitch in an upcoming cowl design. So, follow through with us for the complete tutorial for beginners.
Crossed Double Crochet Stitch Tutorial
This video provides a comprehensive tutorial on how to crochet the back cross double crochet stitch. The creator offers insights into the stitch’s characteristics and provides detailed, step-by-step instructions for its execution.
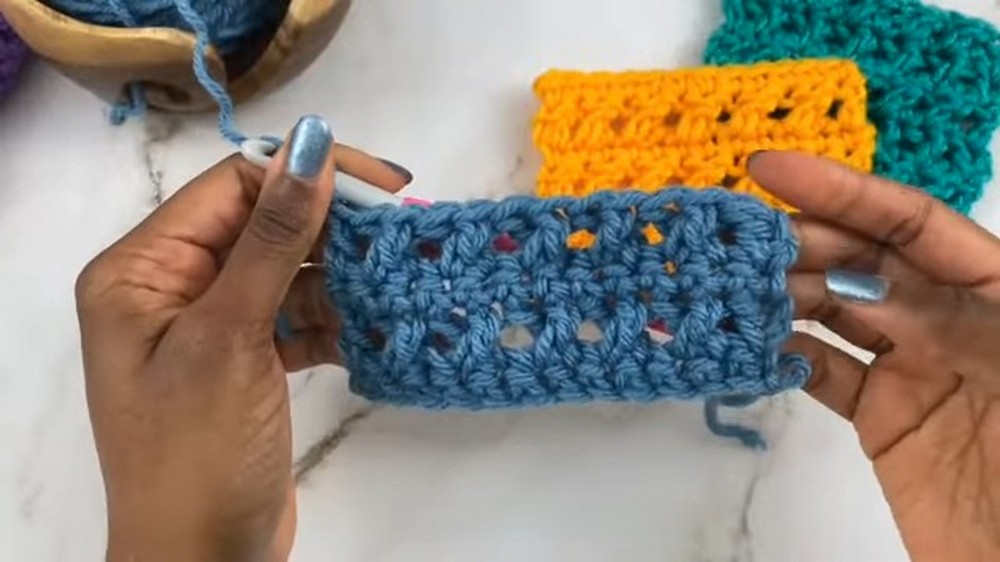
Stitch Characteristics and Preferences
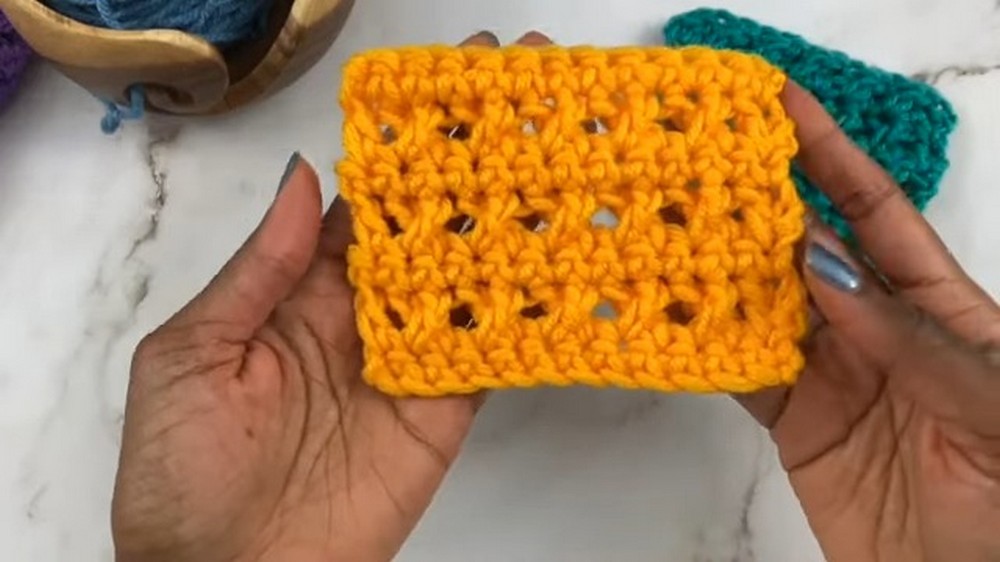
The creator begins by showcasing two different swatches of the back cross double crochet stitch. One swatch includes a row of single crochet stitches worked in between each row of back cross double crochet, while the other does not.
The creator expresses a clear preference for incorporating the single crochet row, explaining that it significantly enhances stitch definition, causing the distinctive “crosses” of the back cross double crochet to stand out more prominently. This preference highlights a design choice that impacts the overall aesthetic of the finished fabric.
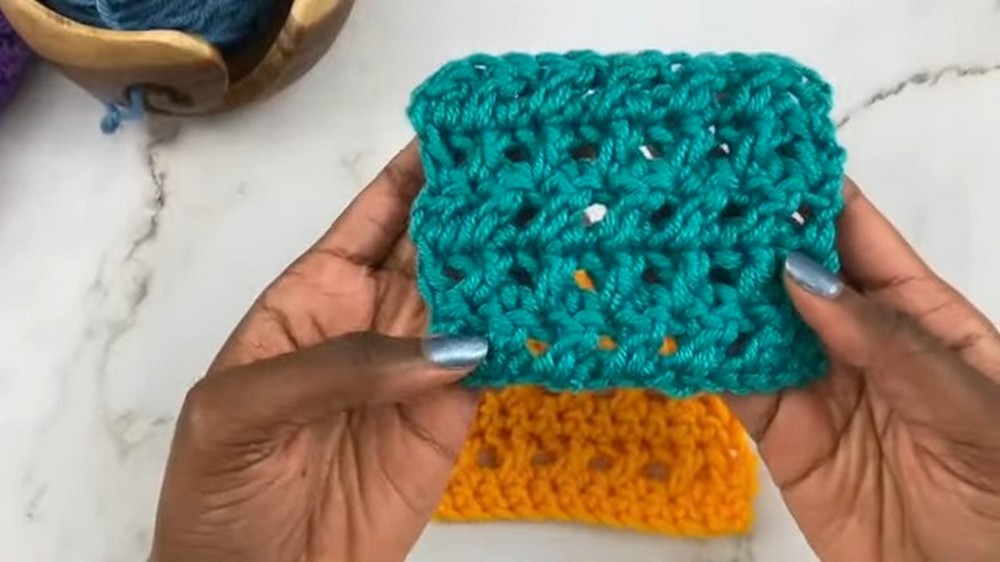
The video also clarifies that the back cross double crochet stitch can be worked over a multiple of two stitches, providing a flexible foundation for various projects. Furthermore, the creator notes that the stitch exhibits a similar appearance on both sides of the fabric, although one side may appear slightly flatter than the other. This characteristic makes it a versatile stitch for projects where both sides of the fabric might be visible.
Materials and Foundation
For the purpose of this tutorial, the creator utilizes bulky weight scrap yarn, which is an excellent choice for demonstrating stitches as its thickness makes the stitch formation easily visible. To begin the project, a foundation chain is created using a multiple of two stitches, plus an additional stitch. The tutorial specifically starts with a foundation chain of thirteen stitches, providing a concrete example for viewers to follow.
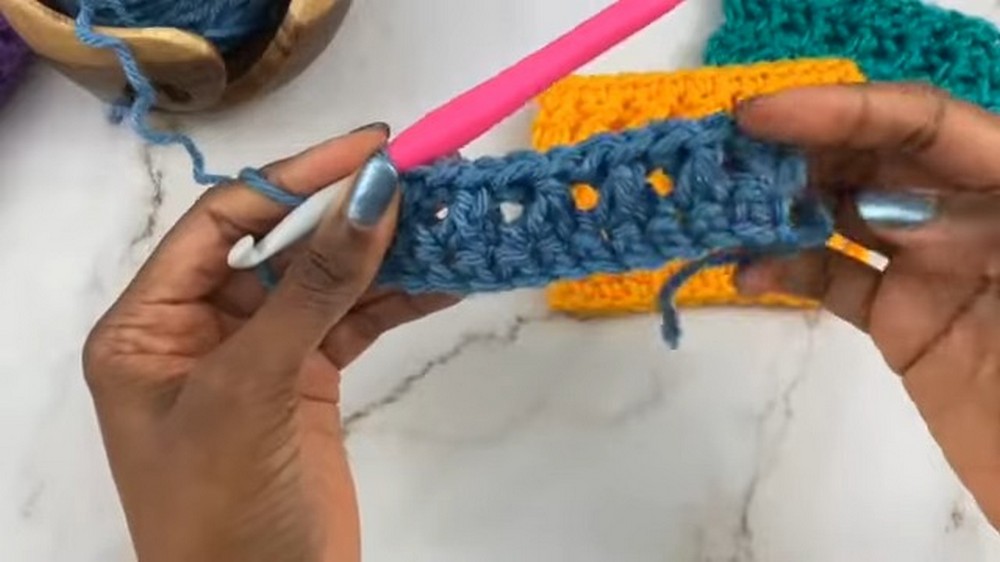
Step-by-Step Stitch Execution
The tutorial meticulously breaks down the process of crocheting the back cross double crochet stitch, row by row.
-
Row 1 (Single Crochet): The first row is established with single crochet stitches. The creator instructs viewers to work a single crochet into the second chain from the hook and then into each subsequent stitch across the row. A key tip provided is to work into the bottom bump of the chains, which creates a neater and more stable edge.
-
This initial row results in a specific number of single crochet stitches, which forms the base for the subsequent pattern.
-
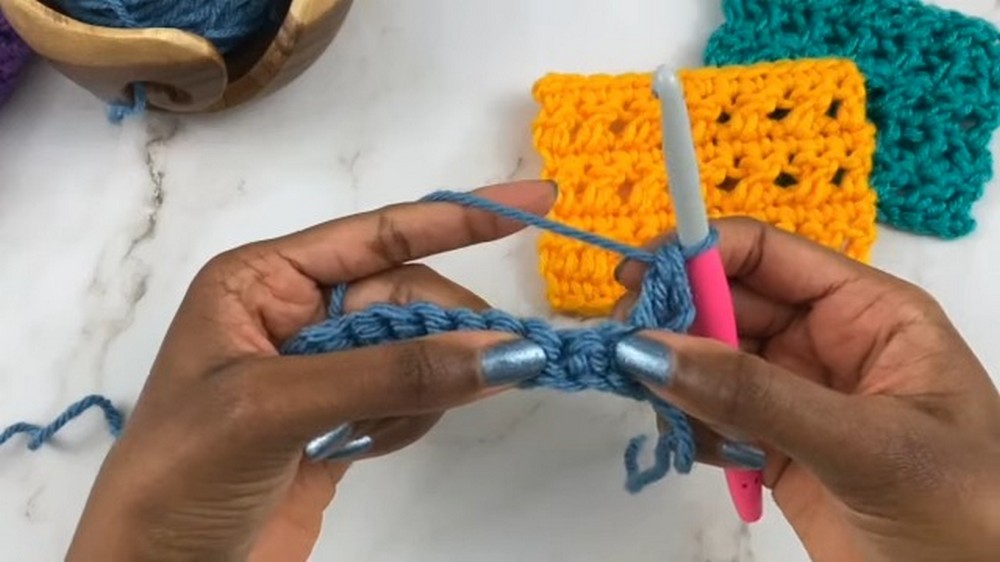
Row 2 (Back Cross Double Crochet): This row introduces the core stitch of the tutorial.
-
The row begins by chaining one and turning the work, preparing for the next row.
-
A double crochet stitch is then worked into the very first stitch of the row.
-
The next step involves skipping one stitch and then working a double crochet into the stitch immediately following the skipped one.
-
To form the distinctive “cross,” the creator instructs viewers to yarn over and then work a double crochet behind the stitch that was just made, inserting the hook into the previously skipped stitch. A crucial piece of advice here is to keep this stitch relatively loose to prevent it from pulling down the surrounding stitches, which could distort the fabric.
-
This pattern of skipping a stitch, working a double crochet in the next, and then working a double crochet behind into the skipped stitch is repeated across the entire row.
-
The row concludes with a double crochet stitch worked into the very last stitch.
-
-
Row 3 (Single Crochet): This row serves as the intermediate row that the creator prefers for stitch definition. It begins with a chain one and turning the work, followed by working a single crochet stitch all the way across the row.
-
Row 4 and Beyond: To continue the pattern, the tutorial advises repeating Row 2 and Row 3 for the entire duration of the project. This alternating sequence creates the continuous back cross double crochet pattern with enhanced definition.
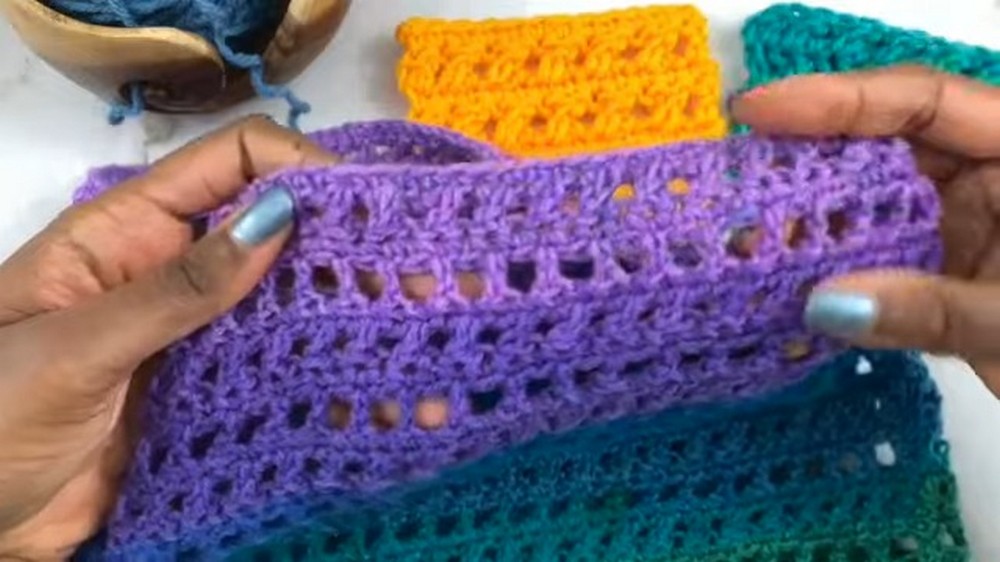
Project Application
The creator shares that she has utilized this stitch in a cowl design and plans to release a separate tutorial specifically for that project.
This provides viewers with an example of how the back cross double crochet stitch can be incorporated into a finished item, potentially inspiring them to create their own projects using this versatile stitch.