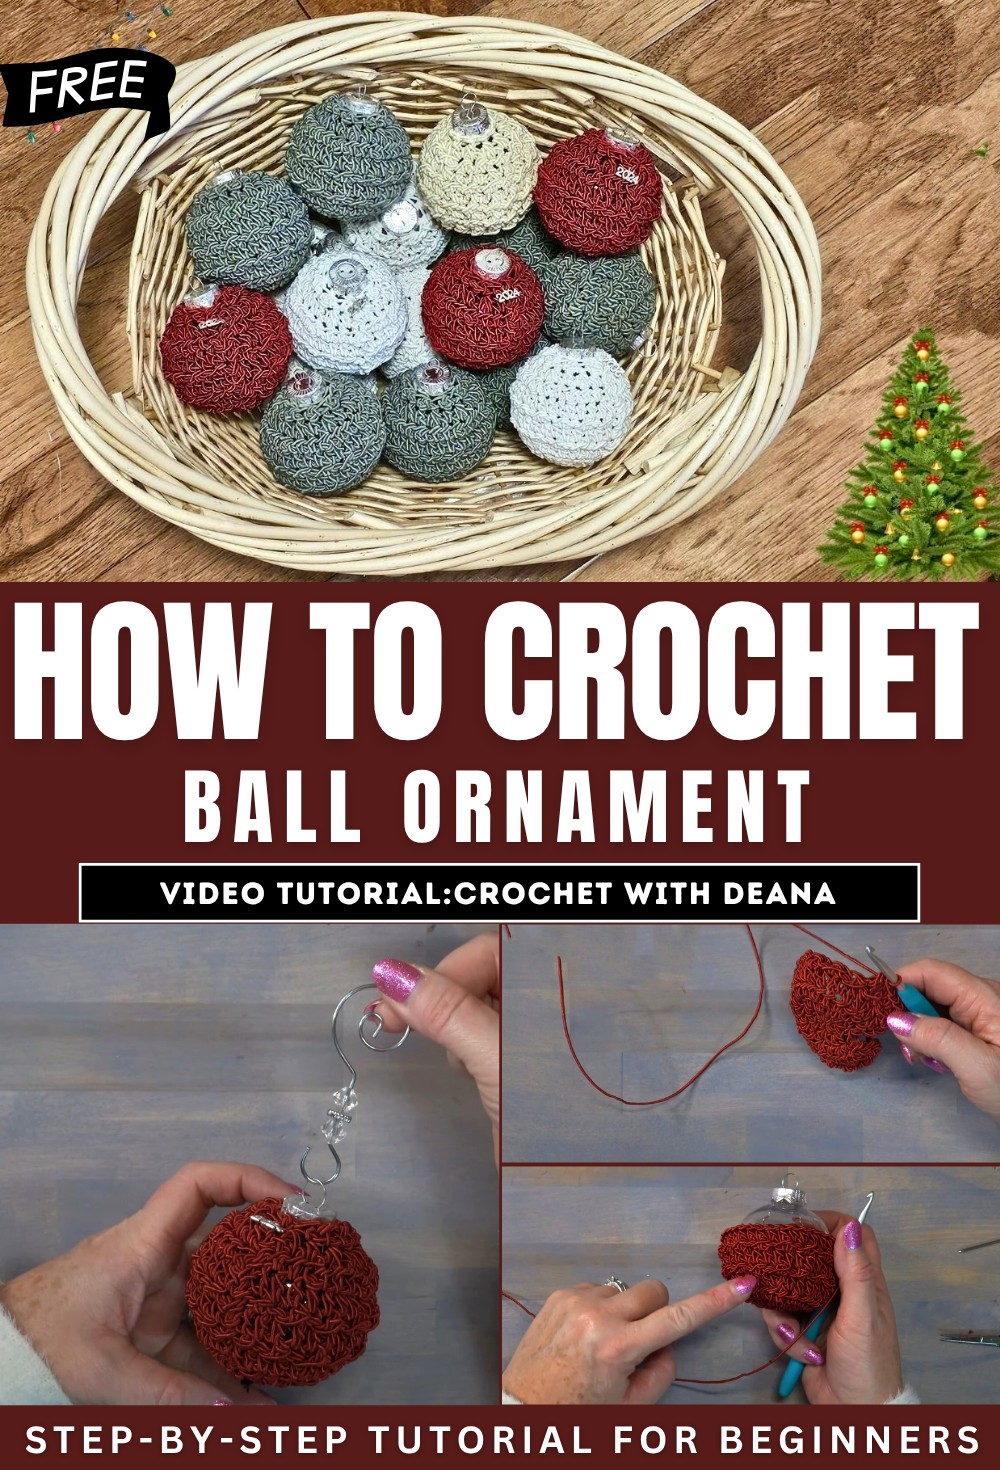
How to Crochet Ball Ornament for Beginners
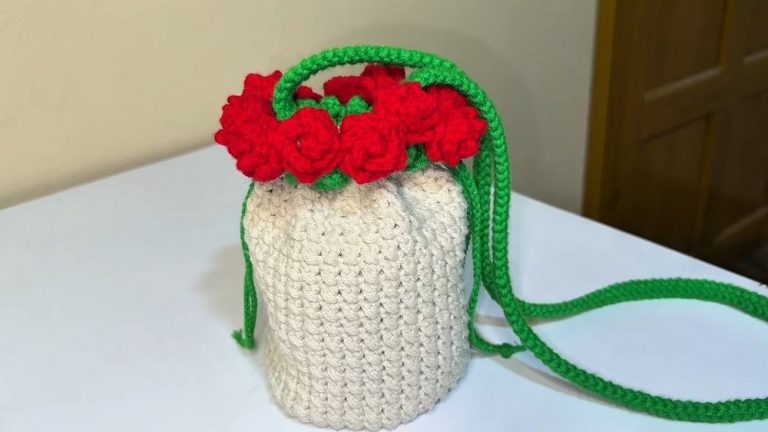
This tutorial demonstrates how to crochet a decorative ornament cover using a 4.5 mm hook, 1.5 mm polyester-cotton cording, scissors, and a needle. The project begins with a magic circle and uses a combination of half double crochets, increases, alternating stitches, and decreases to shape the cover around a ball ornament.
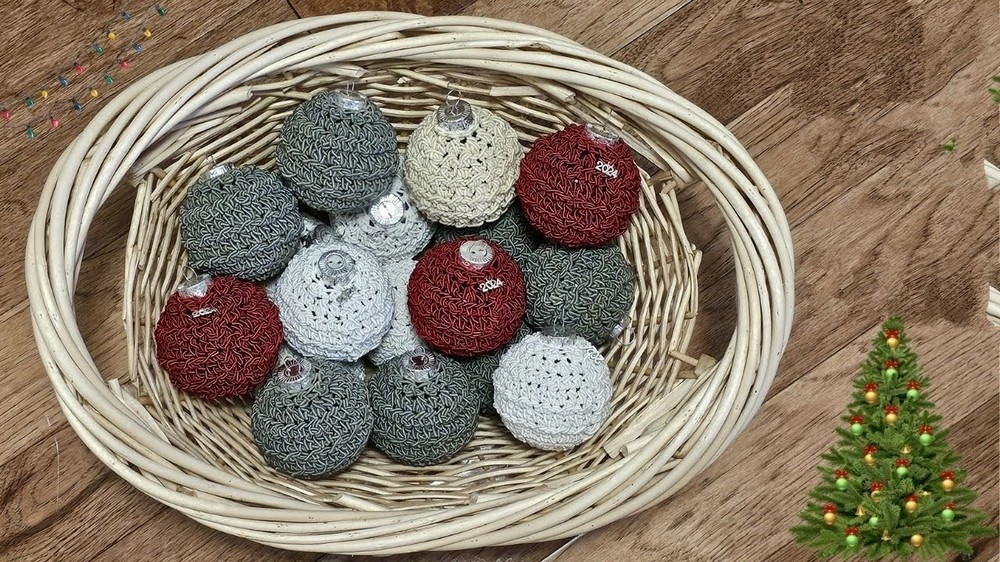
The design features textured rows and finishes with a sewn closure. A charm and decorative hook are added as finishing details, creating a stylish and festive ornament. So, follow through with us for the complete tutorial.
Crochet Ornament Cover Tutorial
This tutorial walks you through creating a beautiful crochet cover for a round ornament. Using simple tools and techniques, the design combines decorative stitches and a snug fit to enhance the look of your ornaments for the holidays. Below is a summary of the tutorial organized into materials, steps, and finishing touches.
Materials Needed
- Crochet Hook: 4.5 mm hook.
- Yarn/Cording: Polyester-cotton cording (1.5 mm). Depending on the thickness of the cording, you may need to adjust your hook size.
- Additional Supplies: Scissors, crochet needle, ball ornament, and optional decorative charms/hooks.
Beginning the Ornament Cover
-
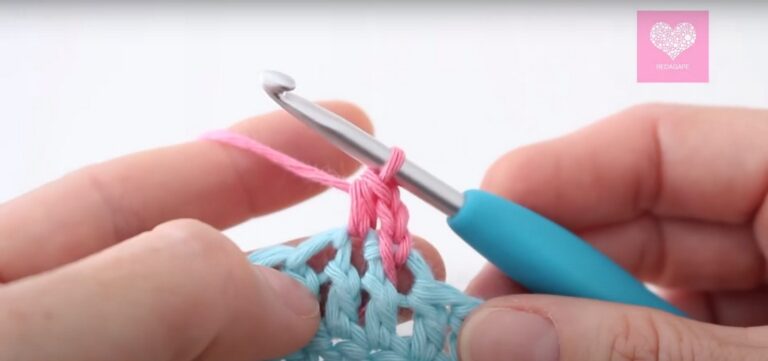
Creating the Magic Circle:
- Start with a magic circle. This creates the center of the ornament cover, ensuring a neat and tight connection.
-
Row 1:
- Begin with a round of half double crochet stitches worked inside the magic circle. Close the circle tightly and join the stitches with a slip stitch.

-
Row 2:
- Add increases to every stitch in this row. This expands the cover to begin shaping it to fit the ball ornament.
Building the Ornament Cover
-
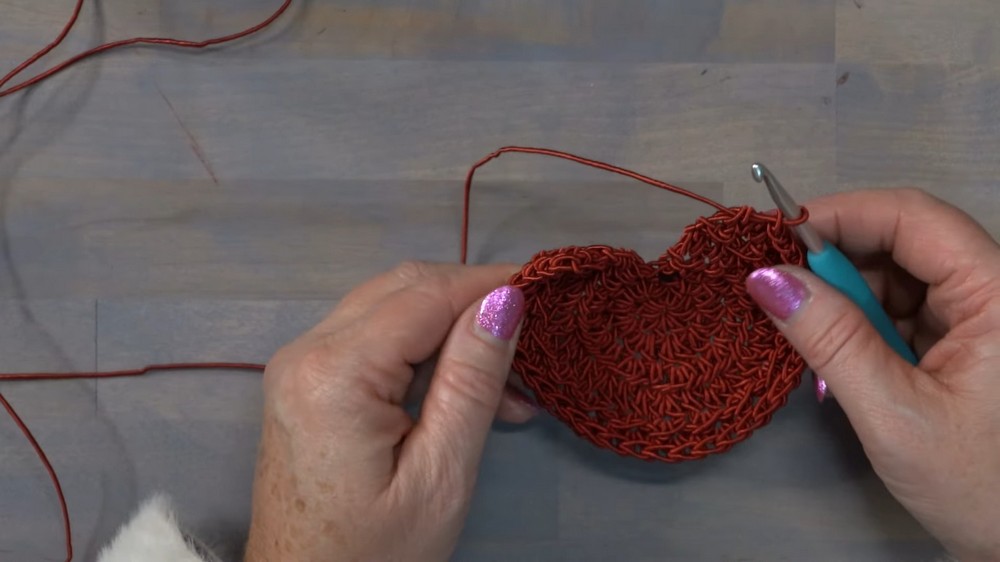
Opening the Design (Row 3):
- From this row onward, don’t join the rounds. Instead, leave one side open so that the cover can wrap around the ornament. Alternate between turning the work at the end of each row.
- Introduce an alternating pattern of basic stitches and increases to continue expanding the round.
-
Row 4:
- Continue the alternating pattern of stitches and increases in this row to further shape the cover.
-
Adding Texture (Rows 5–8):
- Work a series of rows with a combination of decorative stitches. Alternate between rows of slip stitches combined with other stitches for texture, and solid rows with no increases to stabilize the design.
Tapering the Cover
-
Decreasing the Rows:
- Starting from Row 9, gradually decrease the number of stitches in each row to taper the cover as it closes around the ornament.
- Continue decreases in subsequent rows until only a few stitches remain.
-
Final Row:
- Ensure the texture created by the alternating slip stitch design is facing outward. Close this final row by decreasing all remaining stitches, creating a snug fit at the top.
Finishing Touches
-
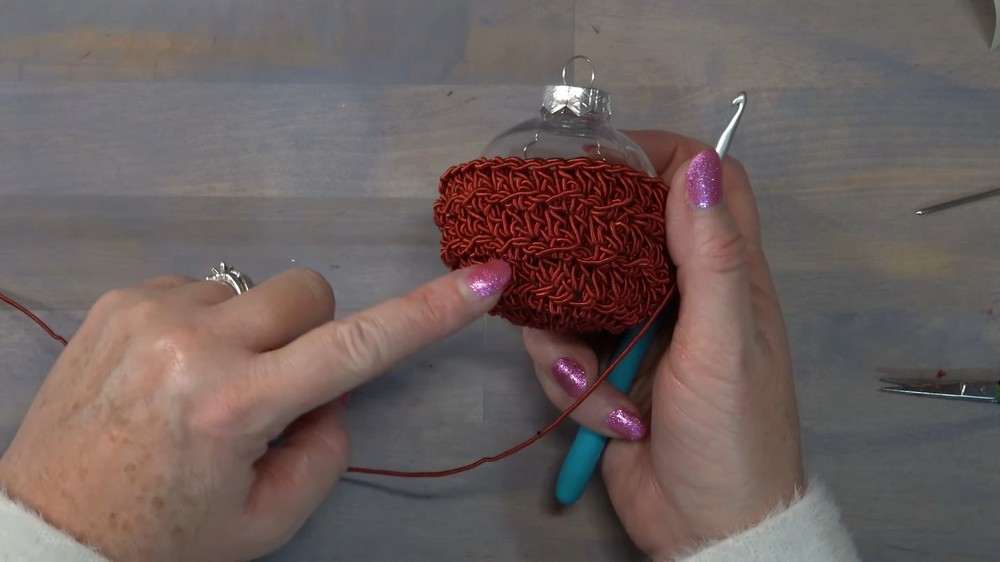
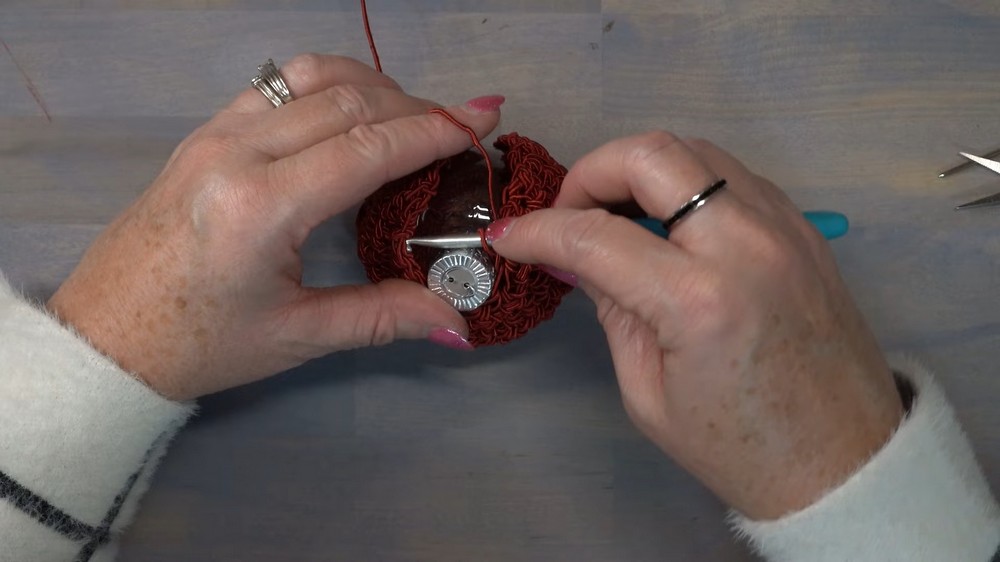
Assembling the Ornament:
- Place the ornament inside the crochet cover before closing the side. Use a long tail of cording to weave through and sew up the open side securely.
-
Adding Charm:
- Attach an optional charm, such as a year tag, during the sewing process. The charm hangs attractively once the cover is fully secured.
-
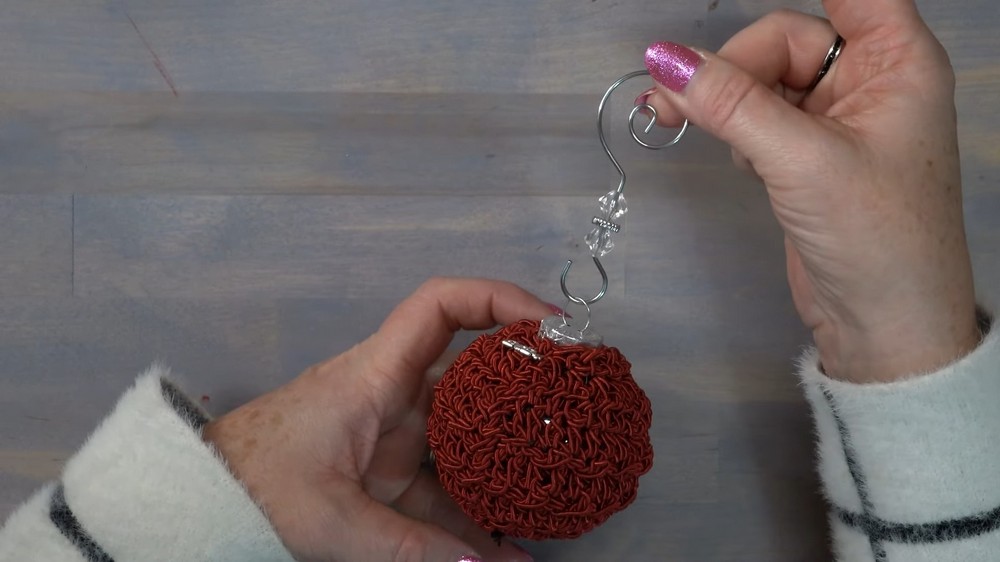
Final Adjustments:
- Use the crochet needle to weave in loose ends. Tighten spots for a clean finish and attach a decorative ornament hook for hanging.
Conclusion
This tutorial provides step-by-step instructions to create a versatile and decorative crochet ornament cover. By combining basic stitches, textured patterns, and careful decreases, you can transform plain ornaments into handmade holiday treasures. The flexibility of the design allows for customization with different hook sizes, yarns, or charms to suit any style.