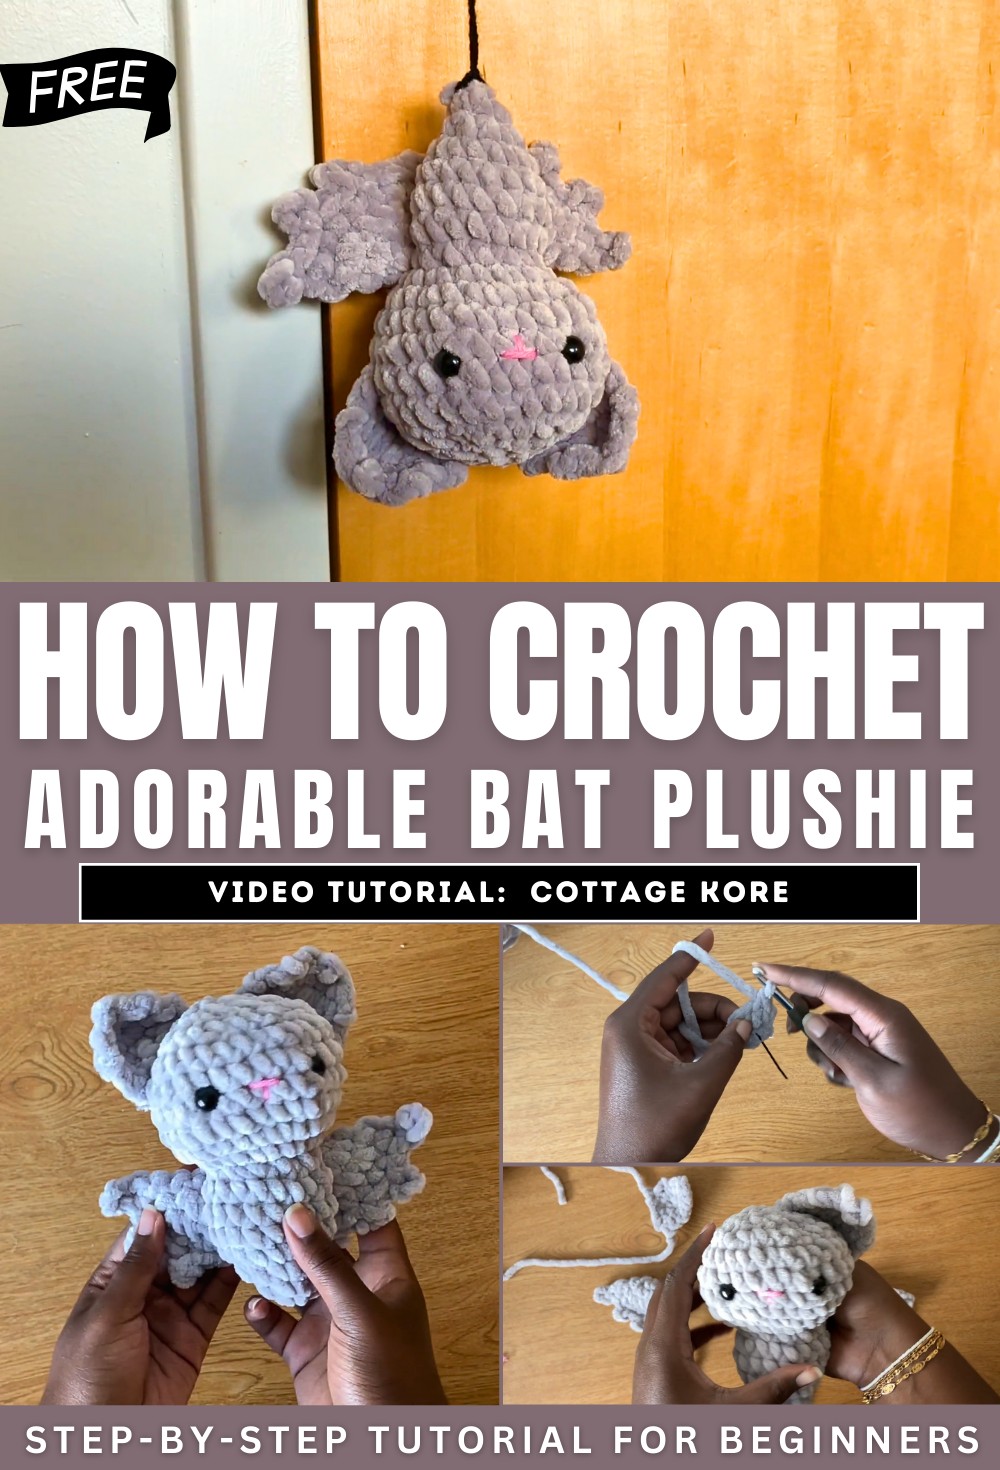
How to Crochet Bat Plushie Tutorial For Halloween, Markets, and Fall
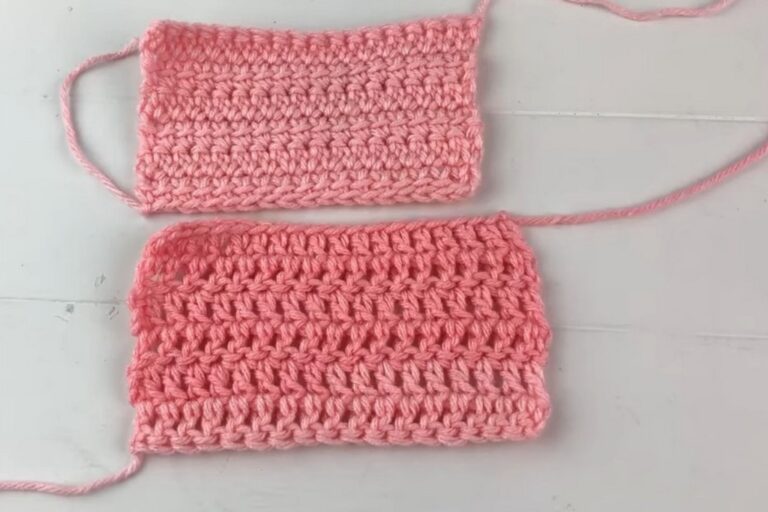
Learn how to crochet an adorable crocheted bat plushie, perfect for markets, gifts, or seasonal decorations. Using a single crochet cross stitch technique and easy-to-follow steps, she guides viewers through crafting the bat’s body, head, wings, and ears. The tutorial includes detailed instructions on shaping, stuffing, and assembling the plushie, with tips for adding safety eyes and a little nose.
Kyra also uses a lighter yarn for better visualization and shares helpful tricks throughout. This fun project is ideal for beginners and intermediate crafters looking to create something unique and charming. So, follow through with us for the complete tutorial.
Crochet Bat Plushie Tutorial
This tutorial, hosted by Kyra, provides step-by-step instructions on how to crochet a cute bat plushie, perfect for markets, gifts, or seasonal decorations. Below is a summary of the process outlined in the video.
Materials Needed:
Kyra starts by listing all the required materials for this crochet project:
- Yarn: Sweet Snuggles Light by Loops and Threads.
- Crochet Hook: Size 6 mm.
- Safety Eyes: 12 mm.
- Other Tools: Yarn needle, stitch marker (or bobby pin), scissors, and stuffing.
She notes that she uses lighter yarn in the demonstration for easier visualization.
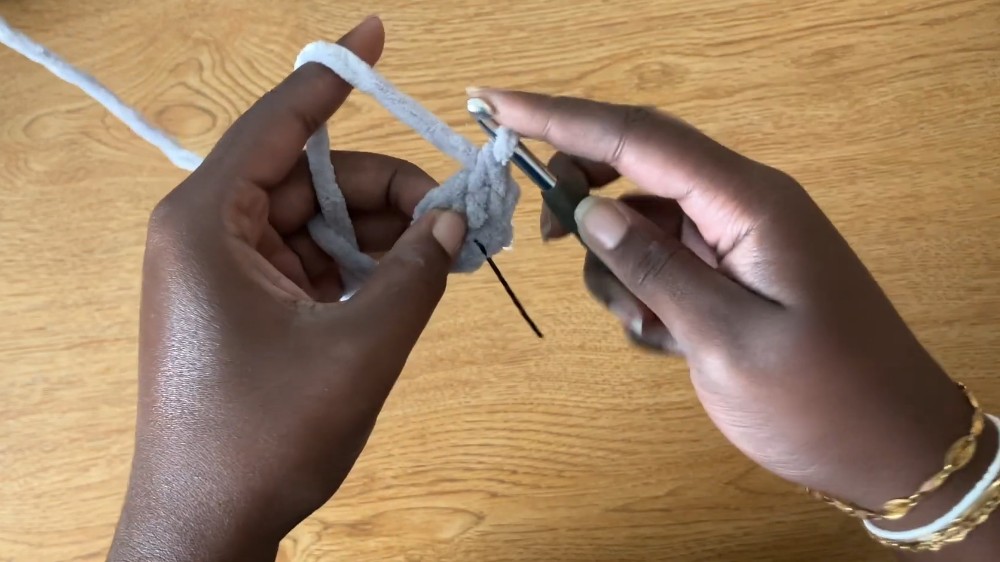
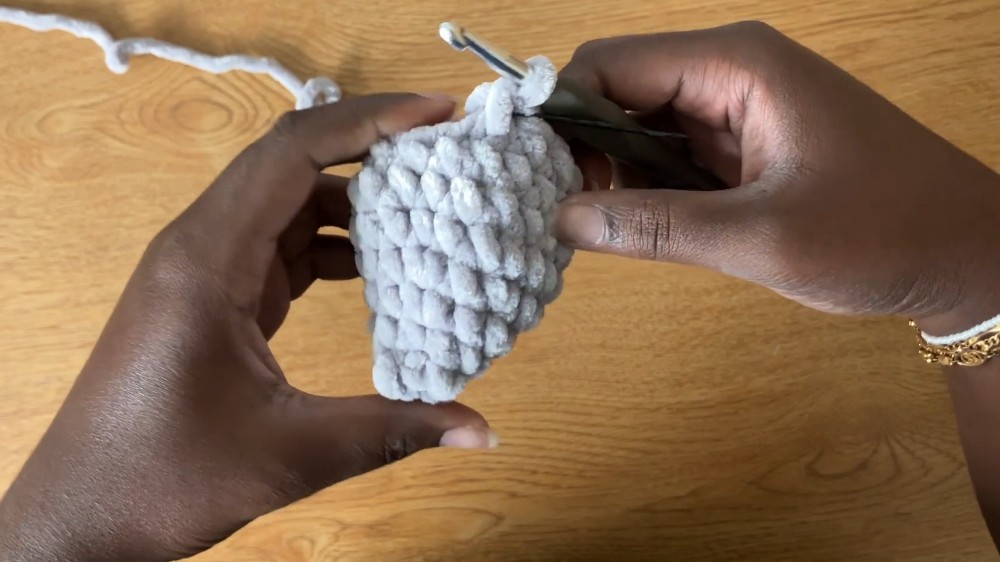
Creating the Body:
- Magic Ring: The body begins with a magic ring, worked to form the base of the bat’s body.
- Building Shape: Through careful increases and decreases, the body is shaped into a stubby bottom section, which tapers at the neck.
- Stuffing the Body: The body is stuffed lightly before finishing it off.
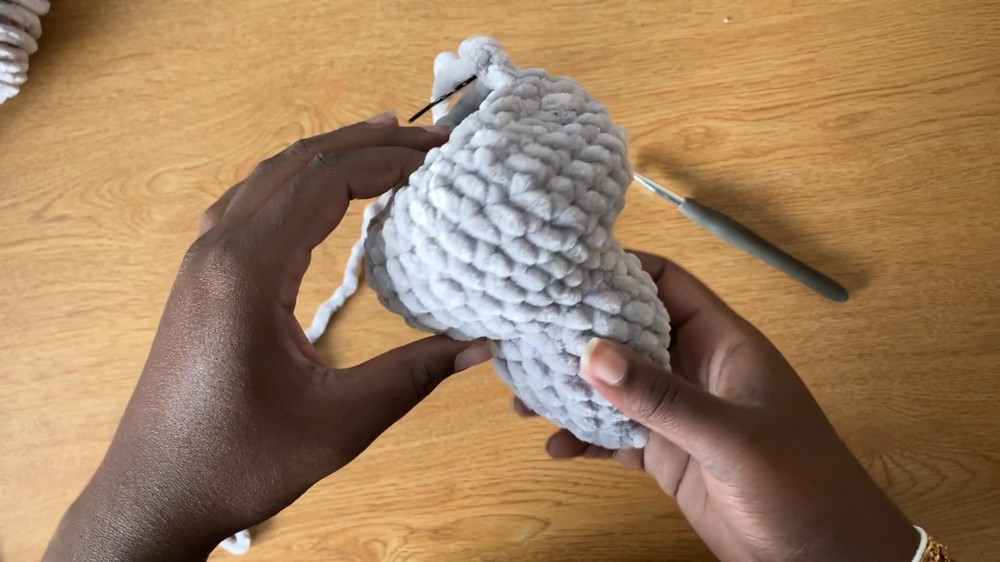
Crocheting the Head:
- Base of the Head: Kyra works in rounds to gradually shape the bat’s head, increasing at first, then working even rows to create fullness.
- Decreasing & Closing: She decreases to shape the top of the head and closes it with a cinching technique.
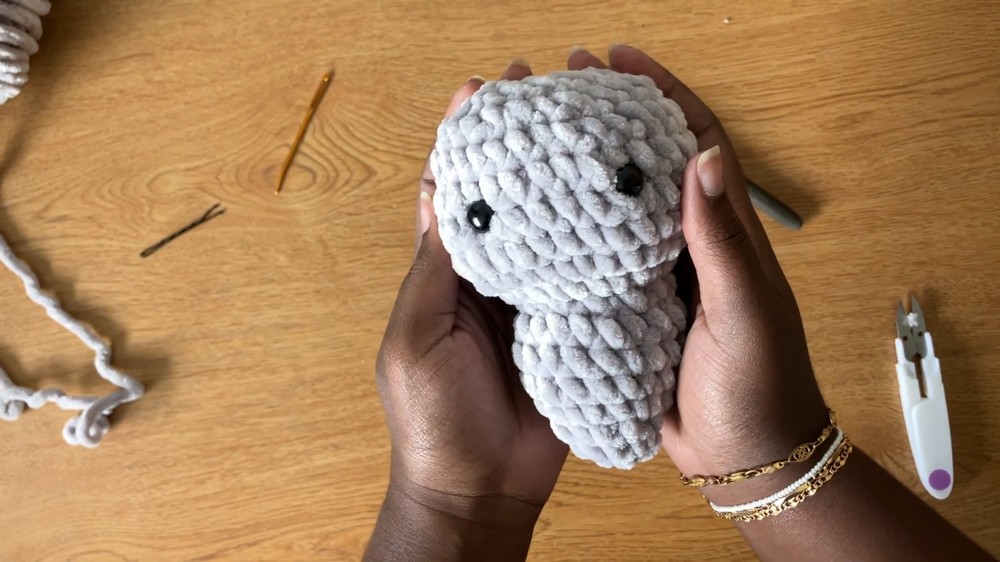
- Adding Eyes: The safety eyes are inserted between specific rows, and she shows how to measure spacing.
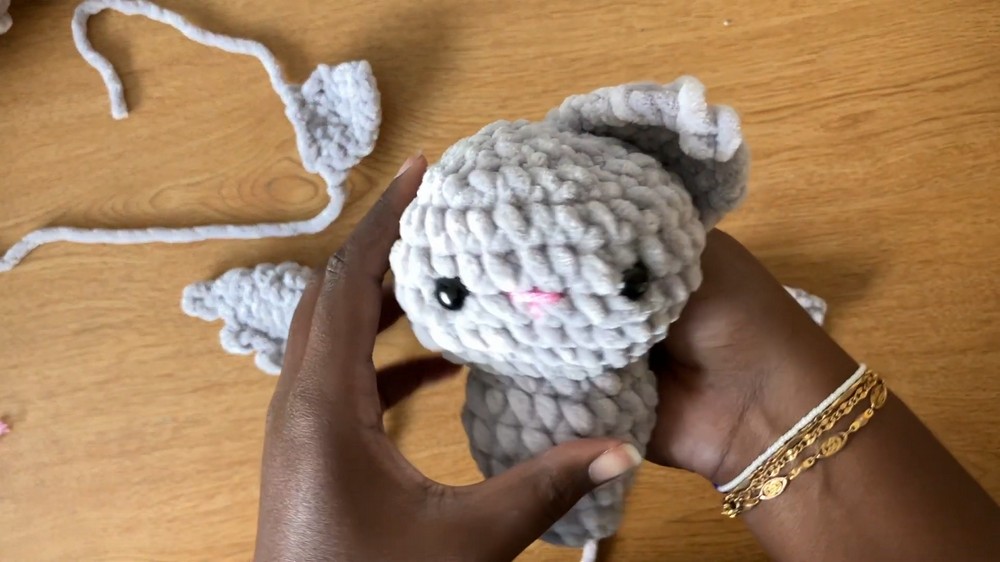
- Adding the Nose: Using a bit of pink yarn, a simple nose is added between the eyes for detail.
Crafting the Wings:
- Starting Shape: The wings are crocheted starting with a magic ring.
- Folding the Wings: The wings are folded and joined to create a semi-symmetrical shape.
- Pico Edging: A decorative pico stitch is added to give the wings their bat-like edges.
- Duplicating the Process: She repeats the process to create the second wing.
Making the Ears:
- Small Triangle Shape: The ears are crocheted as small triangles with a few rows of single crochets and simple increases.
- Creating Two Ears: She makes two identical ears for the plushie.
Assembling the Plushie:
- Attaching Parts: Kyra attaches the ears and wings to the plushie using a yarn needle and long tails left from the crochet process.
- Secure and Finish: She secures knots, hides loose ends, and positions the parts symmetrically to create the finished bat plushie.
Final Touches:
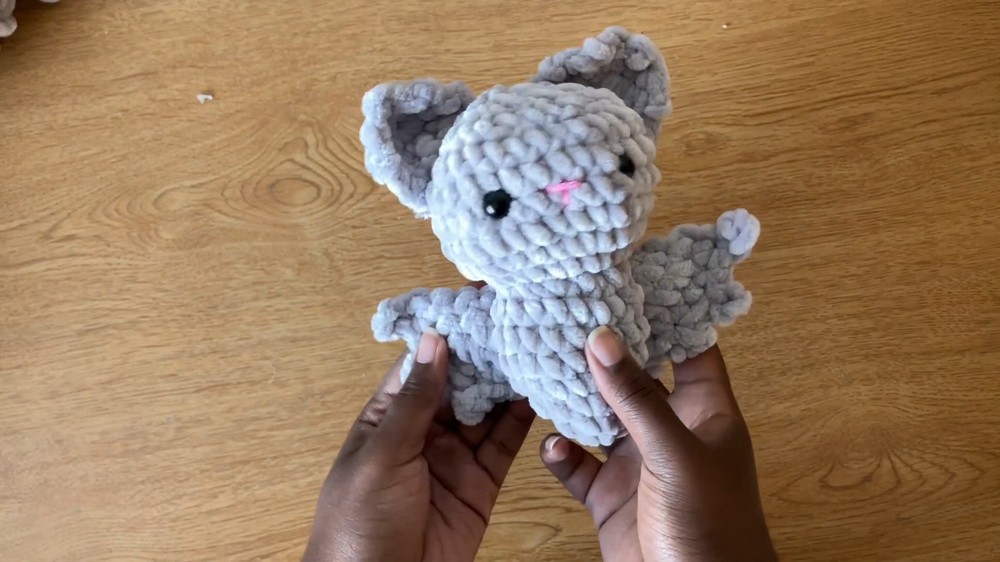
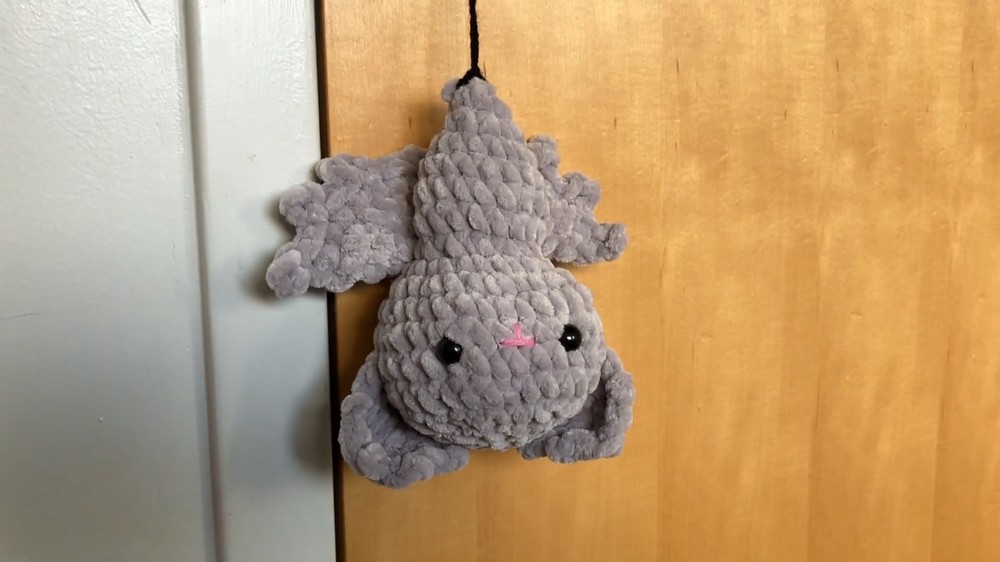
Kyra adds finishing touches like securing knots and hiding yarn tails. She showcases the completed bat plushie in the end.
Conclusion:
Kyra encourages viewers to try making the bat plushie, suggesting it as a great item for markets or gifts. She asks for feedback on whether viewers would like a written pattern with more details and invites them to suggest future tutorial ideas. This fun, beginner-friendly project is perfect for Halloween or other themes, leaving viewers with an adorable handmade bat.