How To Crochet Beautiful Rose Crochet Bag for Spring
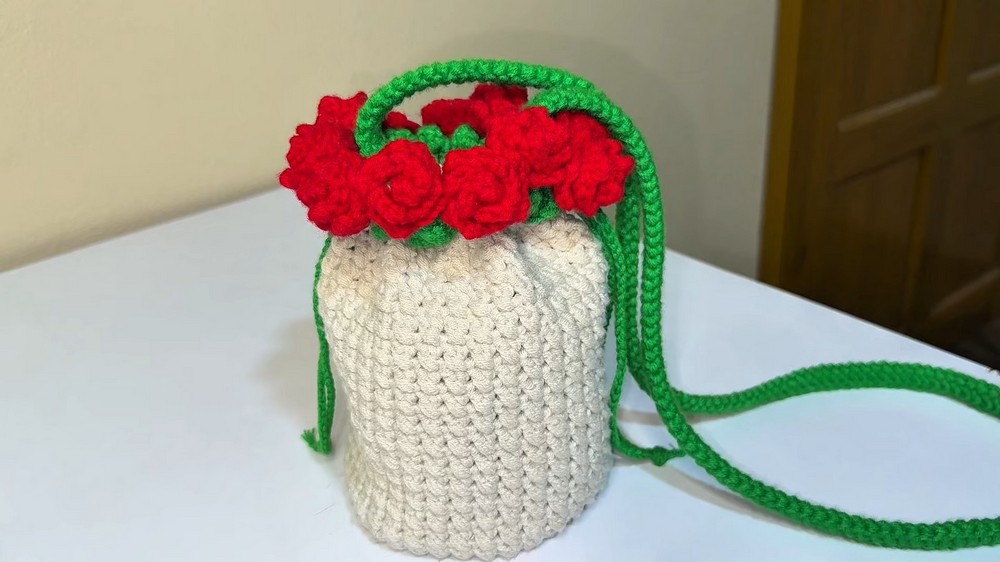
Learn how to crochet a beautiful rose-themed bag perfect for spring with a step-by-step tutorial for beginners. It covers creating the circular base, crocheting the bag body using a “cross stitch” pattern, and then guides through crocheting and attaching the leaves and roses.
Finally, the video demonstrates how to crochet a sturdy and comfortable bag strap. The tutorial emphasizes using two strands of yarn together for a durable finish and includes tips for hiding loose ends. So, follow through with us for the complete tutorial.

This video provides a comprehensive and detailed tutorial on how to crochet a beautiful rose-themed bag. The tutorial meticulously guides viewers through each component of the bag, from its foundation to the final embellishments and strap.
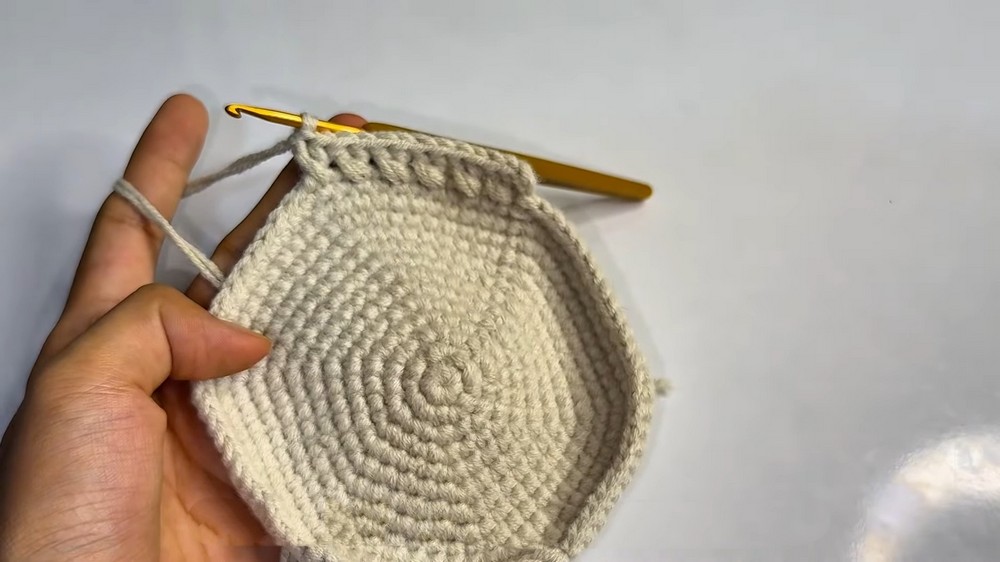
Bag Base (Bottom)
The tutorial commences with instructions on how to create the circular base of the bag. The process begins with the creation of a magic ring, which serves as the central starting point for the circular shape. From this initial ring, the instructor demonstrates how to progressively increase the number of stitches in subsequent rows. This systematic increase in stitches, row by row, is crucial for forming a flat, even circle that will serve as the sturdy bottom of the bag. The video details the specific number of stitches to be worked in each row, ensuring that the circle expands uniformly and without buckling, up to a certain row.
Bag Body
Once the circular base is completed, the tutorial transitions to crocheting the main body of the bag. This section introduces a “cross stitch” pattern, which is a key design element of the bag. The cross stitch is achieved by alternating between front post and back post stitches. This technique creates a textured and visually appealing fabric that forms the walls of the bag. The instructor guides viewers through the execution of this pattern for a significant number of rows, ensuring the body of the bag reaches the desired height and maintains its structural integrity.

Leaves
Following the completion of the bag body, the video moves on to crocheting the decorative leaves that will adorn the bag. The process begins by attaching green yarn directly to the bag, seamlessly integrating the leaves into the overall design. The tutorial then demonstrates how to form the leaf shape using a combination of various crochet stitches, including single crochet, half double crochet, and double crochet stitches. This combination of stitches allows for the creation of a realistic and shapely leaf.
Roses
After the leaves, the tutorial focuses on crocheting the beautiful roses that give the bag its theme. This intricate process starts with creating a chain of a specific number of stitches. Viewers are then guided to work a series of double crochet stitches into particular parts of this chain. This strategic placement of stitches is what allows the chain to curl and form the distinct petals of the rose. Once the roses are crocheted, the video demonstrates how to shape them to achieve a natural, blooming appearance and then how to securely attach them to the bag, completing the floral embellishment.

Bag Strap
The final component of the bag is the strap. The video provides instructions on how to crochet a sturdy and comfortable strap. The strap is initiated by chaining a series of stitches, followed by working a specific stitch pattern. This pattern is designed to create a wide and robust strap that will distribute weight effectively, ensuring it is comfortable to wear and won’t dig into the shoulder. The instructor also provides guidance on the approximate length of the strap, suggesting a range that can be adjusted based on personal preference for how the bag will be carried.

Throughout the tutorial, the video emphasizes the importance of using two strands of yarn together for most parts of the bag. This technique is recommended to create a sturdier and more beautiful finished product, adding to its durability and aesthetic appeal. Additionally, the tutorial includes valuable tips on how to effectively hide loose yarn ends, ensuring a neat and professional appearance for the finished bag.