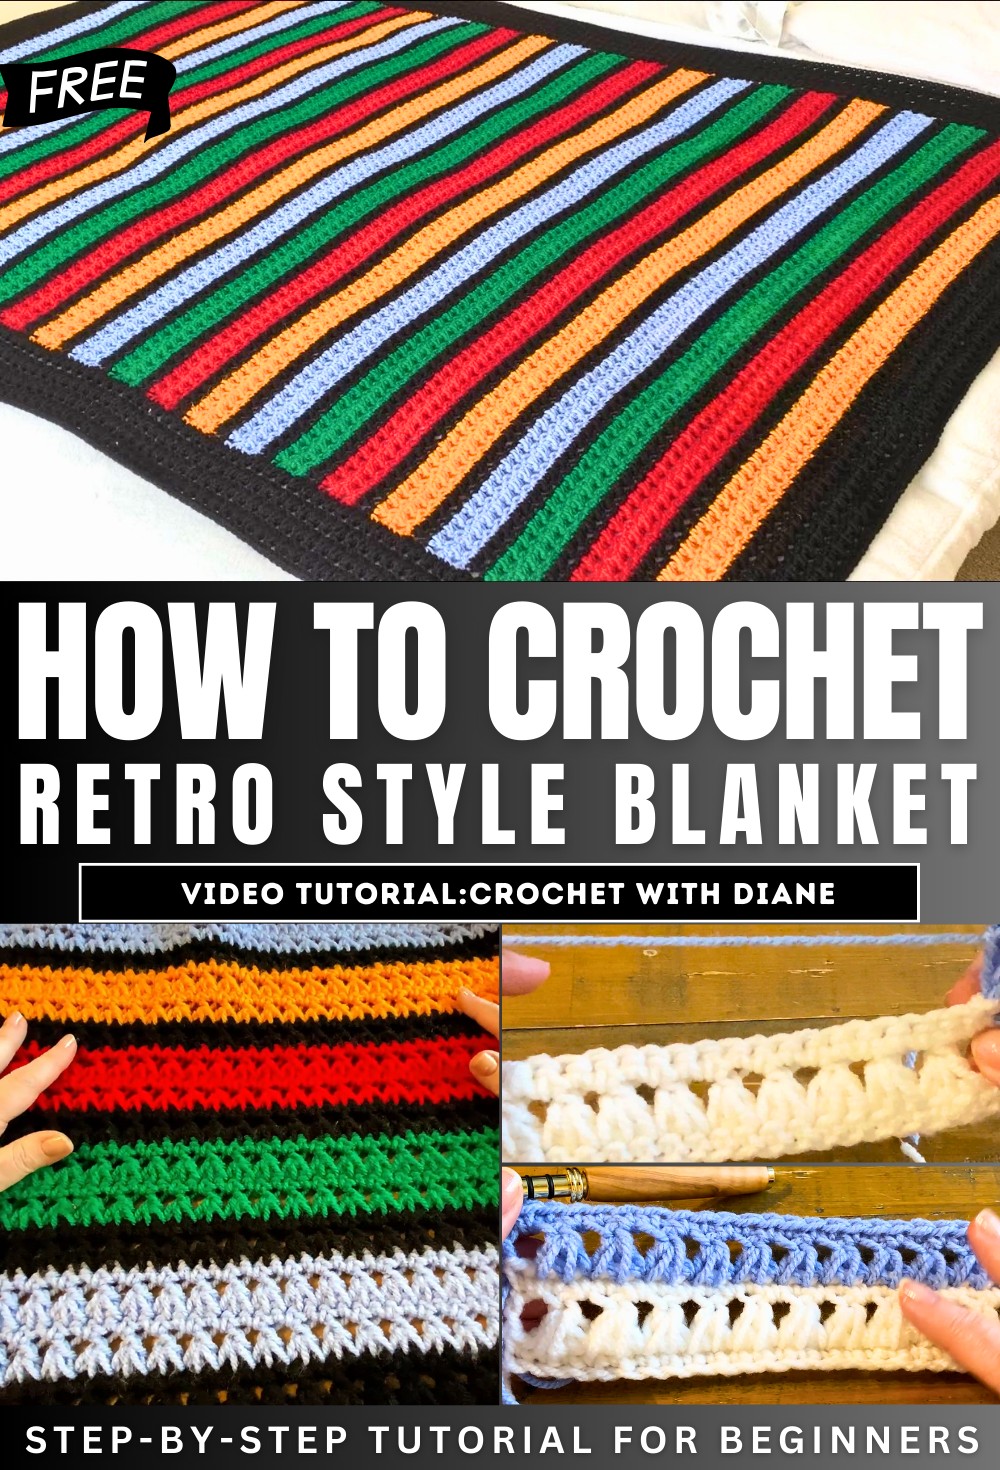
How to Crochet Blanket Retro Style For Teenagers
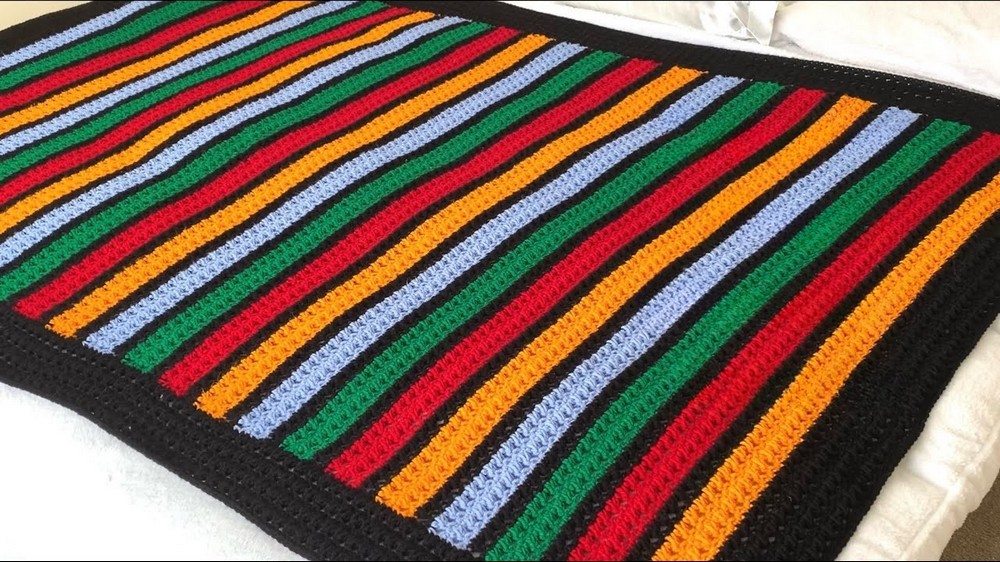
In this post, you’ll learn how to crochet a vibrant, retro-inspired blanket perfect for teenagers. Using five bold colors (black, blue, green, red, and yellow) with a simple two-row repeat pattern, the blanket combines practicality and style. The tutorial offers detailed, step-by-step instructions for beginners, explaining foundational stitches like single crochet and a unique triad stitch. It also highlights customization options, such as modifying the size or adding an optional border for extra flair.
Whether for cozy movie nights, studying, or gifting, this versatile project is a fun and creative way to add a handmade touch to any space. So, follow through with us for the complete tutorial.
Crochet Tutorial: Retro Blanket for Teenagers
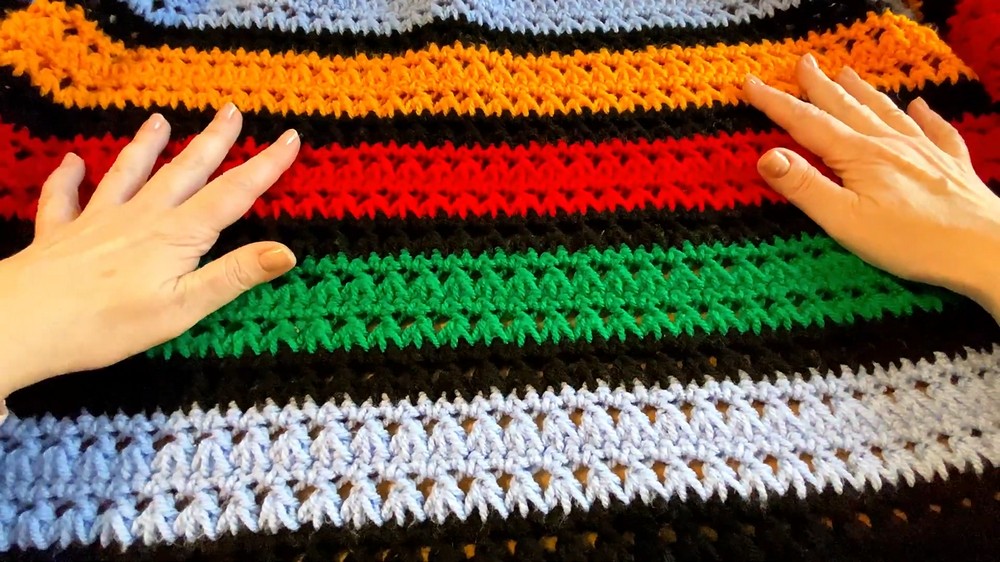
This tutorial focuses on creating a vibrant, retro-style crochet blanket that appeals to teenagers with its colorful design and nostalgic charm. The step-by-step guide highlights techniques, materials, and the overall structure for crafting the blanket. Below is a summary of the tutorial:
Why This Blanket Design Works for Teenagers
- The retro-inspired color palette adds a quirky yet stylish touch.
- Handmade blankets convey a unique and personal feel, perfect for gifting.
- The blanket is versatile and cozy, ideal for watching movies, gaming, or relaxing.
- The option to add a thick black border creates bold contrast and enhances the design.
Materials Required
-
Yarn:
- Use worsted-weight (category 4) yarn in five colors: black, blue, green, red, and yellow.
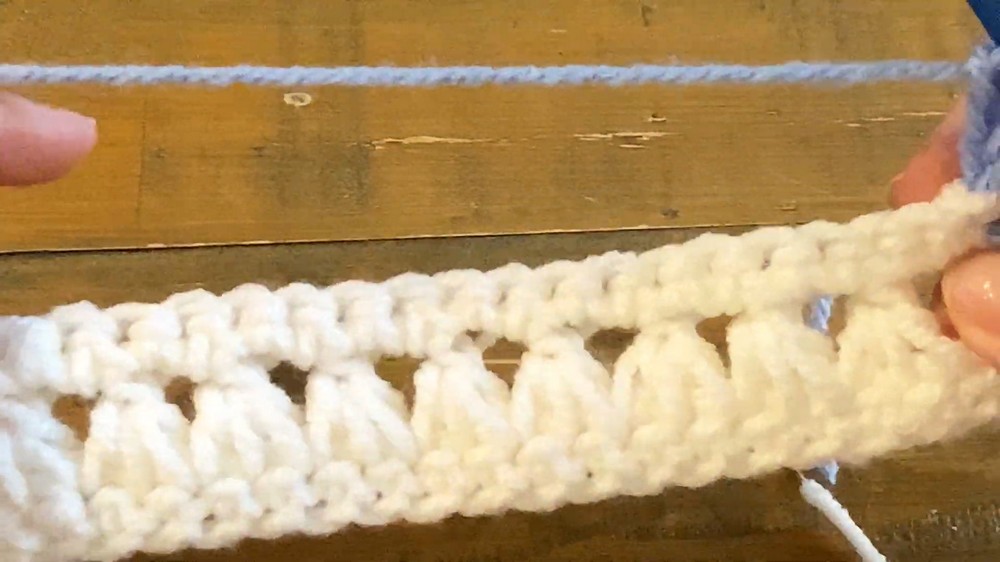
- Substitute black for white in the tutorial to make stitches visible during the demonstration.
-
Crochet Hook:
- A 6.0mm crochet hook is recommended.
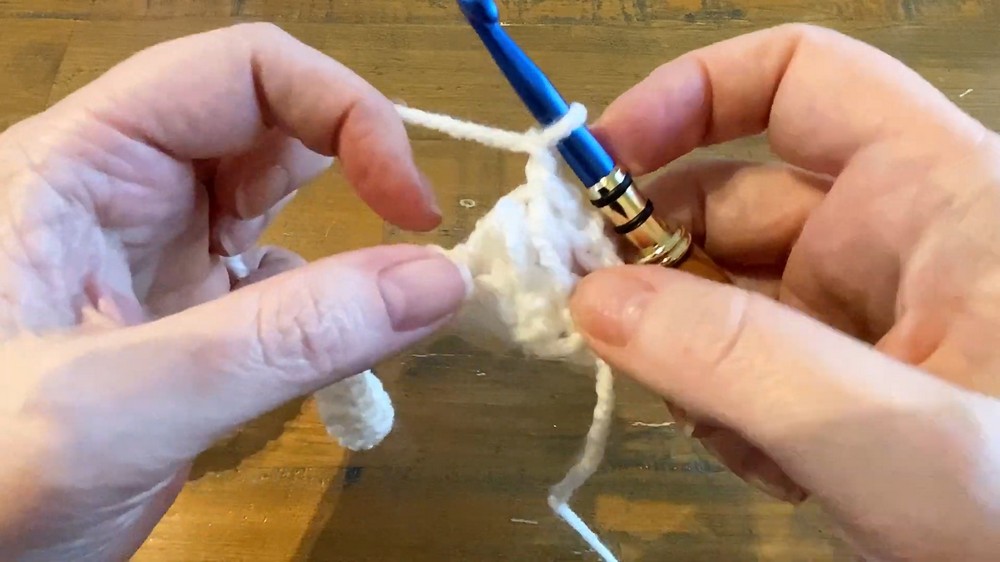
Foundation Chain and Starting Row
- Begin with a slip knot and create a foundation chain in multiples of two.
- Adjust the length based on the desired blanket width (e.g., 47 inches without the border).
- The first row comprises single crochet stitches worked along the foundation chain.
Two-Row Pattern Repeat
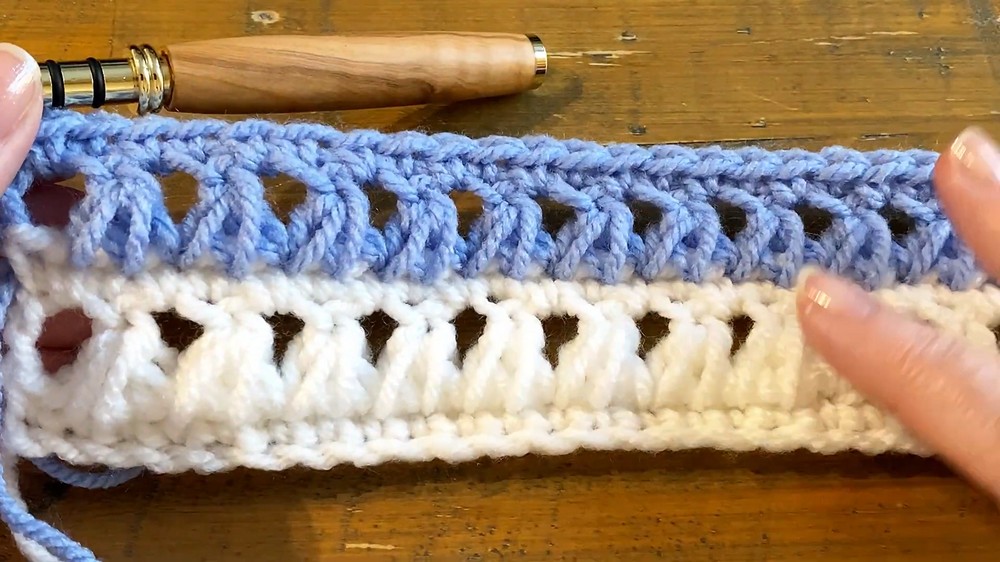
Row 2: Triad Stitch
- Introduce the core stitch pattern comprising clusters of loops worked in three consecutive stitches.
- This stitch builds height quickly, creating a visually appealing texture.
- Each cluster is separated by a chain stitch, ensuring proper alignment and symmetry.
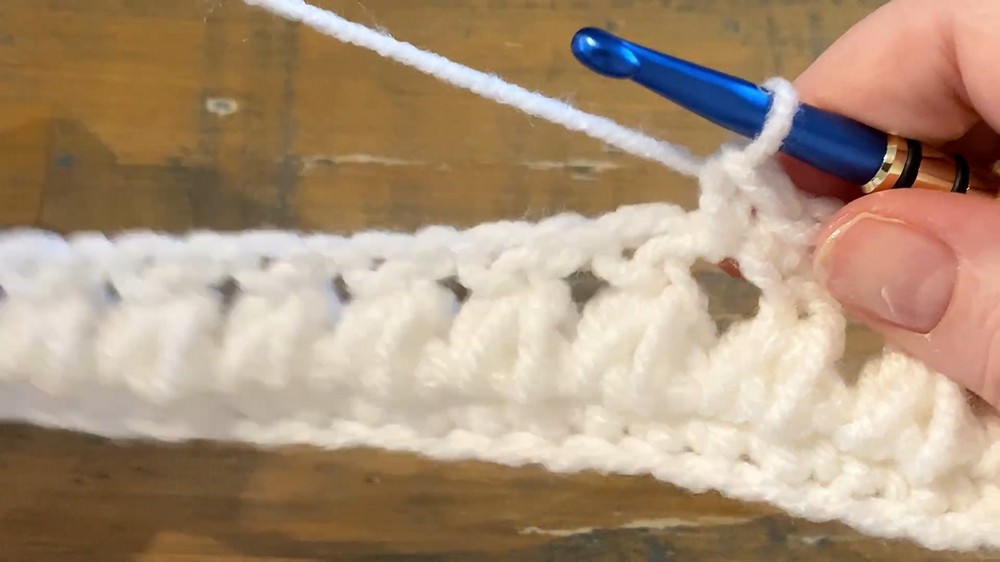
Row 3: Single Crochet
- A simple row of single crochet stitches alternates with the intricate Triad stitch row.
- Ensure accuracy by positioning single crochet stitches into chain spaces or cluster tops from the previous row.

Color Changes
-
Follow a consistent color sequence for a balanced design:
- Main Colors: Four rows per color.
- Border Color (Black): Two rows after every block of color.
-
To change colors:
- Tie off the previous color or begin each stitch in the new color.
- Secure ends to prevent slipping.
Blanket Length and Border
- The sample blanket measures 88 inches in length, but this can be adjusted to suit preferences.
- Borders can enhance the overall look. To add a border:
- Repeat rows 2 and 3 (Triad stitch and single crochet) for a thick edge.
- Customize the border thickness (approximately six inches as shown).
Final Result and Customization Options
- The finished blanket showcases bold color transitions with optional contrast borders.
- Designs can be entirely customized to suit personal preferences or match room aesthetics.
- Without a border, the blanket maintains its vibrant and simplistic charm.
Tips for Success
- Always start subsequent stitches in the designated spot for proper alignment.
- Check rows periodically to avoid misalignment or mistakes.
- Experiment with colors and thickness to tailor the blanket to your desired style.