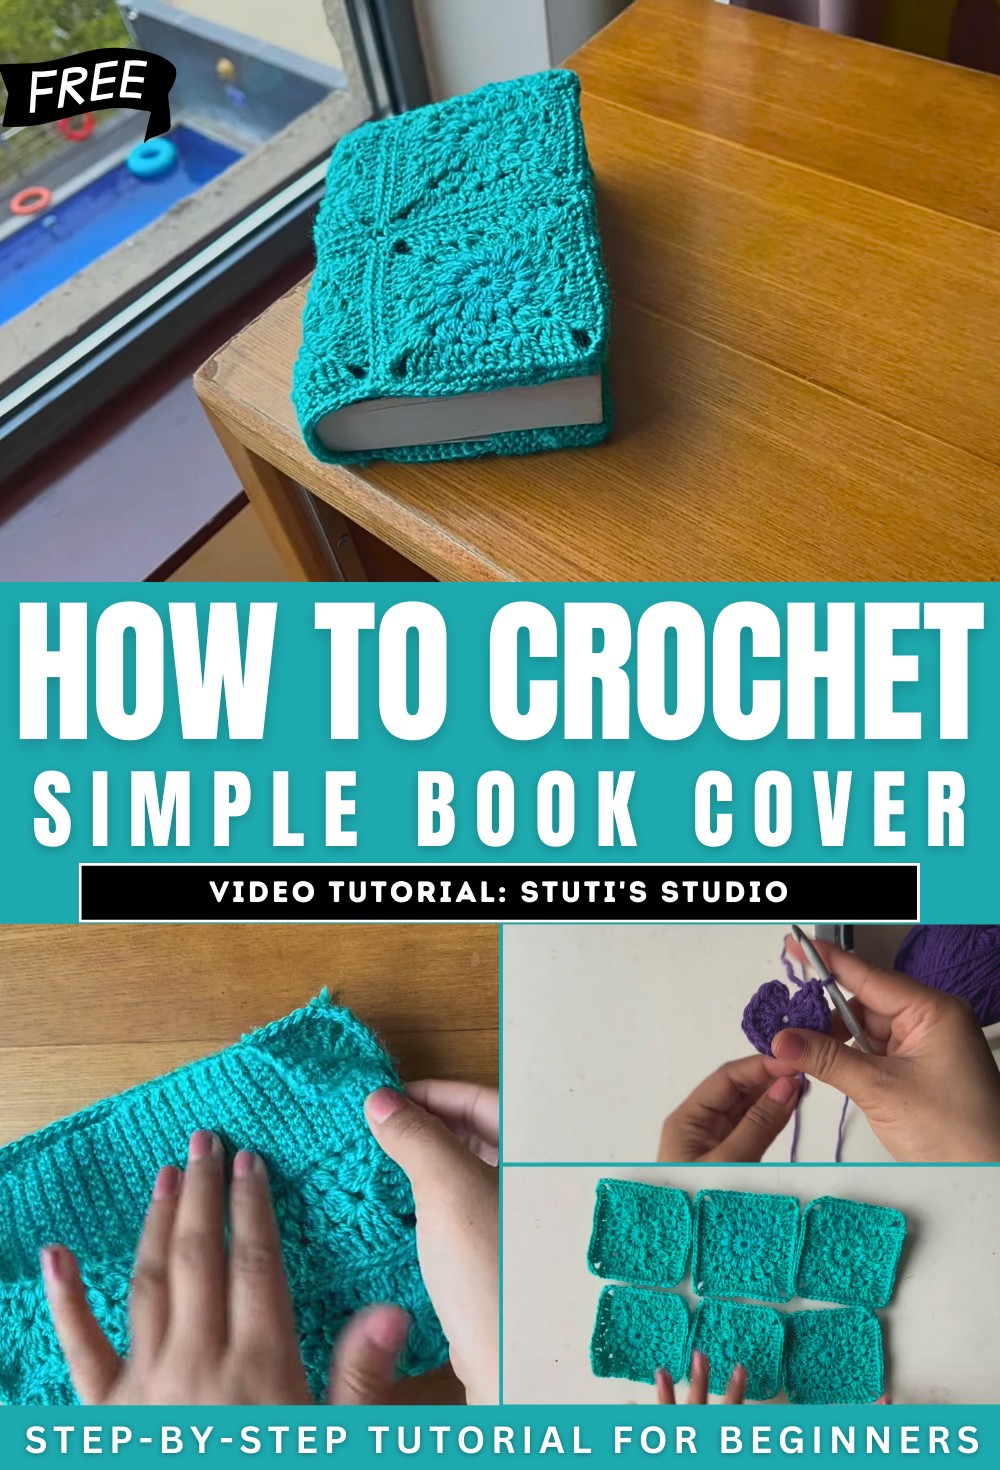
How to Crochet Book Cover with Floral Squares
Learn how to crochet a beautiful crocheted book cover using Granny Squares with a step-by-step tutorial for beginners. The process involves crafting six Granny Squares with a magic ring, double crochets, and intricate petal-like textures. After completing the squares, they are joined together with a needle to assemble the cover. A simple strap is crocheted with chains and single crochets and sewn to secure the book in place.
The final design is both functional and decorative, ideal for protecting or styling your books. The tutorial is clear and beginner-friendly, with options for customization and references to slower, detailed videos. So, follow through with us for the complete tutorial.
Crochet Book Cover Tutorial
This tutorial walks you through the complete process of making a beautiful and elegant crocheted book cover using Granny Squares. Below is an organized summary of the steps explained in the video:
Introduction
- The creator introduces the crochet book cover, previously uploaded as a YouTube Short.
- Based on requests, this full-length tutorial was created to guide viewers step by step.
- The project involves making six Granny Squares, joining them, and adding a strap to create a functional and decorative book cover.
Creating the Granny Squares
The tutorial demonstrates the process of making six Granny Squares. Although the stitch counts are not listed here, the structure of each square is described below:
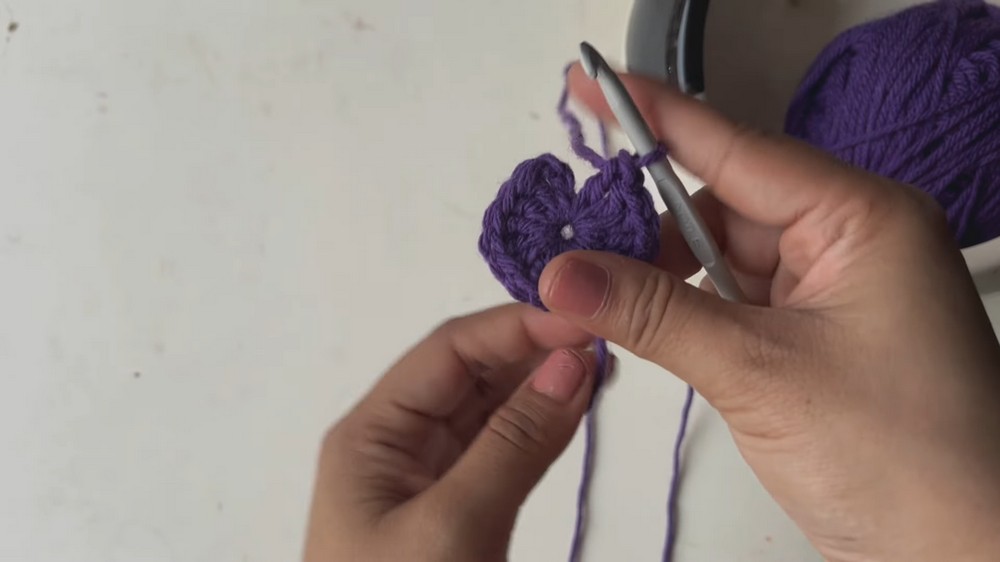
Step 1: Setting up the base
- Begin with a magic ring and foundational chains to create a circular base for the square.
- Close the base with a slip stitch to prepare for adding texture.
Step 2: Adding texture with “petals”
- Create a series of textured stitches, arranged into small “petals,” to decorate the square’s pattern.
- End each round with a slip stitch for a neat finish.
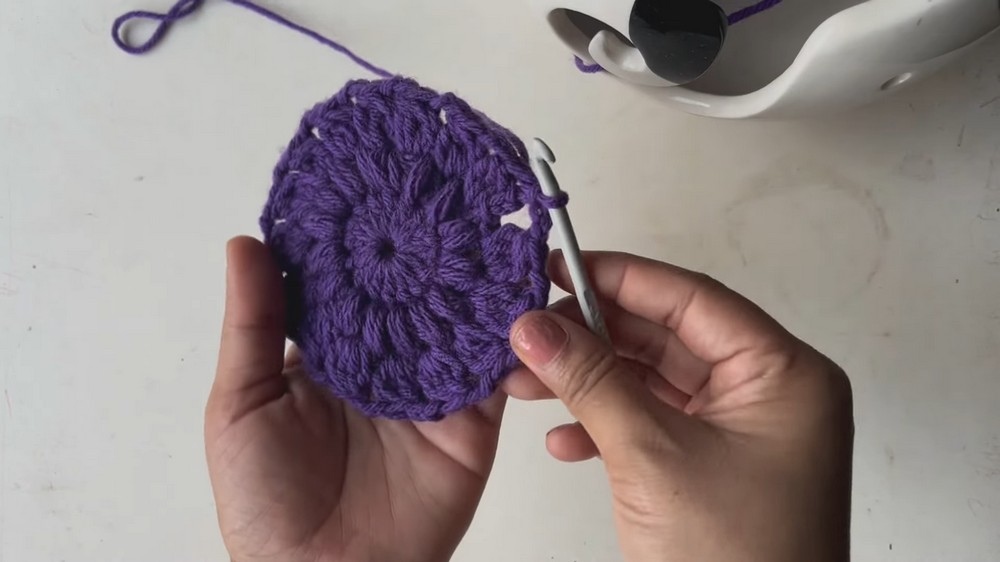
Step 3: Building dimensional design
- Further rounds add height and complexity to the design using layers of yarn-overs and chains, creating patterns that resemble intricate textures.
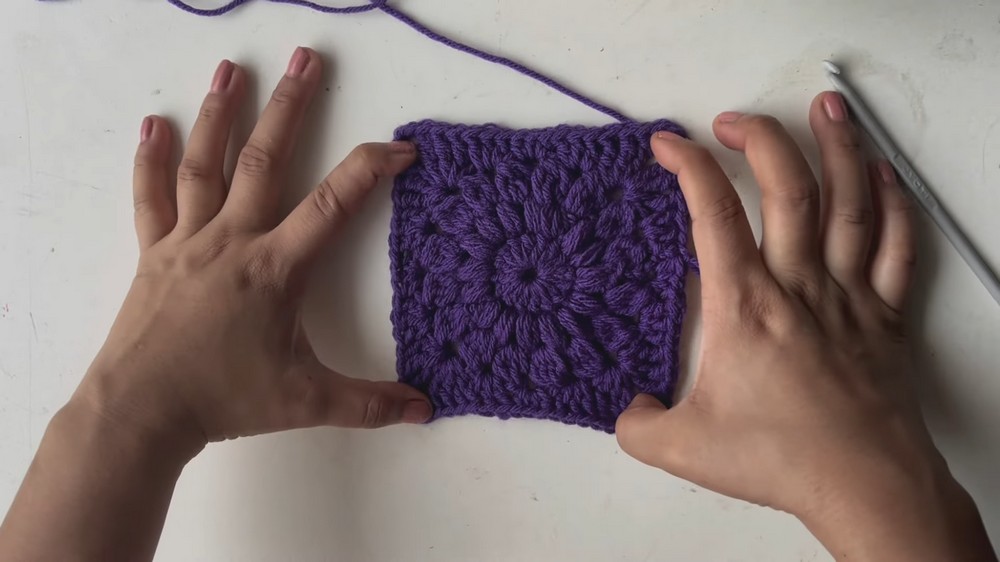
Step 4: Forming corners and completing the square
- The final round includes specific stitches to add corners, transforming the circular base into a square shape.
- Each square is finished with a slip stitch, ensuring clean edges.
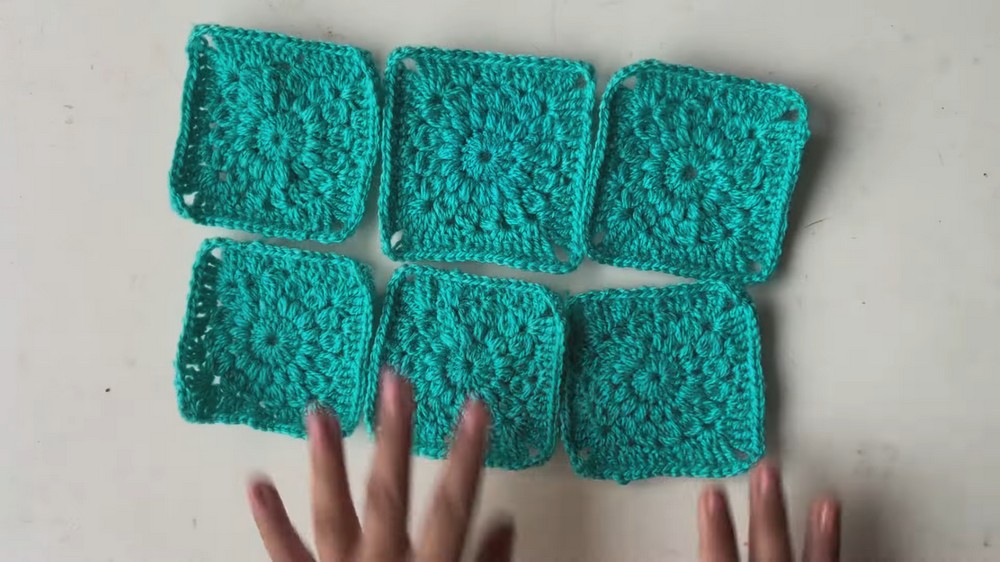
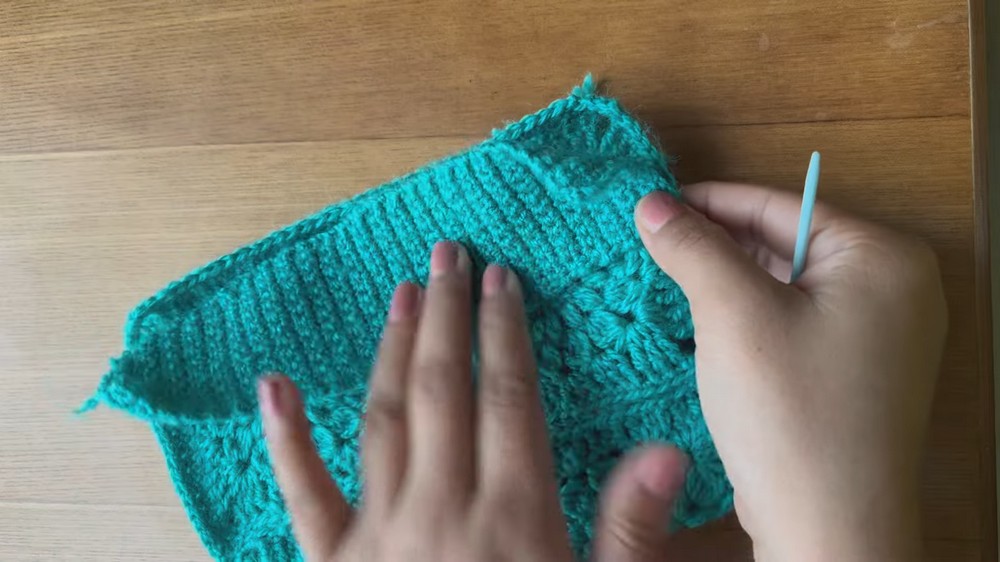
Joining the Granny Squares
- Once the six Granny Squares are complete, they are joined together using a needle.
- The creator gives detailed instructions for alignment to ensure precision and a seamless finish.
- Viewers are encouraged to add more squares if they wish to make a larger book cover.
Creating and Adding the Strap
- A strap is crocheted separately to hold the book securely.
- The strap consists of chains followed by single crochets for a sturdy design.
- It is sewn to both sides of the Granny Squares.
Final Assembly
- The strap is carefully aligned with the sides of the Granny Squares and securely sewn in place.
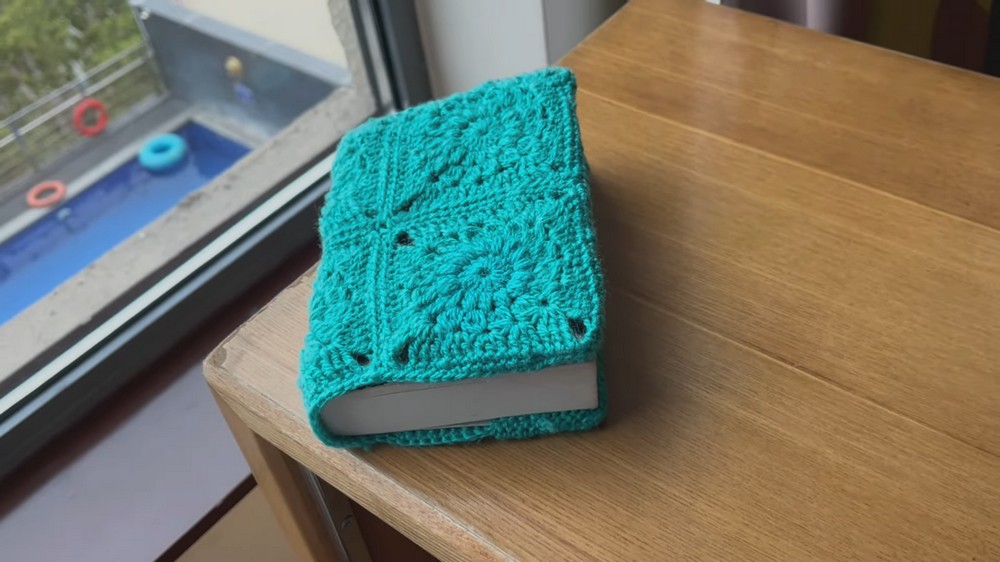
- Once the cover is flipped and adjusted, it creates smooth edges for a polished appearance.
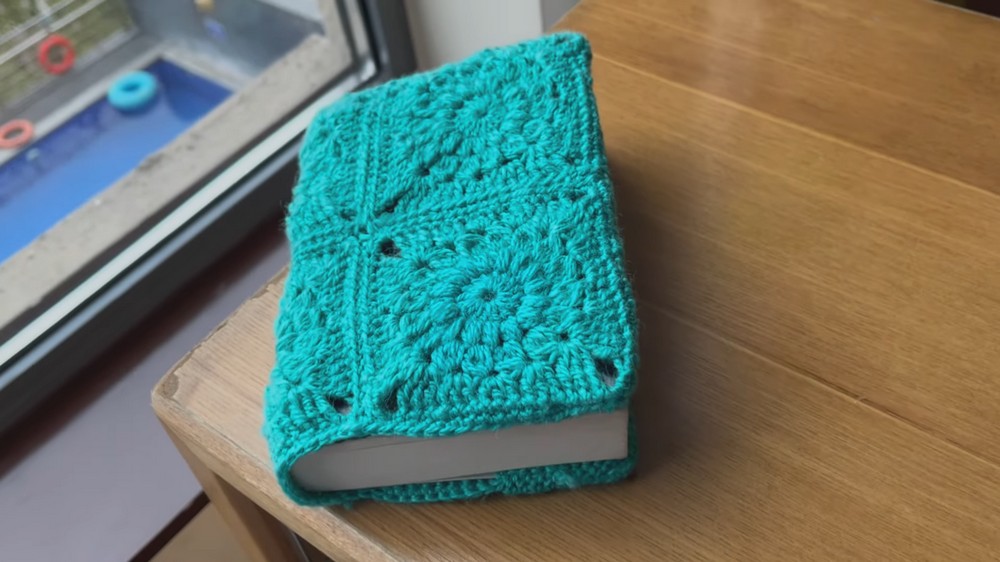
- The completed cover allows both ends of a book to slide snugly inside, offering protection and visual appeal.
Conclusion and Use
- The tutorial concludes by showcasing the finished product—a beautiful crochet book cover that can serve as both protection and decoration for books.
- The creator hopes viewers enjoyed the project and invites them to check out older videos for slower, detailed instructions if needed.
This tutorial is beginner-friendly and offers plenty of room for customization, making it a great choice for both new and experienced crocheters.