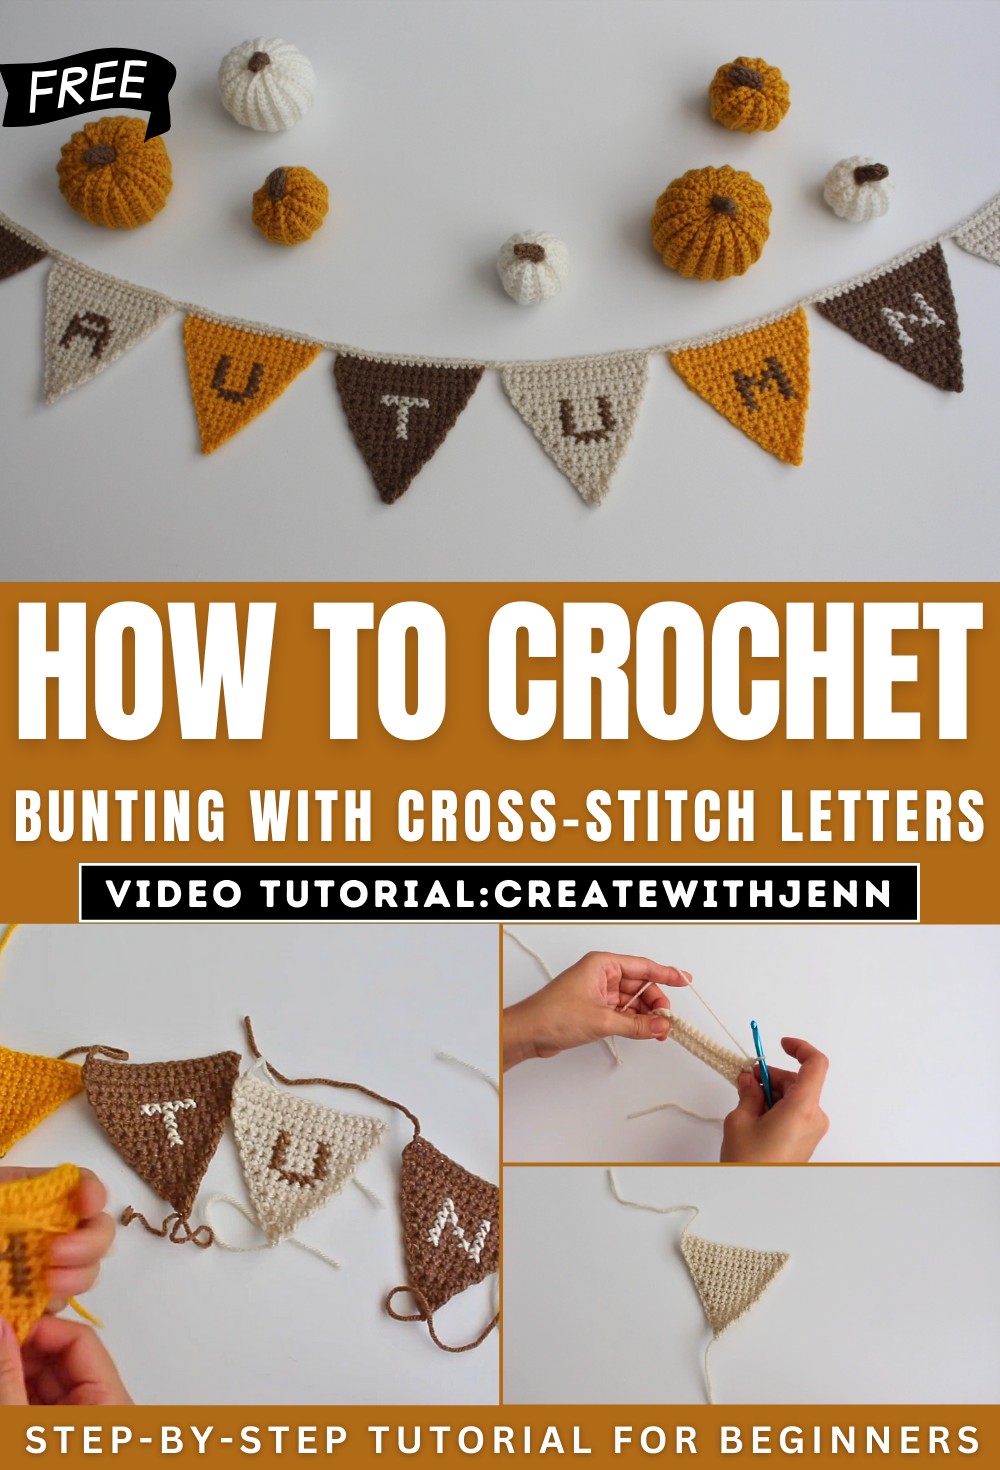
How to Crochet Bunting with Cross-Stitch Letters for Beginners
For your home decor for celebrations, learn how to create a crocheted bunting with cross-stitched letters, using Red Heart yarn and a 5mm crochet hook. The process begins by crocheting triangles, starting with a slip knot, chain stitches, and rows of single crochet that taper into a triangular shape. Letters are added using cross-stitch techniques with a tapestry needle, guided by a graph paper sketch.
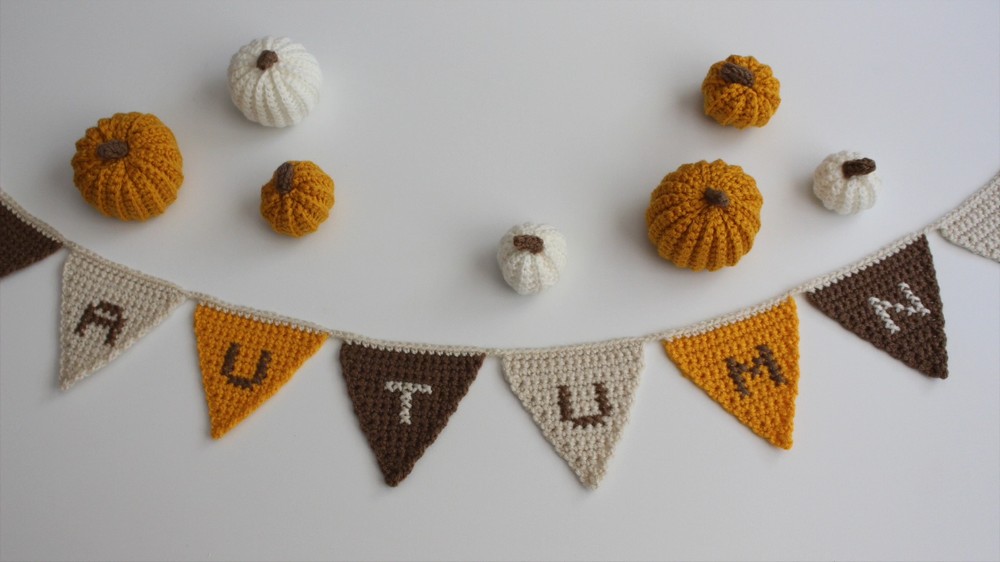
The triangles are then connected using chain stitches and single crochet to form a bunting, with ends neatly woven and trimmed. The finished bunting is ironed for a polished look and pairs beautifully with DIY crocheted pumpkins for festive décor. So, follow through with us for the complete tutorial.
How to Make a Crocheted Bunting with Cross-Stitch Letters
This tutorial provides step-by-step instructions for creating a cheerful crocheted bunting with cross-stitched letters. The project combines basic crochet techniques with simple cross-stitching, making it ideal for beginners or intermediate crafters looking to create festive décor. Below is a summarized breakdown of the process, divided into key steps.
Materials Used
- Red Heart yarn.
- 5mm crochet hook.
- Tapestry needle.
- Graph paper for letter sketches.
- Iron for the final touch.
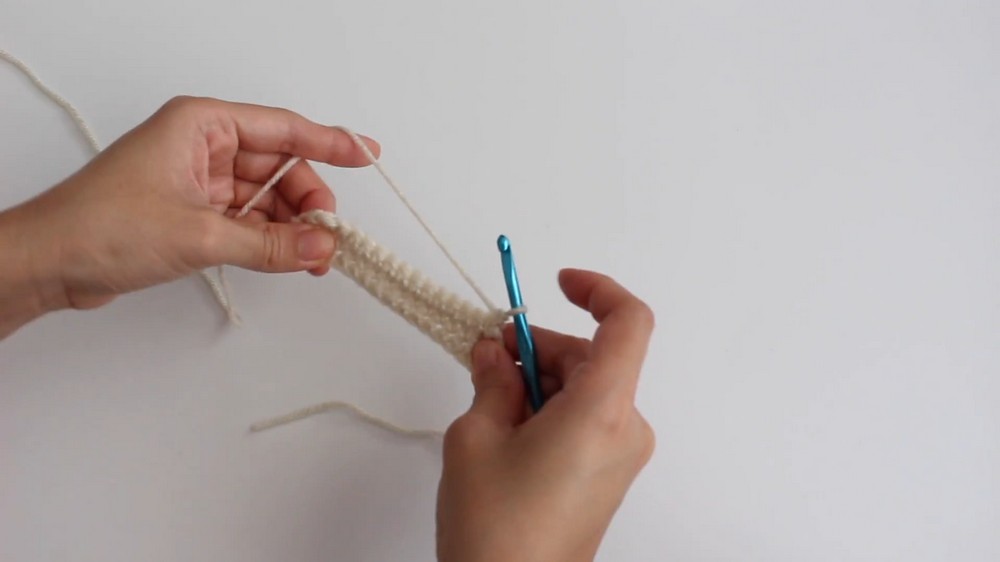
Step 1: Crochet the Triangles
- Learn the Basics:
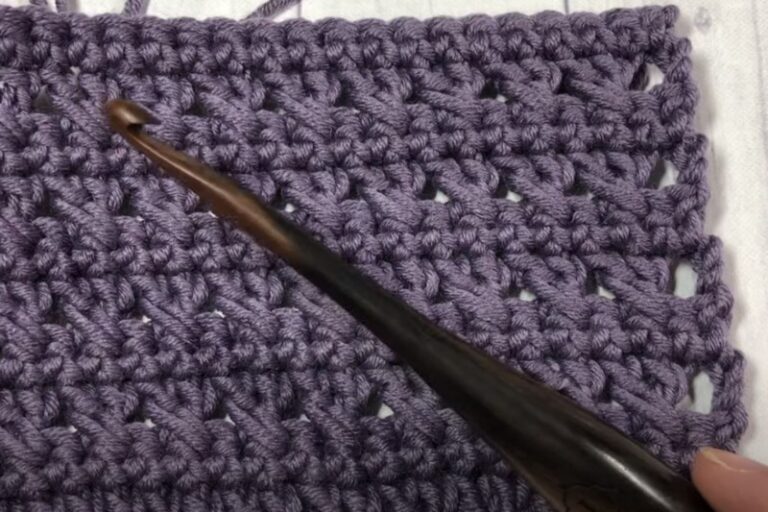
The triangles start with a slip knot. Follow the tutorial to understand the process of wrapping and looping the yarn to create the first chain stitch. Make additional chain stitches to form the base. - Create Rows:
After the base is complete, each row is crocheted with single stitches, gradually decreasing at the edges to taper into a triangular shape. The edges are kept neat by tugging the yarn to prevent curling. - Complete the Triangle:
Once the work narrows to the tip, finish with a chain stitch, cut the yarn, and pull it through the final loop. Repeat this process to create multiple triangles for the bunting.
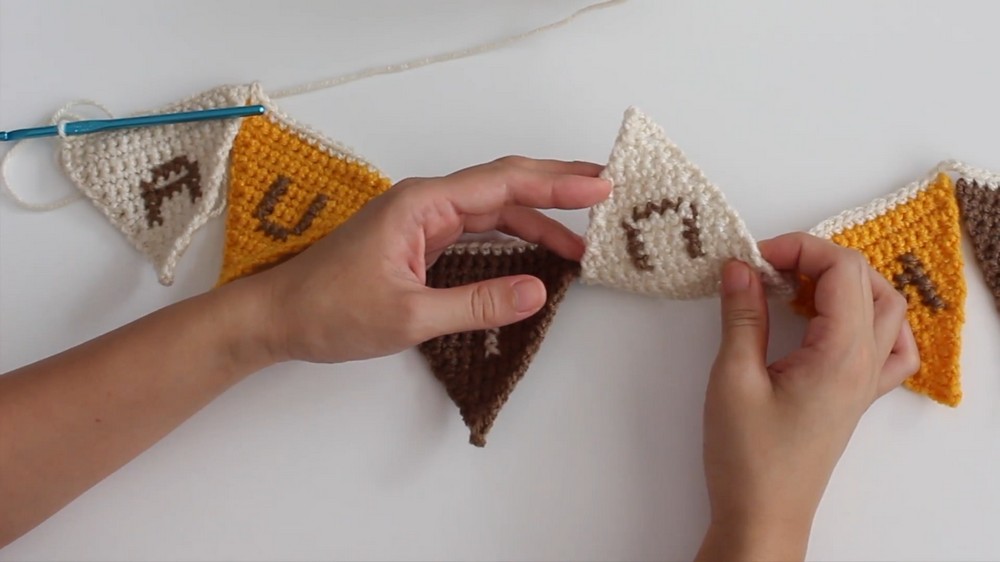
Step 2: Add Cross-Stitch Letters
- Create Guidelines:
To decorate the triangles with letters, draw a square at the center (6×6 holes) of each triangle. This serves as the outline for cross-stitching. - Sketch the Letters:
On graph paper, sketch out the letters you want to stitch onto the triangles. Each “X” stitch will correspond to a square on the grid. - Start Stitching:
Using a tapestry needle, insert the yarn from the back of the triangle and stitch “X” shapes to form the chosen letters. Tape can be used temporarily to hold the yarn in place, but it can be removed after completing the first stitch. - Secure the Ends:
On the back side, tuck the yarn ends under nearby stitches, tie knots for security, and trim any excess yarn. This ensures tidy, durable cross-stitch lettering.
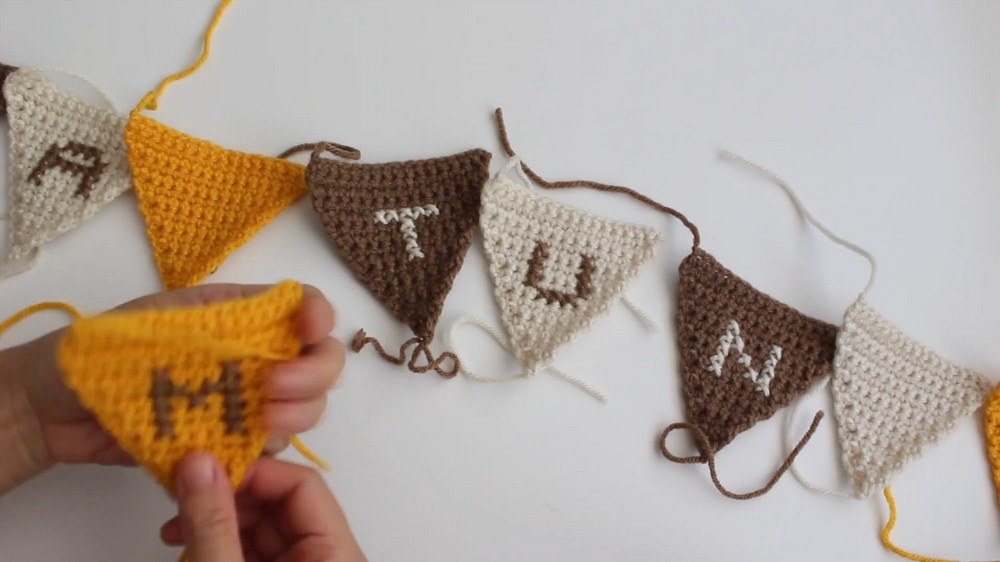
Step 3: Connect the Triangles
- Create a Chain:
Begin by making a slip knot with your yarn, followed by chain stitches to form a base to attach the triangles. - Attach Triangles:
Align the top edge of each triangle with the chain base and secure it with single crochet stitches. Continue creating chain stitches in between triangles to keep them evenly spaced. - Finish the Bunting:
After attaching the last triangle, add extra chain stitches to the ends for hanging. Secure the yarn ends by weaving them into the stitches and trimming the excess.
- Iron the Bunting:
To give the bunting a polished look, iron both the front and back of the triangles gently.
Project Inspiration
The completed bunting pairs beautifully with other handmade items, such as crocheted pumpkins, creating an engaging and festive atmosphere for seasonal décor. This versatile craft is a delightful way to personalize your space.