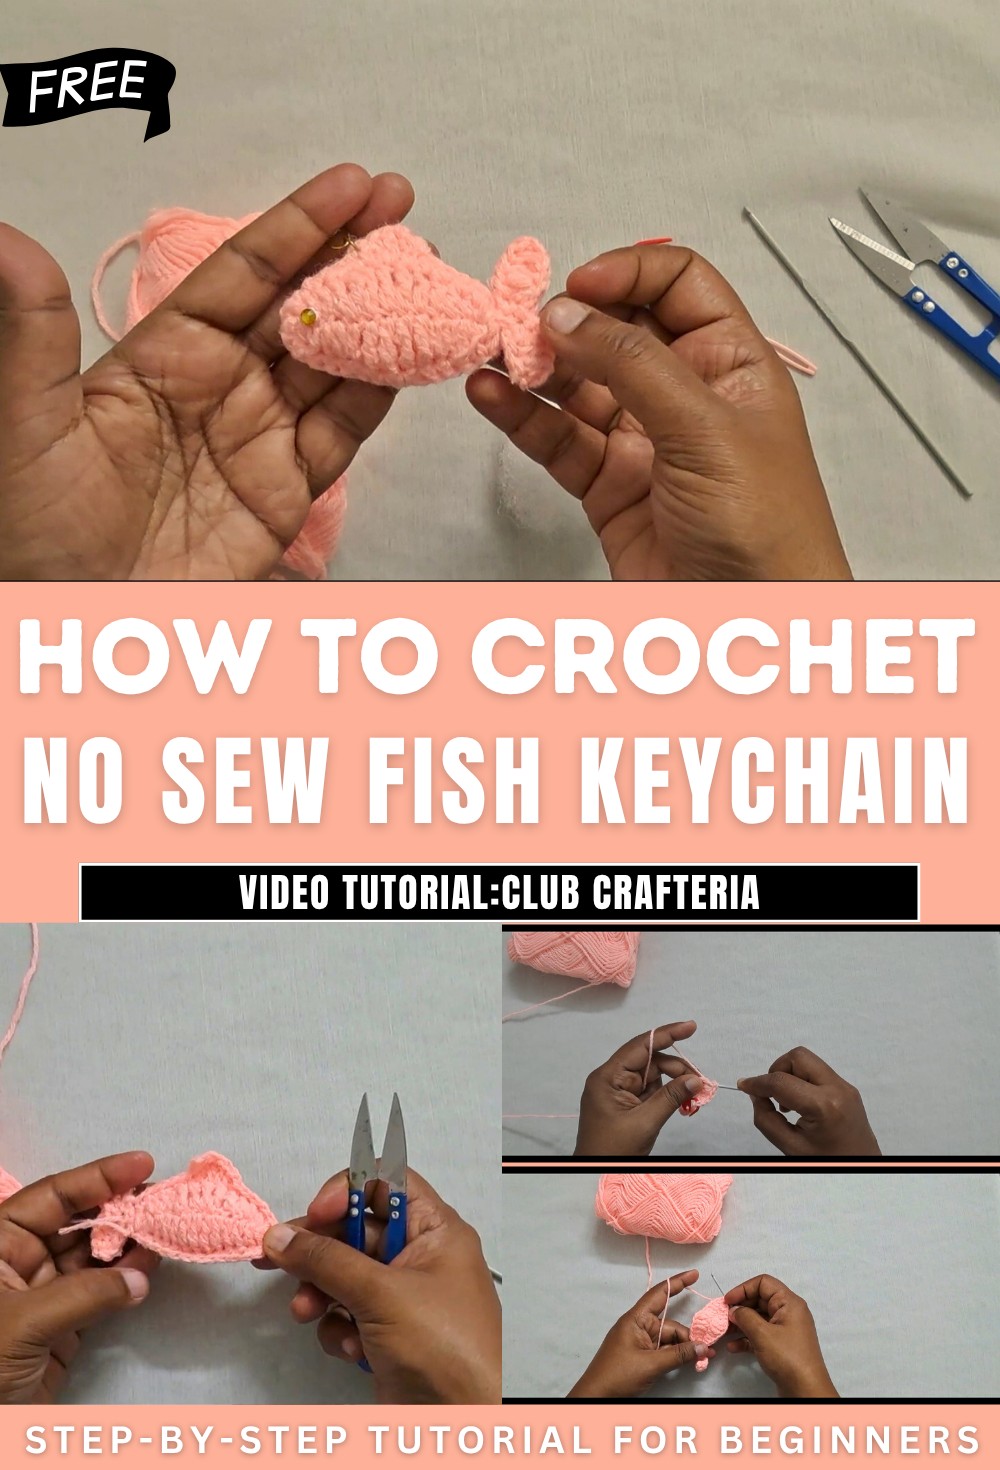
How to Crochet No Sew Fish Keychain for Beginners
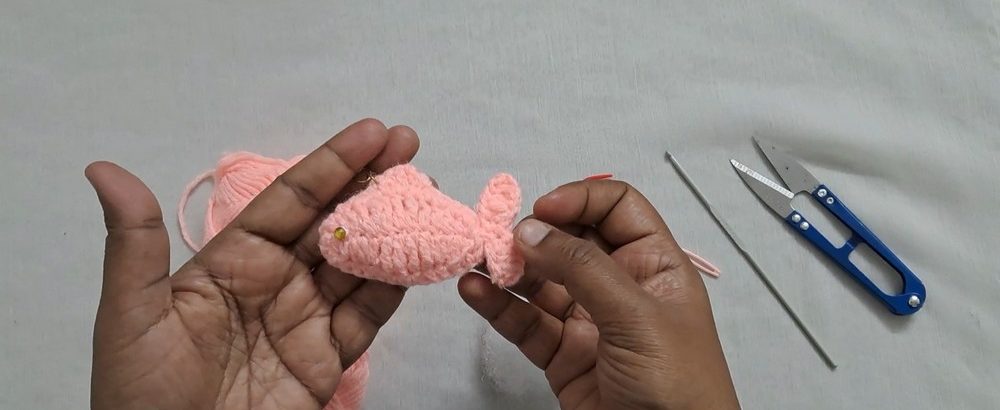
Discover how to create a charming no-sew fish keychain using basic crochet techniques, perfect for beginners. The tutorial also guides you on adding final touches like slip stitches, eyes, and assembling the piece into a vibrant handmade keychain. Follow through with us for the complete tutorial to crochet this fish keychain!
Free Crochet Fish Keychain Pattern
Materials
- Cotton yarn – Small amounts in your desired color
- Hook: 2.5–3.5 mm (match to yarn weight for tight amigurumi work)
- Stuffing: Polyester fiberfill or scrap yarn
- Yarn/tapestry needle: For sewing/weaving in ends
- Scissors
- Stitch marker: (optional, for first sc)
- Keychain ring
- Small safety eyes, beads, or black thread for eyes
Abbreviations (US Terms)
- ch – chain
- sc – single crochet
- hdc – half double crochet
- dc – double crochet
- tr – treble (triple) crochet
- sl st – slip stitch
- st(s) – stitch(es)
- rep – repeat
- inc – increase (2 sc in same st)
Special Notes
- The pattern is worked flat in rows and then assembled to create a double-sided fish.
- To keep shapes neat, use a fairly tight tension.
- Instructions use “join both sides” when working through both corresponding sts to join two body layers.
- This project is worked in a single piece; no separate sewing for fins or tail (other than attaching eyes and keychain).
Pattern
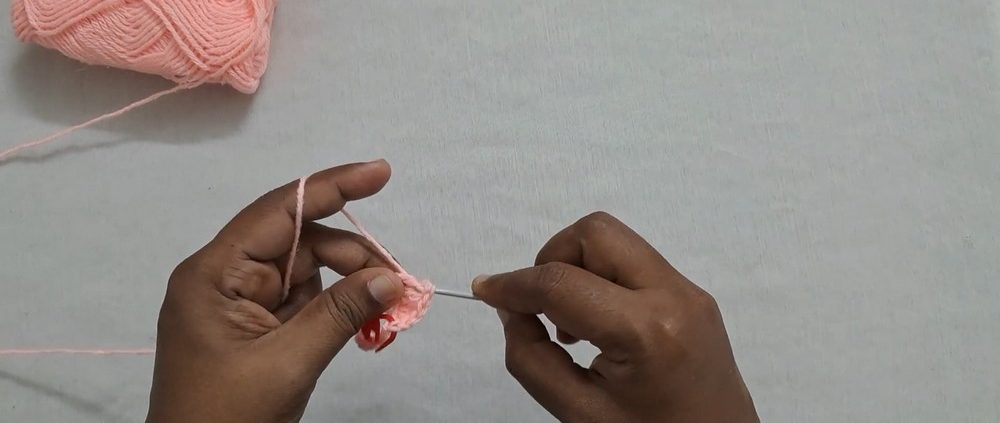
Fish Tail (First Side)
- Ch 7.
- Working in 2nd ch from hook:
- Row: sc, hdc, dc, dc, hdc, sc (6 sts; working back toward base of chain).
- Ch 7.
- Repeat tail sequence in 2nd ch from hook:
sc, hdc, dc, dc, hdc, sc. - Join lower corners of both tail sides with sc.
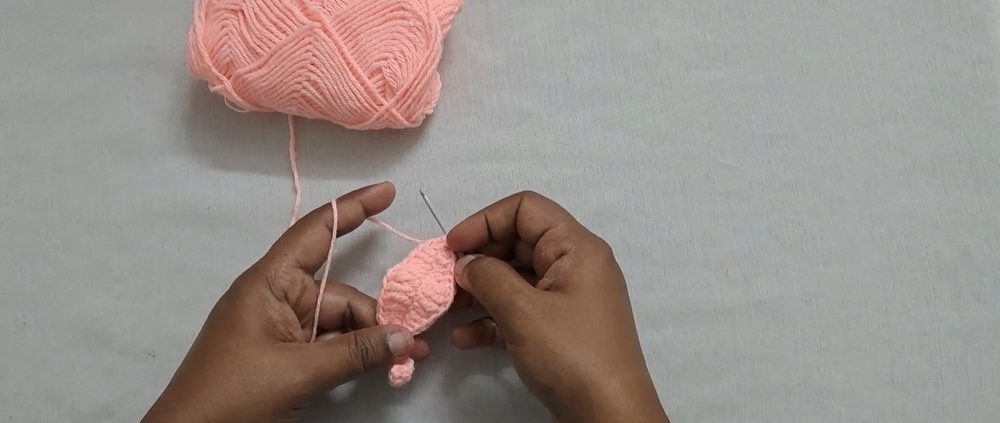
Fish Body (First Side)
- Ch 15.
- Working in 2nd ch from hook across:
- sc in first st, hdc in next st, dc in next 3 sts, tr in next 4 sts, dc in next 3 sts, hdc in next st, sc in last st (15 sts).
- Without turning, rotate to work on opposite side of the foundation chain.
- sc in first st, hdc in next st, dc in next 3 sts, tr in next 4 sts, dc in next 3 sts, hdc in next st, sc in last st.
Fish Body (Second Side)
- Ch 15.
- As before, working in 2nd ch, repeat the shaping:
- sc, hdc, dc x3, tr x4, dc x3, hdc, sc (work down chain), then on opposite edge, repeat sc, hdc, dc x3, tr x4, dc x3, hdc, sc.
- After both body sides are complete, align the sides together.
- With hook still attached, begin joining the edges using sc through both sides, one pair of sts at a time, to the head/mouth area.
- Stuff lightly with fiberfill before fully closing the body.
Fins (Wings)
- At the “neck” area, ch 1, hdc in next st (joining both sides),
- In the next st, work 2 dc (through both sides) in same st.
- In next st, work tr (through both sides), ch 4, sc into same st (this forms the top fin).

Final Assembly
- Continue to sc through both sides down the body, working toward tail, joining sides securely.
- When reaching the tail, sc through both sides for 6 sts, closing the tail.
- Work sl st evenly around tail edges for a neat finish; fasten off.
- Weave in all ends.
Finishing Touches
- Attach eyes (sew, glue, or embroider).
- Attach keychain ring to tail or head as desired.
Conclusion
You have created a seamless, sturdy, and adorable fish keychain! This pattern is beginner-friendly and works entirely in one piece, needing minimal finishing. Use different yarn colors or add embellishments for customization.
Pattern Correction
- Be sure to work both sides of each foundation chain to achieve symmetry.
- Maintain stitch counts when joining sides to ensure neat alignment.
- Add stuffing before closing fully.
Tips
- For keychains, keep stuffing light for a flatter finish.
- Add a drop of glue to secure the keychain ring if needed.
- Use bright, contrasting colors for details or stripes for added character.