How to Crochet Easy Baby Romper for Kids

Learn how to crochet a soft, comfortable baby romper that’s beginner-friendly with a step-by-step tutorial for all skill levels. Using double knitting yarn and a 4mm crochet hook, the tutorial includes instructions for sizes ranging from newborn to 2 years. With detailed guidance, you’re shown how to complete the romper, add buttons, and customize belts, making it a perfect project for both beginners!

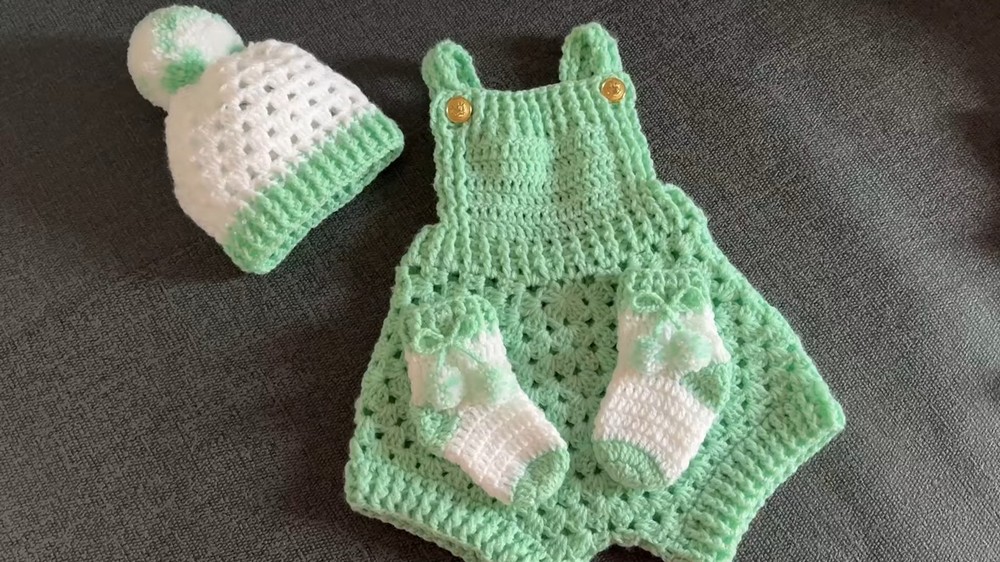
Crochet an adorable and comfortable baby romper, suitable for beginners. Using mint and white double knitting yarn, you can crochet sizes ranging from newborn to two years. It also covers creating matching accessories like baby hats and socks. With clear instructions, tips for finishing techniques, and adjustable sizing details, this guide is perfect for baby shower gifting.
Easy Baby Romper Crochet Pattern
Materials
- Yarn: Double knitting (DK) yarn, ~100g for main color, small amount for contrast/accents.
- Recommended Yarn Example: Color code CE-027 (Mint and White used in tutorial).
- Hook: 4mm crochet hook (or size to match gauge for DK yarn).
- Tapestry needle: For sewing and weaving ends.
- Scissors
- Stitch markers: (optional)
- Buttons: Two, 1–2 cm diameter recommended (can use up to 5 cm as preferred).
- Measuring tape (for sizing)
- Optional: Contrasting yarn for belt or decorative edges.
Abbreviations (US Terms)
- ch: chain
- sc: single crochet
- dc: double crochet
- sl st: slip stitch
- st(s): stitch(es)
- FPdc: front post double crochet
- BPdc: back post double crochet
- rnd: round
- rep: repeat
Special Notes
- Pattern is written for 0–6 months; numbers for other sizes are included where relevant.
- Sizing:
- 0–3 mo: 8 rows for body squares, 6 rows for legs, 17 dc across bodice
- 3–6 mo: 9 rows for body squares, 6 rows for legs, 19 dc across bodice
- 6–12 mo: 11 rows for body squares, 7 rows for legs, 21 dc across bodice
- 1–2 yrs: 12 rows for body squares, 8 rows for legs, 23 dc across bodice
- For the most accurate fit, measure as you crochet and adjust the length or width as needed.
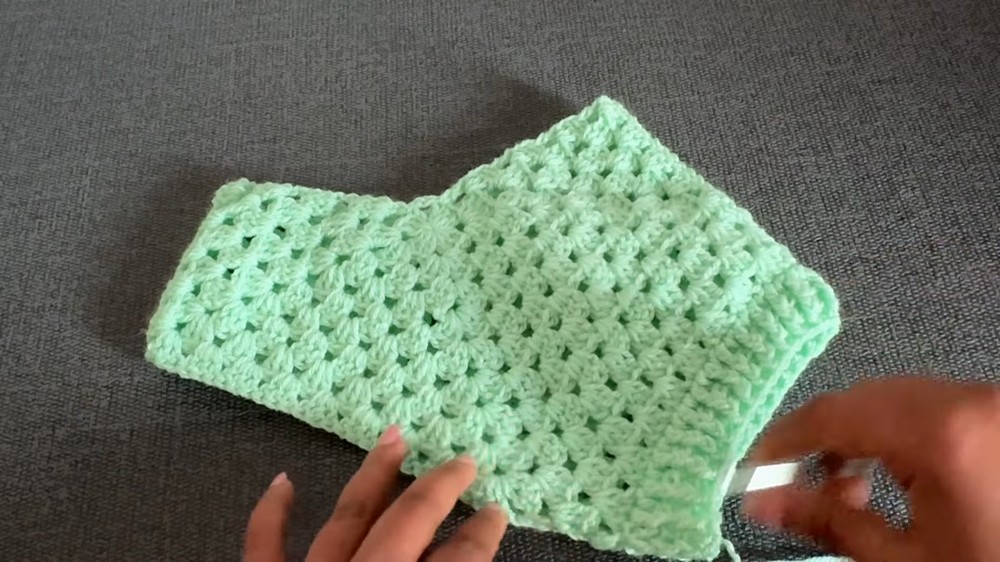
- This romper is constructed from two identical squares (front/back), joined at the sides. The legs, top, and belt are then added.
Pattern
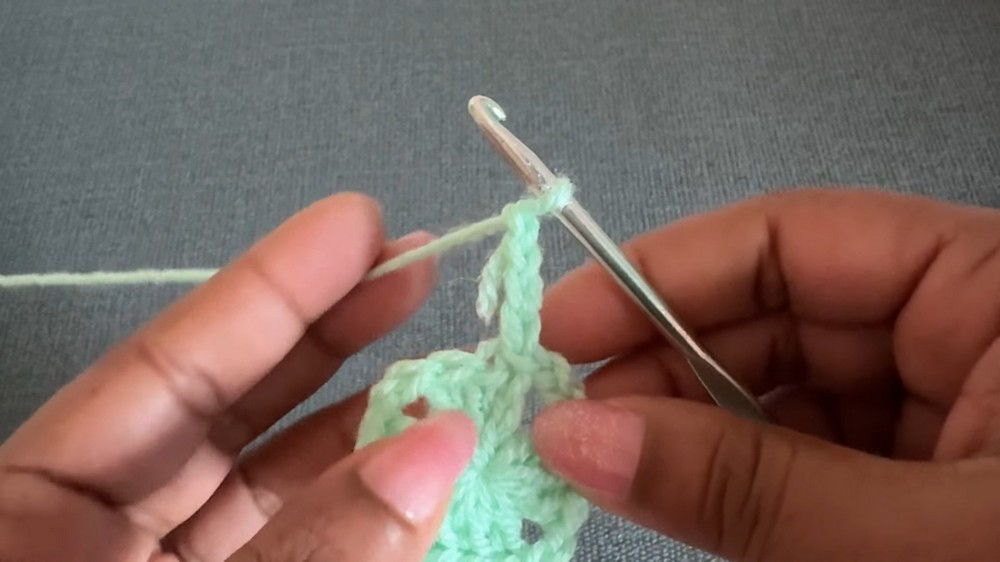
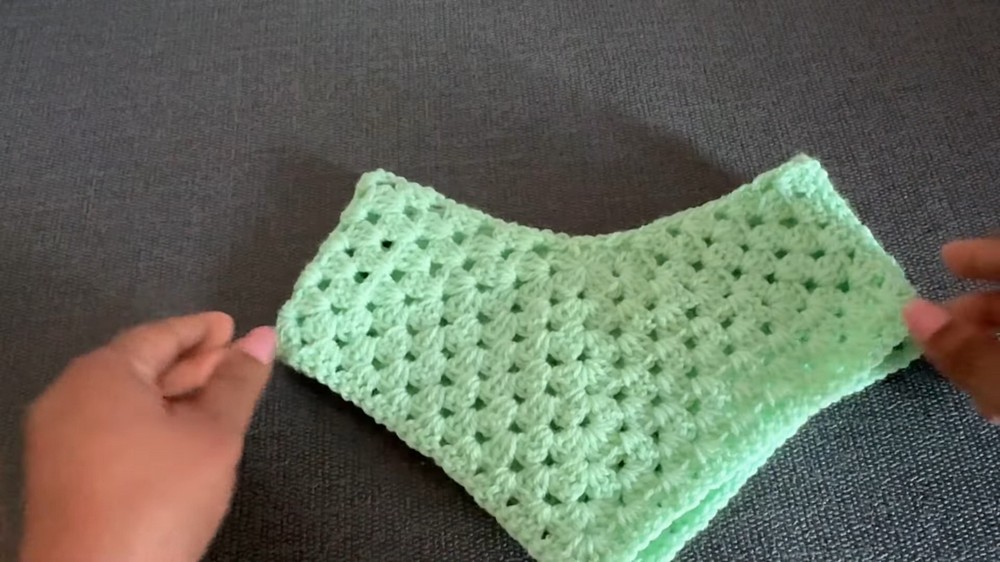
Step 1: Make the Base Granny Squares (Make 2)
- Start with a magic ring.
- Rnd 1: Ch 3 (counts as 1st dc), 2 dc in ring, ch 2, 3 dc in ring; rep from * to * two more times (total 4 corners), ch 2, join with sl st to top of starting ch-3. (You have four sets of 3 dc and 4 ch-2 spaces.)
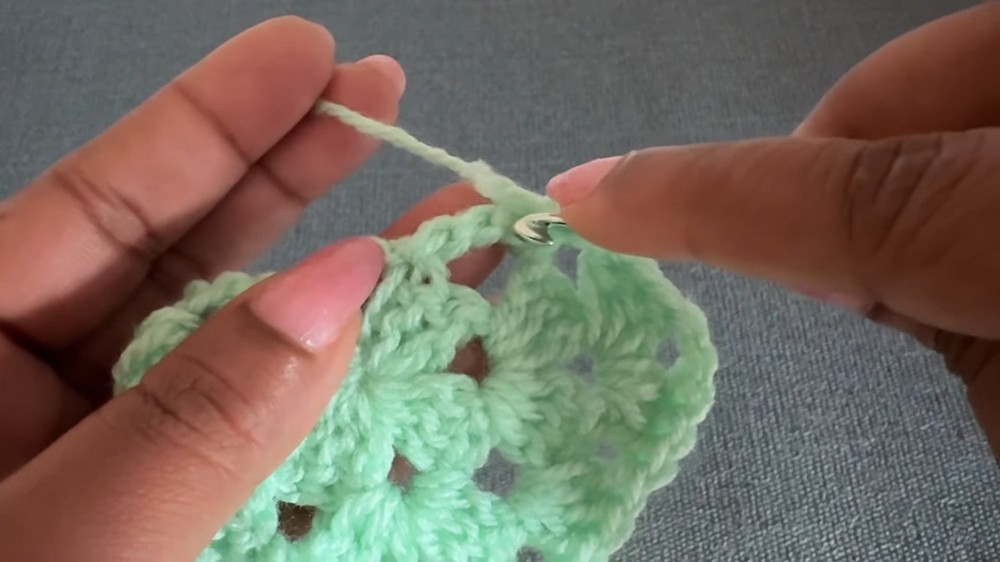
- Rnd 2: Ch 4 (counts as dc + ch-1), in next ch-2 space: 3 dc, ch 2, 3 dc (corner made), [ch 1, 3 dc in next ch-2, ch 2, 3 dc in same space]; repeat for other two corners; ch 1, join with sl st to 3rd ch of start ch-4.
- Rnd 3: Ch 3, 2 dc in same space, [skip 3 dc, in next ch-2 corner: (3 dc, ch 2, 3 dc), skip 3 dc, 3 dc in ch-1 space]; repeat around, ending with a sl st to starting ch-3.
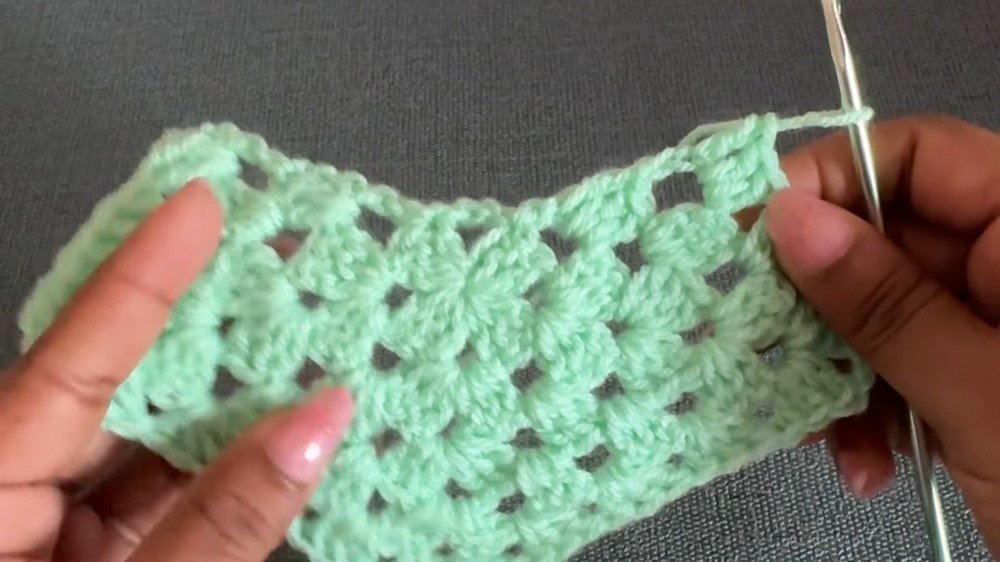
(Total: 3 clusters on each side between corners.) - Rnds 4–(for size): Continue in established granny pattern: Corners are (3 dc, ch 2, 3 dc) in each ch-2 space; 3 dc in each ch-1 space and between clusters. Alternate rows start with either ch-3 or ch-4 for edge straightening.
- 0–3 months: 8 rounds
- 3–6 months: 9 rounds
- 6–12 months: 11 rounds
- 1–2 years: 12 rounds
(Each round increases the square’s size. End after desired number of rounds for size.)
Fasten off, leaving a long tail for sewing seams.
Step 2: Join Sides
- Place squares with right sides facing out.
- Using a tapestry needle, sew sides together through the back loop of one piece and the front loop of the other to create a nearly invisible seam. Do not sew the top (shoulders) or the bottom (leg openings).
- Repeat for the other side seam. Secure and weave in ends.
Step 3: Create Leg Openings
First Leg:
- Join yarn to a corner ch-2 space between both panels at crotch.
- Rnd 1: Ch 3 (counts as dc), skip 3 dc, 3 dc in next space, continue in granny pattern in the round, working 3 dc in each space, corners as needed. When you reach the corner joining front and back, sometimes you will need to work a dc spanning both corners to close gap.
- Complete round, join with sl st to starting ch-3.
- Rnds 2–4: Ch 3, continue as established—3 dc in each space—joining and rounding as needed. For larger sizes, add more rounds as indicated.
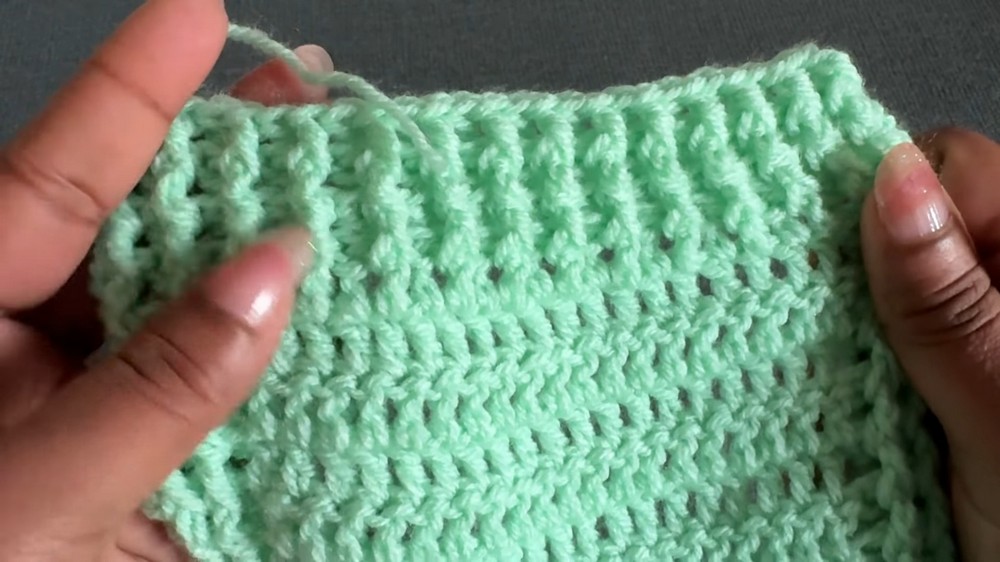
- Rnd 5: (Cuff) Ch 3, FPdc in next dc, BPdc in next dc, to end of round; join.
- Rnd 6: Ch 3, work FPdc into each FPdc, BPdc into each BPdc, to end of round; join.
- Fasten off.
- 0–6 mo: 6 leg rounds; increase rounds for larger sizes.
Second Leg:
- Repeat as above for the second leg from the other crotch opening.
Step 4: Waistband/Top Edge
- Join yarn at any waist seam.
- Rnd 1: Ch 3, 2 dc in each st/edge around waist (increase as needed to lie flat—use approx. 2 dc per row end). Join with sl st.
- Rnd 2: Ch 3, alternate FPdc and BPdc around (FPdc in FPdc, BPdc in BPdc). Join.
- Rnd 3: Repeat row 2.
- Fasten off and weave in ends.
Step 5: Mark and Create Bodice Front/Back
Strap/Bodice Panel Area:
- Mark the centre 19 double crochet for front panel (adjust to your size as per notes above).
- Row 1: Attach yarn to left marked st, ch 3, dc in each st across to right marker (19 dc for 3–6 mo; see notes for others).
- Rows 2–10: Turn, ch 3, (work FPdc, BPdc in each st as in previous cuffs), dc across.
- Adjust rows for desired height and your size.
- Fasten off. Repeat for back panel if desired.
Step 6: Belt/Straps
- Attach yarn to side seam at waist level or to corner just above leg.
- Ch 3, then work 5 more dc (total 6 dc for the width of the belt).
- Turn, ch 3, (work FPdc in FPdc, BPdc in BPdc) across.
- Continue for 22 rows, or as long as needed for a strap to go over the shoulder and fasten at the back. Fasten off.
- Repeat for the second belt/strap on the other side.
Step 7: Finishing Touches
- Buttons: Sew buttons on the back or at front waistband where appropriate (buttonholes not needed, as the belt/strap dc spaces can function as buttonholes).
- Weave in all ends securely.
- Block piece if needed to set shape.
Conclusion
You have now completed an adorable, soft, and practical baby romper! This versatile design allows for size adjustments from newborn up to 2 years. The pattern is worked mostly in double crochet (with basic granny square structure) and is beginner-friendly.
Pattern Correction
- Be sure to match stitch counts when joining panels and working in the round.
- Check sizing as you go—add or subtract rounds on main panels/legs/straps as needed for the baby’s measurements.
- Always check that the leg and waist openings will fit comfortably by measuring against existing clothing if possible.
Tips
- For best comfort, use soft DK-weight cotton or cotton blend yarn.
- Use contrasting colors for stripes, belt, or cuffs for a custom look.
- If using larger/smaller buttons, ensure they will fit through the spaces between stitches.
- Make a matching hat or booties for a complete set.