Easy Free Crochet Crochet Bags With Flowers
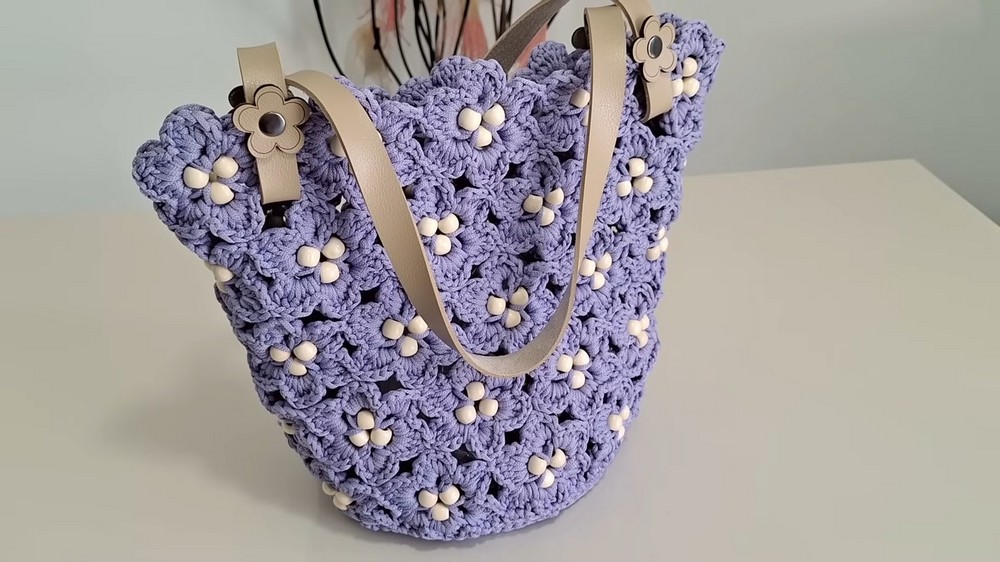
Learn how to create a stunning handmade bag named “Margarida,” featuring daisy-like flowers made with 150 wooden beads and 3 mm polyester thread in “Digital Lavender” color. The tutorial covers every detail, from crocheting petals to assembling the bag with decorative strips and a sturdy base. Lany also provides tips for finishing touches and attaching elegant straps. This detailed guide ensures beginners and experts can craft a unique, stylish bag.
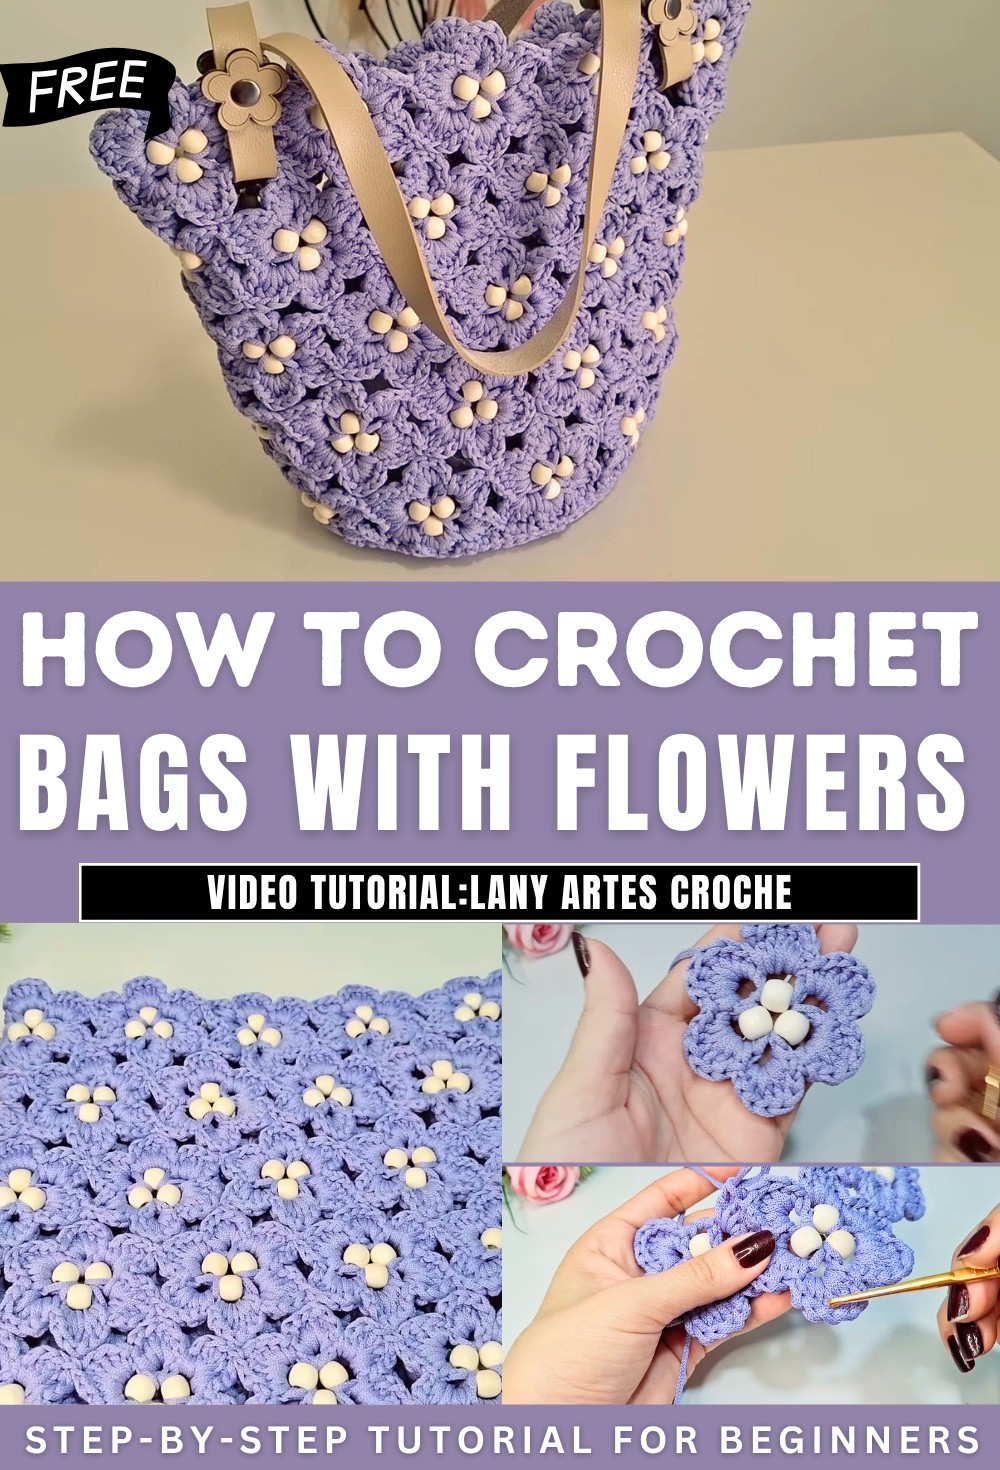
Daisy Flower Bag Free Crochet Pattern
Materials
- Yarn: 3 mm polyester cord (e.g., Fisher’s Poly Yarn, Digital Lavender color), 2 skeins (220m each)
- Crochet Hook: 3.5 mm
- Tapestry (Yarn) Needle: For sewing and finishing
- Wooden Beads: 150, 12 mm diameter, large hole preferred
- Bag Base: 29 cm diameter, with 80 holes (or similar; adjust accordingly)
- Bag Straps: Daisy-patterned, 65 cm long, 2 pieces with button system (optional)
- Scissors
- Lighter: For sealing thread ends (optional, use caution)
- Sewing Needle & Thread: To attach strips (use color closest to the yarn, or invisible thread)
- Measuring Tape: To ensure panel and bag sizing
Key Abbreviations (US Terms)
- ch: chain
- sc: single crochet
- hdc: half double crochet
- dc: double crochet
- sl st: slip stitch
- st(s): stitch(es)
- rep: repeat
Special Notes
- Flowers are joined as you go on the 5th and 6th petals.
- Wooden beads are incorporated into each flower center.
- Bag is assembled by sewing strips of joined flowers together in a staggered (offset) pattern.
- Measurements may vary depending on your yarn and tension. Use a tape to confirm strip lengths.
- The sample bag is approx. 36 cm wide, 30 cm tall.
Pattern
Daisy Flower Motif (Make 50 for 5 strips of 10 flowers each)
Center/Setup:
- Thread 3 wooden beads onto the cord, position them near the working end.
- Tie 2 tight knots to secure beads together, forming a triangle.
- Pass hook or needle through the center of the bead cluster.
Petal Loop Foundation:
- Attach yarn; ch 1 to secure.
- [Ch 3, sl st into center (between beads)] 6 times to create 6 loops (petal bases).
- Sl st into the base of the first ch-3 to close round.

Petal Rounds:
- (Work petals tightly for firm flowers.)
- For each ch-3 loop:
- Petal sequence:
- sc in loop
- hdc in loop
- 4 dc in loop
- hdc in loop
- sc in loop
- Move to next loop and repeat for a total of 6 petals/loops per flower.
- Petal sequence:
- At end of last petal, sl st in base, fasten off, weave in ends to back.
- Each finished flower should measure approx. 7 cm across.

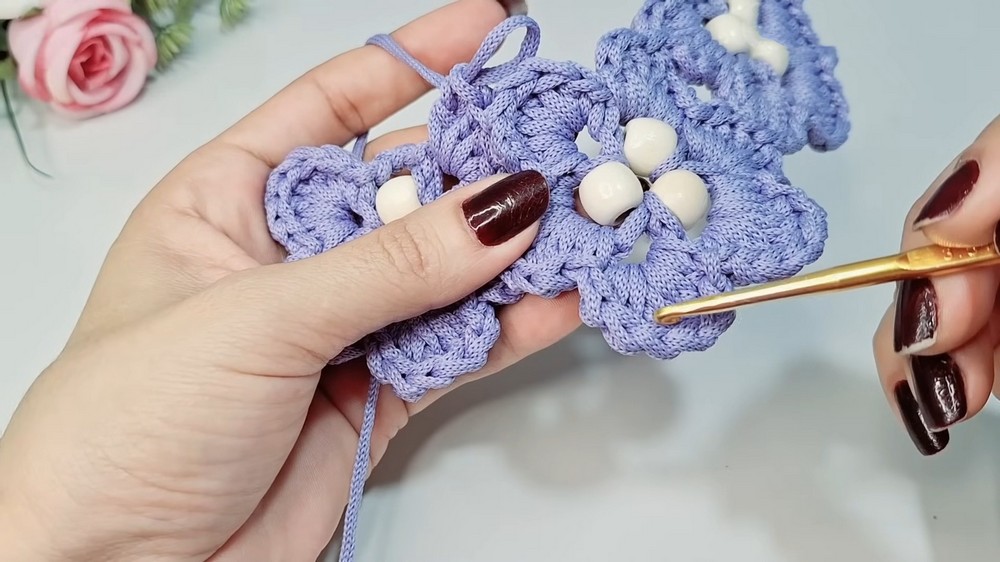
Joining Flowers (for creating strips of 10 flowers each)
- Complete 4 petals of the new flower as above. For the 5th and 6th petals, join to previous flower(s):
- At the second dc of the joining petal, remove hook/needle, insert through the corresponding flower’s petal (second dc), draw up a loop, ch 1 to secure, continue petal as normal.
- Do the same for both the 5th and 6th petals using the matching petals on the neighbor flower.
- Continue the final petals as above, fasten off, secure ends neatly.
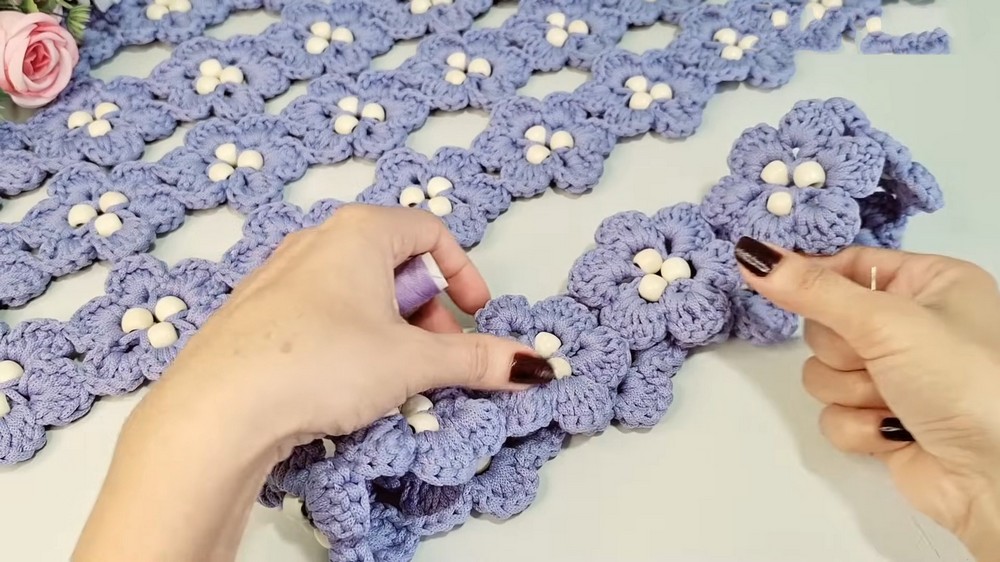
Constructing Strips
- Make 5 strips with 10 flowers each.
- Join as described, forming a flower chain of 10 daisies.
- Each strip should measure about 71 cm long and 7 cm wide (20 petals tall).
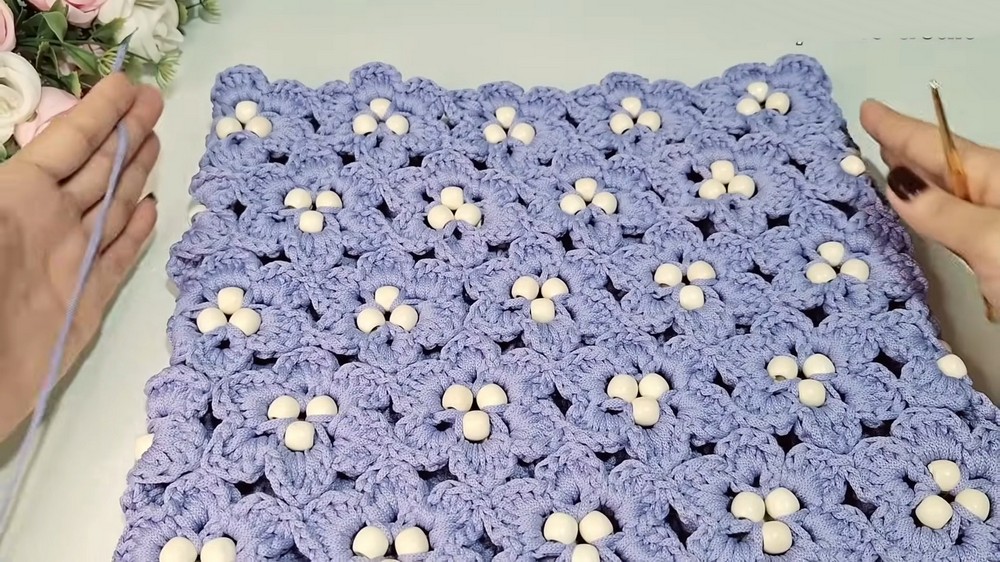
Sewing Strips Together
- Use sewing needle and matching (or invisible) thread.
- Lay two strips parallel and sew them together with petals from one strip interspersed (“offset”) between those of the next, fitting like a puzzle.
- Repeat to join all five strips, forming the body panel.
- Keep the right sides together (wrong side up while sewing) to hide seams.
Edge/Contour Row for Main Panel
- With main color, join yarn in the middle of any edge petal.
- Edge Stitch Pattern:
- On middle/outermost top of each petal: 2 sc
- On lower/sidest petal edges: 3 dc
- Continue around the full perimeter.
- For 10 flowers per strip (8 edge petals per flower), work 80 stitches total around to fit the bag base.
- Adjust if your base has more/less holes.
Main Panel Finishing
- At end of perimeter round: sl st to first st, ch 1.
- Next round: Work 80 dc evenly around.
- Fasten off: Use tapestry needle, weave in tail invisibly under stitches, seal end with a lighter if desired (use care).
Bag Base
Slip Stitch Attachment:
- Attach yarn at first hole of base, leaving a tail for closing.
- Work 80 sl st (1 per hole) around base edge.
- At end of round, join seamlessly with yarn needle and invisible fastening.
- Hide tail and seal with heat if desired.
Single Crochet Round:
- Work 1 sc in each sl st around (80 sc total).
- Fasten off with an invisible closure.
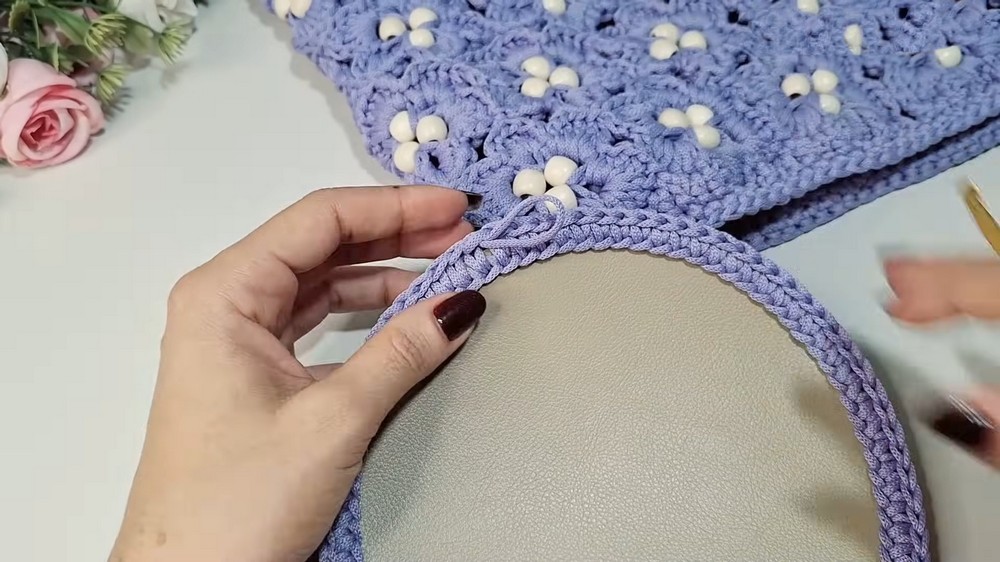
Joining Bag Body to Base
- Position the finished main panel (flower body) around the bag base, aligning 80 edge stitches to 80 holes.
- With yarn and hook, sl st or sc through BOTH layers (through front and base), working top to bottom.
- Move evenly around until fully joined.
- Fasten off securely on inside, weave ends and seal.
Finishing Bag and Attaching Straps
- Turn bag right-side out (if sewn on inside).
- Attach straps with the button system:
- Position so that three flowers are centered on the side for each strap, and two are on each corner.
- Insert buttons through flower openings or the strap system as shown.
- Add optional lining or closure as desired.
Conclusion
This daisy bag is a unique and vibrant statement piece, featuring assembled flower motifs and sturdy structure, perfect for spring and summer! By mastering the motif and assembly, you can customize size and colors for any look.
Pattern Corrections & Tips
- Tension: Work petals tightly for structure.
- Beads: Use large hole beads, or thread beads with a tapestry needle if needed.
- Joining: Pay careful attention when joining petals so finished flowers lie flat and the joints are tidy.
- Base Matching: Ensure stitch count matches bag base (adjust as needed around edge).
- Blocking: If needed, block finished strips lightly to even out size before assembly.
- Seaming: Always sew with wrong side out, then turn for clean seams.
- Securing Ends: Use a lighter to carefully seal synthetic cord ends (optional).
- Customization: Experiment with color combinations or alternative base sizes.