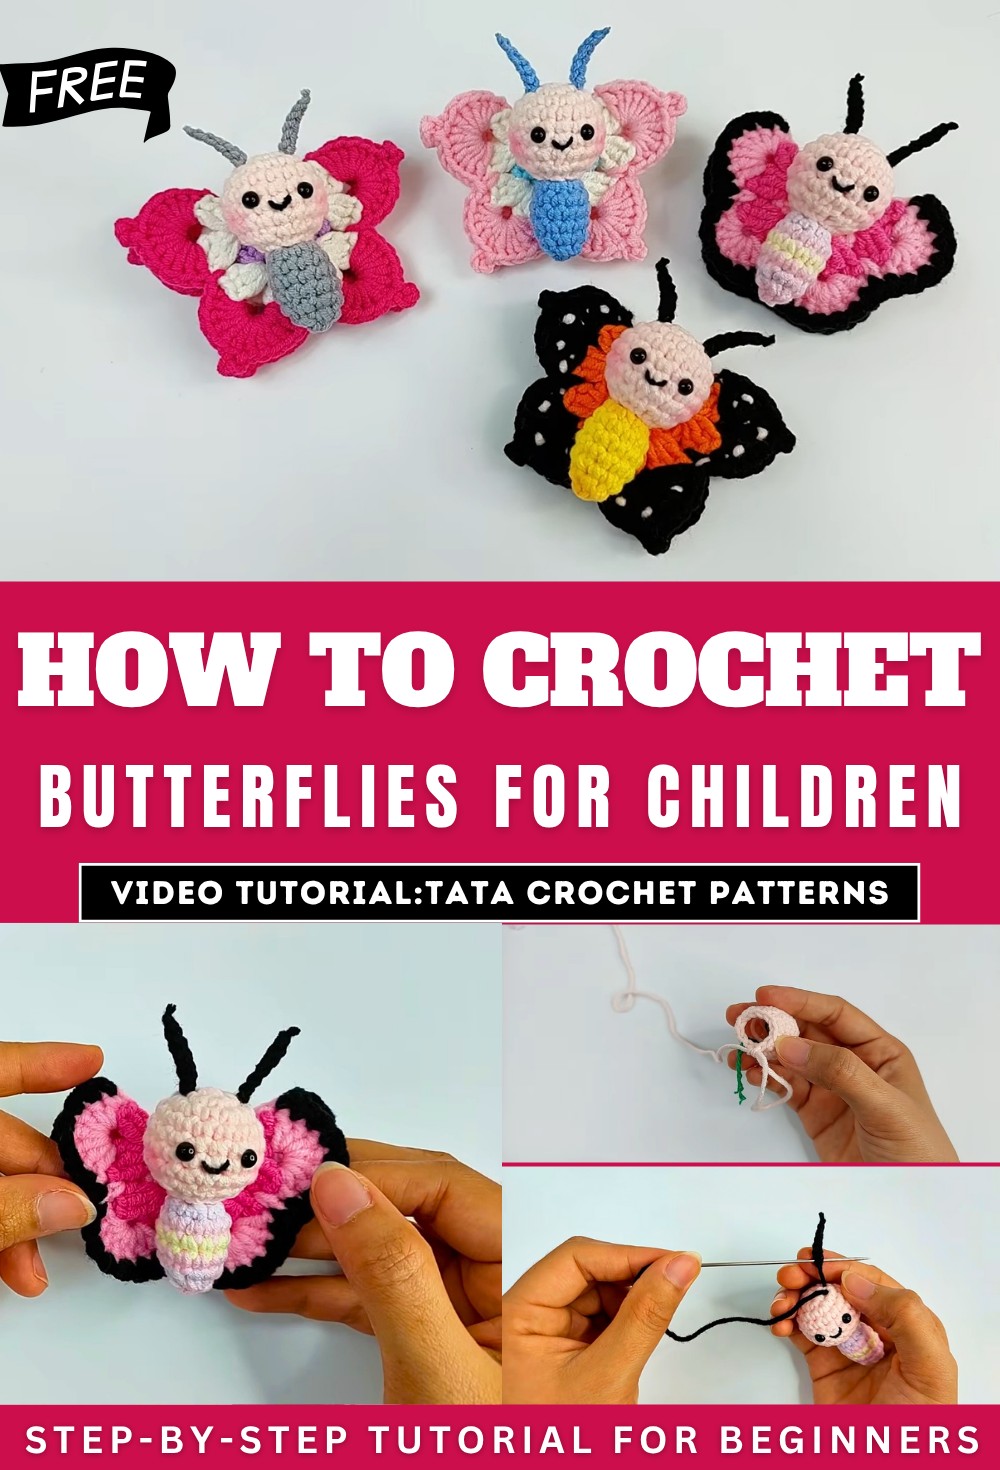
How to Crochet Butterflies for Children
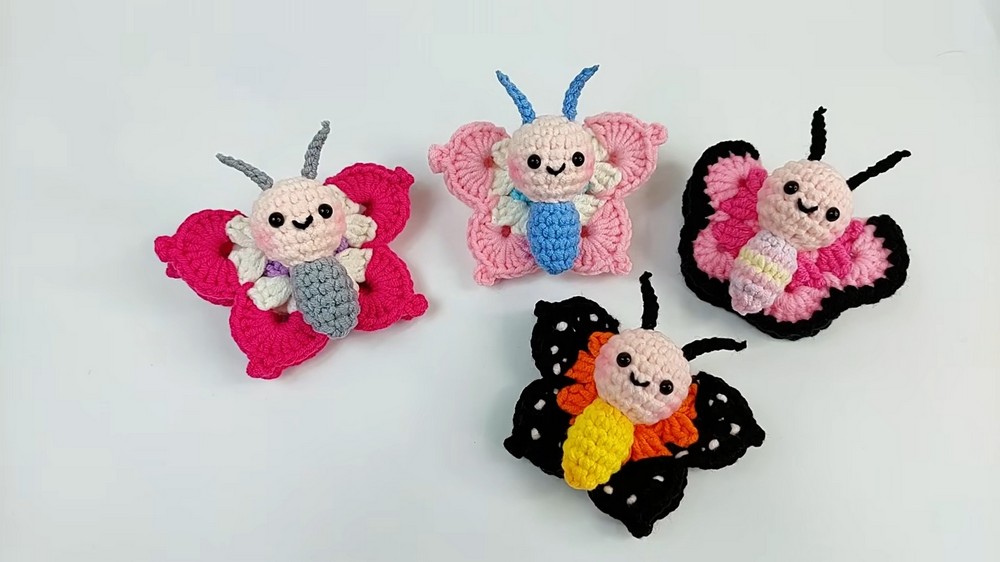
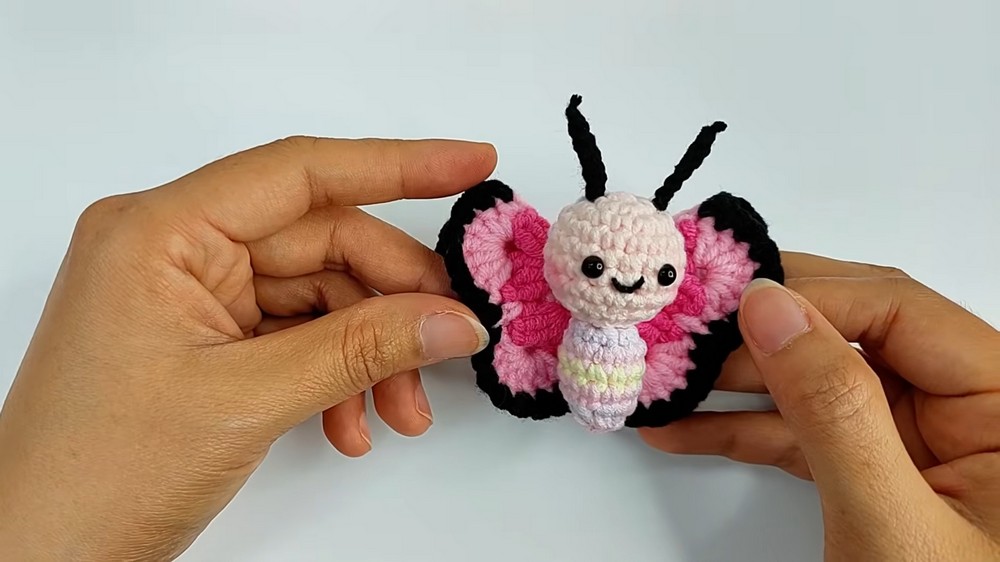
In this post, learn how to crochet an adorable butterfly amigurumi design, including its head, body, antenna, and wings, with a tutorial for beginners. The head begins with a magic ring followed by increases and single crochet rounds, while the body includes shaping with increases and decreases.
The antennae are made with basic chain stitches, and the wings are crocheted using double crochets and optional decorative styles.
The instructions are clear and include placement details, such as the positioning of eyes and sewing tips. So, follow through with us for the complete tutorial to crochet this mini butterfly.
Materials Needed
- Crochet hook (specific size mentioned for wings: 3.0 mm)
- Yarn in desired colors
- Stitch marker (optional, for tracking rounds)
- 5 mm safety eyes (to insert into the body)
- Stuffing material
- Scissors
- Tapestry needle (for sewing and weaving in ends)
Creating the Head
This segment explains how to crochet the head of the amigurumi:
- Begin with a magic ring, using single crochet stitches to create and expand the base shape.
- Continue with rounds of increases to widen the shape, alternating between single crochet and increase stitches.
- Work even rounds with no increases to maintain the shape.
- Decreases are used toward the end to close the shape.

Adding Eyes
- The tutorial suggests inserting 5 mm safety eyes into the head.
- Placement is between specified rounds, ensuring the eyes are evenly spaced by counting stitches between them.
- Adjust placement for symmetry before securing.
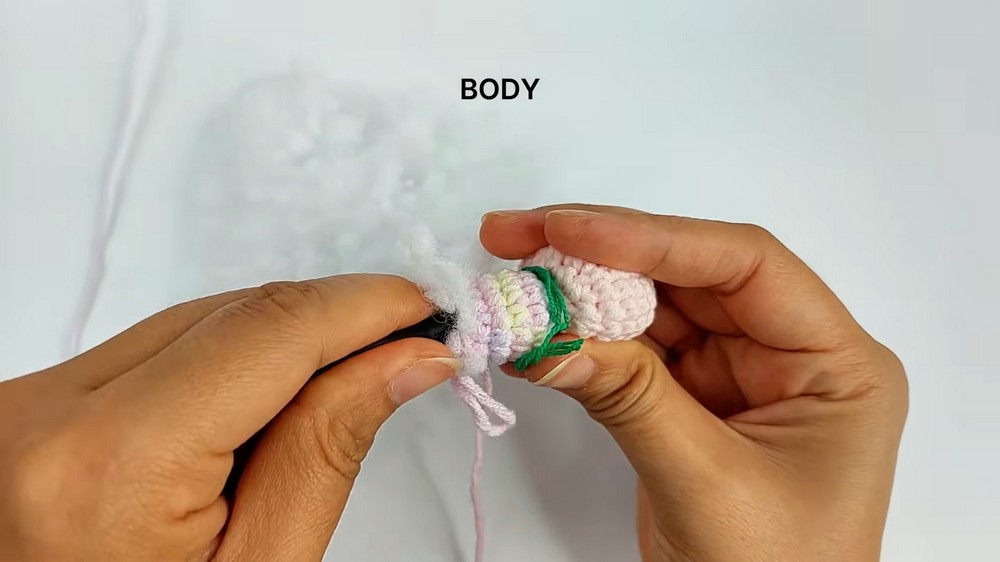
Crocheting the Body
The steps for creating the body include:
- Creating a circular shape using increases in the initial rounds.
- Maintaining shape with even rounds of single crochet stitches.
- Gradually reducing stitches with decreases to form the body’s tapered end.
Making the Antennae (Create Two)
- The antennae are simple and made using chains.
- No increases, decreases, or additional rows are required.
- The tutorial explains how to securely attach the antennae to the head between specific rounds.
Creating the Wings
The wings involve a few distinct steps:
- Start by forming a magic ring, then work with double crochet and chain stitches to shape the wings.
- Focus on creating a symmetrical design by repeating combinations of stitches in each section.
Wing Variations
- Style 1:
- The edges of the wings are detailed using picot stitches.
- This creates a decorative and textured look for the edges.
- Style 2:
- A simpler design is achieved with rows of double crochet without additional embellishments.
- The edges are later finished with single crochet stitches, making this style suitable for loose tension.
Finishing the Project
- Assemble the components (head, body, antennae, and wings) using a tapestry needle.
- Securely sew the pieces together, making sure they’re symmetrically placed.
- Weave in the yarn ends to ensure a neat finish.