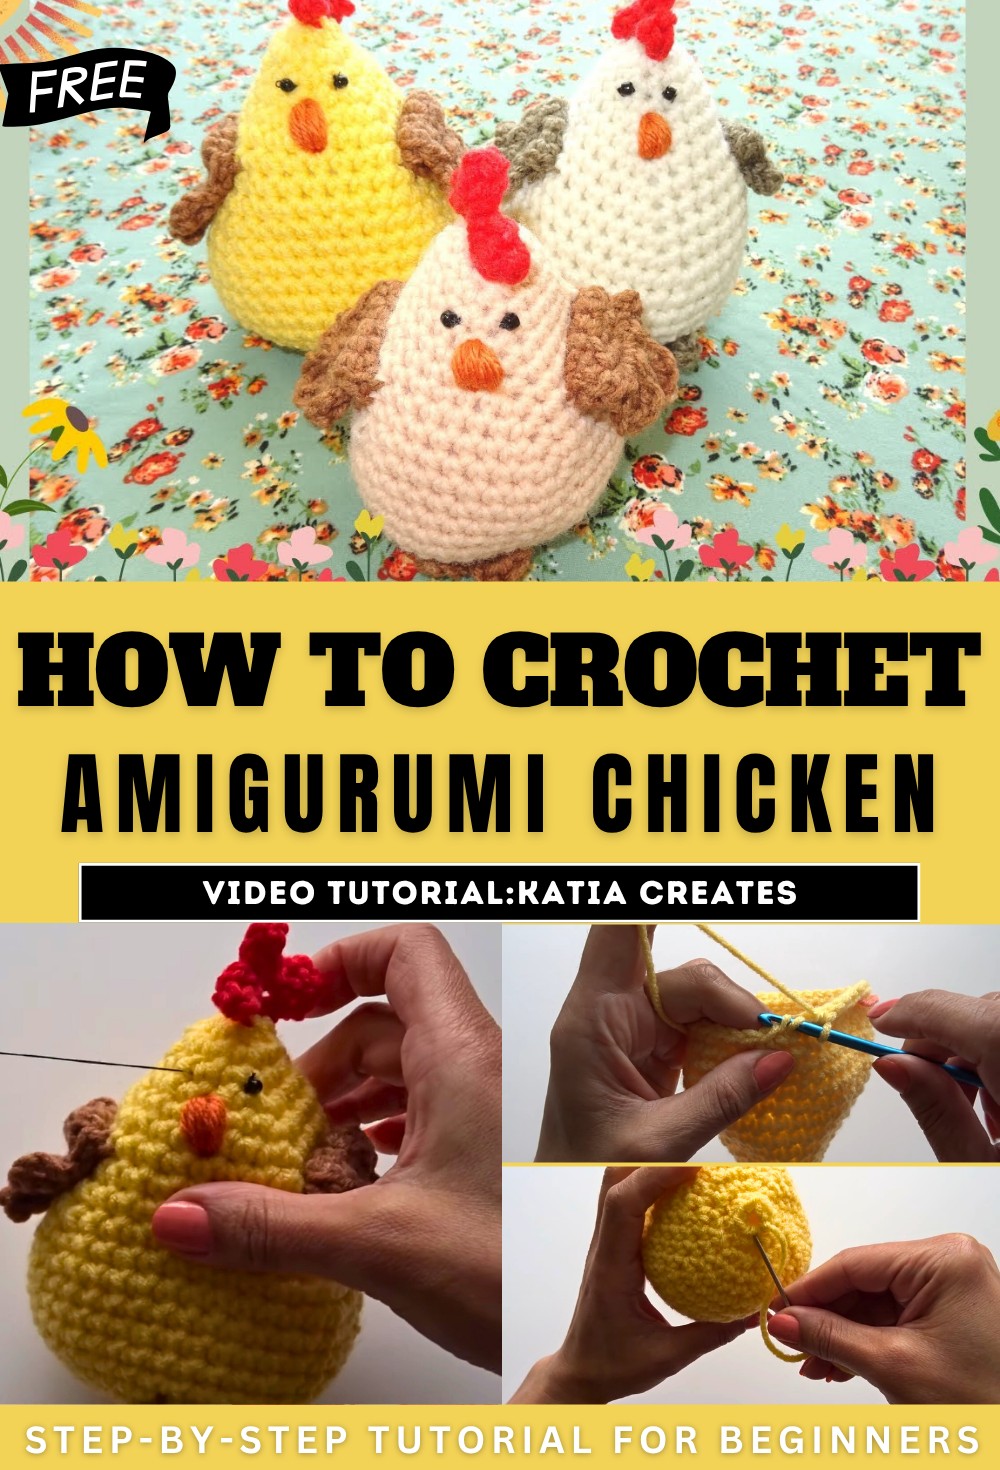
How to Crochet Chicken Amigurumi for Beginners
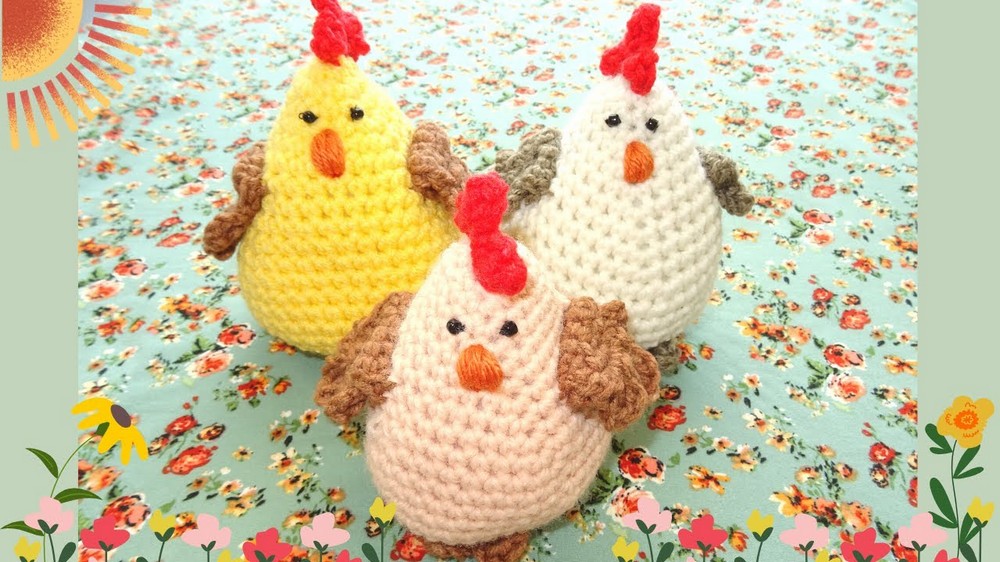
Learn how to crochet two adorable chickens using medium-weight yarn perfect for Thanksgiving with a step-by-step tutorial for beginners. The tutorial covers creating the body, wings, comb, and feet step-by-step, including techniques such as the magic ring and invisible decrease. Perfect for beginners and seasoned crocheters alike, this easy project results in charming handmade creations. Follow along to make your own crocheted chicken amigurumi perfect for gifting. Follow through with us for the complete tutorial.
Crochet a Chicken Tutorial
- Difficulty Level: The project is described as fun and easy, making it suitable for crafters of various skill levels.
- Materials Needed:
- Number 4 medium-weight yarn in yellow, brown, orange, and red colors.
- 5mm crochet hook.
- Scissors.
- Tapestry needle.
- Polyester stuffing.
- Two small glass beads for the eyes.
Chicken Body Instructions
Starting the Body
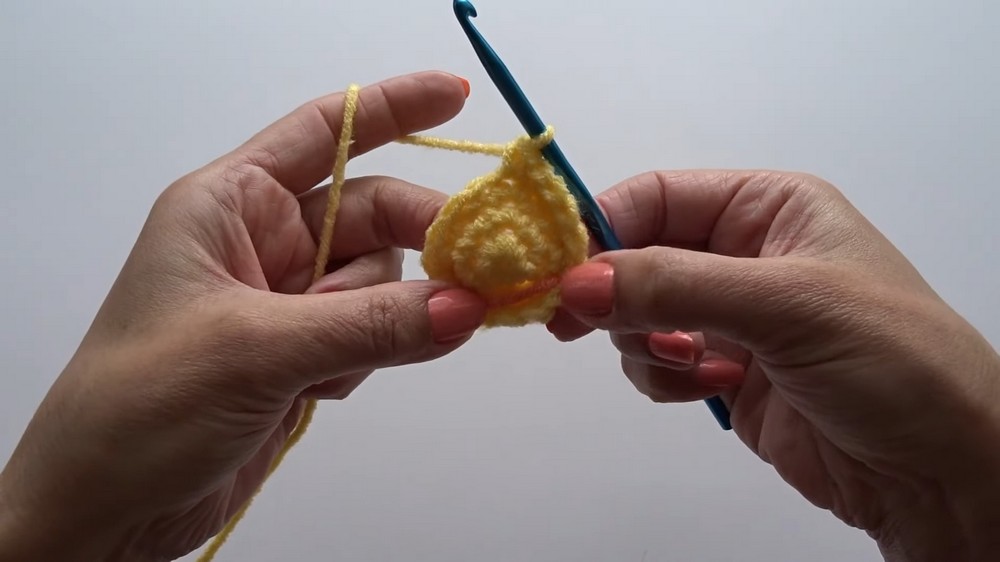
- Begin with a magic ring technique to create the base of the chicken.
- Use single crochets to build out each round incrementally, starting with six single crochets in the magic ring.
Increasing Rounds
- Each subsequent round uses a combination of single crochets and increases (adding two stitches in one stitch) to grow the size of the body.
- This process continues until the body reaches the desired dimensions, with a gradual increase in the number of single crochets between each increase.
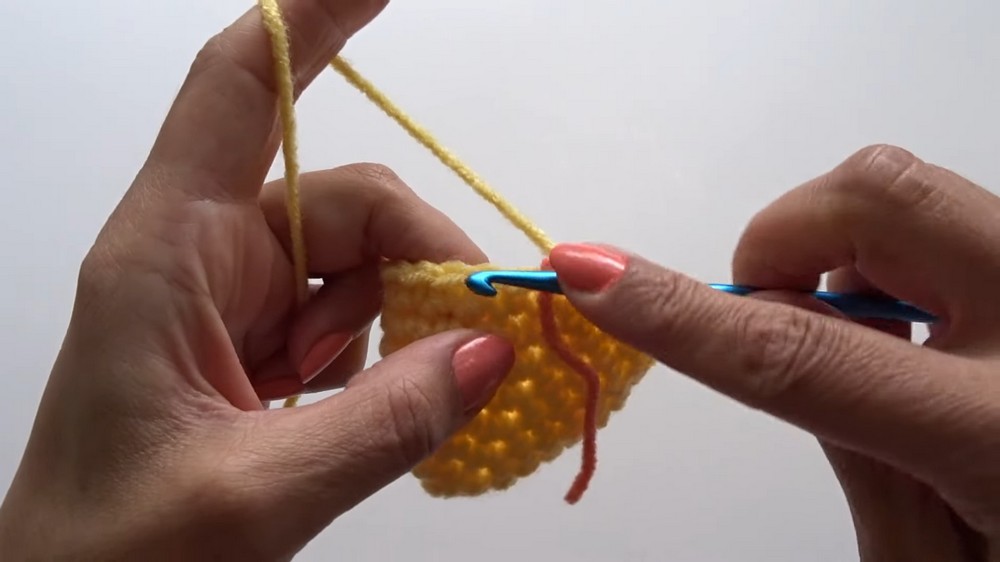
Final Rounds for Shaping
- After reaching the desired size, several rounds are worked with single crochets only to shape the sides of the body.
- This forms the full, rounded structure that will make up the chicken body.
Decreasing and Closing the Body
Decrease Rounds
- To shape the bottom of the chicken, the decreasing process begins by reducing the number of stitches in each round following a specific pattern.
- Invisible decrease stitches are used to create smooth transitions.
Adding Stuffing
- As the decreases progress, the chicken is lightly stuffed with polyester filling to give it shape and structure.
- Care is taken not to overstuff the chicken.
Closing the Bottom
- The final round consists solely of decreases to completely close the opening at the base of the chicken.
- A tapestry needle is used to secure loose yarn tails and create a neat finish.
Crafting the Wings
- Create the wings starting with a magic ring, then work through a series of rounds to shape.
- Final round involves chain stitches and slip stitches to create decorative wing edges.
- Finish by fastening off the yarn and leaving a tail for sewing the wings onto the body.
Making the Feet
- Crochet the feet using chain stitches, double crochets, and slip stitches to form small “claws.”
- Each foot is finished off with yarn tails that will be used for sewing onto the base of the chicken body.
Creating the Comb
- Use red yarn to crochet the chicken’s comb.
- Chains and double crochets are worked in a decorative pattern to mimic the comb’s shape.
- Yarn tails are left long for attaching the comb to the top of the chicken.

Attaching Features
- Positioning Wings: Fold and position the wings by sewing them onto the sides of the chicken.
- Feet Placement: Attach the feet near the bottom to give the chicken proper balance.

- Comb Attachment: Sew the comb onto the top center of the chicken using whip stitches.
- Eyes: Use thread and two small glass beads to attach the eyes.
Final Steps
- Double-check the placement of all features and trim excess yarn.
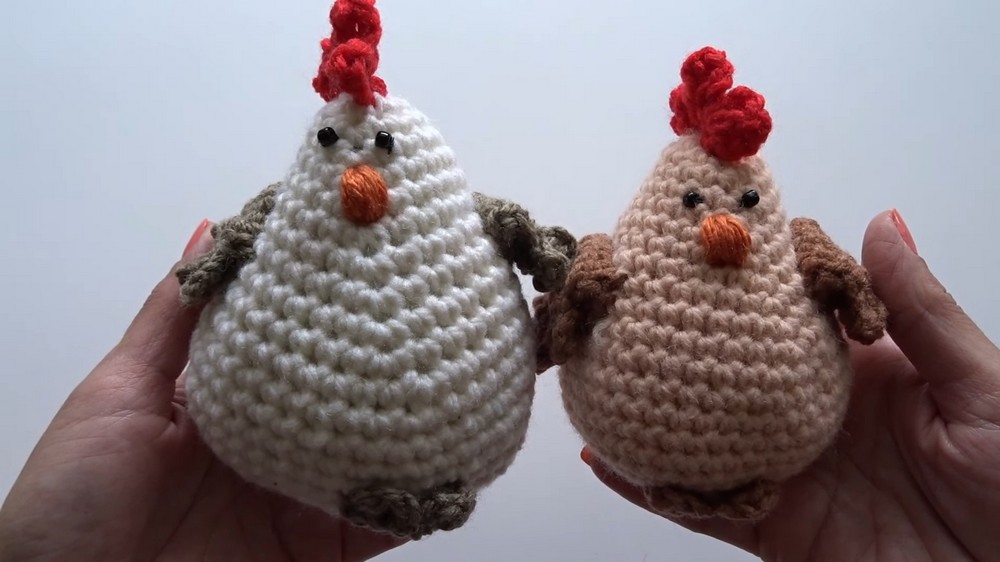
- The finished chicken is fully assembled and ready for display.