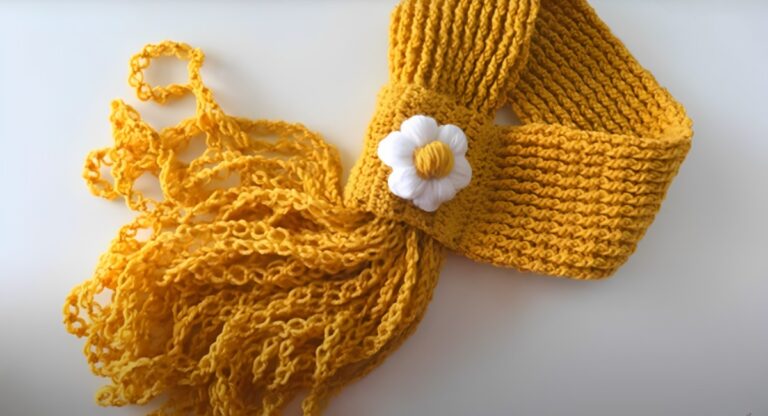
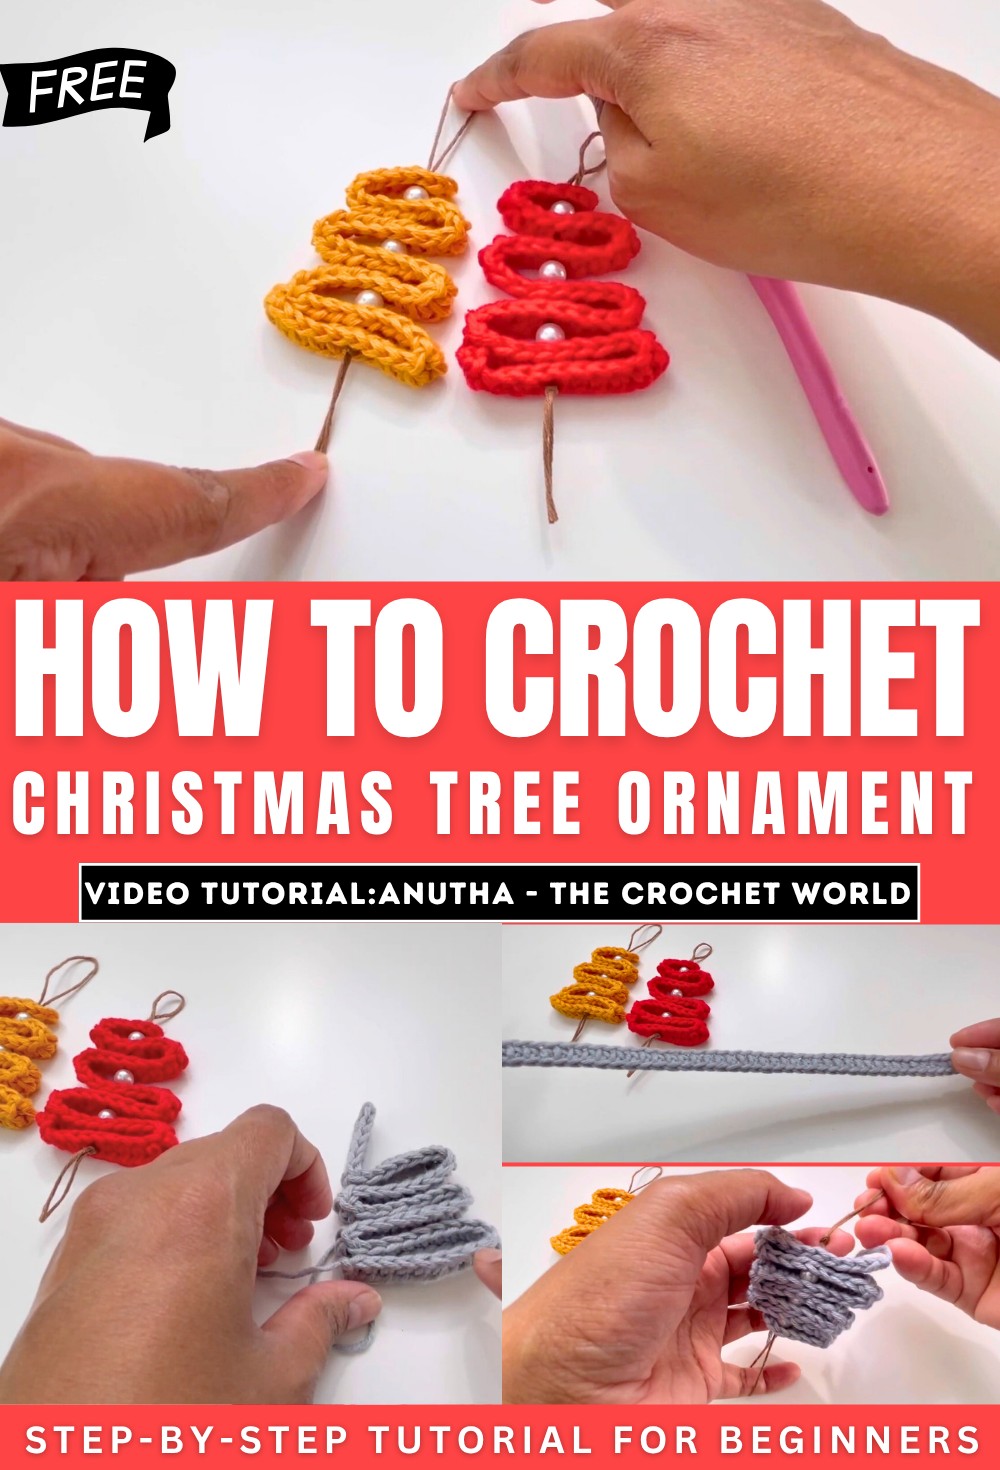
How to Crochet Christmas Tree Ornament for Beginners
Learn how to crochet a beautiful Christmas tree ornament using cotton yarn and a 3.5mm crochet hook with a step-by-step tutorial for beginners. The project begins with a slip knot and chains, followed by half-double crochets to form the tree base. Anuta demonstrates assembling the tree, adding decorative beads, and securing the layers.
This festive ornament is perfect for holiday decorations or as a thoughtful handmade gift. So, let’s get started!
Introduction
- Anuta from The Crochet World begins the tutorial by introducing a handmade Christmas tree ornament.
- She explains that the ornament can be hung on a Christmas tree or used as a decorative item for the home.
- Materials used include 100% cotton yarn in two different thicknesses and a 3.5mm crochet hook.
Materials Preparation
- Anuta discusses using two types of yarn:
- A thicker yarn for the tree structure (recommendation: 3-4mm hook compatibility).
- Thinner yarn for beads and final details (recommendation: 2-3mm hook compatibility).
- The tutorial specifies the use of a single 3.5mm hook for the entire project.
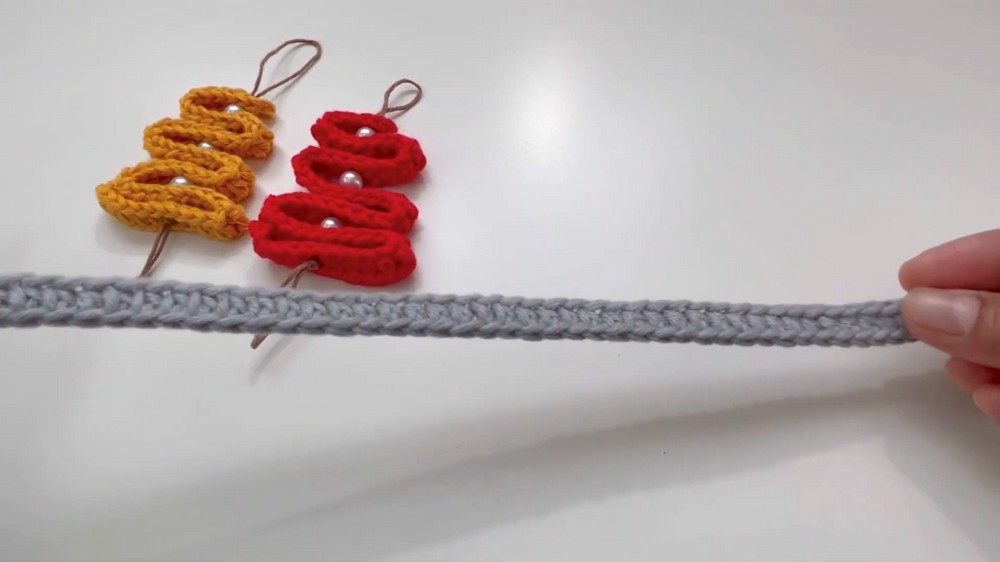
Creating the Base Design
- Starting the Tree:
- Begin with a slip knot and create a long foundation chain.
- This chain forms the base of the Christmas tree structure.
- Shaping the Tree Layers:
- Using half-double crochet stitches, work along the chain to build the foundational shape.
- Secure the row by cutting the yarn and fastening off once complete.
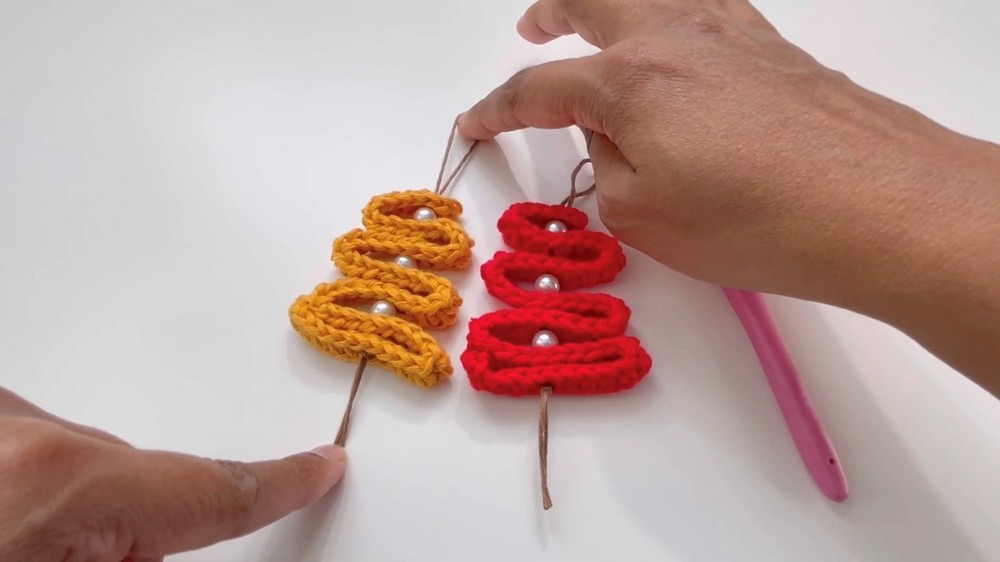
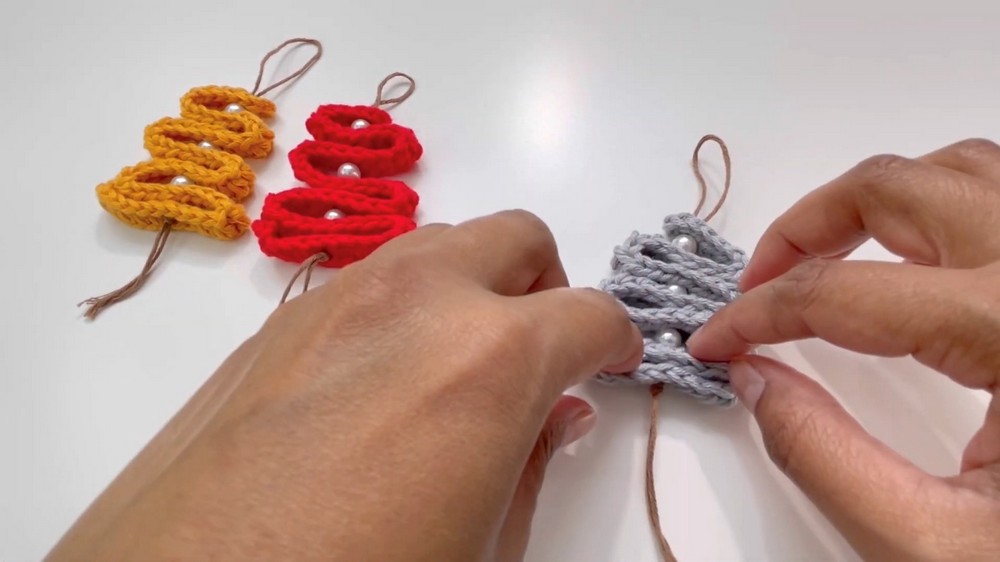
Assembling the Christmas Tree
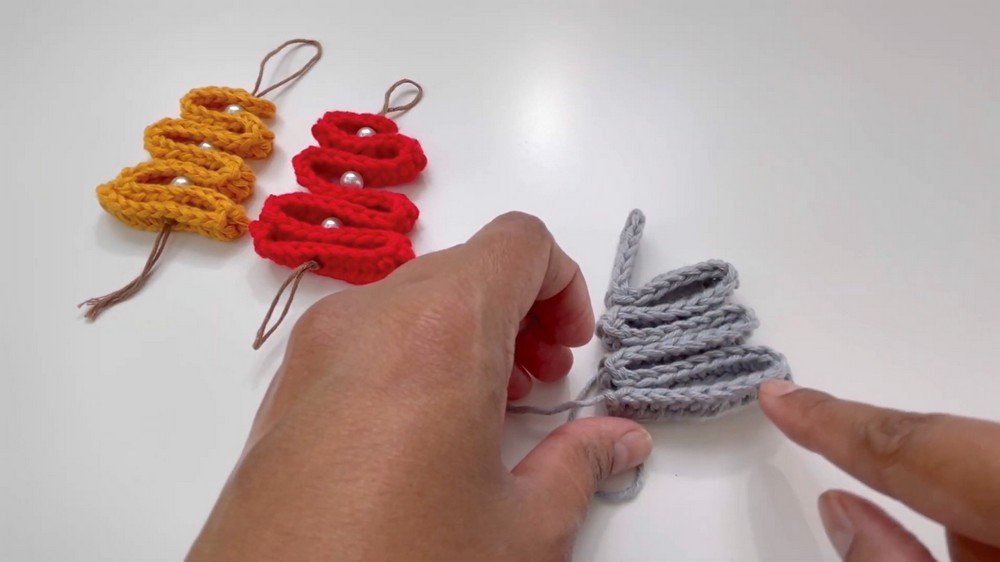
- Layering the Tree:
- Fold and assemble the completed crocheted strip into the shape of a Christmas tree.
- Adjust stitches and rows to form distinct layers of the tree.
- Anuta emphasizes that exact stitch and layer counts are not mandatory, and viewers are encouraged to assemble based on their preference.
- Adjusting the Layers:
- Position each layer for aesthetic symmetry before securing them.
Adding Decorative Beads
- Choosing the Yarn:
- Switch to a thinner yarn for attaching beads or pearls.
- A thinner yarn is preferred as it can pass easily through bead holes.
- Inserting Beads:
- Attach beads by threading them into the layers of the assembled Christmas tree.
- Secure the beads by passing the thread back through the work to reinforce their placement.
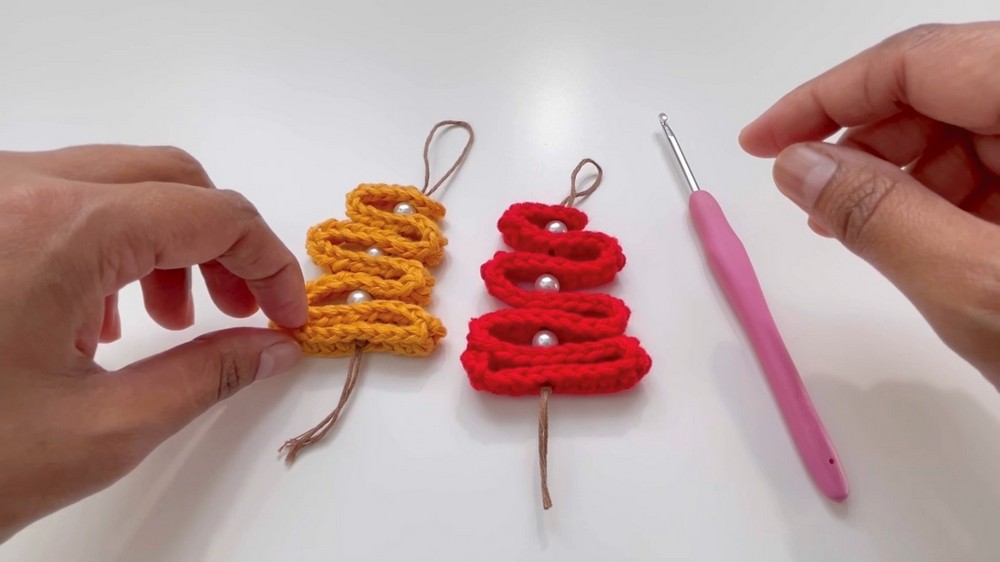
- Adding the Loop:
- Create a top loop for hanging the ornament.
- Adjust the size to match the decorative purpose of the tree.
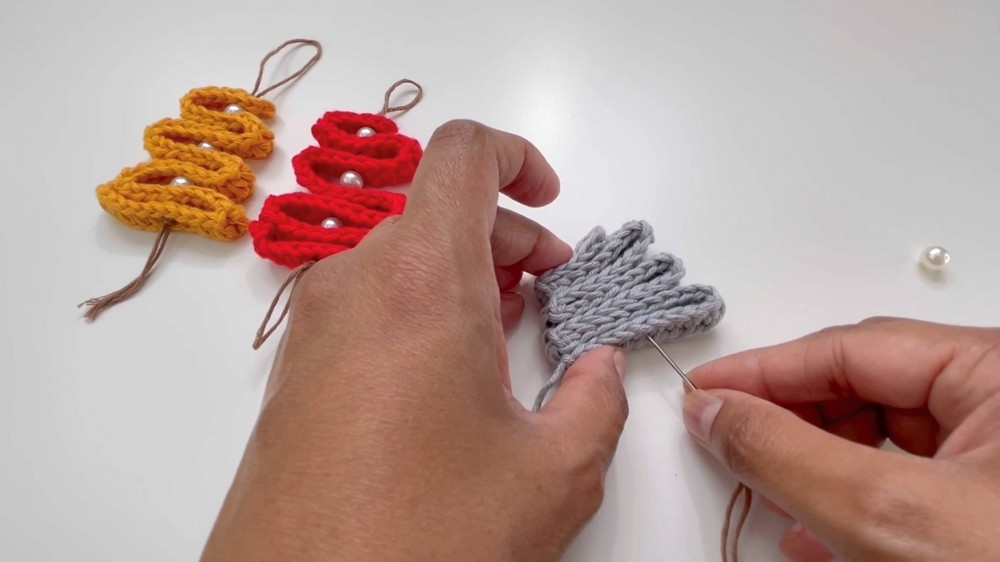
Finishing Touches
- Securing the Layers:
- Tie a knot at the base of the ornament to firmly secure the yarn.
- Reinforce the knot to ensure durability, preventing the ornament from loosening over time.
- Trimming Excess Yarn:
- Cut and neaten any excess yarn at the base and edges of the ornament.
- Hiding Loose Ends:
- Use a needle to weave in any remaining yarn to give the project a polished finish.
Final Steps
- Complete any additional adjustments to ensure the layers, beads, and loop are securely fixed.
- The finished Christmas tree ornament looks neat and decorative, with beads and a hanging loop enhancing its handmade charm.
Conclusion
- Anuta showcases the final product, highlighting its elegant design and versatility as holiday décor.