How to Crochet Chunky Tulip for Spring

In this tutorial, learn how to crochet a beautiful chunky tulip using chenille yarn with step-by-step instructions for beginners. The step-by-step guide covers crocheting the stem, bulb, and leaf, starting with a magic circle and progressing through techniques like single crochet, back loop stitches, and increases. The video ensures beginners can follow easily to create a stunning tulip for spring!

Crochet Chunky Tulip Tutorial
Materials Required
- Yarn:
- Chunky chenille yarn in two colors – green for the stem and leaves, and pink (or any preferred color) for the tulip bulb.
- Approximately 100g of each color is used.
- Crochet Hook:
- A 6mm hook is used for the demonstration, but a 6.5mm hook is recommended.
- Additional Tools:
- Stitch markers to track progress.
- Yarn needle for sewing.
- Scissors for cutting yarn.
- Fiber fill for stuffing the bulb.
- Thin wire for shaping the leaf.
Tutorial Workflow
The creation process is broken down into three main parts:
- Stem
- Tulip Bulb
- Leaf
Part 1: Creating the Stem
- The stem is crocheted using green yarn.
- The tutorial starts with a magic circle technique to establish the base.
- Basic single crochet stitches are used to expand the stem.
- The creator provides clear instructions on how to increase stitches and ensure proper shaping.

- The stem grows over several rows of single crochet, with periodic changes in pattern to achieve the desired height and width.
- After completing the stem, she transitions to the second color (pink) for the tulip bulb.
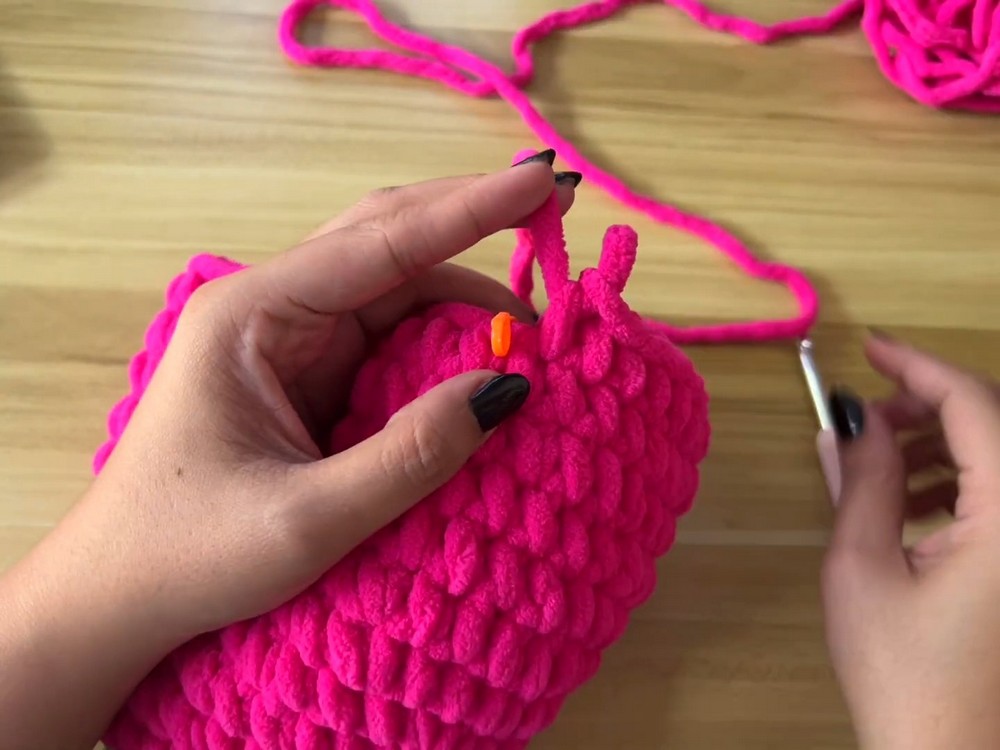
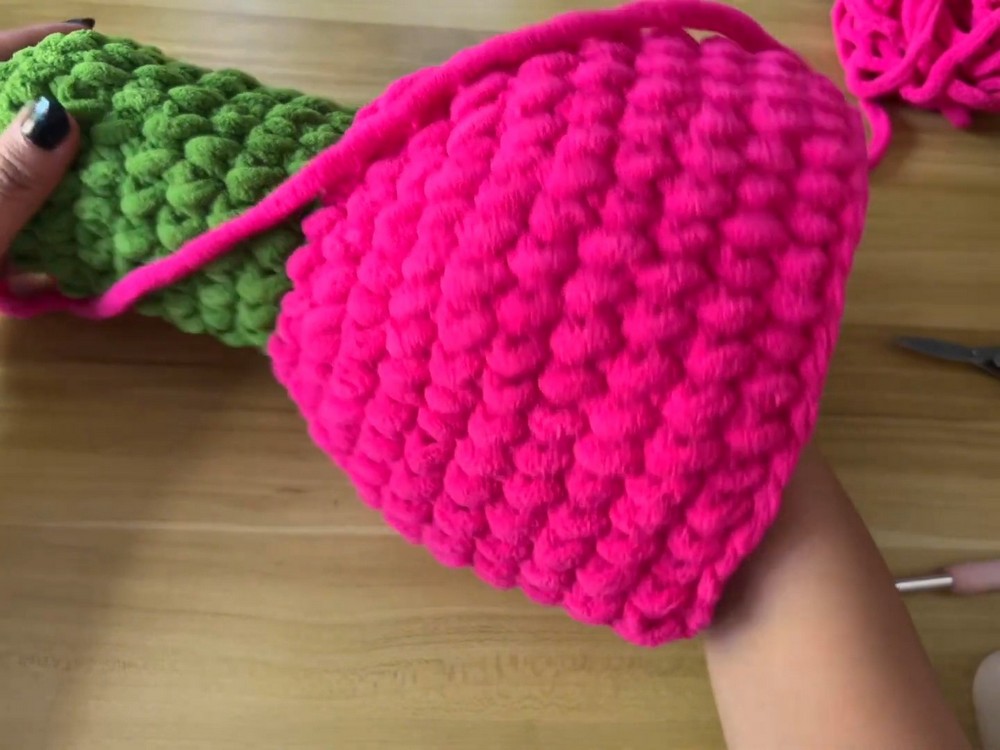
Part 2: Making the Tulip Bulb
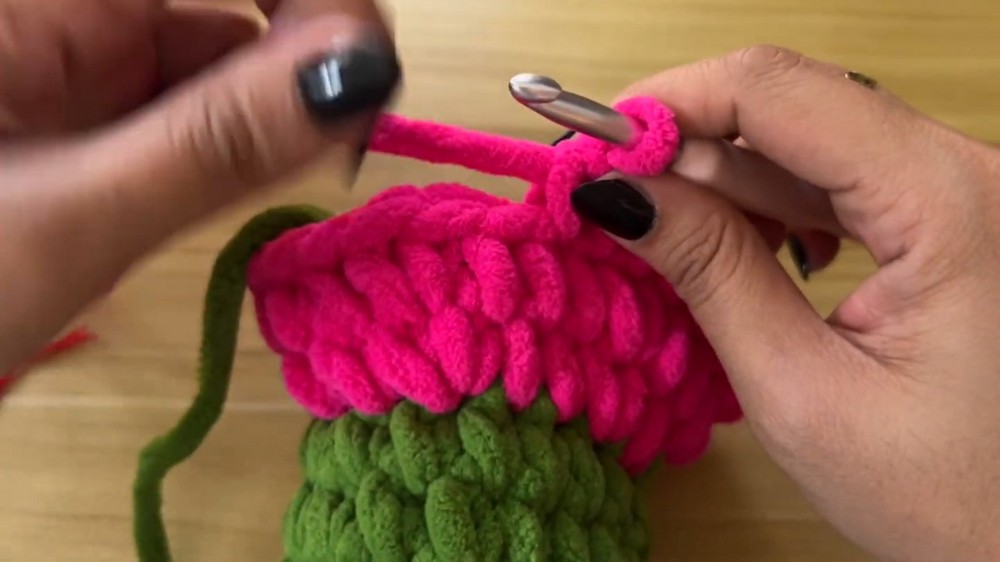
- The creator attaches the pink yarn to begin crocheting the bulb.
- For added texture, she uses back loop stitches during an increase row to shape the bulb.
- The bulb is gradually enlarged by alternating patterns of single crochet and increases.
- Once enough rows are completed, the rows are worked evenly without any increases to provide height to the bulb.
- Fiber fill is used to stuff the bulb and give it a full, rounded appearance.
- The creator demonstrates how to sew and close the bulb using a yarn needle to achieve a seamless finish.
Part 3: Crafting the Leaf
- The leaf is made by crocheting over a thin wire, which provides flexibility for shaping.
- Starting with green yarn, the creator begins by chaining an initial foundation.
- She incorporates various crochet stitches such as single crochet, double crochet, and treble crochet to give the leaf its shape and structure.
- Once completed, the other side of the leaf is worked in a mirrored fashion.
- After finishing the leaf, the wire is bent for stability, and the yarn tail is secured.

Attaching the Leaf to the Stem
- The creator positions the leaf at the preferred location on the tulip stem.
- Using the yarn tail from the leaf, she securely stitches the leaf to the stem, ensuring a neat and natural-looking attachment.
Final Steps
- The tutorial ends with the creator weaving in all loose ends and trimming excess yarn.
- She encourages viewers to try crocheting their own tulips, share their creations by tagging her, and support her channel by liking and subscribing.

Conclusion
- The tutorial provides clear, step-by-step instructions suitable for beginners and intermediate crocheters.
- The resulting chunky tulip is a beautiful handmade piece, ideal for decor or gifting.