Crochet Clutch Free Pattern for Weddings and Events
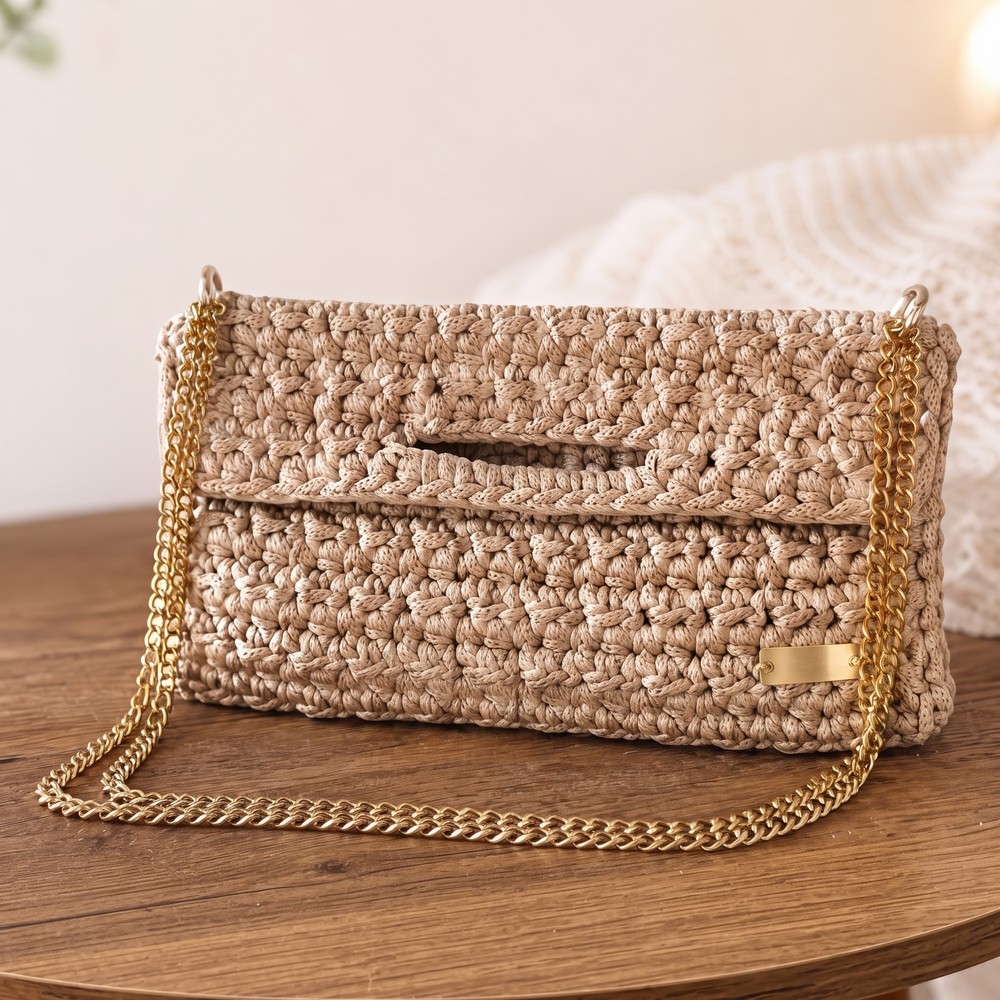
Hook something chic and functional today using this free crochet clutch pattern that’s perfect for evenings out or casual weekend adventures ahead.
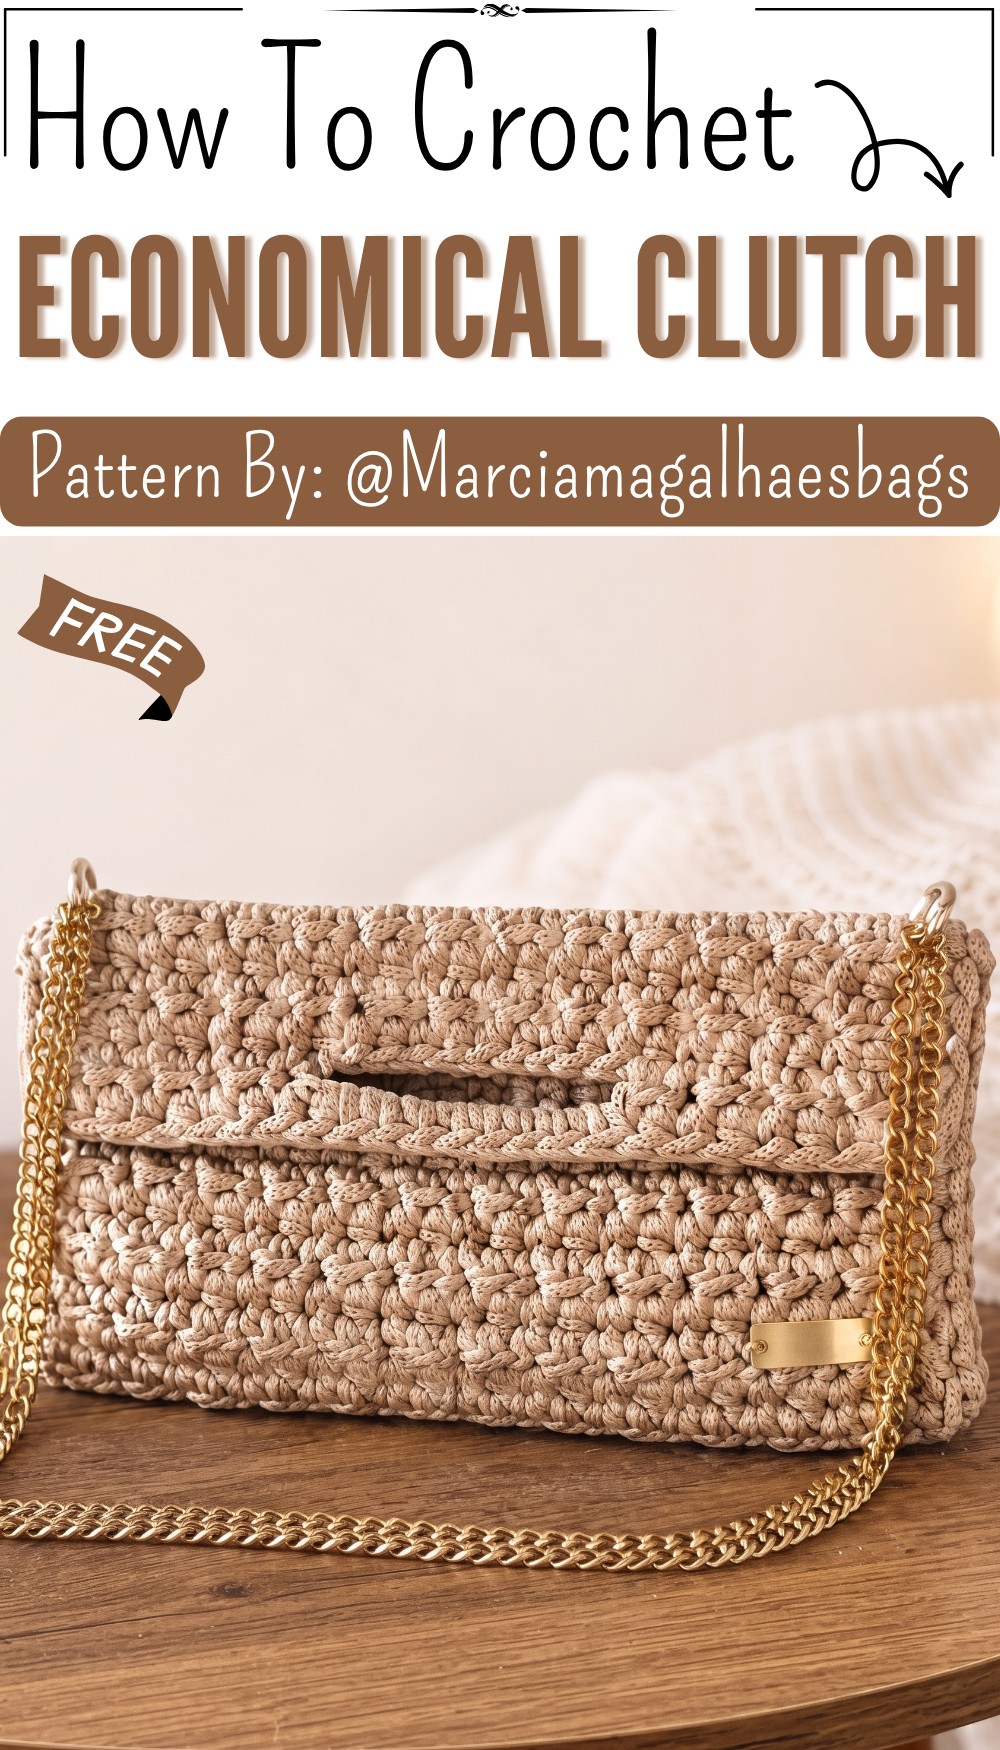
A beautiful little purse can make any special outfit feel complete. For a truly unique accessory, you can follow this Free Crochet Clutch Pattern to make your very own. This project guides you in making an elegant clutch, which is a small handbag designed to be carried by hand. It’s perfect for adding a bit of handmade charm to your look. The full tutorial for this lovely design is shared on the @marciamagalhaesbags YouTube channel.
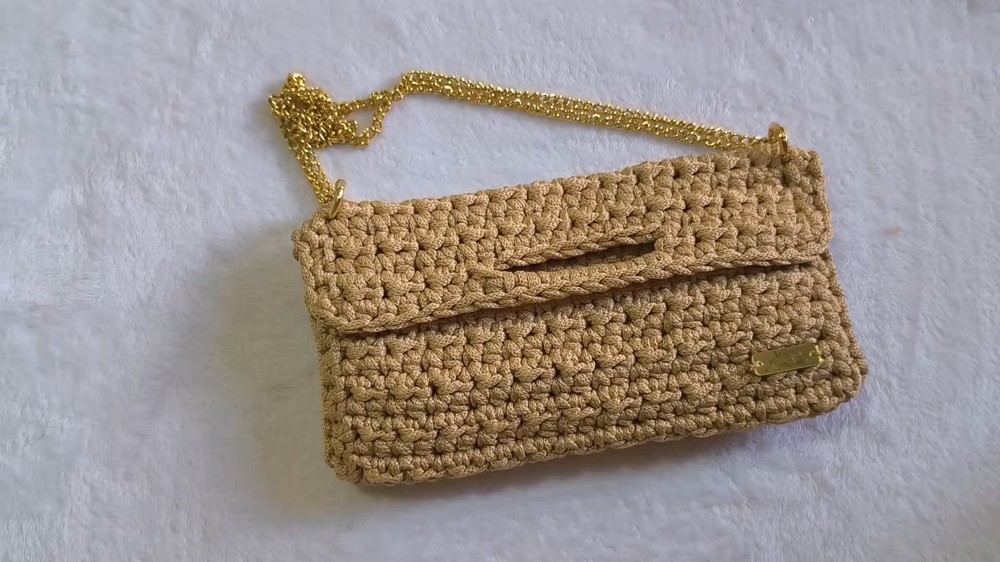
The finished clutch has a very sophisticated and clean appearance. It is shaped like a perfect rectangle, similar to an envelope, which gives it a classic and timeless style. The texture of this bag is its most stunning feature. It is covered in a lovely, dense stitch that creates a pattern of small, raised bumps all over the surface.
Free Clutch Crochet Pattern Using Basic Stitches
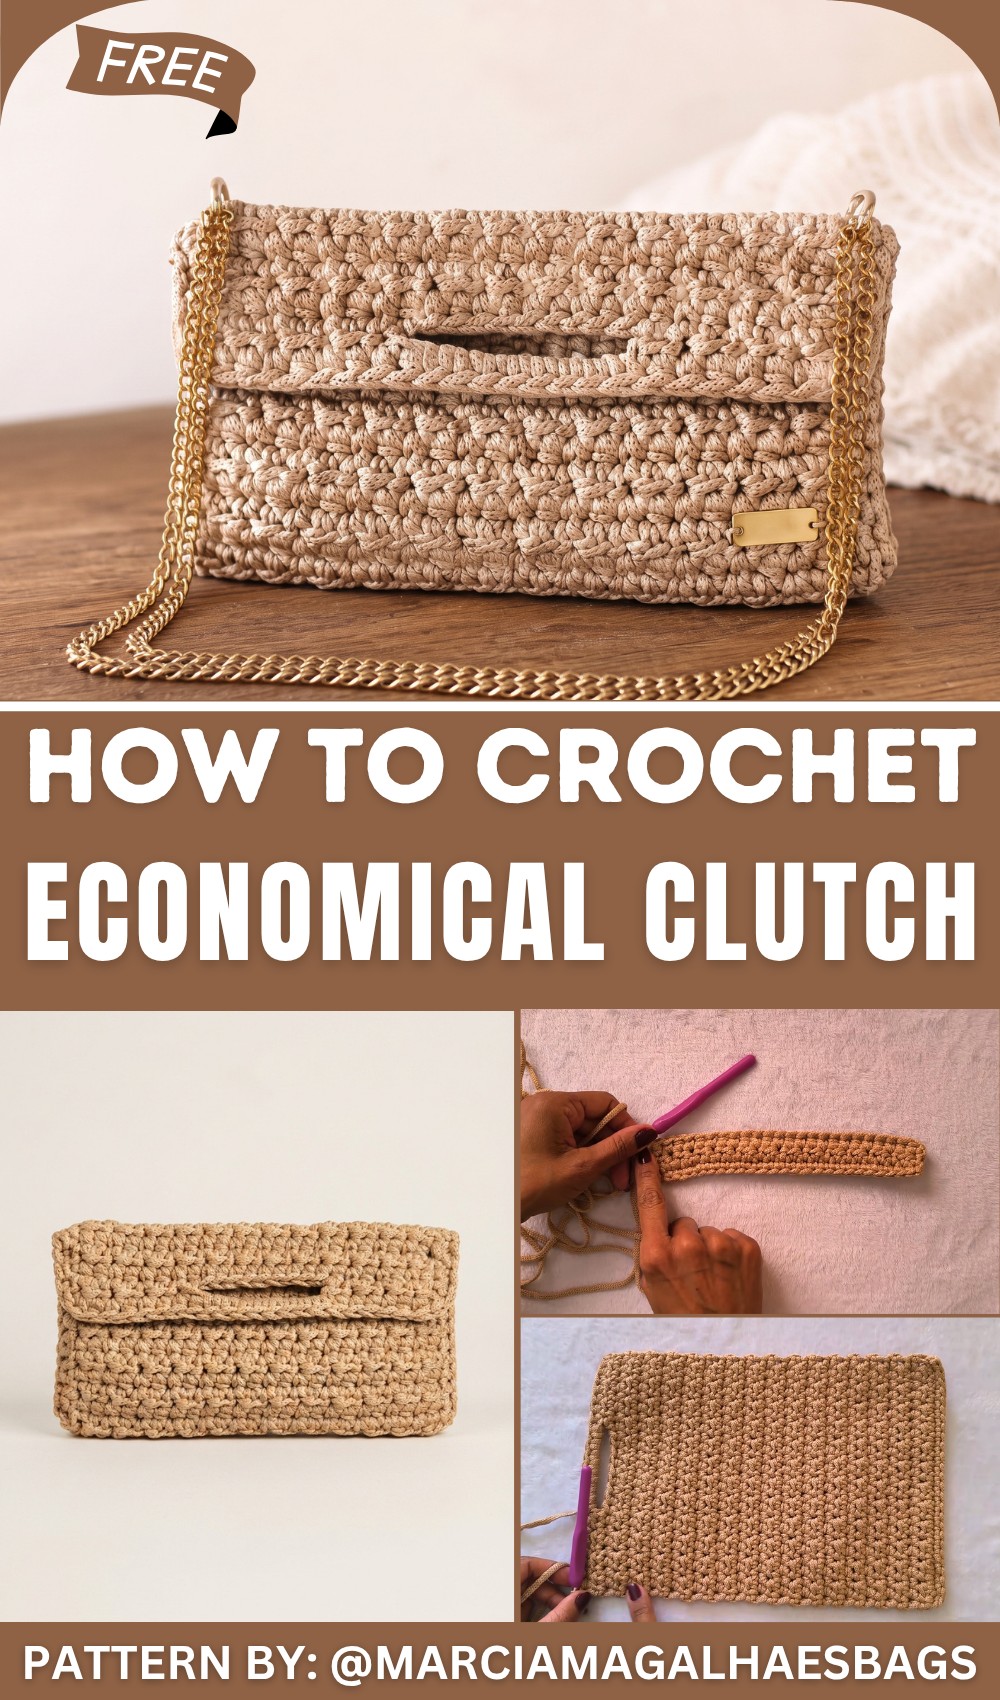
This design not only looks amazing but also feels substantial and high-quality. A neat flap folds over the front and can be secured with a pretty button or a hidden clasp. This small bag is incredibly useful for occasions when you only need to carry a few things. It has just enough space for your phone, keys, a little cash, and some lipstick.
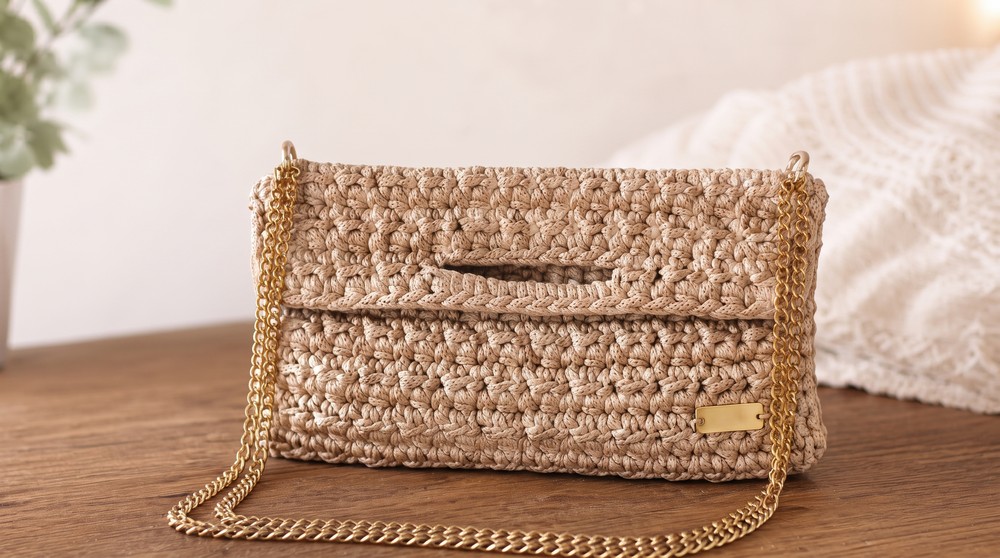
It is the ideal accessory for a wedding, a fancy dinner, a holiday party, or any event where a large purse would be too bulky. Carrying a clutch that you made yourself adds a personal and special touch that is sure to get compliments. It shows off your skill and adds a dose of handmade beauty to your style.
Crochet Clutch Pattern for Beginners
Create an elegant and sturdy crochet clutch using durable nautical thread. This pattern uses simple stitches arranged to build texture, shape, and structure. Follow the step-by-step instructions below to complete your project with confidence!
Materials Needed
- 5 mm Nautical Thread (100% polypropylene)
- 6 mm Crochet Hook
- Two 18 mm Magnetic Buttons
- Scissors and Lighter (to seal ends)
- Tapestry Needle for weaving and sewing
- Optional: Chain strap, rings, and label
Pattern Overview
- Foundation chain worked in the back bumps for a neat base
- Alternating rows of half double crochet (hdc) and single crochet (sc) for texture
- A decorative flap with a small open chain window
- Single crochet edging for a clean finish
- Magnetic buttons to secure closure
- Side seams sewn inside out for smooth edges
Stitch Abbreviations (Highlighted for clarity)
- ch = Chain
- sc = Single Crochet
- hdc = Half Double Crochet
- st = Stitch
- rep = Repeat
- sl st = Slip Stitch (not used in this pattern but useful to know)
Key Notes Before You Begin
- Work the first row into the back bumps of your foundation chain for a tidy edge.
- Keep your tension consistent to maintain an even shape.
- Always chain 1 and turn at the end of each row.
- Use long yarn tails at the start and finish to ease sewing later.
- Seal yarn ends carefully with a lighter to avoid unraveling.
Step-by-Step Pattern
Step 1: Foundation Chain
- Chain 25 stitches using your 5 mm nautical thread.
- Chain 1 extra (for turning).
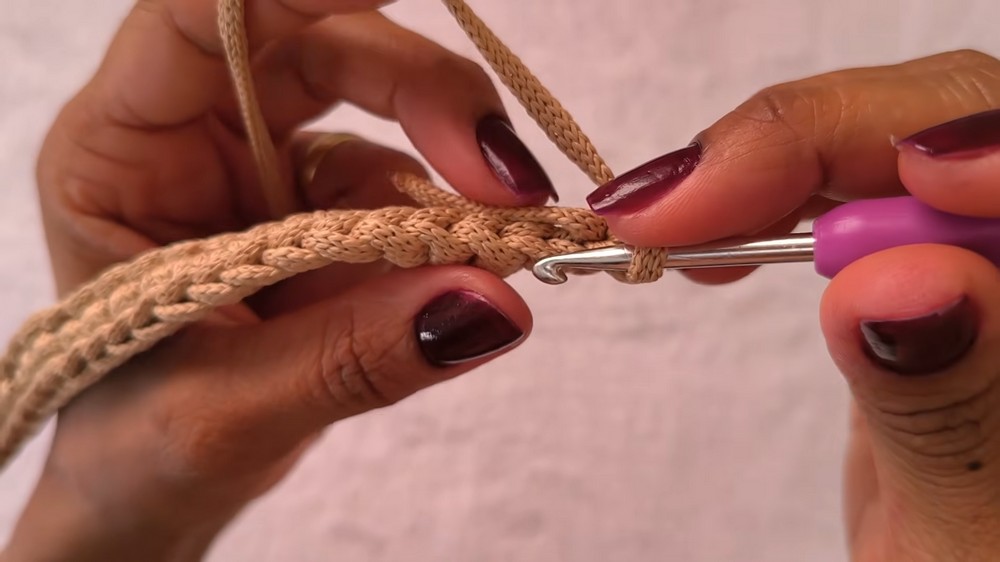
Step 2: Base Layer (Back Bump Single Crochet)
- Work single crochet (sc) into the back bump of each chain across the foundation.
- This results in a strong, neat base edge.
- Turn your work.
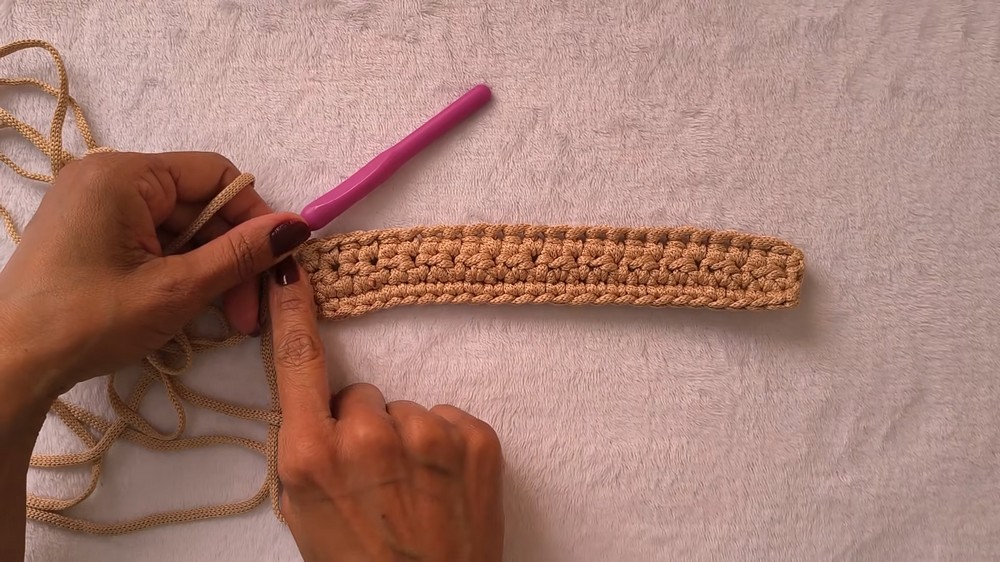
Step 3: Body Pattern (Rows 2 to 32)
- You will alternate between half double crochet (hdc) and single crochet (sc) stitches every row. The pattern looks like this:
On odd rows (starting row 2):
- Chain 1 to turn.
- Work half double crochet (hdc) in each stitch across the row.
- End the row with the last stitch worked in hdc.
On even rows:
- Chain 1 to turn.
- Work single crochet (sc) in each stitch across.
- End the row with sc.
- Repeat these two rows, alternating hdc and sc, until you complete 31 rows in total (including the base row).
- Maintain consistent stitches at row beginnings and ends for a uniform edge.
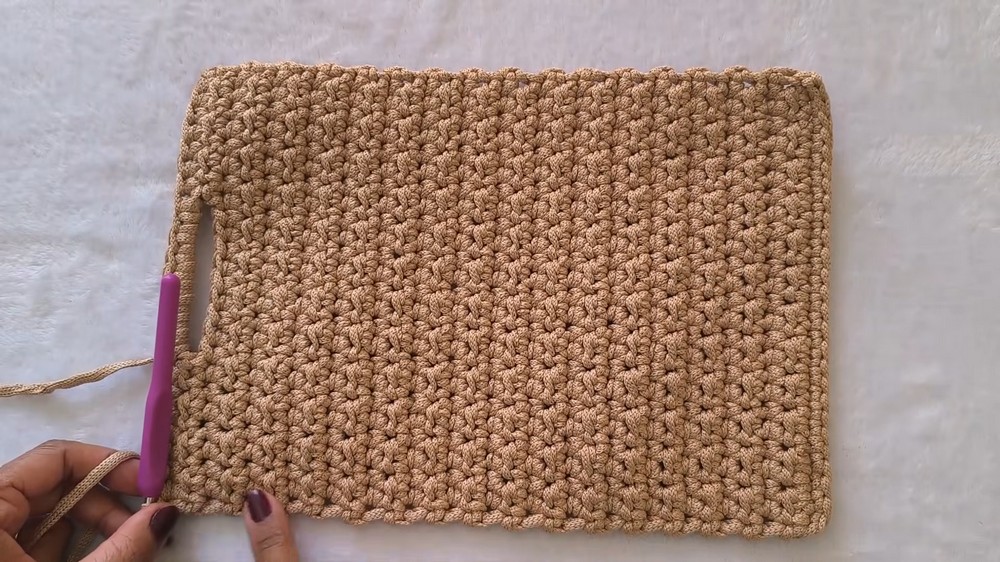
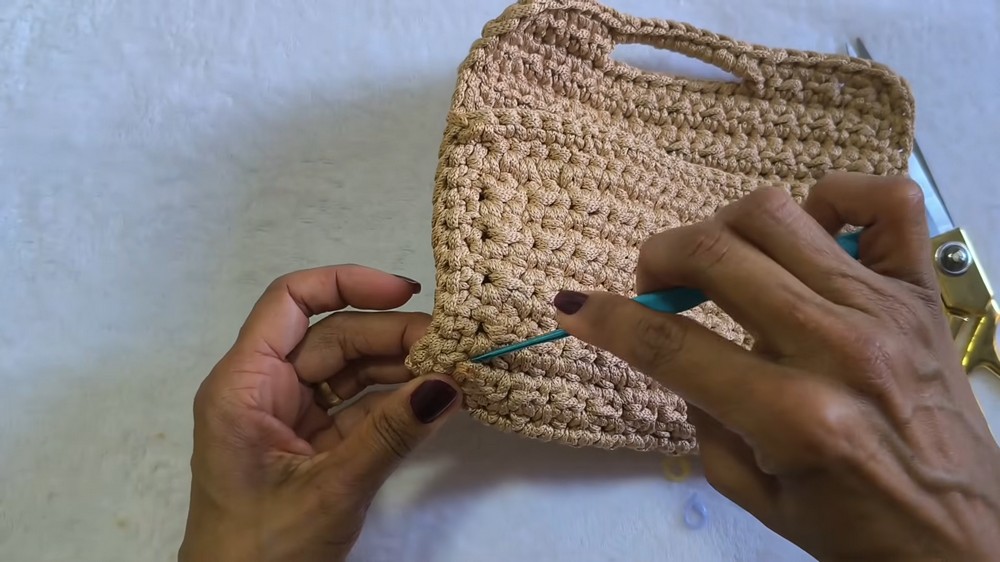
Step 4: Front Flap with Ladder Window
- Work 8 stitches as usual: alternating hdc and sc (following the pattern for the current row).
- Chain 9 stitches.
- Skip 9 stitches on the previous row.
- Work another 8 stitches of alternating hdc and sc in remaining stitches.
- Turn your work.
Step 5: Working Over the Chain Ladder
- Work single crochet (sc) across the 9 chains you made for the ladder window.
- Crochet 9 single crochet stitches evenly spaced to close the window space.
- This creates a clean, defined flap window detail.
Step 6: Edging the Clutch
- Work single crochet (sc) stitches evenly around the entire perimeter of your clutch (the rectangular main body with flap).
- Pay special attention to corners: make additional stitches if needed so corner lays flat and edges remain neat.
Assembly and Finishing
Step 7: Securing Yarn Ends
- Cut yarn leaving a tail about 15 cm long.
- Use a lighter carefully to melt and seal the yarn ends to prevent fraying.
- Optionally, use fabric glue to add extra hold.
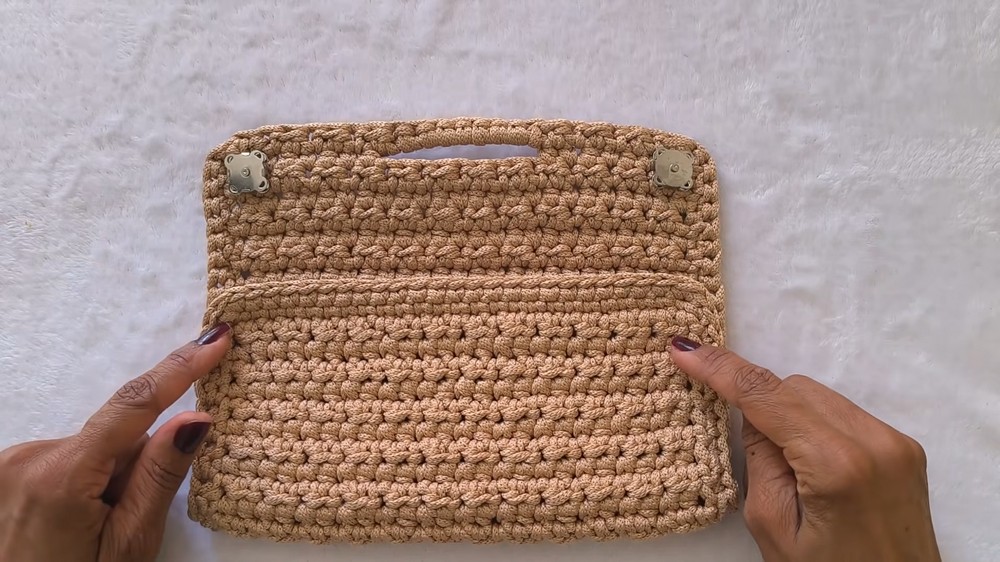
Step 8: Attaching Magnetic Buttons
- Sew one magnetic button on the inside top section of the main body (bag part).
- Sew the other magnetic button on the inside of the flap aligning perfectly with the first so the clutch closes securely.
Step 9: Sewing Side Seams
- Fold clutch inside out (wrong sides facing).
- Using a tapestry needle and matching thread, sew the two side edges by picking up outer loops only of stitches.
- Sewing outer loops gives a neat and flat seam when turned right side out.
- Sew from bottom up to flap edge securely.
Step 10: Final Touches
- Turn clutch right side out.
- Attach any optional details such as a label or chain strap rings.
- Weave in any remaining yarn tails neatly.
Finished Size
- Width: Approximately 25 cm
- Height: Approximately 14 cm
Summary
You have now crafted a refined crochet clutch! The alternating half double crochet and single crochet stitches create a beautiful textured fabric, while the flap with its ladder window adds a stylish accent. Detailed finishing with edging stitches, magnetic buttons, and clean side seams ensures your clutch is both functional and attractive. The sturdy nautical thread and careful construction make a durable bag ideal for everyday use or gifting.