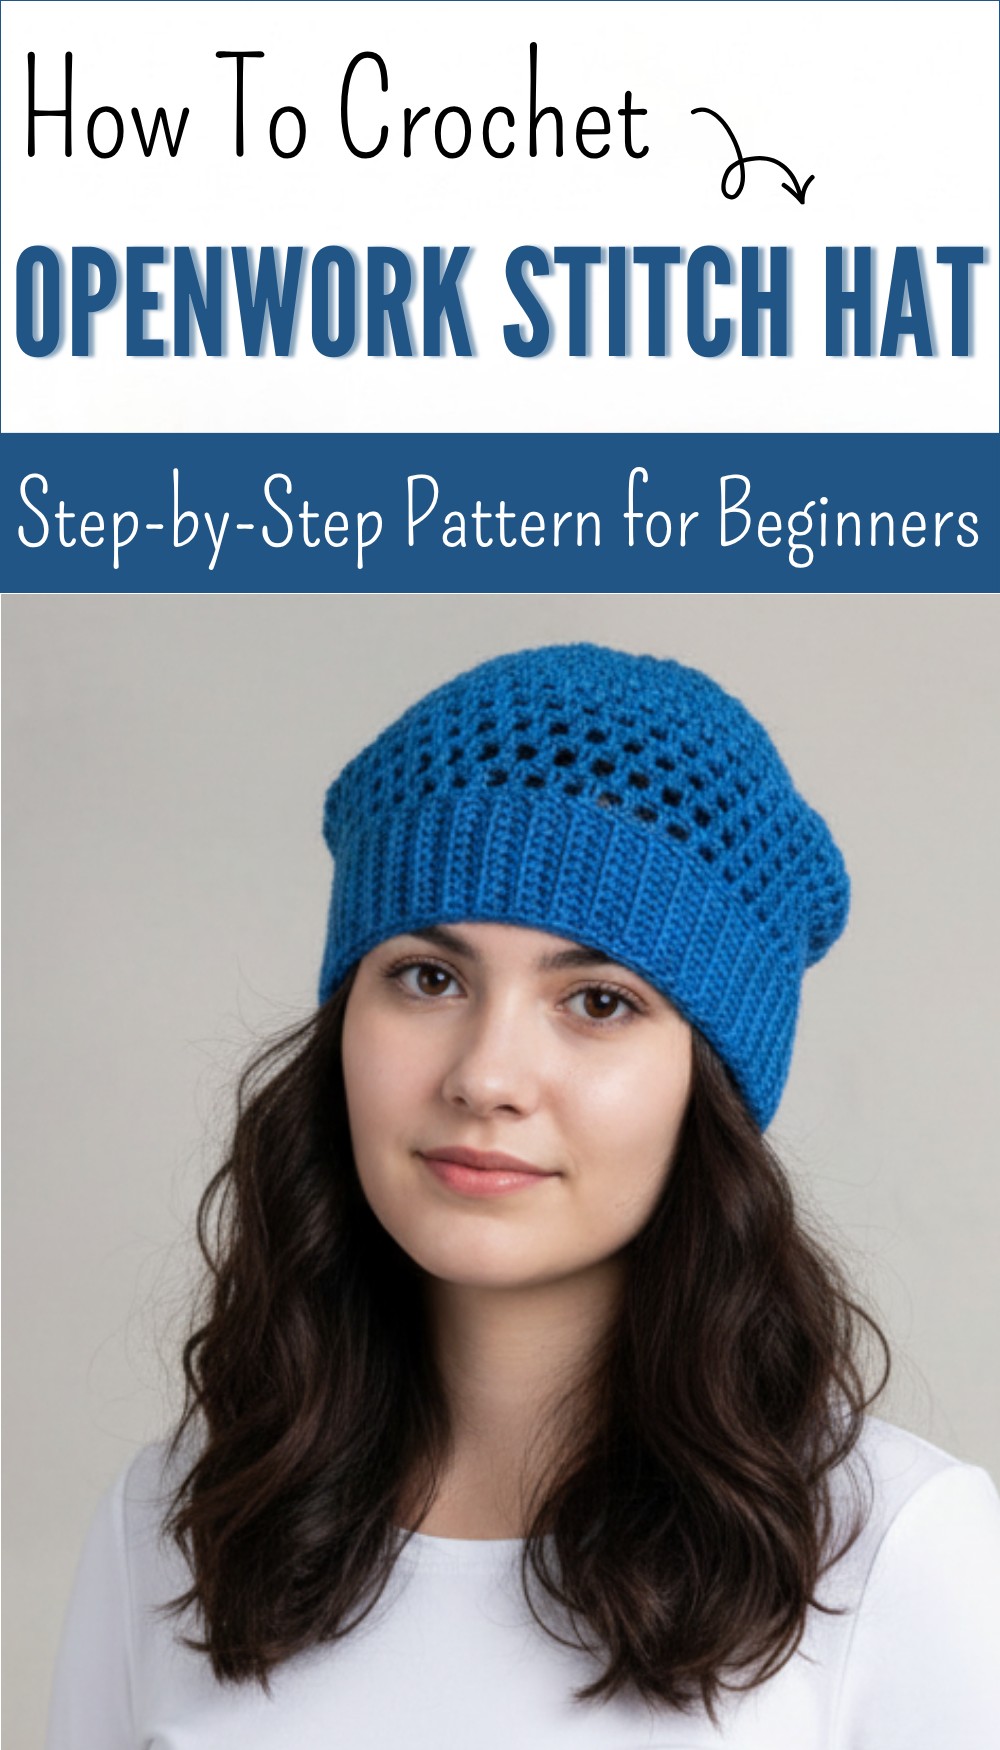
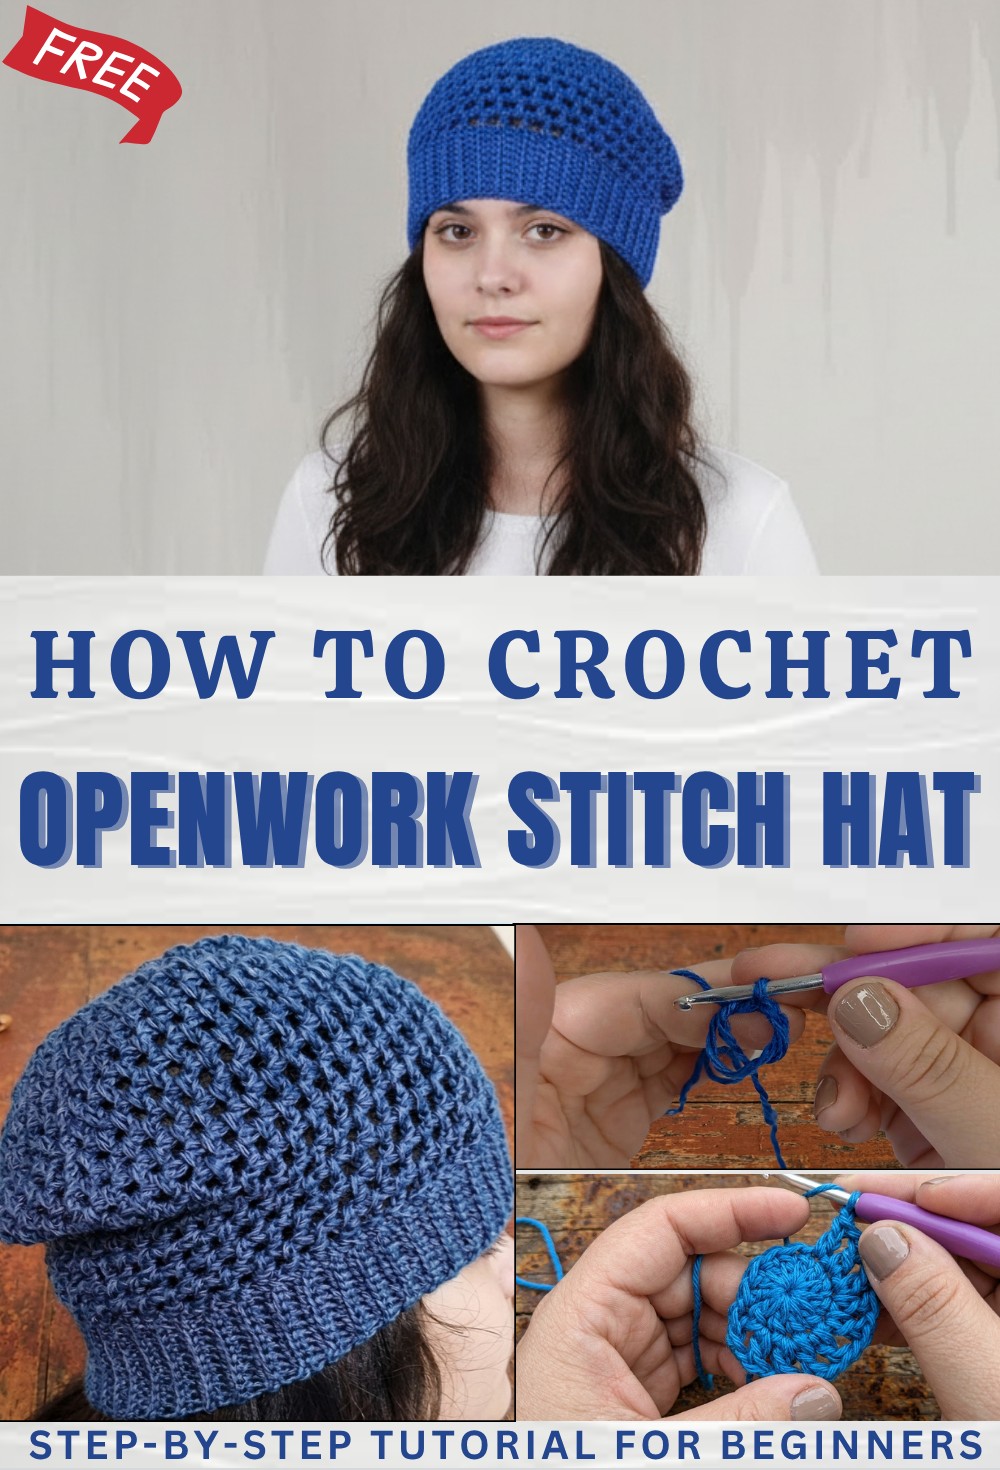
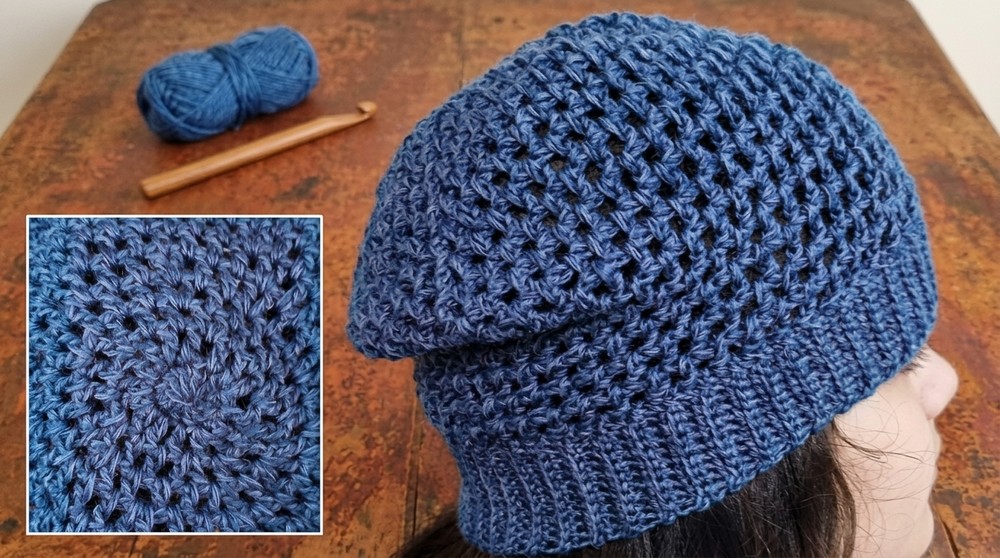
Free Crochet Openwork Stitch Hat Pattern for Warm Days
Breathe freshness into your style with this free crochet openwork stitch hat pattern that adds a light airy touch to your everyday look.
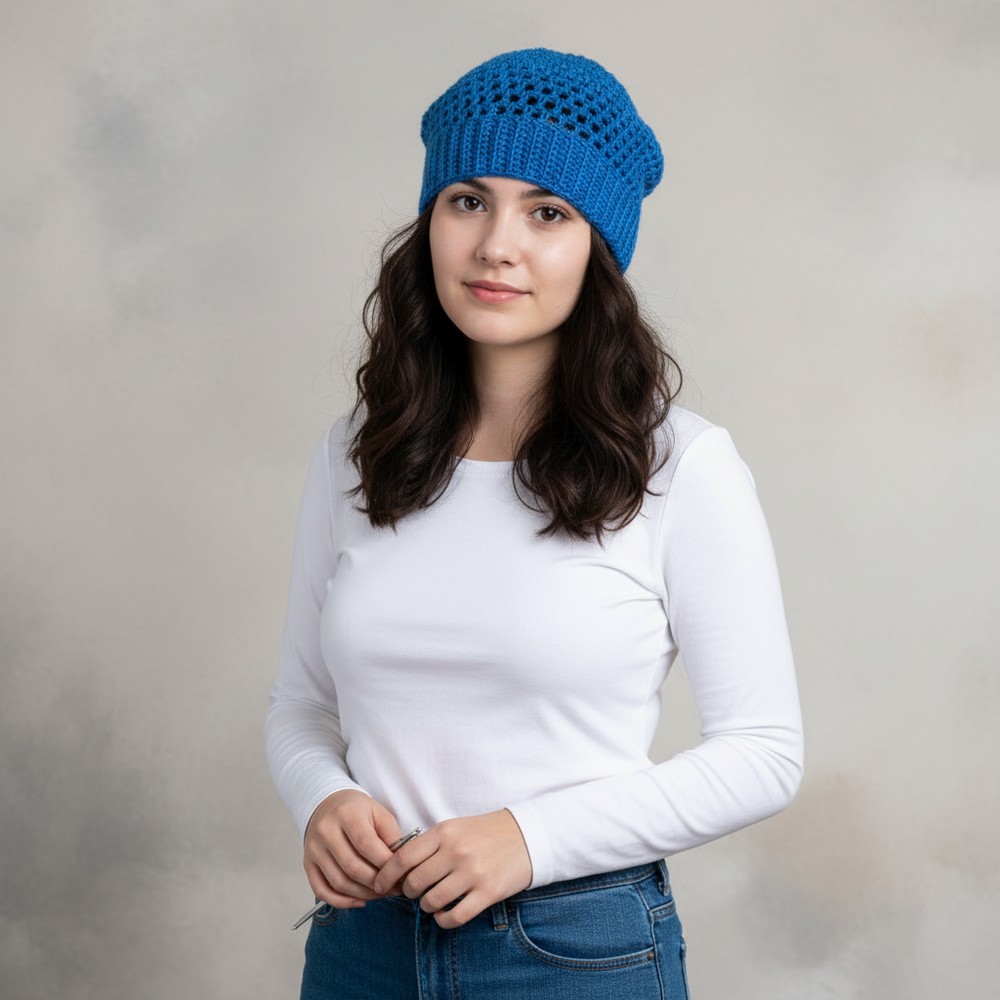
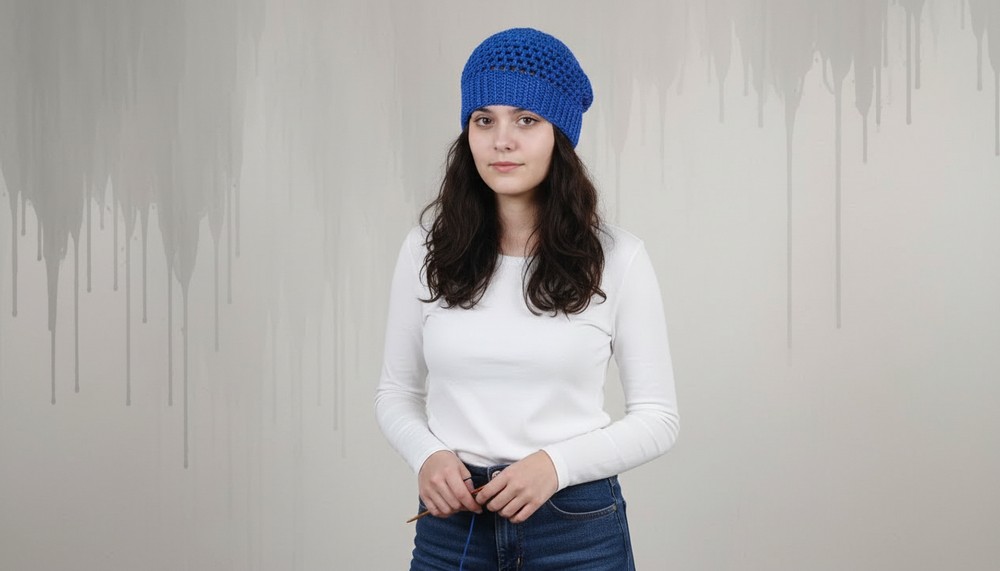
Nothing feels quite as light and airy as a hat designed with beautiful open spaces and delicate texture. You’ll notice how the gentle gaps make the whole piece feel breathable and fresh, so it’s never too hot or heavy on your head. This design lets natural air flow through, keeping you cool while adding a touch of style wherever you go. Made with loops and simple patterns, each row forms little windows that look elegant and interesting from every angle.
Dreamy Free Crochet Openwork Stitch Hat Pattern for Stylish Outfits
The crochet openwork stitch hat pattern brings a charm that stands out in any crowd and works well for all ages. Because it is easy to adjust, this hat suits both adults and kids alike, making it a perfect solution for sunny walks, busy markets, and outdoor gatherings. Lightweight yarn and soft colors show off the unique shapes in the stitches, turning your hat into a wearable piece of art.
Crochet Openwork Hat Pattern
Materials
- Yarn: 60g acrylic yarn, approximately 1.5mm thick (light worsted/DK recommended)
- Hook: US G/6 (4.0 mm) for hat body; US E/4 (3.5 mm) for brim
- Notions:
- Scissors
- Tapestry needle
- Stitch marker
- Measuring tape
Key Abbreviations (US Terms)
| Abbreviation | Description |
|---|---|
| ch | Chain |
| sl st | Slip stitch |
| sc | Single crochet |
| hdc | Half double crochet |
| dc | Double crochet |
| st | Stitch |
| sp | Space |
| rep | Repeat |
| inc | Increase (2 sts in same sp) |
Special Notes
- Gauge: After increase rounds, ensure the crown reaches approx. 18 cm/7″ diameter for a comfortable adult fit.
- Fit: Always try hat after increases, and check diameter before continuing straight rounds.
- For Ribbed Band: Each round on body = 1 row of ribbing (hdc BLO).
- Pattern is adjustable for any size (tip in notes).
Sizes & Finished Measurements (Adult Women’s)
- Crown diameter before body/sides: ~18 cm (7″)
- Hat height (without brim): ~21–23 cm (8.25–9″)
- Brim width: ~22 cm (8.75″) (unstretched)
Instructions
Hat Body (Openwork Section)
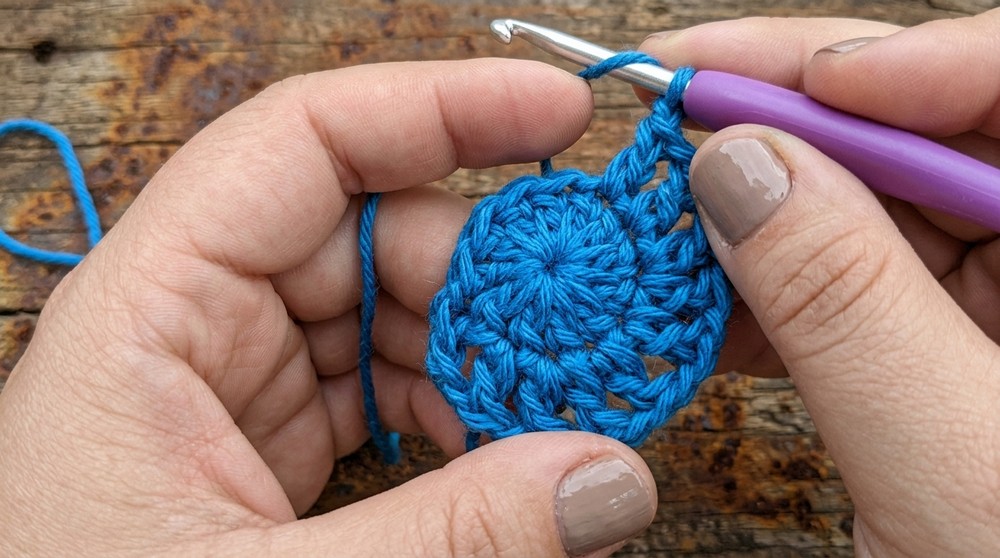
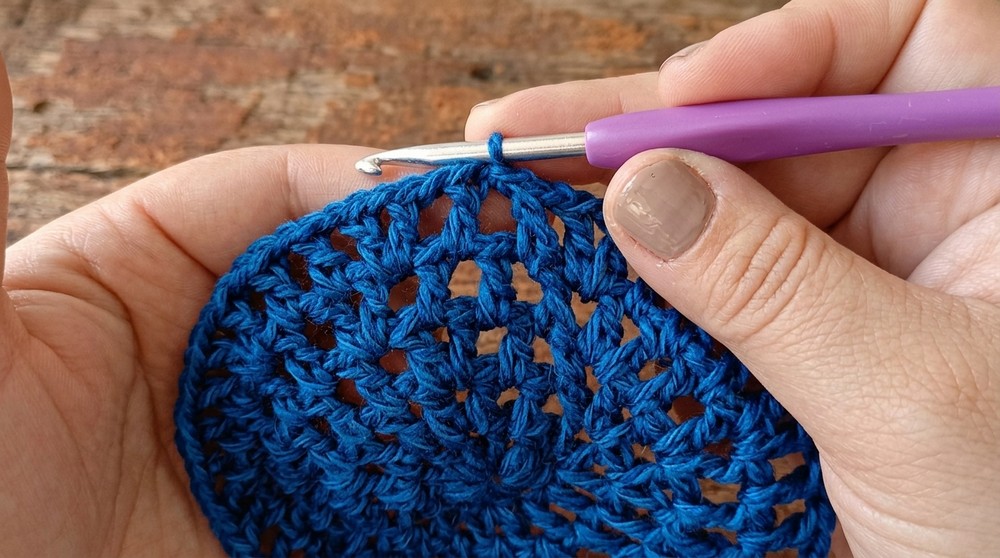
1. Begin with a Magic Ring
- Make a magic ring.
- Rnd 1:
- Ch 1 to secure.
- (Or use “false dc”/standing dc for a neater look.)
- Work 12 dc into ring.
- Join with sl st to first dc. (12 dc)
- Tighten ring.

2. Round 2 (Set-up for Mesh Pattern; Increases Begin)
- (Start with either a standing/false dc; or ch 3 counts as dc.)
- [Dc, ch 1] in next st, rep in each st around (dc, ch 1 into each st).
- To increase (3× per round):
- In every 4th st, work: [dc, ch 1, dc] in same st.
- Join with sl st to first dc.
- You will now have ‘holes’ between all dcs.
3. Round 3–7: Continue Increases in Pattern
- For each round, move into first ch-1 sp with a sl st to work all stitches into ch-1 spaces (not tops of previous dcs).
- Begin each round with a standing/false dc (or ch 3).
- Pattern:
- *[Dc, ch 1] in each ch-1 sp.
- Increases: On each round, add an extra dc in the same sp after every group (see schedule below).
- Maintain spacing; each increase = [dc, ch 1, dc] in same ch-1 sp.*
Increase Schedule:
- Rnd 3: 2 dc, one after another, then an increase; repeat (2 dc, inc, 2 dc, inc…)
- Rnd 4: 3 dc, then inc; repeat
- Rnd 5: 2 dc, then inc; repeat
- Rnd 6: 6 dc, then inc; repeat
- Rnd 7: 3 dc, then inc; repeat
(If this seems confusing, tips & schedule at the end)
- Each dc is always followed by ch 1.
- After Round 7:
- Work should measure about 18 cm (7”) in diameter.
- If not:
- For larger sizes, add another increase round following the pattern; for smaller, stop after fewer rounds.
- After last increase round, work one round even (no increases).
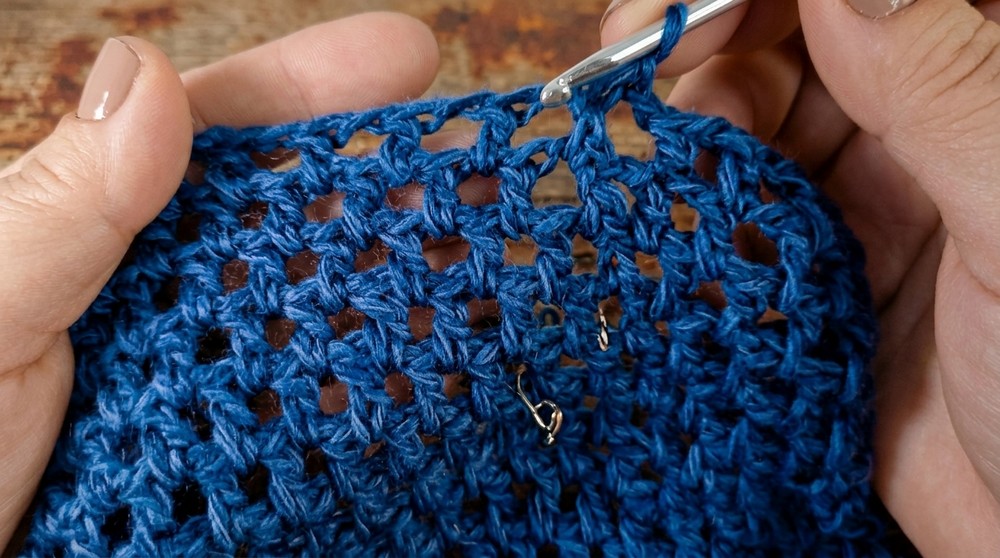
4. Rounds 8–19: Work Even (No Increases)
- Sl st to next ch-1 sp.
- Begin with standing/false dc (or ch 3).
- (Dc, ch 1) in each ch-1 sp around.
- Join with sl st to first dc at round end.
- Continue for a total of 12 even rounds (or adjust for desired slouch/length).
Ribbed Band (Brim)
- Switch to smaller hook (3.5 mm).
5. Foundation for Band
- Count the number of stitches & ch-sps on final round; you should have at least 100–104.
- For every ch-1 sp/dc st (= one “stitch” on last round), there will be one row of ribbing.
6. Elastic Ribbing: Start
- With the band color (& a slip knot if preferred),
Ch 10. - Turn, working into back bumps only for a neater edge:
- (Optional: Place a marker at last ch; this is row-end.)
- Ch 1 (does not count as a stitch).
- Hdc in each ch across. (10 hdc)
- Turn.
7. Join Band to Hat
Row A (joining):
- On hat, sl st to first openwork dc (where band will join).
- Sl st to next openwork st for turning (acts as beginning “ch 1” upturn).
- Work 10 hdc BLO back up the band row.
- Ch 1, turn.
Row B (back up band):
- Hdc BLO in each st across (10 hdc).
- Turn.
Row C:
- Continue as Row A: On hat, sl st into next openwork st; sl st into very next (two sl sts for every band row), and proceed as for Row B.
- Repeat this process (Rows A/B/turning with sl sts at hat edge, and hdc BLO returning), around entire hat edge.
Tip: Place marker at every 10–20 rows to keep track of count.
- Work until you have joined brim around entire lower edge (for sample, 102 rows).
- Join last row to foundation starting chain with sl st (or sc seam) through back loops for an invisible join.
Finishing
8. Close Top of Hat
- With a tapestry needle, securely weave in and cinch the magic ring (beginning of hat) to fully close any hole. Pass yarn tail through several times and knot.
9. Weave in all yarn tails.
- Hide tails inside stitches for a neat finish.
Pattern Corrections & Tips
- Correction: For each ribbing row, work both slip stitches into hat edge; do NOT forget turning slip stitch, or band will be offset.
- Ribbing: Ensure even number of rows so invisible join lines up perfectly; if off, add or subtract a row.
- Fit: Try on before beginning brim, and after ribbing, to ensure desired fit.
- Increases in the crown: If you struggle to maintain spacing, use the visual clues; each new round’s increases should always be offset, not stacked on top of previous increase.
Conclusion
You have now completed a modern slouchy crochet hat with beautiful openwork mesh and a neat ribbed brim! The pattern is easily adjustable for fit and style: add rounds for more slouch, or work fewer for a beanie fit. The invisible join on the brim creates a seamless, professional finish. Because of ample stretch, this hat is comfortable for a range of head sizes. Perfect for spring, autumn, or mild winters. Enjoy your new hat!
Sizing/Custom Adjustment Tip
- To adjust height: Add/reduce ‘even rounds’ after finishing crown increases.
- To adjust circumference: Change crown diameter as measured after increase rounds; work more or fewer increasing rounds.
- Use a tape measure at increase check-points for best fit.