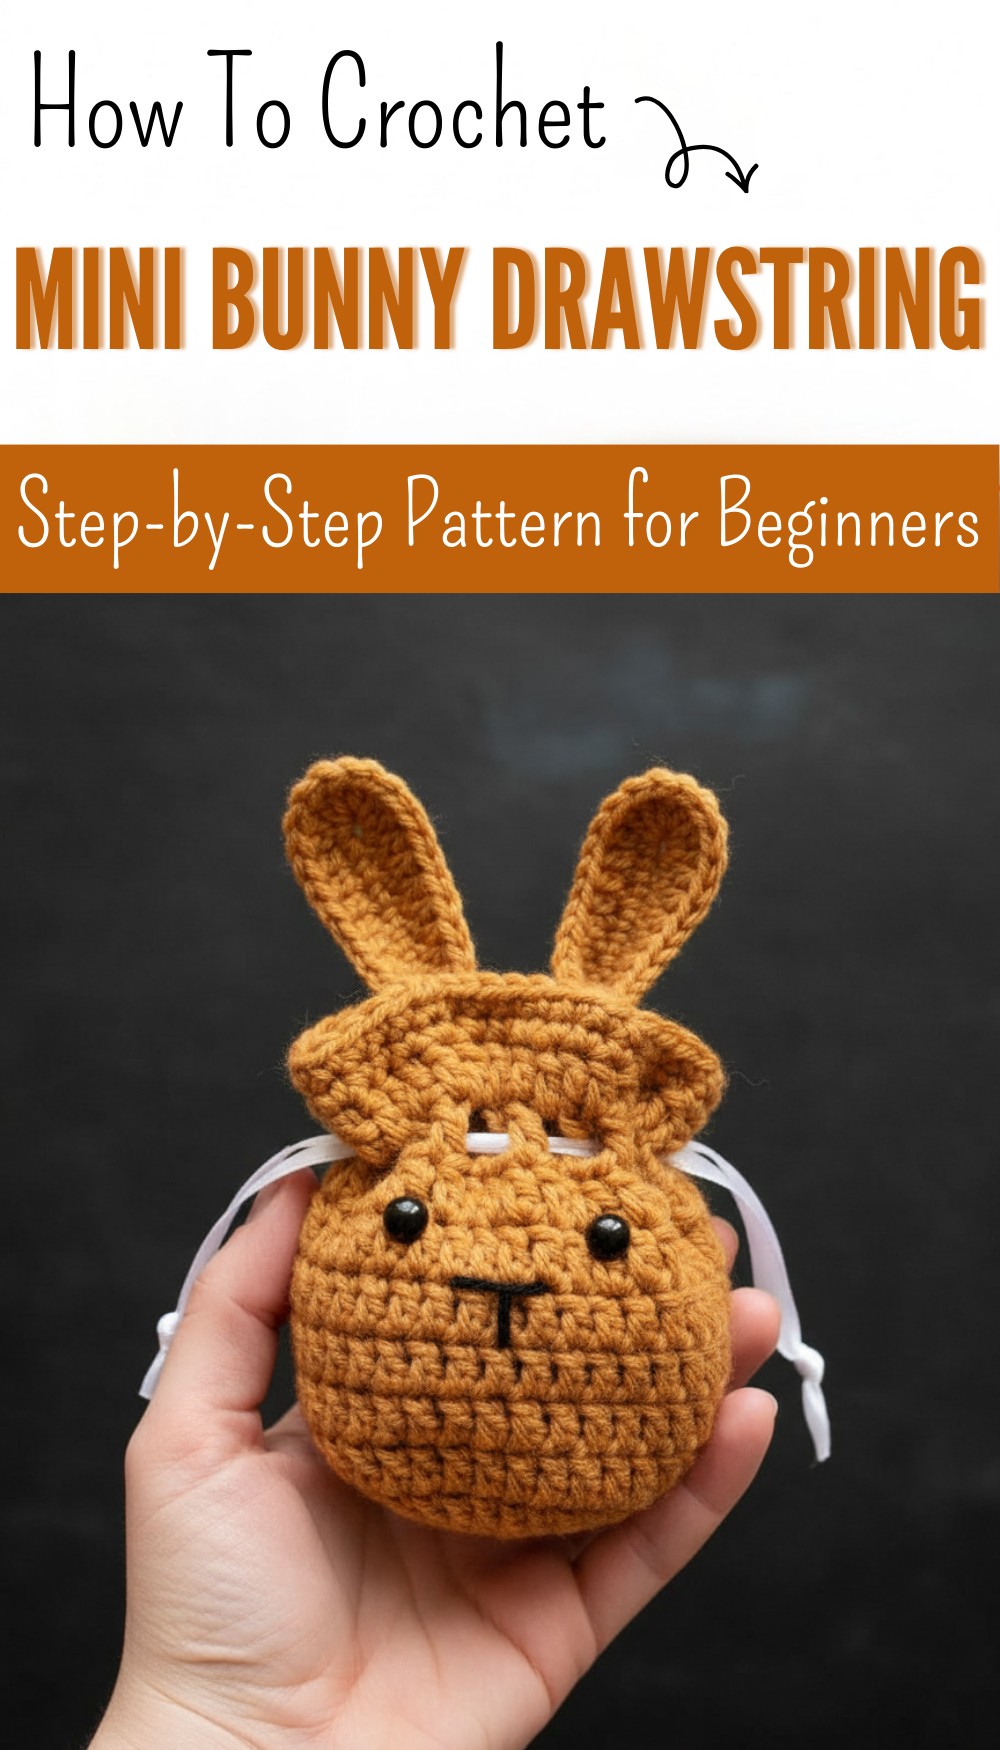
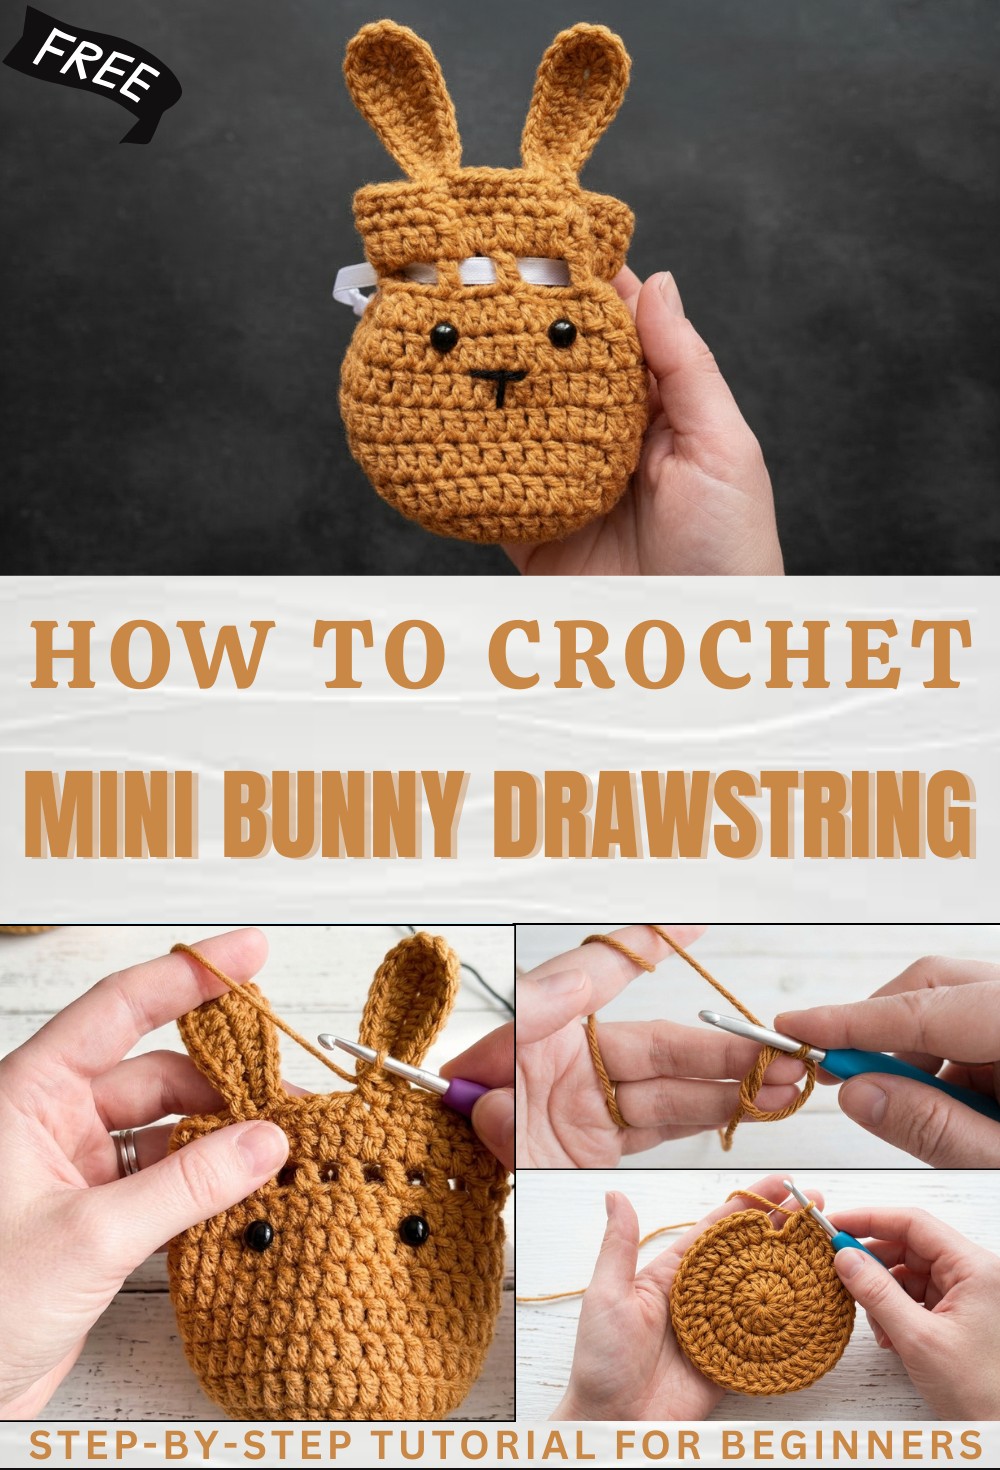
Free Crochet Bunny Drawstring Bag Pattern
Snuggle into cuteness with a free crochet bunny drawstring bag pattern perfect for charming storage and sweet gift packaging every season.
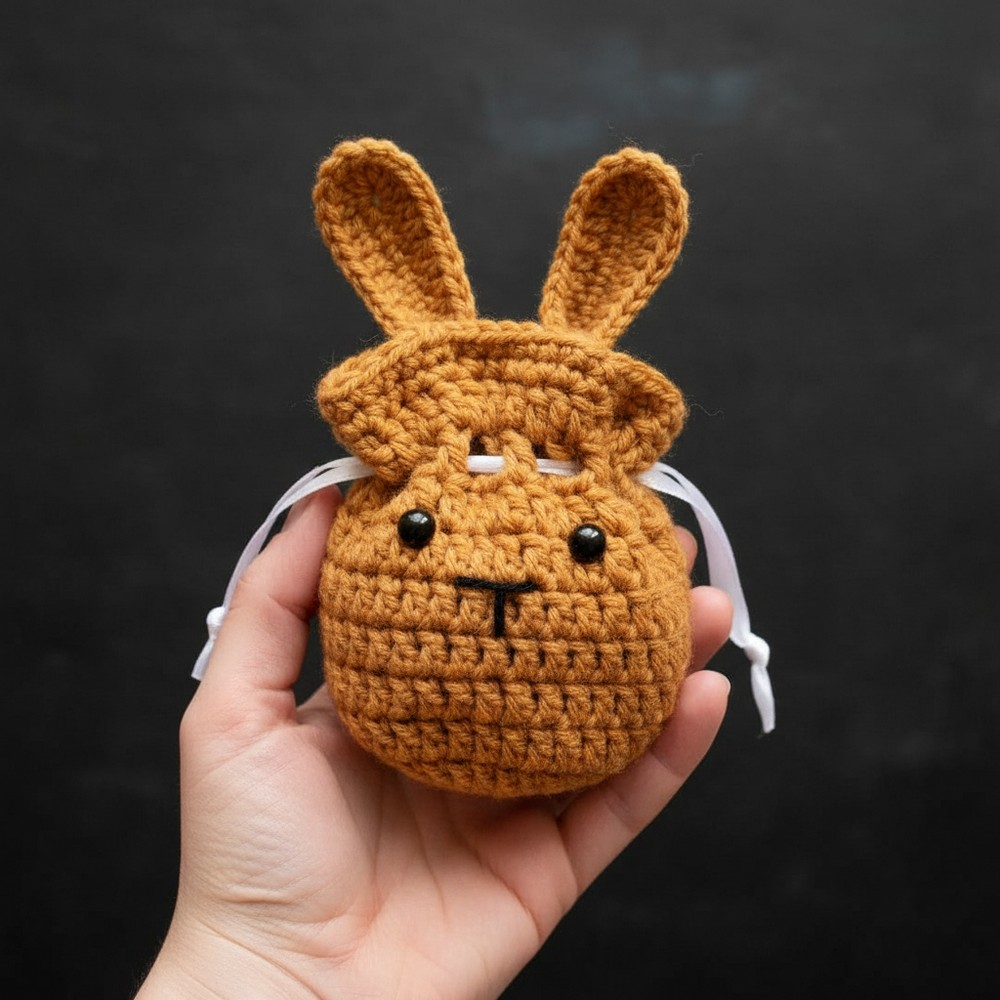
A playful bag that looks like a bunny always makes people smile and attracts attention wherever you carry it. Bright ears and cheerful face invite little hands to reach in and adults to use it for storing coins, treats, or jewelry without worrying about losing anything. With the Crochet Bunny Drawstring Bag pattern, even beginners follow simple steps and choose any color to match their style.
Cute Free Crochet Bunny Drawstring Bag Pattern for Kids
This clever design uses a pull string to keep things safe inside, making it useful for school, travel, or even gifting friends at parties. Its appearance brings a sense of comfort while the bag offers practical value every day. Easily made with yarn, it helps organize daily small items and adds a touch of charm to anyone’s routine. Beauty, purpose, and fun come together thanks to this friendly bunny shape and easy-to-use drawstring, offering a joyful addition to any collection.
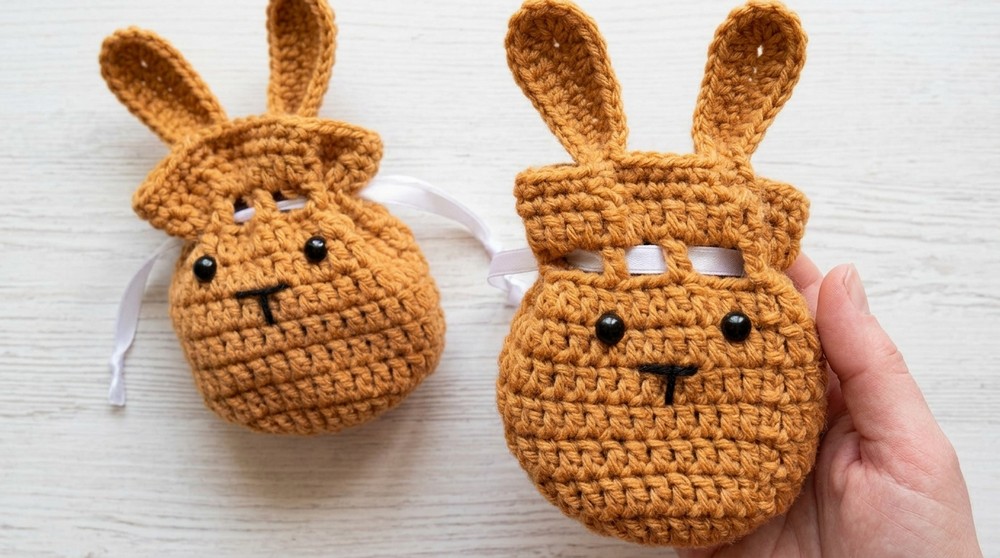
Free Crochet Bunny Pouch Pattern
Materials
- Yarn: Worsted weight (Medium/4), 100% acrylic recommended
- Hook:
- 4.5 mm for body (recommended size G+ or 7)
- 4.0 mm for ears (recommended size G/6) – makes ears firmer; you may use 4.5 mm if preferred
- Notions:
- Yarn needle
- Scissors
- 8 mm safety eyes, or black yarn for embroidery
- Small amount of black yarn (for mouth)
- Satin ribbon or crochet cord (for drawstring)
Key Abbreviations (US Terms)
| Abbreviation | Meaning |
|---|---|
| ch | chain |
| sl st | slip stitch |
| sc | single crochet |
| hdc | half double crochet |
| dc | double crochet |
| st(s) | stitch(es) |
| rep | repeat |
| MC | Magic Circle |
Special Notes
- The starting turning chains do not count as a stitch; always sl st to the first real dc at the end of the round.
- Swap to a smaller hook for ears for added stiffness.
- Use stitch markers for beginners (especially at ear placements).
- You may substitute the magic circle with ch-4, joined with sl st, if preferred.
Pattern
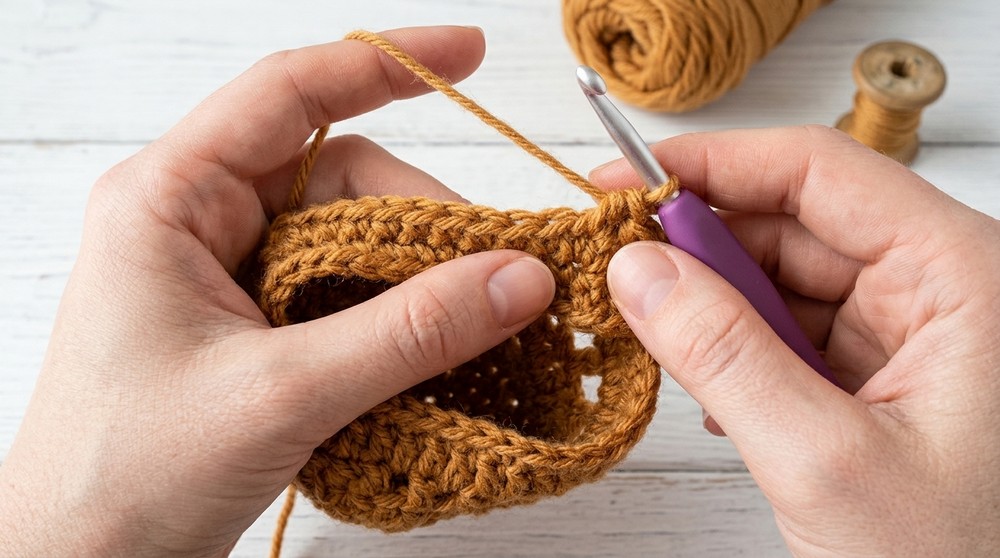
Body
Round 1:
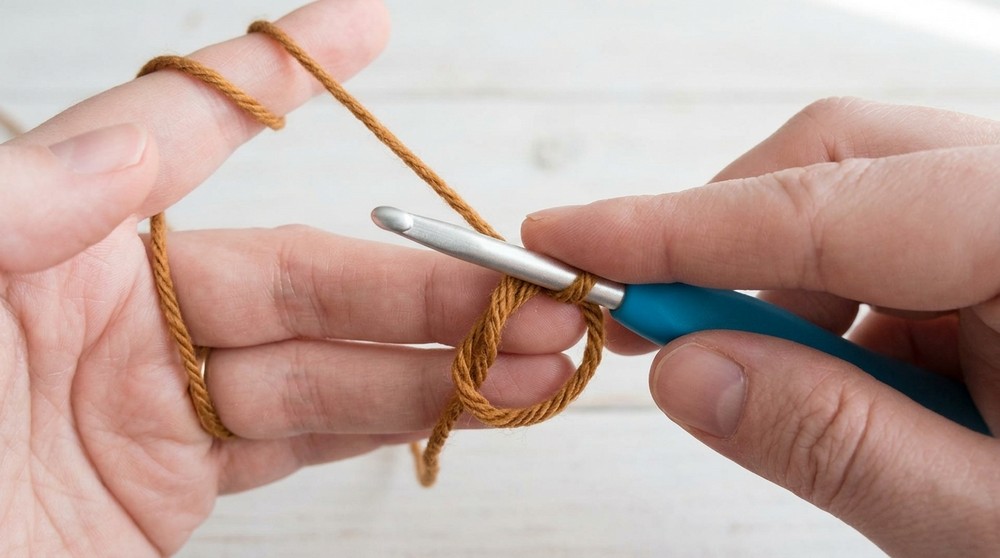
- Make a magic circle (MC), ch 2 (does not count as a stitch).
- Work 12 dc into the MC.
- Sl st to the first dc (not the ch-2).
- Pull MC tail to close center.
(12 dc)
Round 2:
- Ch 2.
- 2 dc in each st around.
- Sl st to the first dc.
(24 dc)
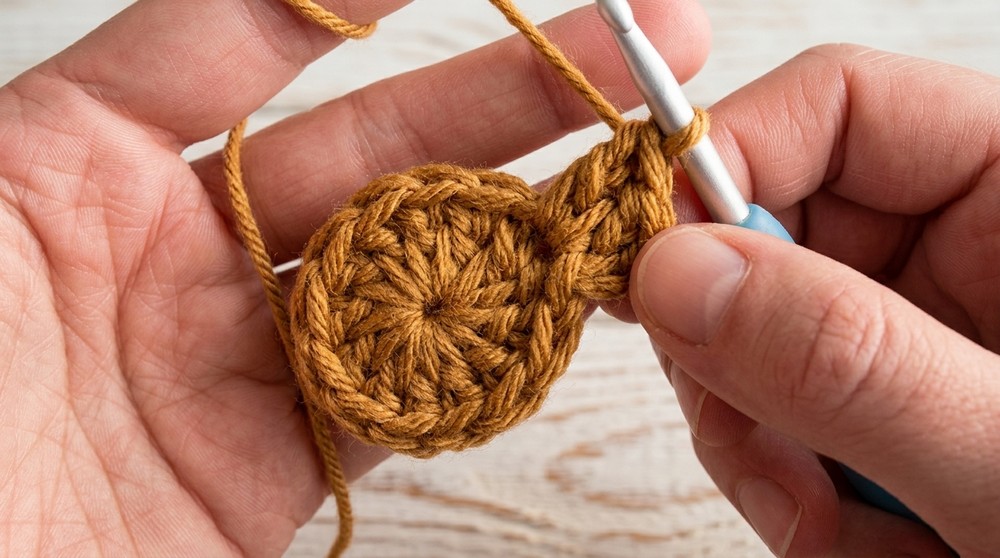
Round 3:
- Ch 2.
- 1 dc in next st, 2 dc in next st – rep around.
- Sl st to the first dc.
(36 dc)
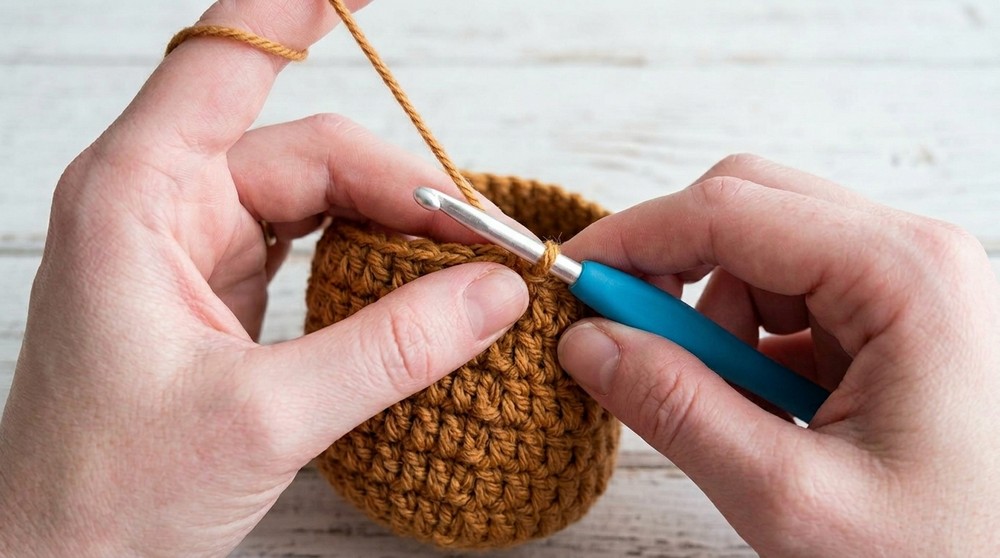
Rounds 4–9:
- Ch 2.
- 1 dc in each st around.
- Sl st to the first dc.
- (36 dc in each round. Pouch sides will start forming. Flip “inside out” so outside is facing.)
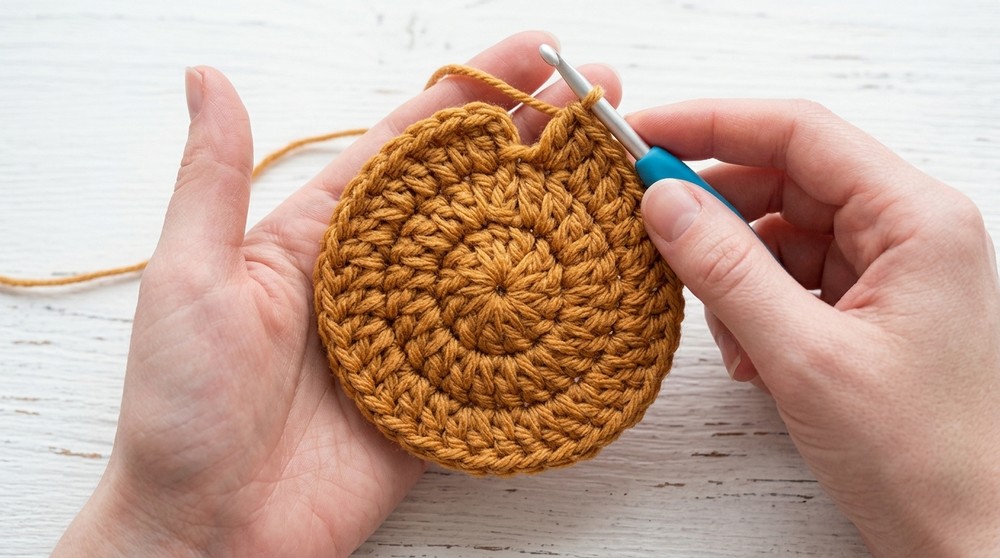
Tip: You may work more rounds here for a taller pouch.
Drawstring Loops
Round 10:
- Ch 4 (counts as dc + ch 1), sk 1 st, dc in next st, ch 1; rep from * to end.
- At the end, after the last ch-1, sk 1 st, sl st into the 3rd ch of starting ch-4.
(18 dc, 18 ch-1 sps)
Eyelet Row Top
Round 11:
- Ch 3 (counts as dc).
- Dc in each ch-1 space, dc in each dc around.
- Sl st to top of starting ch-3.
(36 dc)
Ears & Top Edge
Note: Use 4.0 mm hook for this section if firmer ears are desired.
Round 12: (Bunny Ears & Top Edge)
- Ch 1.
- Sc in each of the first 6 sts.
- First ear:
- Ch 12.
- Skip first ch from hook, sc in next 11 ch back down (11 sc).
- Sc in next 5 sts of body.
- Second ear:
- Ch 12.
- Skip first ch from hook, sc in next 11 ch back down (11 sc).
- Sc in remaining sts around to start.
- Sl st to first sc of round.
Ear Finishing Round (on each ear; both are worked in this round)
For each ear:
- Continuing from top of pouch, switch to 4 mm hook.
- Ear side 1:
- Work 3 sl st, one in each of first 3 sts up side of the ear.
- Work 3 sc, one in each of next 3 sts.
- Work 3 hdc, one in each of next 3 sts.
- In next st: 2 dc.
- In last st at tip: 3 dc.
- Ear side 2:
- Work 2 dc in next st.
- Work 2 dc in next st.
- Work 3 hdc, one in each of next 3 sts.
- Work 3 sc, one in each of next 3 sts.
- Work 3 sl st, one in each of last 3 sts to base.
- Sc across the top edge between ears as needed (should be 4 sc between ears).
- Rep steps for the second ear.
- Sc in remaining sts around to complete the round.
- Sl st to first sc. Fasten off, weave in ends.
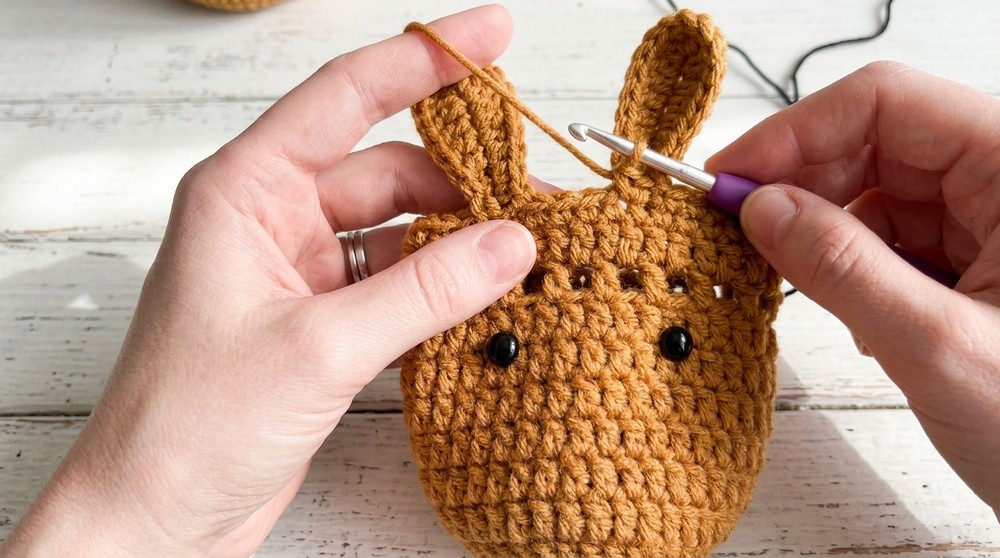
Finishing & Face
- Eyes:
- Attach safety eyes between rounds 8 and 9, centered between the ears.
- Or, sew eyes with black yarn.
- Mouth:
- Use black yarn to embroider a “T” for a cute bunny mouth below the eyes, ending in round 7 or 8. Knot securely inside.
- Drawstring:
- Use ribbon or crochet cord.
- Weave in and out of ch-1 spaces from Round 10.
- Fill with treats and pull up to close!
Pattern Correction
- Be sure to join each round to the first actual dc, not the starting chain.
- Ears are worked over 11 sts on each side.
- The stitch count after round 3 and in subsequent rounds should remain 36.
Tips
- For taller pouch, increase the number of rounds before working the eyelet row.
- Swap hook size or yarn weight to increase/decrease finished pouch size.
- Use a tightly wound acrylic for best stitch definition and standing shape.
- For a classic pouch (no bunny), stop after Round 11 and add a plain sc round as finishing.
Conclusion
Congratulations! Your bunny pouch is ready for Easter treats or to brighten anyone’s day. This quick make is ideal for gifting or for festive decor. Adjust size, color, or finishing touches as you wish, and enjoy countless creative possibilities.