Personalize Crochet Heart Pouch That’s Fun to Make & Use Daily
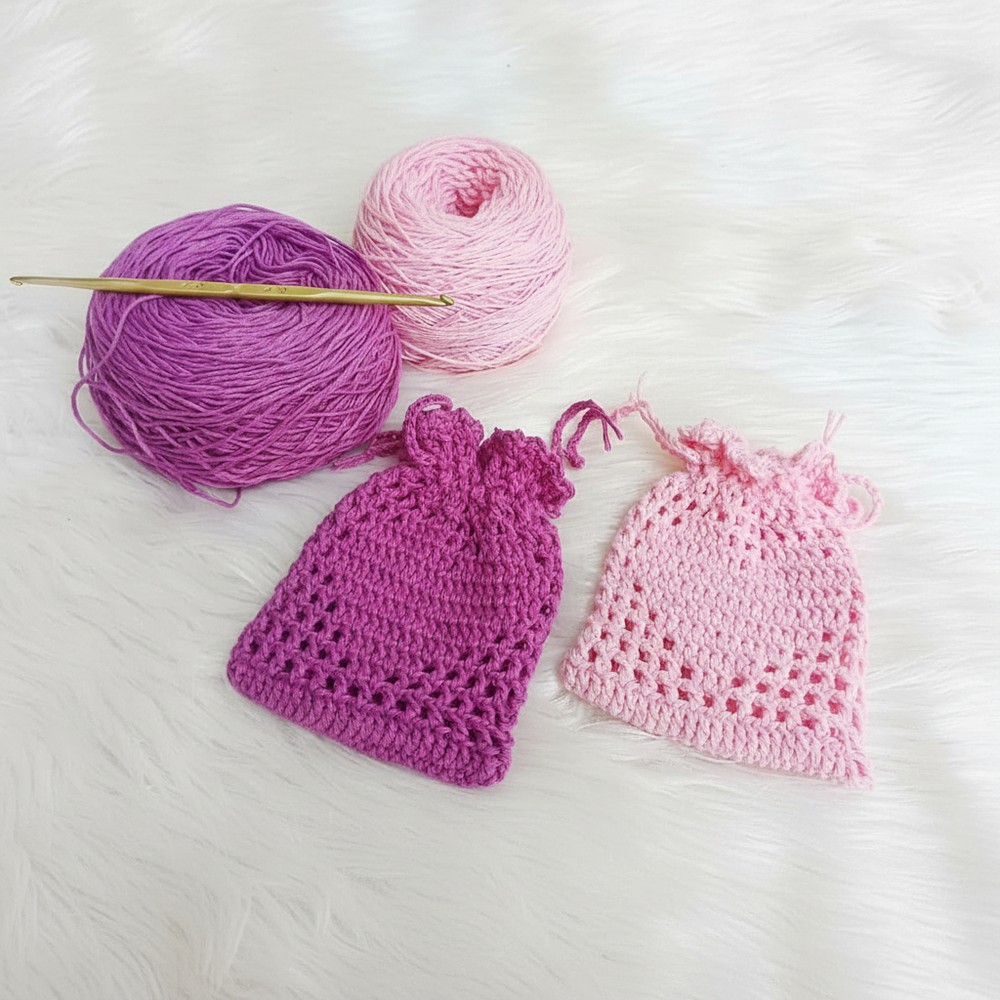
Plain pouches lack character, but the crochet heart pouch brings charm and personality into your everyday essentials, offering a unique and delightful way to store coins, jewelry, or any tiny treasures that deserve something special.
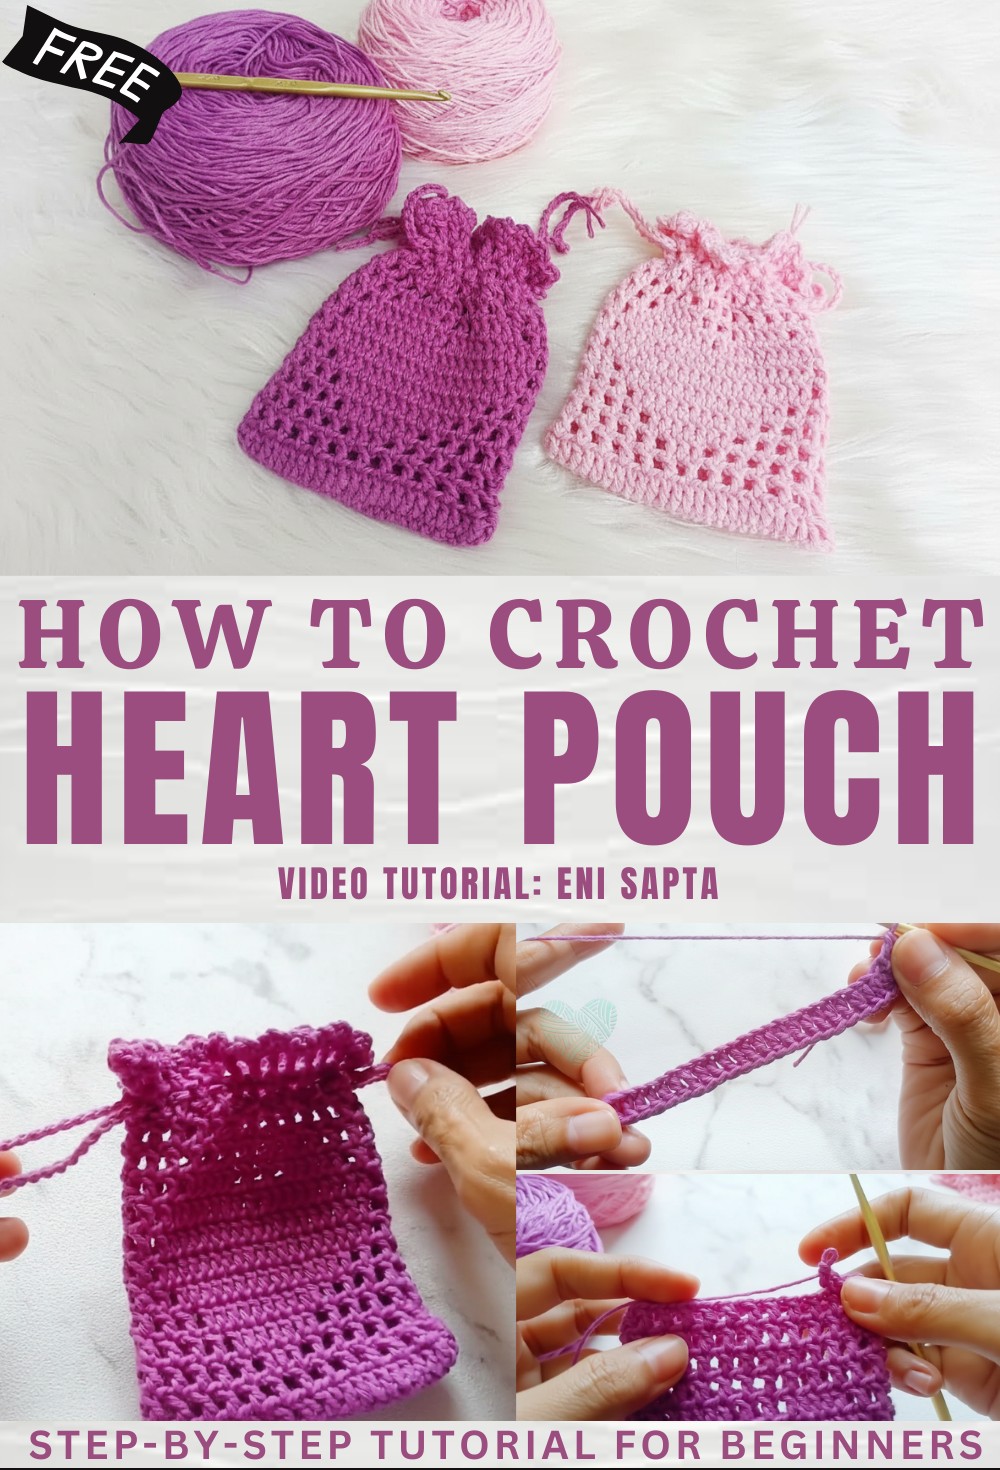
Crochet Heart Pouch Pattern Great for Kids & Adults
This isn’t your everyday storage solution. Vivid colors and soft textures bring a playful energy to something as simple as keeping your things in one place. Beyond its practicality, it’s an absolute head-turner, making it a conversation starter wherever you go.
Whether tucked into your bag, displayed on your desk, or gifted to someone special, this pouch makes every moment a little more whimsical and warm.
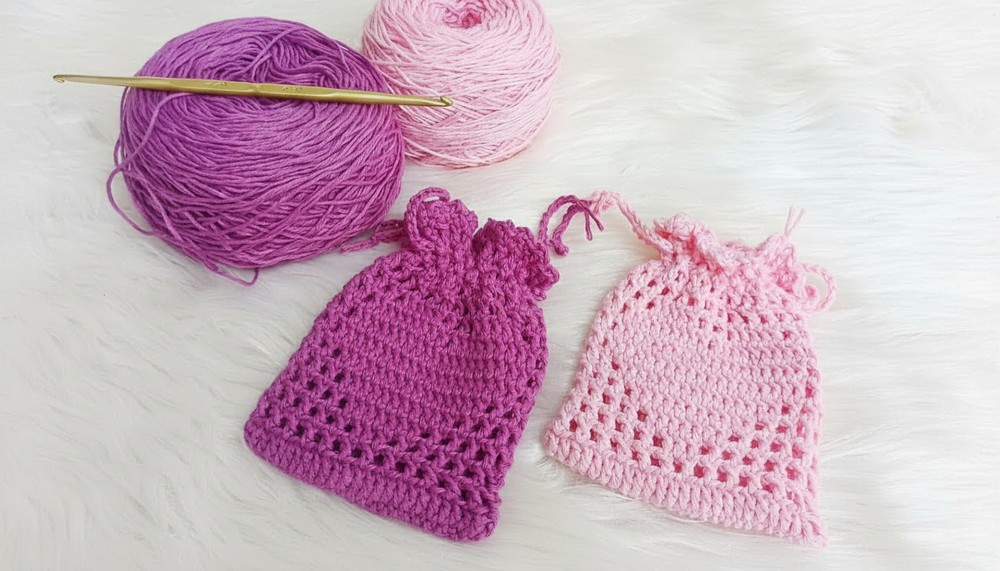
Materials Needed
- Yarn: Cotton thread (lightweight; preferred for a neat lace texture).
- Hook Size: 4/0 (2.5mm).
- Optional Items:
- Stitch marker (to mark the beginning of rounds).
- Yarn needle for weaving in ends.
- Scissors.
Skill Level
Intermediate to Advanced
Key Abbreviations
- ch: Chain
- sc: Single Crochet
- dc: Double Crochet
- sl st: Slip Stitch
- st(s): Stitch(es)
- sp: Space
special Notes
- Crochet in continuous rounds unless instructed otherwise. Use a stitch marker to track the beginning of each round if needed.
- Ensure tension is consistent for a neat lace effect.
- The pouch is customizable based on the number of stitches and rows.
Pattern Steps
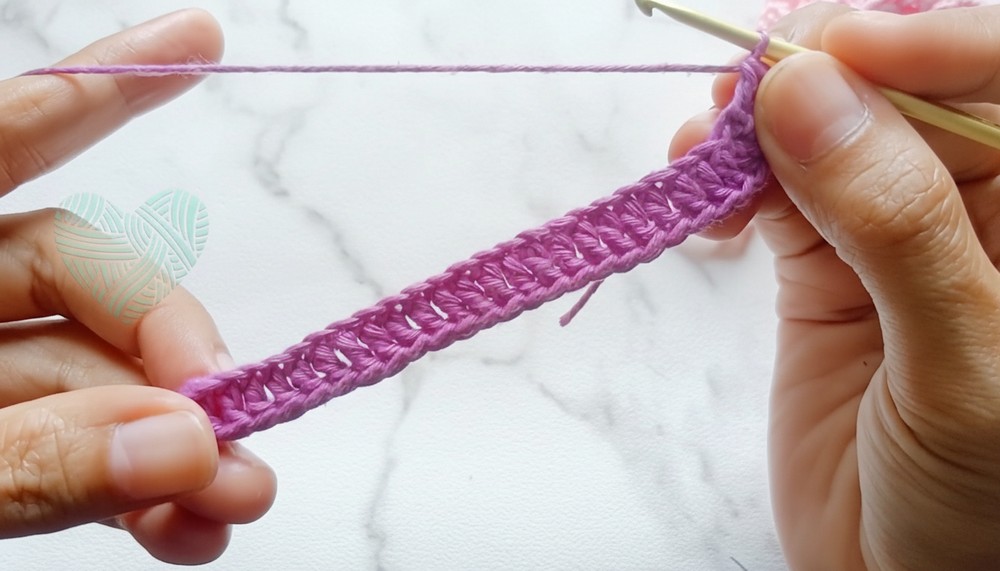
Base
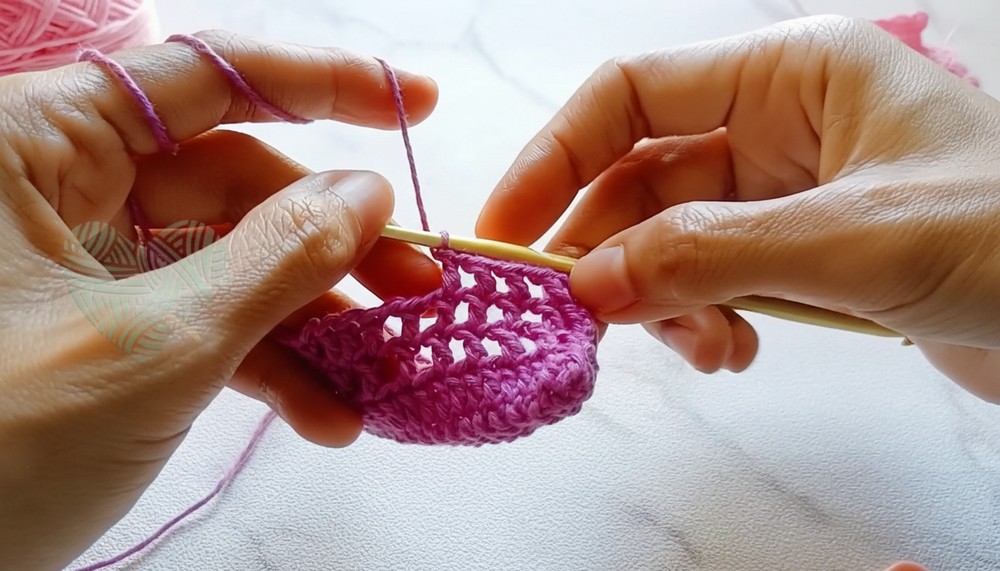
- Begin with a slip knot on the hook.
- Ch 24, followed by ch 3 (acts as the turning chain and counts as the first dc).
- Row 1:
- Starting in the 4th chain from the hook, make 1 dc.
- Work 1 dc in each ch across until the last ch.
- In the last ch: 2 dc (increase to shape the base).
- Rotate work to crochet along the opposite side of the foundation ch, making 1 dc in each ch.
- In the last ch: 2 dc (increase).
- Join the round with a sl st to the top of the 3rd chain from the start.
Mesh Pattern (Row 2)
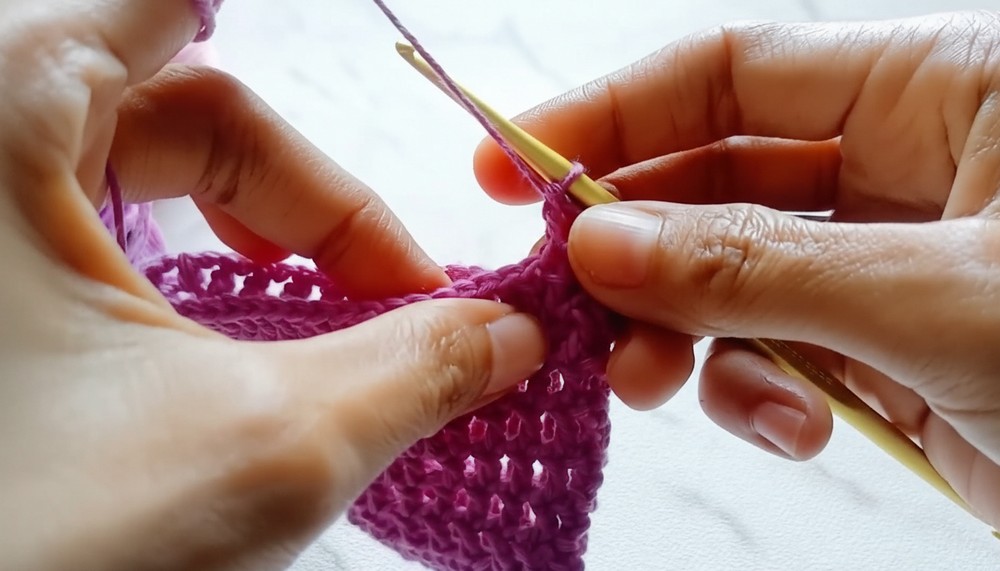
- Row 2:
- Ch 4 (counts as 1 dc + 1 ch).
- Skip 1 st, make 1 dc in the next st.
- Ch 1, skip 1 st, 1 dc in the next st.
- Repeat this mesh pattern (ch 1, skip 1 st, 1 dc) around the row.
- Join with a sl st to the 3rd chain of the starting ch 4.
Lace Body of the Pouch
- Row 3:
- Ch 4, make 1 dc in the next dc below.
- Ch 1, work 1 dc in each dc (skipping sts as done previously).
- For the decorative “V-pattern”, crochet the following across the designated area:
- Work 5 dc in each dc below, forming clusters.
- Continue with the mesh pattern (ch 1, 1 dc in each dc) around.
- Row 4:
- Continue alternating between mesh pattern and increasing 7 dc clusters in designated spaces.
- Focus on centered spacing when placing clusters for symmetry and flow.
Increasing the Lace Width
- For Row 5 onward:
- Increase by 4 dc or more in the clusters to expand the lace pattern.
- Keep alternating mesh pattern and cluster groupings, forming the skirt of the pouch.
- Rows 6-13: Maintain the pattern until reaching the desired height.
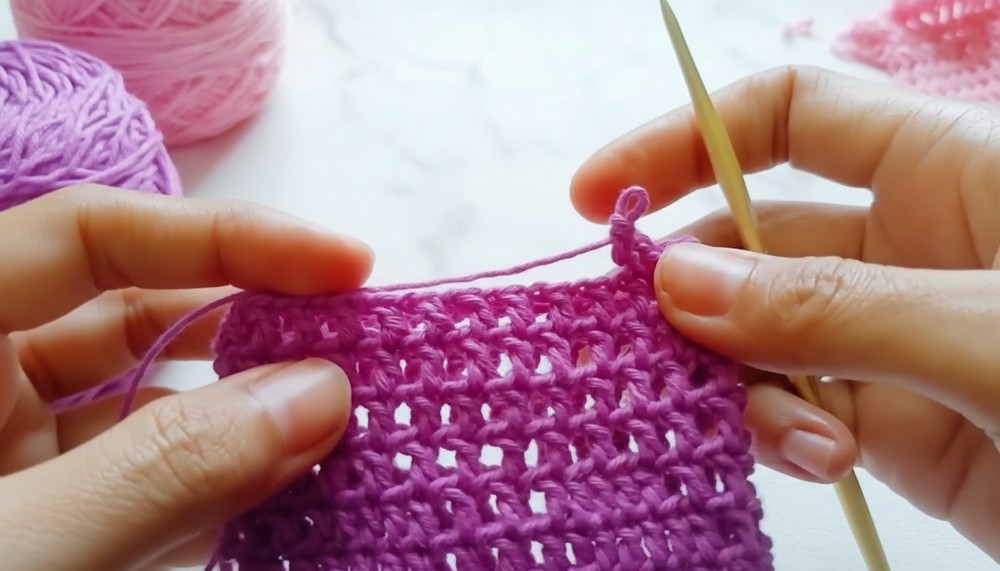
Lace Edging
- After completing Row 13, begin the lace edging.
- Row 1 (Lace Start):
- Ch 1, make a sc in the same st.
- Ch 2, work a dc in the same st.
- Move to the next dc, and repeat: sc, ch 2, dc.
- Row 2: Repeat the pattern across the top edge to finish the lace.
- Row 1 (Lace Start):
- Finish and sl st into the starting ch 1 to close the round.
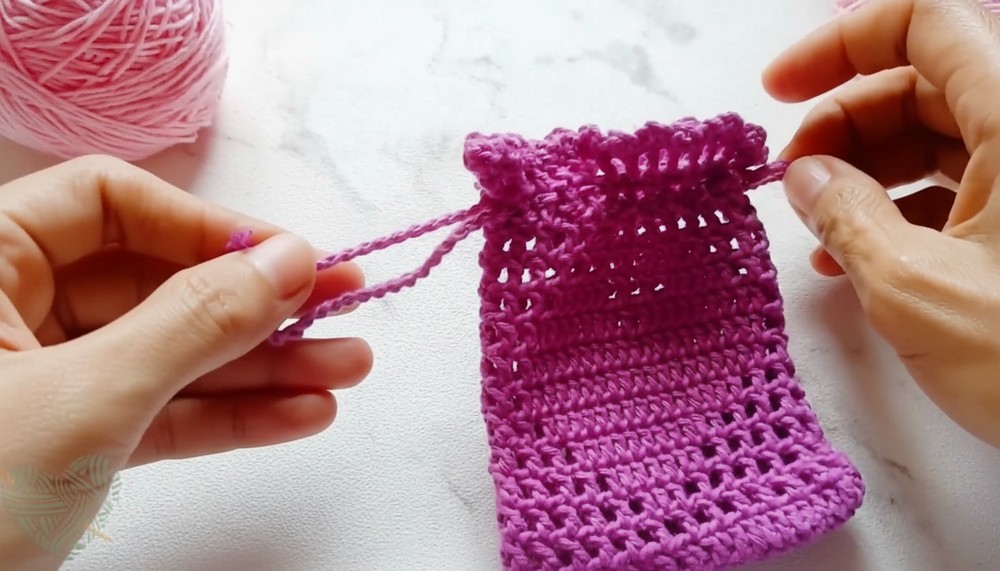
Drawstring Closure
- To make the drawstring:
- Ch 65 (or adjust to desired length).
- Fasten off and weave the string through the mesh section of the pouch body, skipping every few stitches.
- Optional: Add beads or embellishments to the end of the string for a decorative touch.
Conclusion
You now have a beautiful crocheted lace pouch complete with a delicate edge and functional drawstring. With its intricate details, this pouch makes for a classy gift or personal accessory. Adjust yarn colors and decorative finishes to personalize it further!
Pattern Corrections
- Clusters: Ensure consistency while increasing cluster sizes in each row. Too small or too large clusters may distort the lace skirt.
- Mesh Pattern: Skip only 1 st to maintain proper alignment. Skipping more stitches creates uneven gaps.
Tips
- Use a smaller hook if you prefer a tighter lace effect for the pouch.
- Block the finished pouch lightly to enhance the lace details.
- Use a stitch marker when transitioning from mesh to lace patterns for added ease.